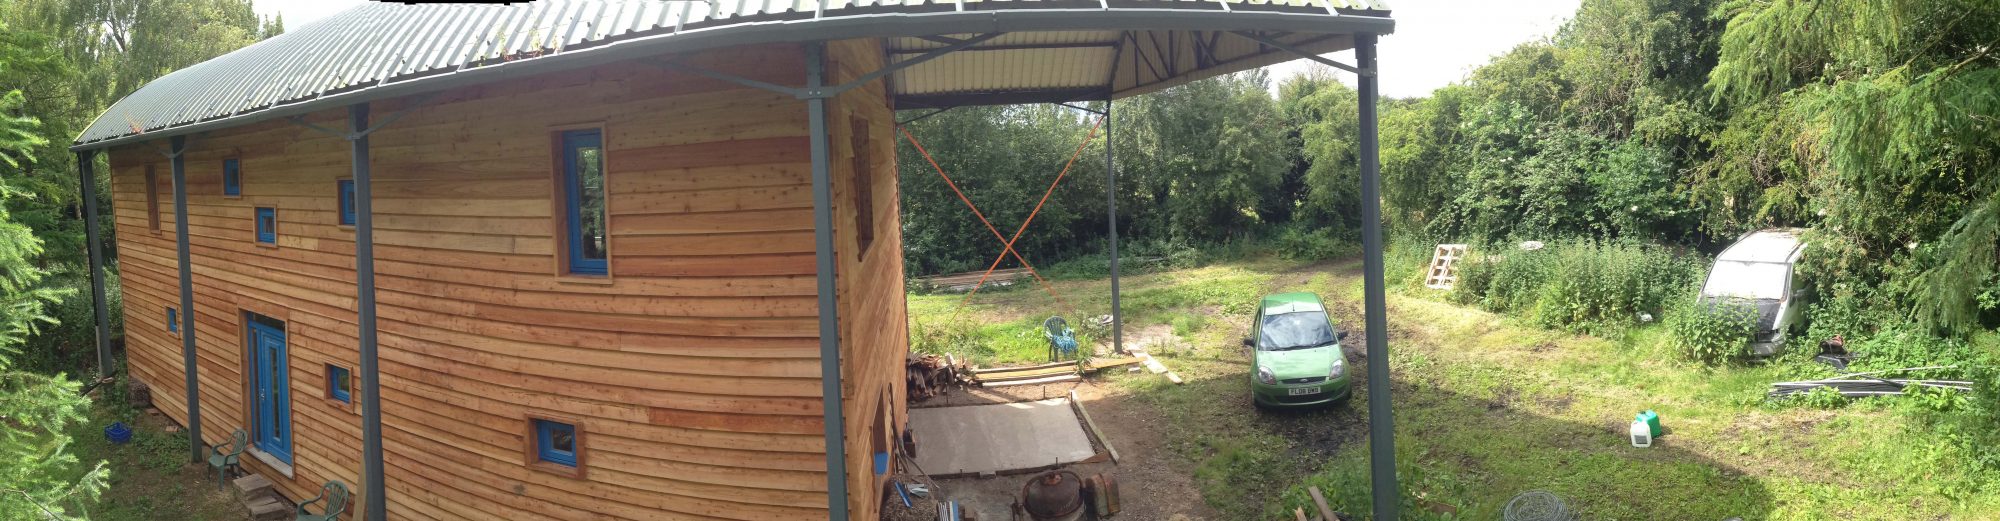
After what seems like years of work (and is) with nothing showing above ground but increasing amounts of mud, we are at last rising above ground level.
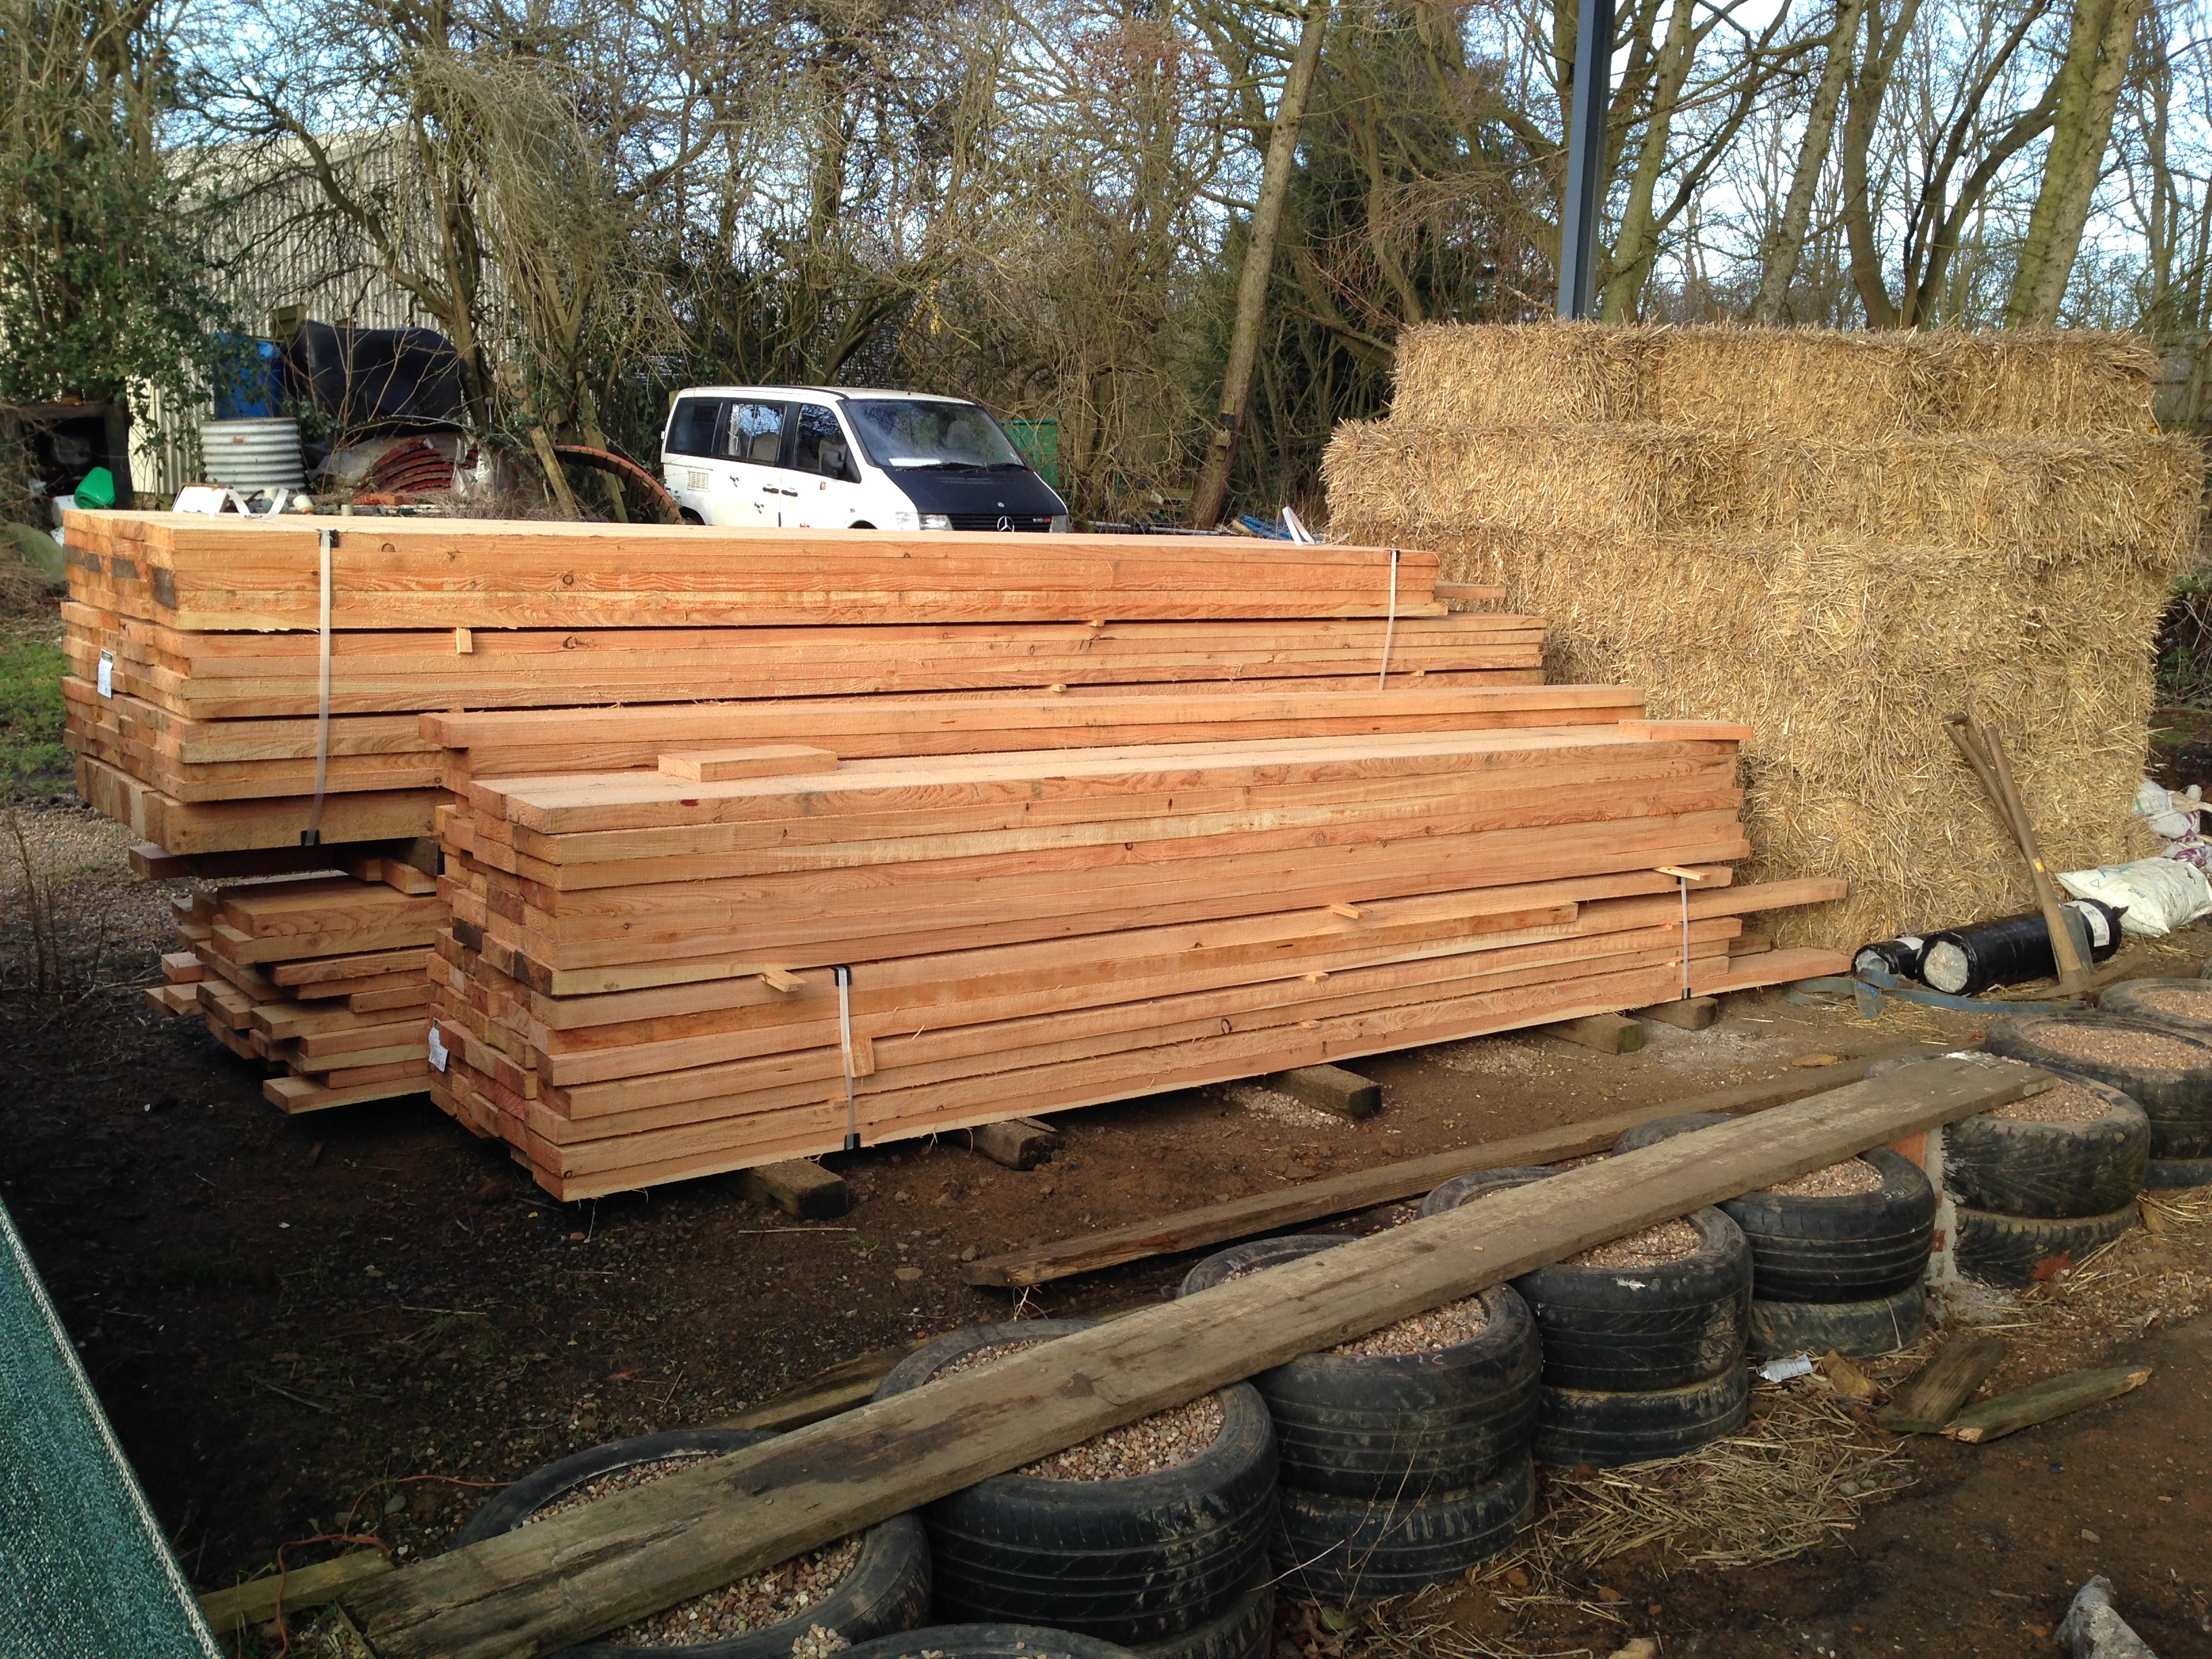
Just after New Year, we took delivery of several tonnes of rough sawn English-grown larch, from which to construct the ring beams and frame to support the bale walls.
So, two weeks ago, I booked off my last two weeks of leave, and we started a crash-course in joinery. This involved constructing a robust box section horizontal frame, closed above and below with exterior grade strand board. All the joints between timer lengths and board needed to be glued and nailed. This was all built propped on bales on the tyre foundations, so that a second layer of strand board could be applied to the bottom of the frame.

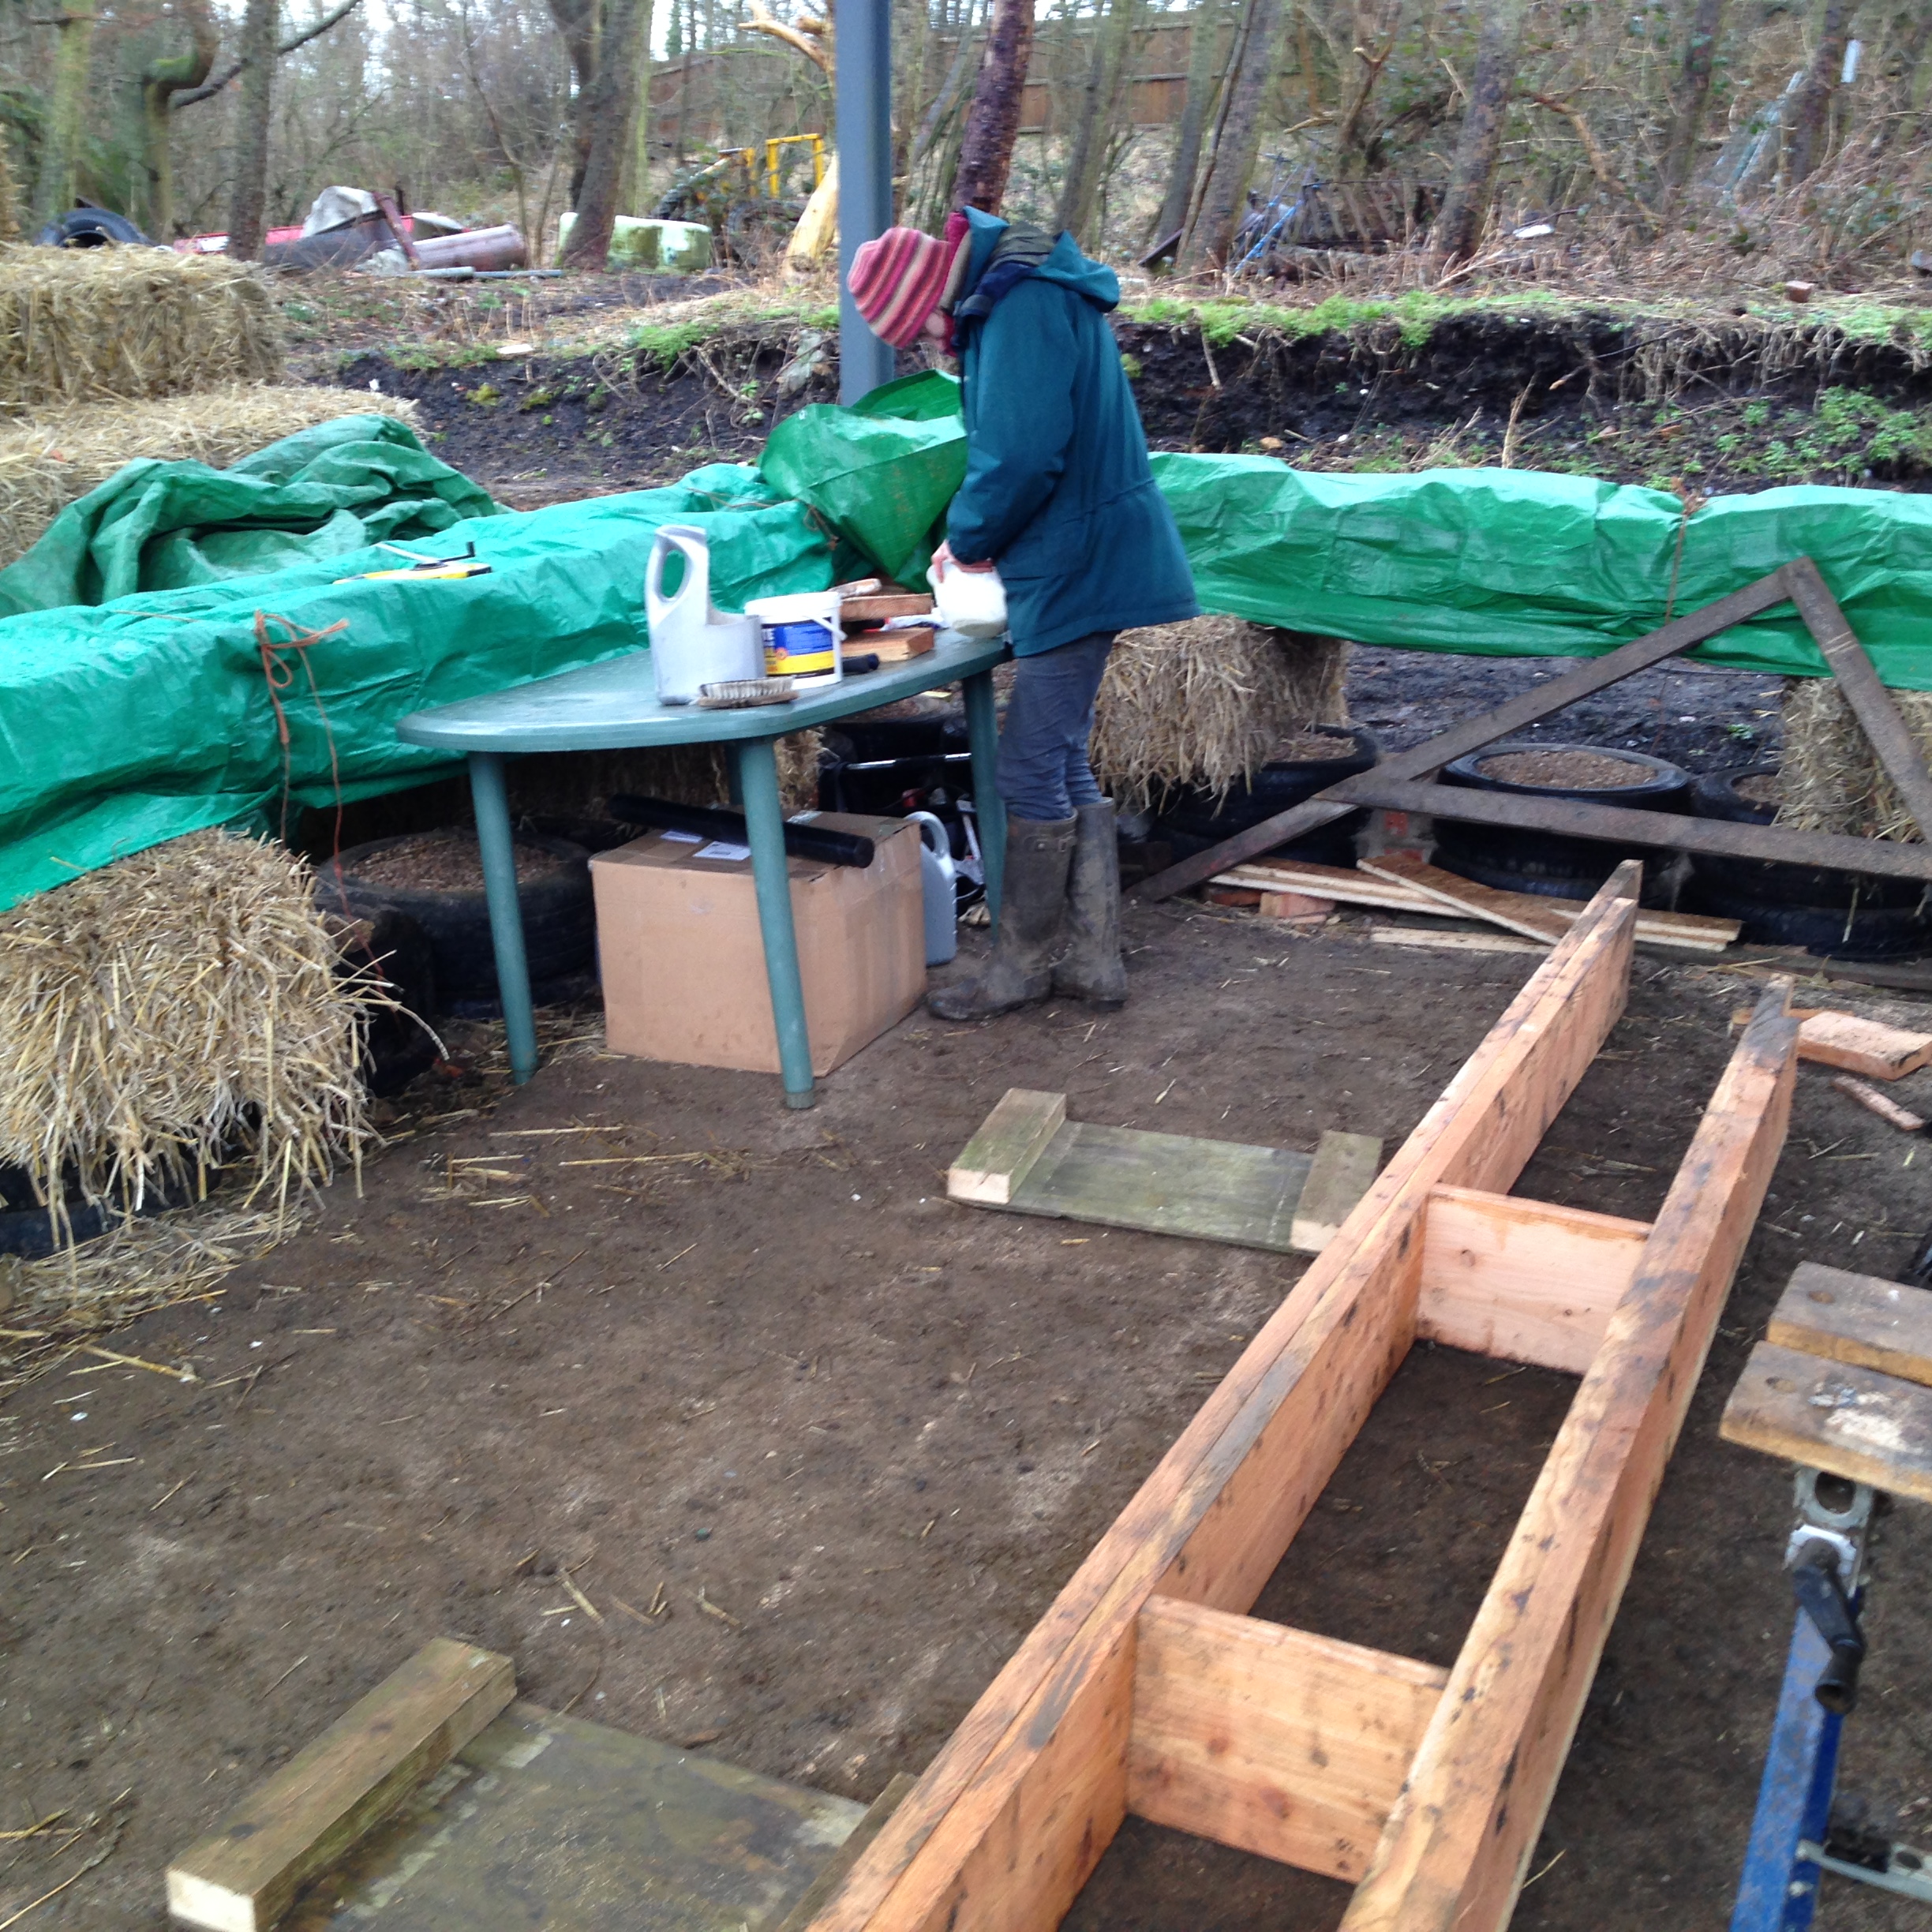
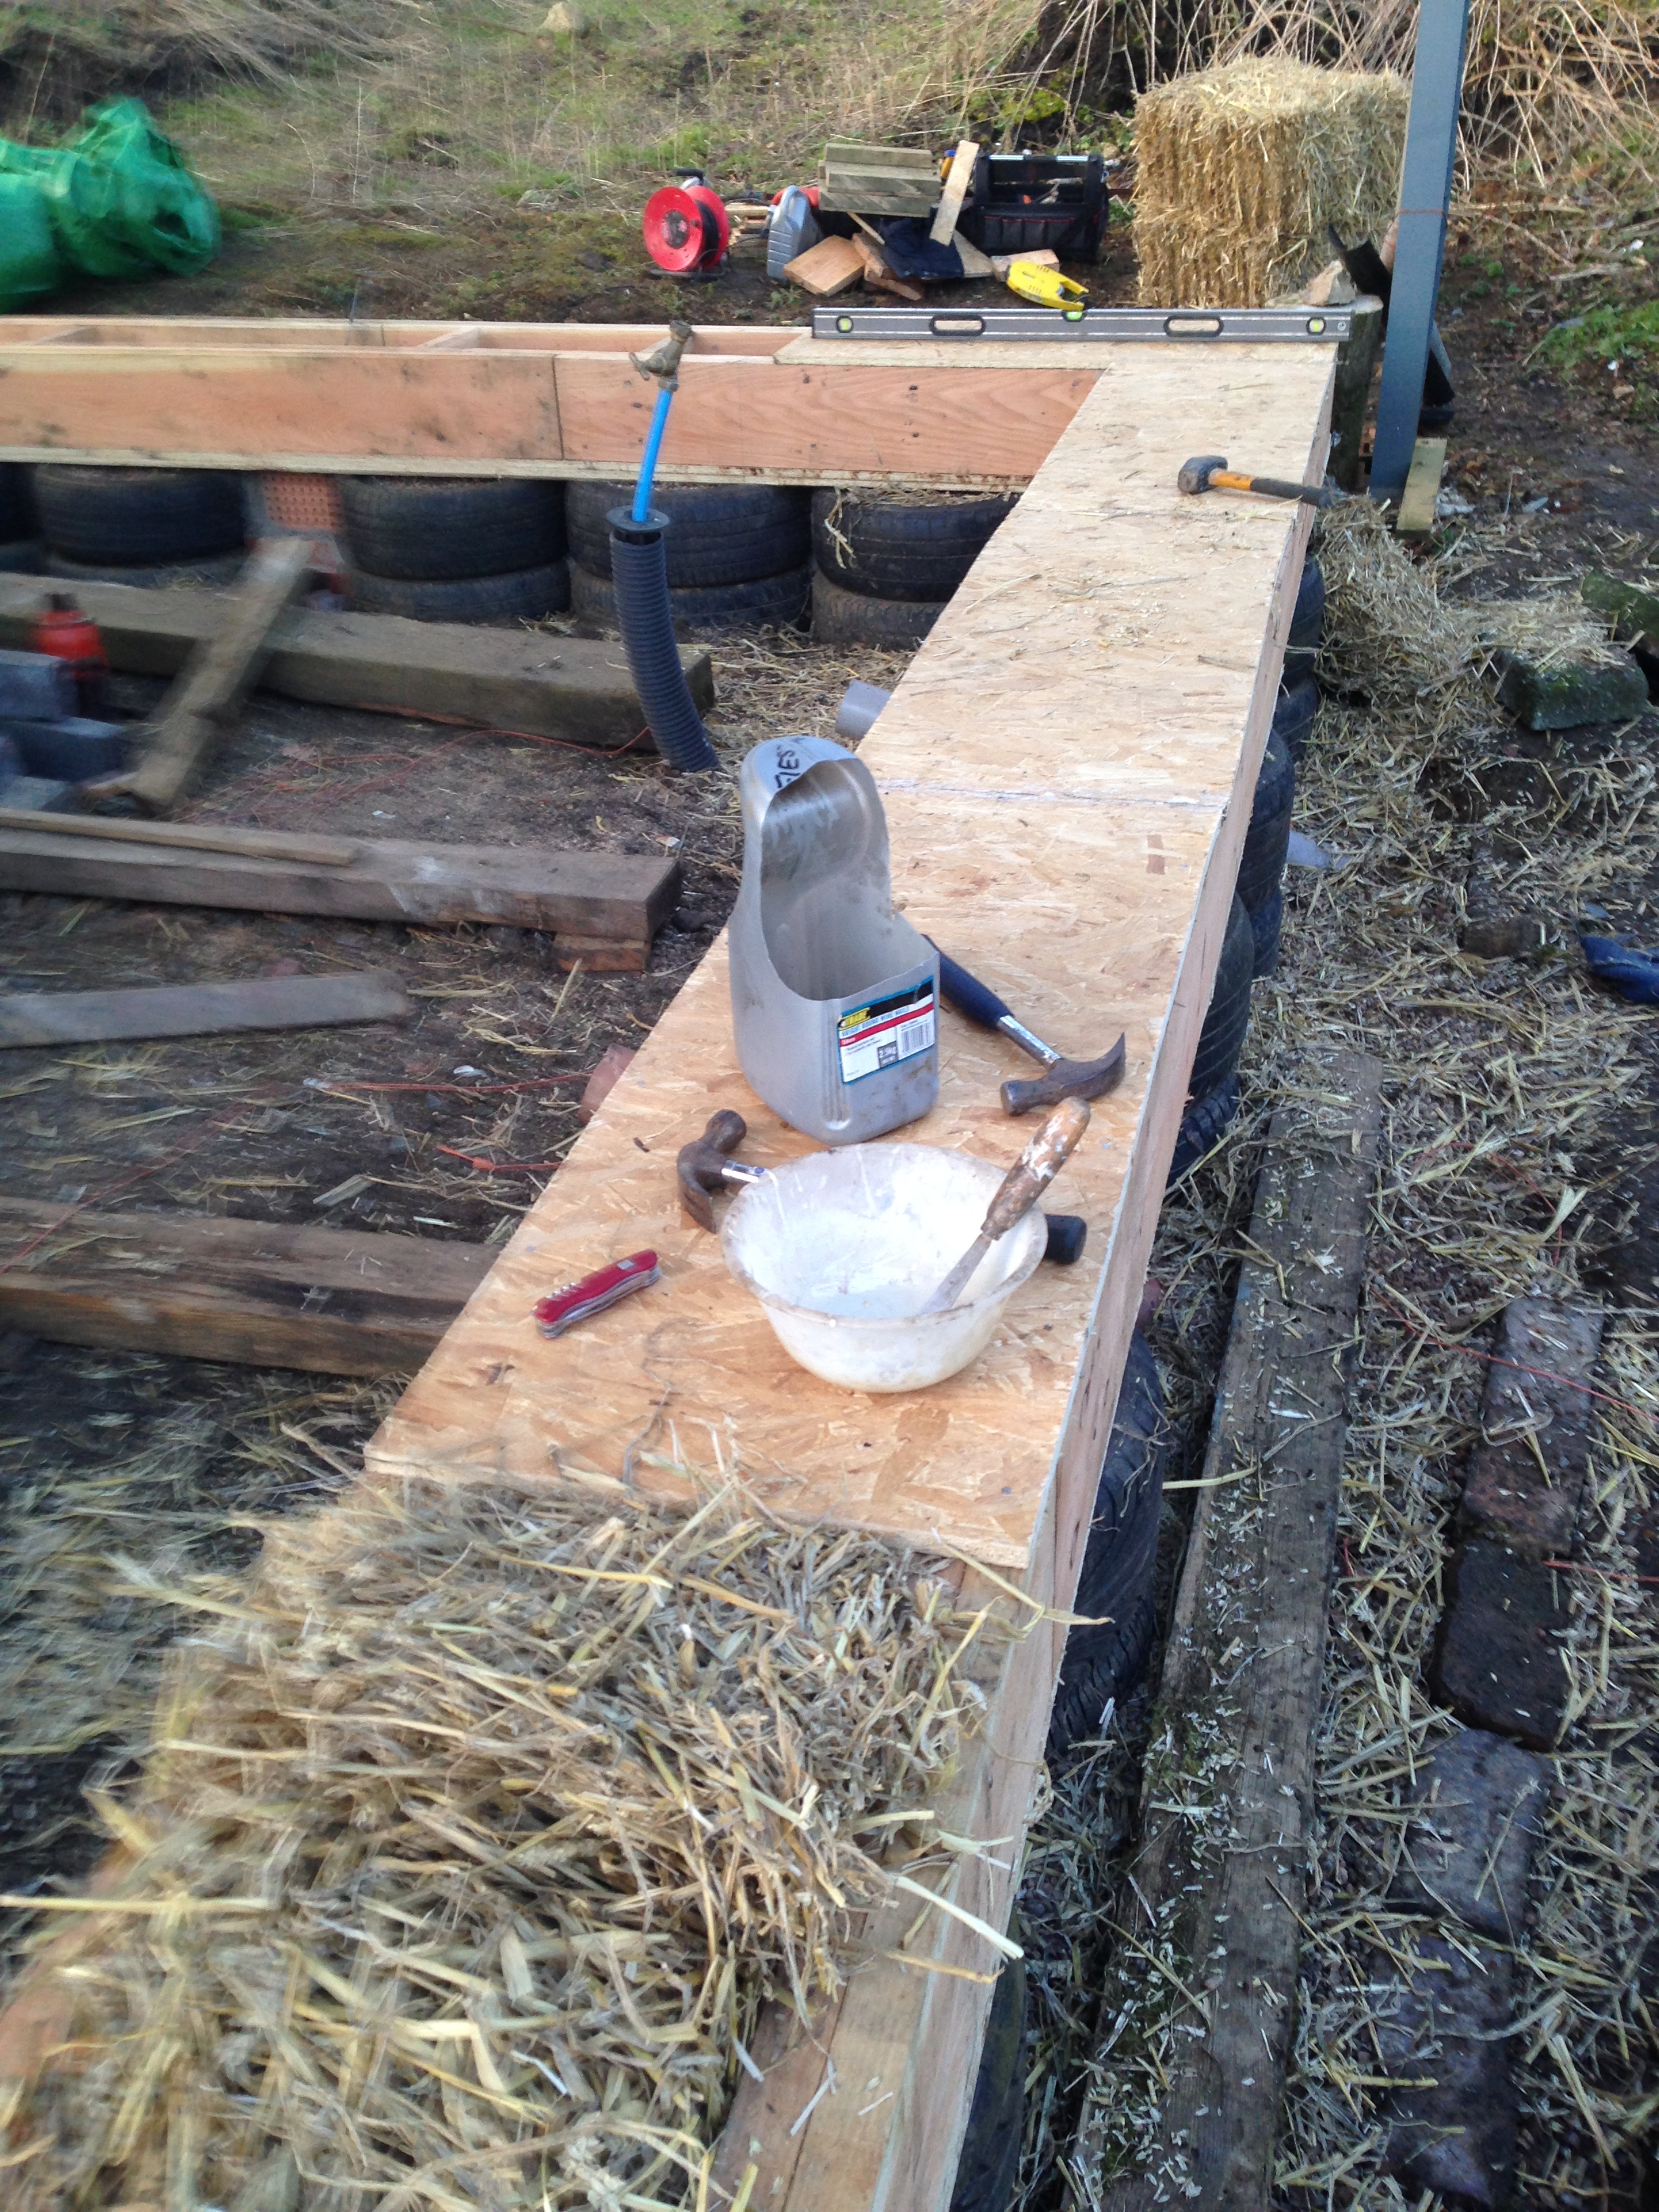
So, once a complete ring-beam was formed, we had a nervous job of gradually lowering the entire structure from the bales directly onto the tyres, using three lorry jacks and some nerve. All went without a hitch, and the job of filling the voids of the ring beam with straw for insulation and affixing the top layer of strand board seemed to fly past!

Rose inspecting the carpentry. And, yes, we did take her out befdore we put the straw in…!
All the while we were doing this, Patrick Duffin and his team of brickies and scaffolders from M. Duffin Bulders Ltd set about building the internal brick walls that will act as thermal mass, and help hold up the stairs and floors! As I write this, they are up to lintel height on the ground floor. We are using old floor timbers from a demolished factory in the village (pitch pine and oak) as our lintels – nice seasoned bits of wood that still have a lot of life in them.
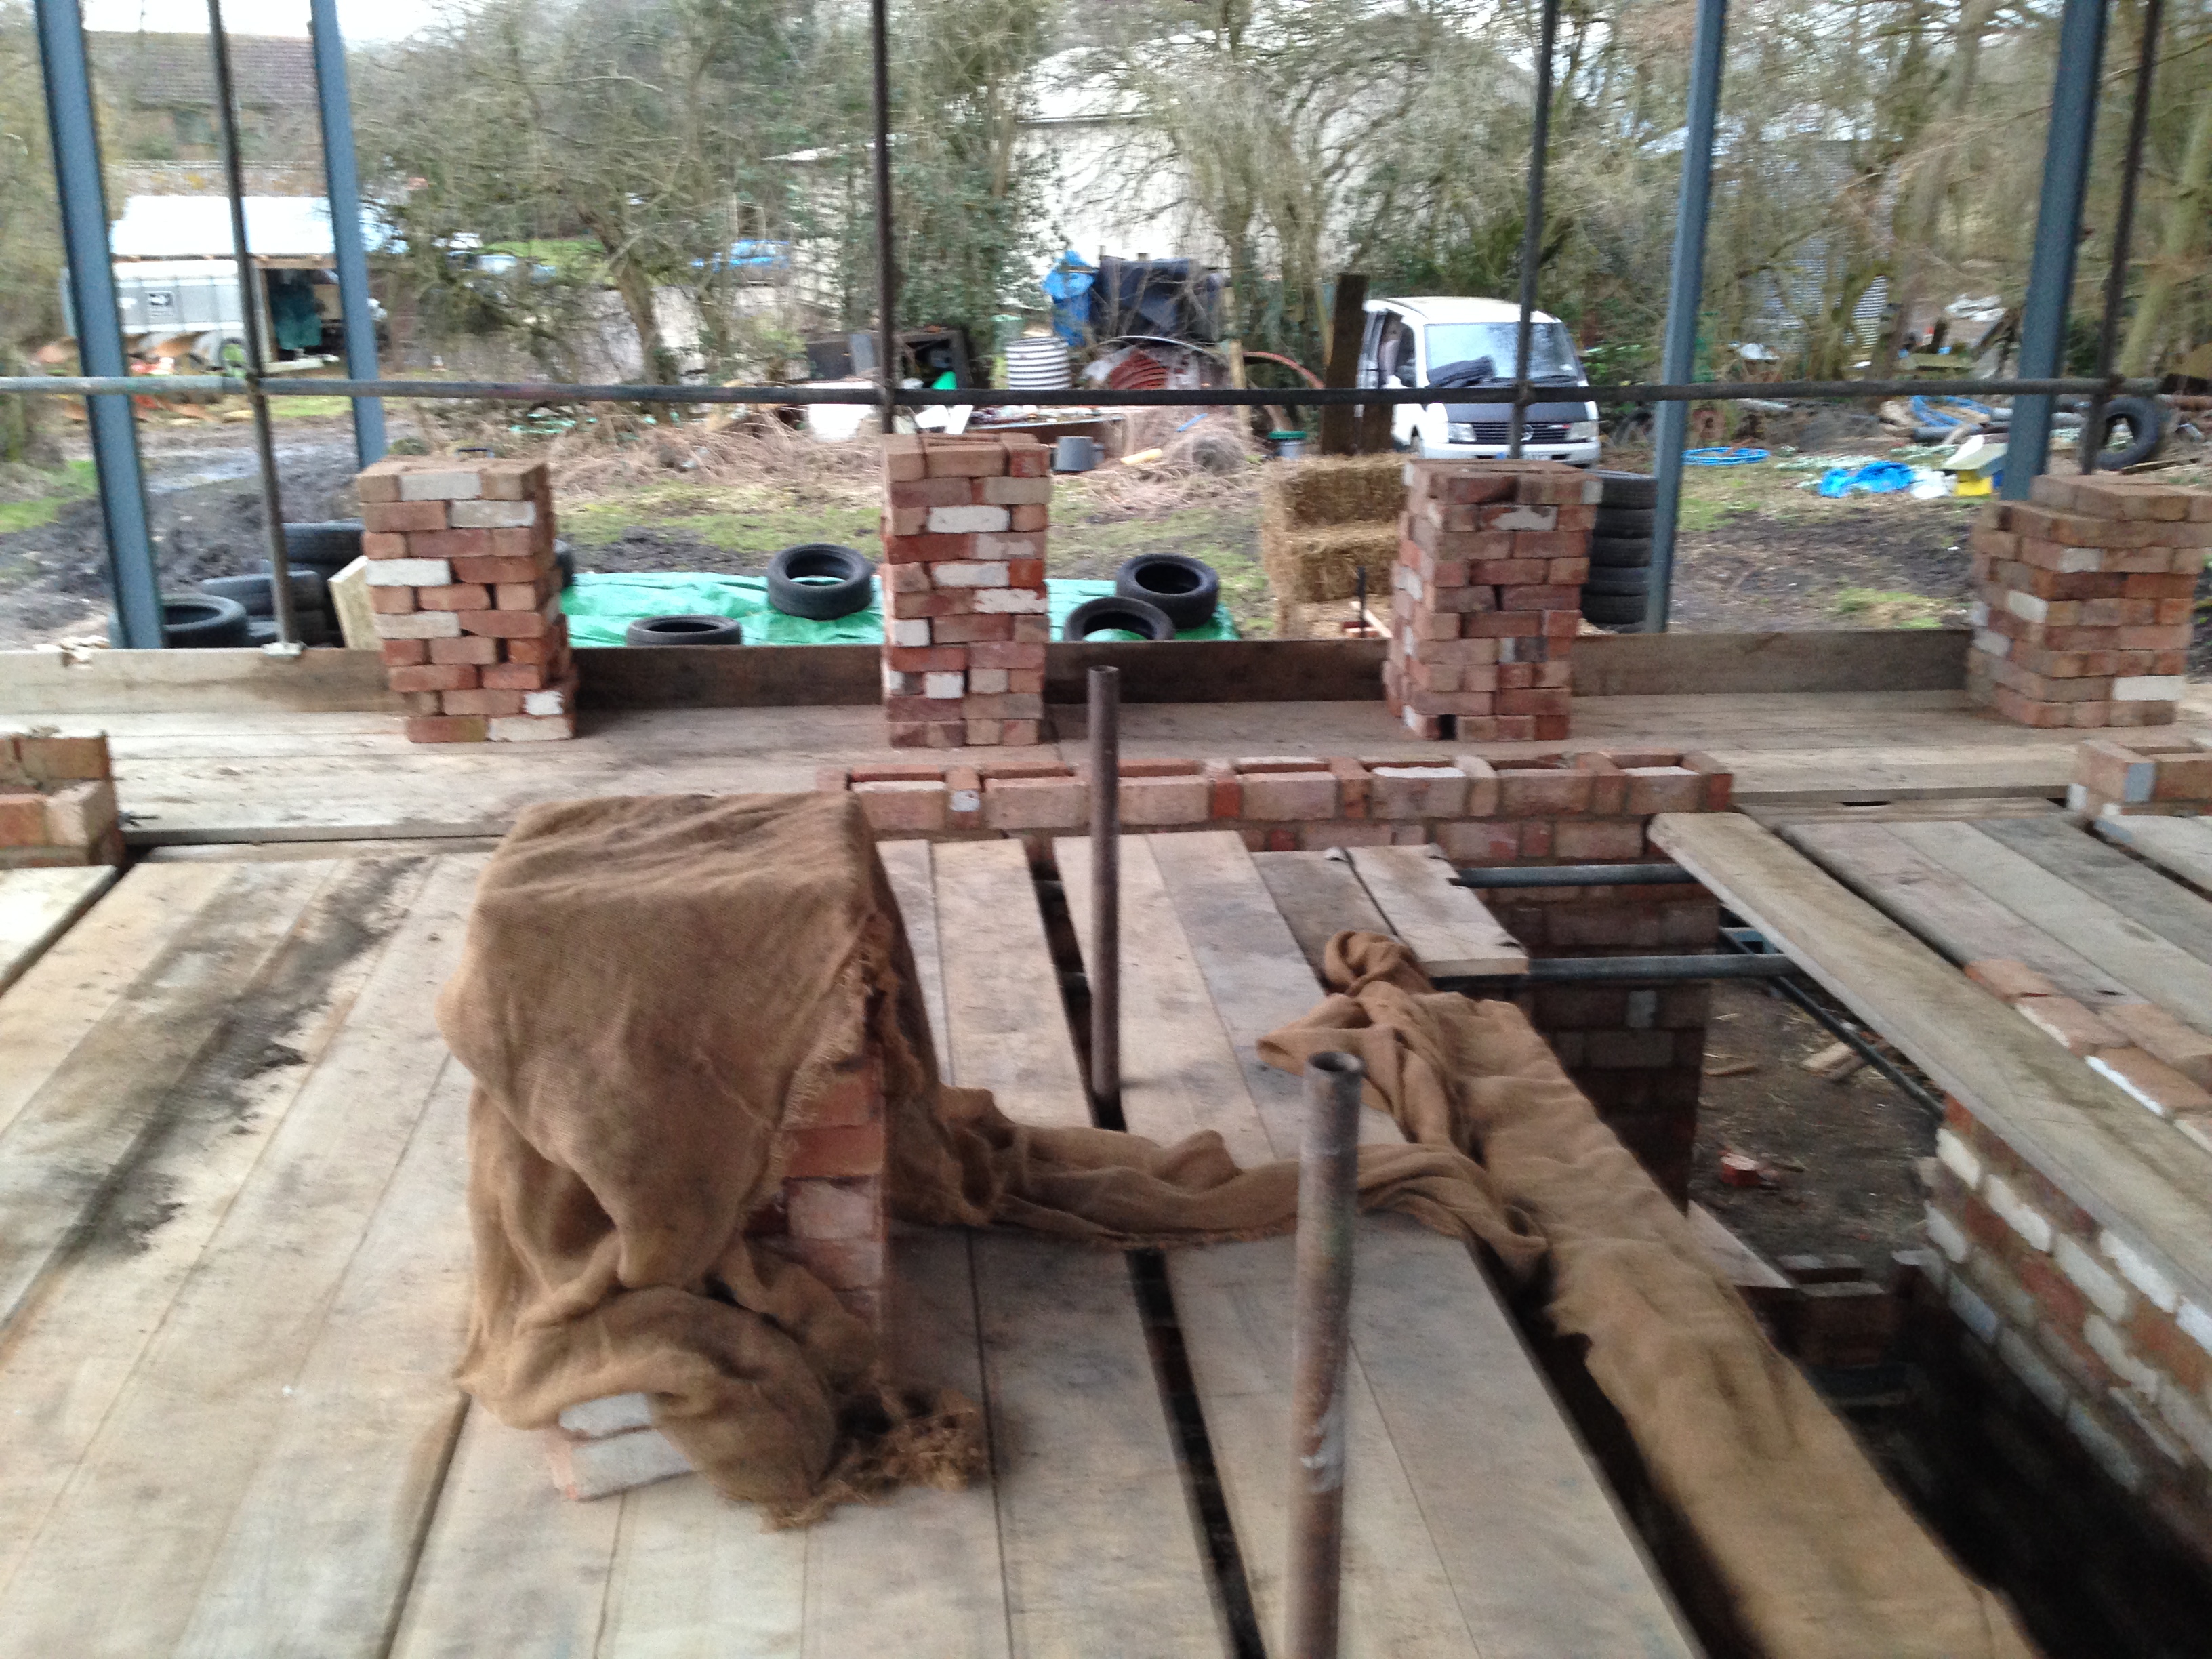
Once the brick walls ( the bricks come from an old railway bridge on the farm, renovations of a friends’ house (thanks Dave & Annie) and an old industrial site in Melton Mowbray) and the wooden ring beam are complete, we will be visited by a team of experts and trainees from Straw Works, who, during the course of three training weeks, will erect our straw bale walls. You can find details of these training courses here.

HI Rob and Katie…we in San Diego are following your progress…looking good! Good luck with the wall raising. Hope the catering is satisfactory! Love to you all…Ghill
Thanks! Last minute preparations underway, first day on tuesday. Love to all.
Question: was your larch green or kiln dried? If it was green how compatible was this with using glue as well as nails, given the fact that it will twist and shrink to an extent as it dries? I am looking to create a similar box beam with larch on the outside and regular treated softwood for the rest – but am not sure if this combination will work (the Straw Works book specifies this but doesn’t mention about the issue of using glue with green wood).
Cheers – Richard
Hi Richard
The larch is all green – some very (plenty of resin!). We did wonder about warping etc, and some of the wood has warped in the process of drying, but not once built up into the box beam. These are extremely solid, and have had no warping or shifting. We seem to have no problems with nails or glue – the structure is mostly nailed together, and glue used to give extra rigidity when moving sections around before putting them together, as well as some degree of hole sealing for air tightness in the finished building. We used cascamite – good stuff and relatively easy to use, but does go off quite quickly, so don’t make up large batches unless you know you will use them! We are using dried wood for the floor/ceiling joists, as these need to be very straight. None of our timer is treated.
Rob
Thanks – that is reassuring.
One other question – how did you fix the hazel poles into the wall plate? There is nothing in Barbara’s book or video that shows how you push the poles down through the noggins in the plate and get a tight fit.
R
For the hazel stakes that pass down through the wall (top) plate to pin it to the straw wall, all you need to do is ensure that the stake is reasonably straight and of a similar diameter to the hole – best to sharpen the thinner end and have the thicker end at the top – make sure its this end that forms a goodish fit. That’s all you need to do, as the compression straps and the roof/wall plate weight will hold everything in place. Also, leave some of the stakes protruding from the noggin into the void of the wall plate, which also helps to stop the plate moving about.