Welcome back! Or should it be you welcoming me back?
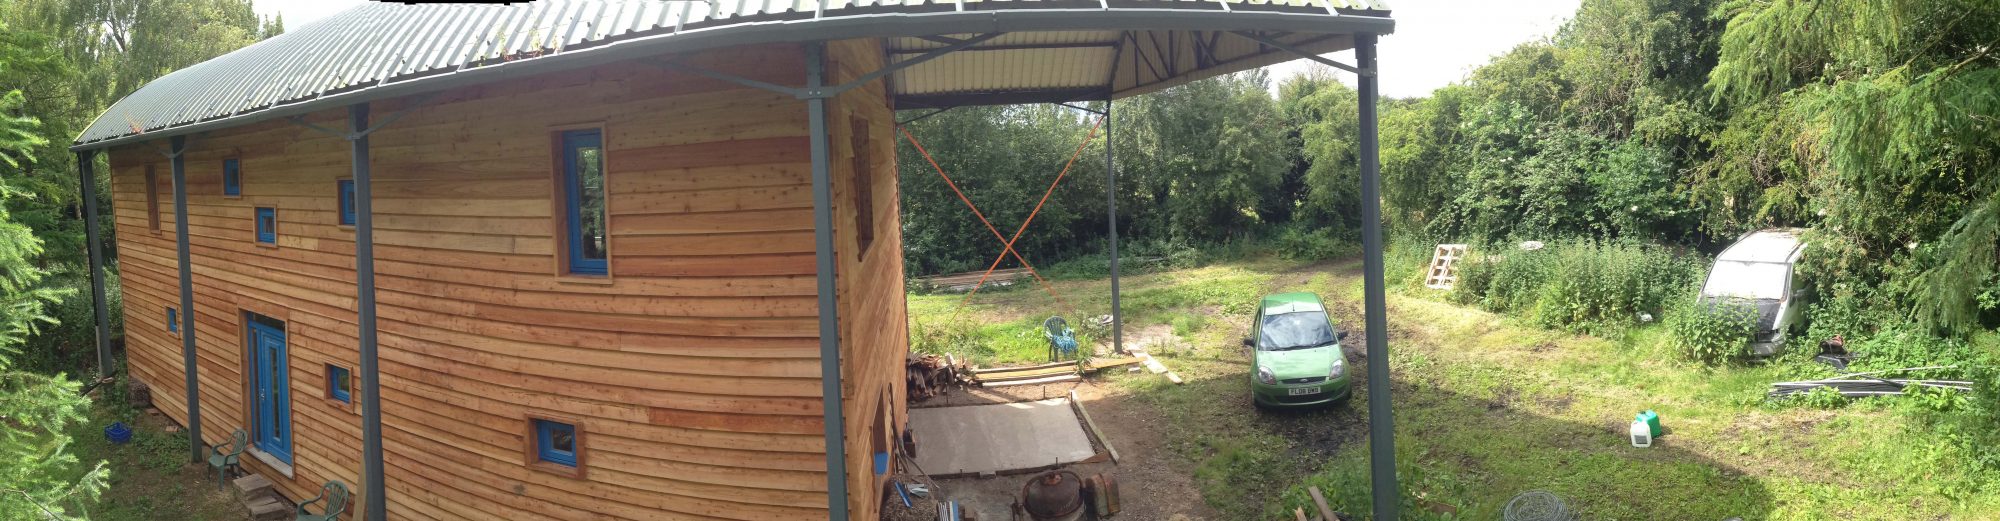
Anyway, time for another instalment. Nearly a year has passed since the last update, and whilst the outside of the house has changed little (with one important exception – see later), the inside has undergone a bit of a transformation.
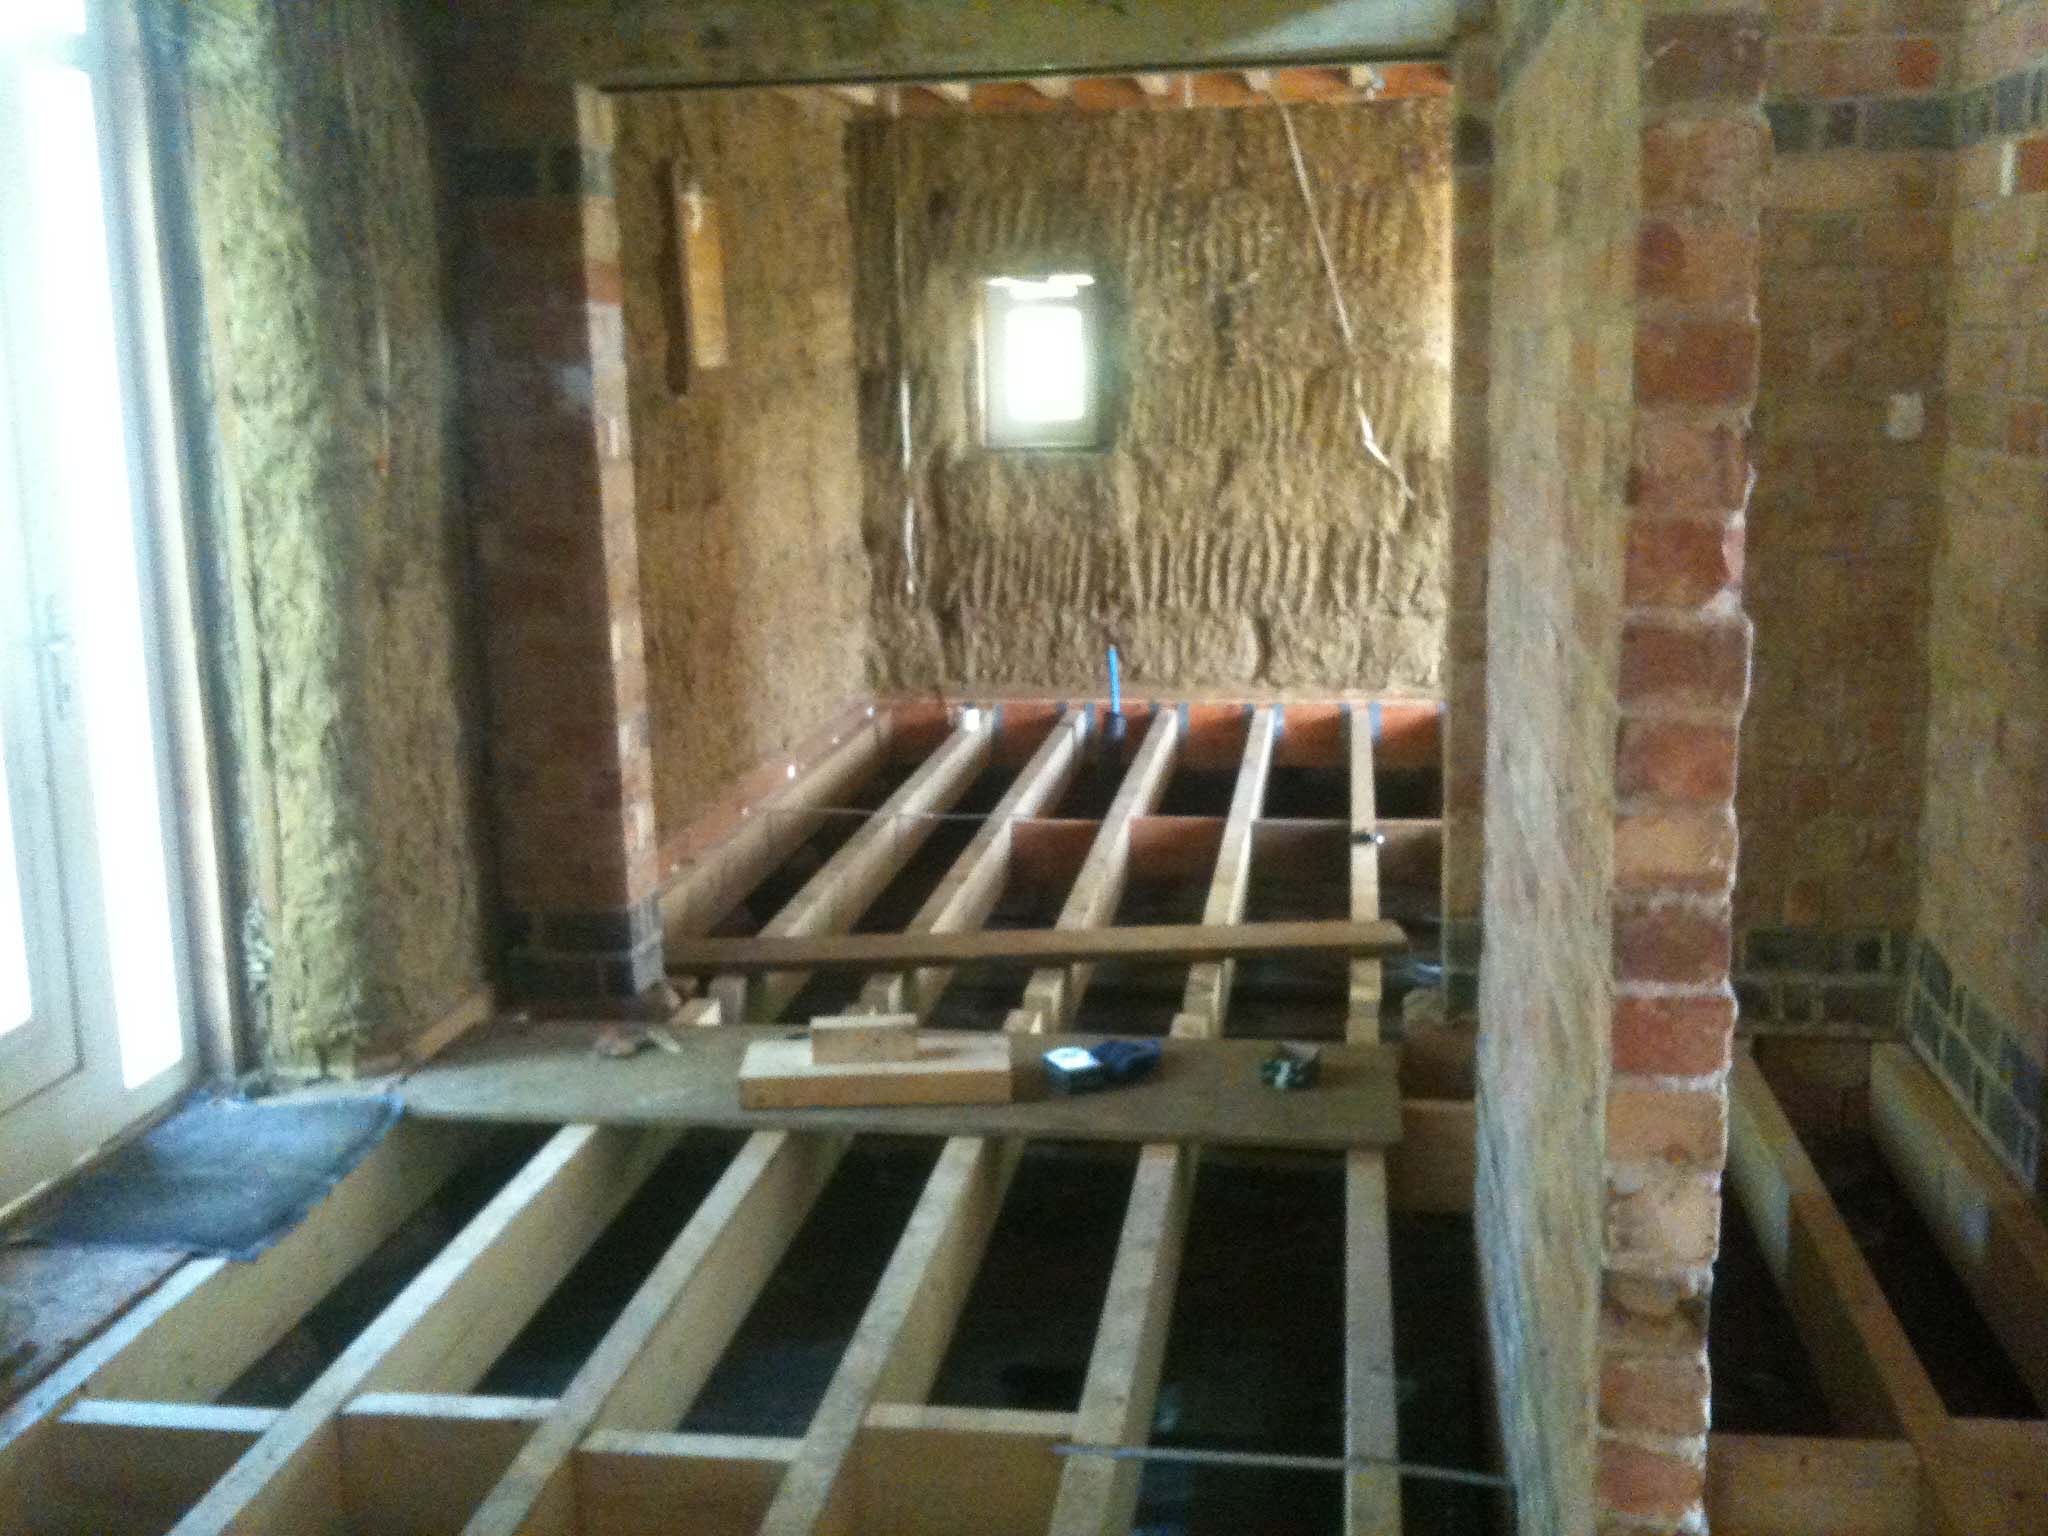
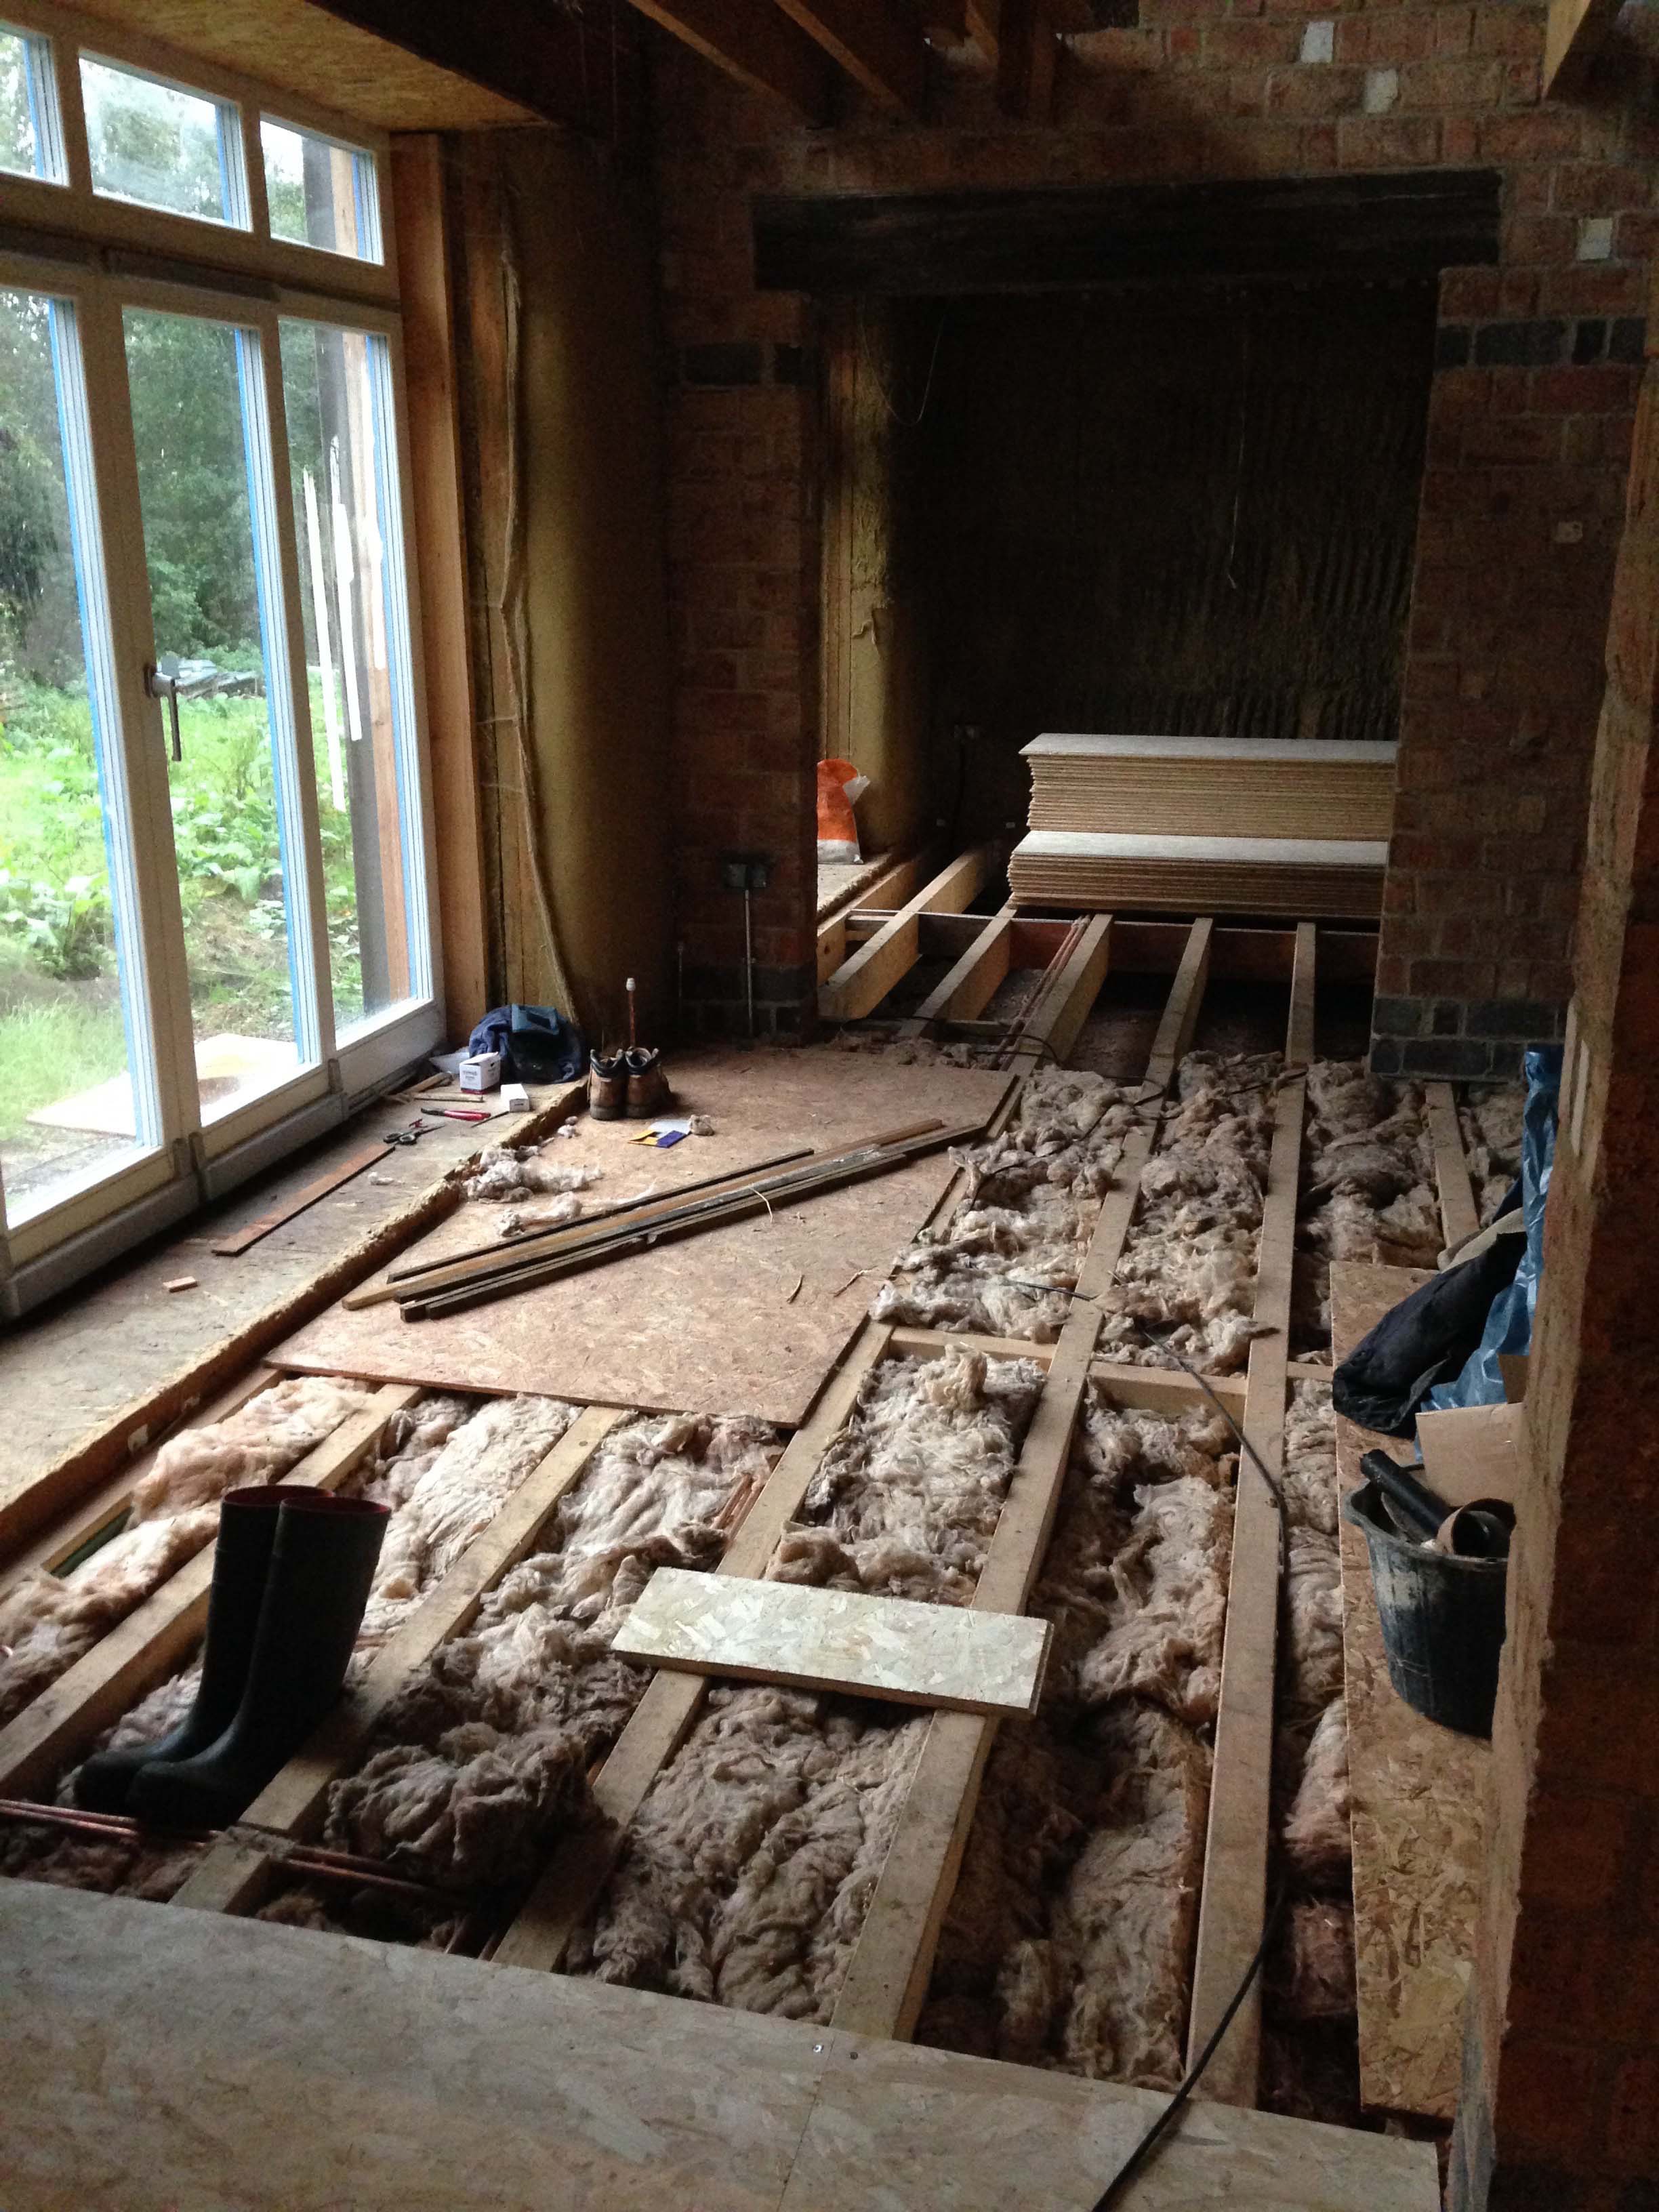
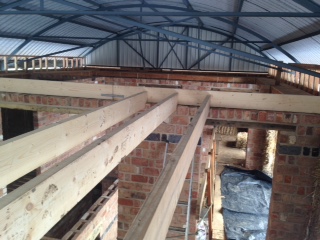
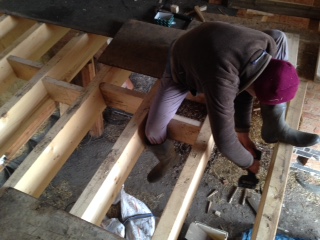
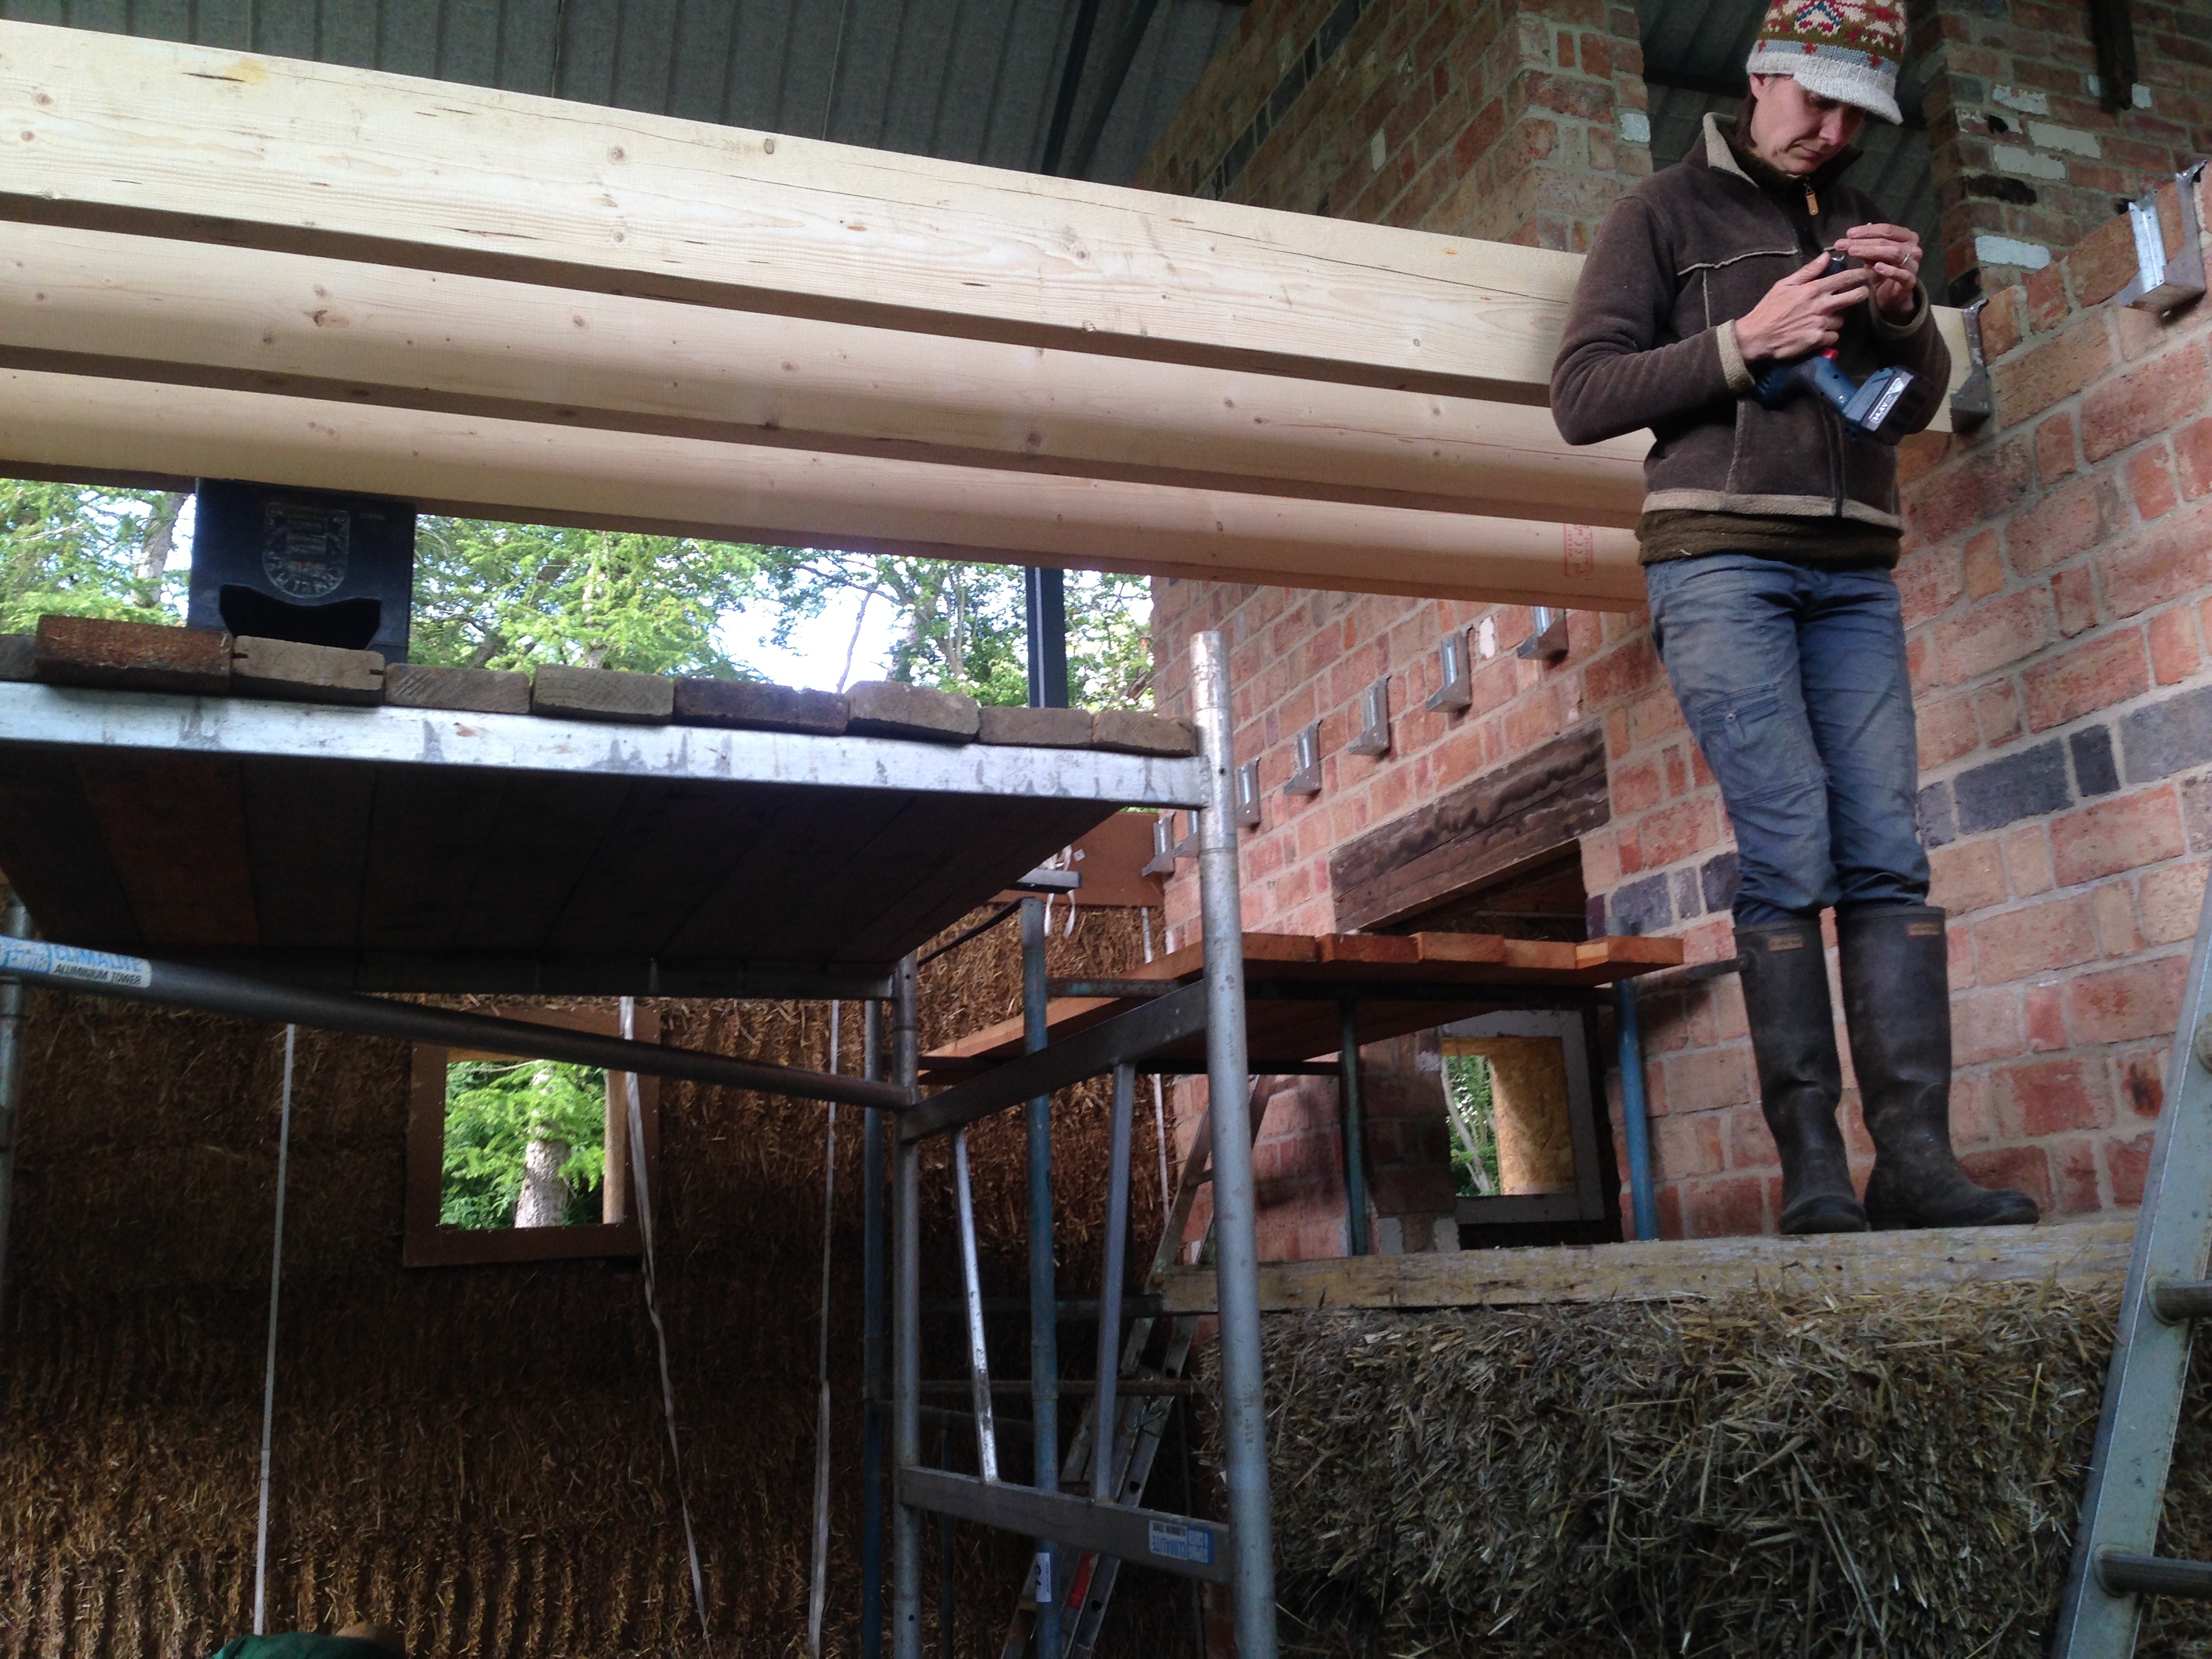
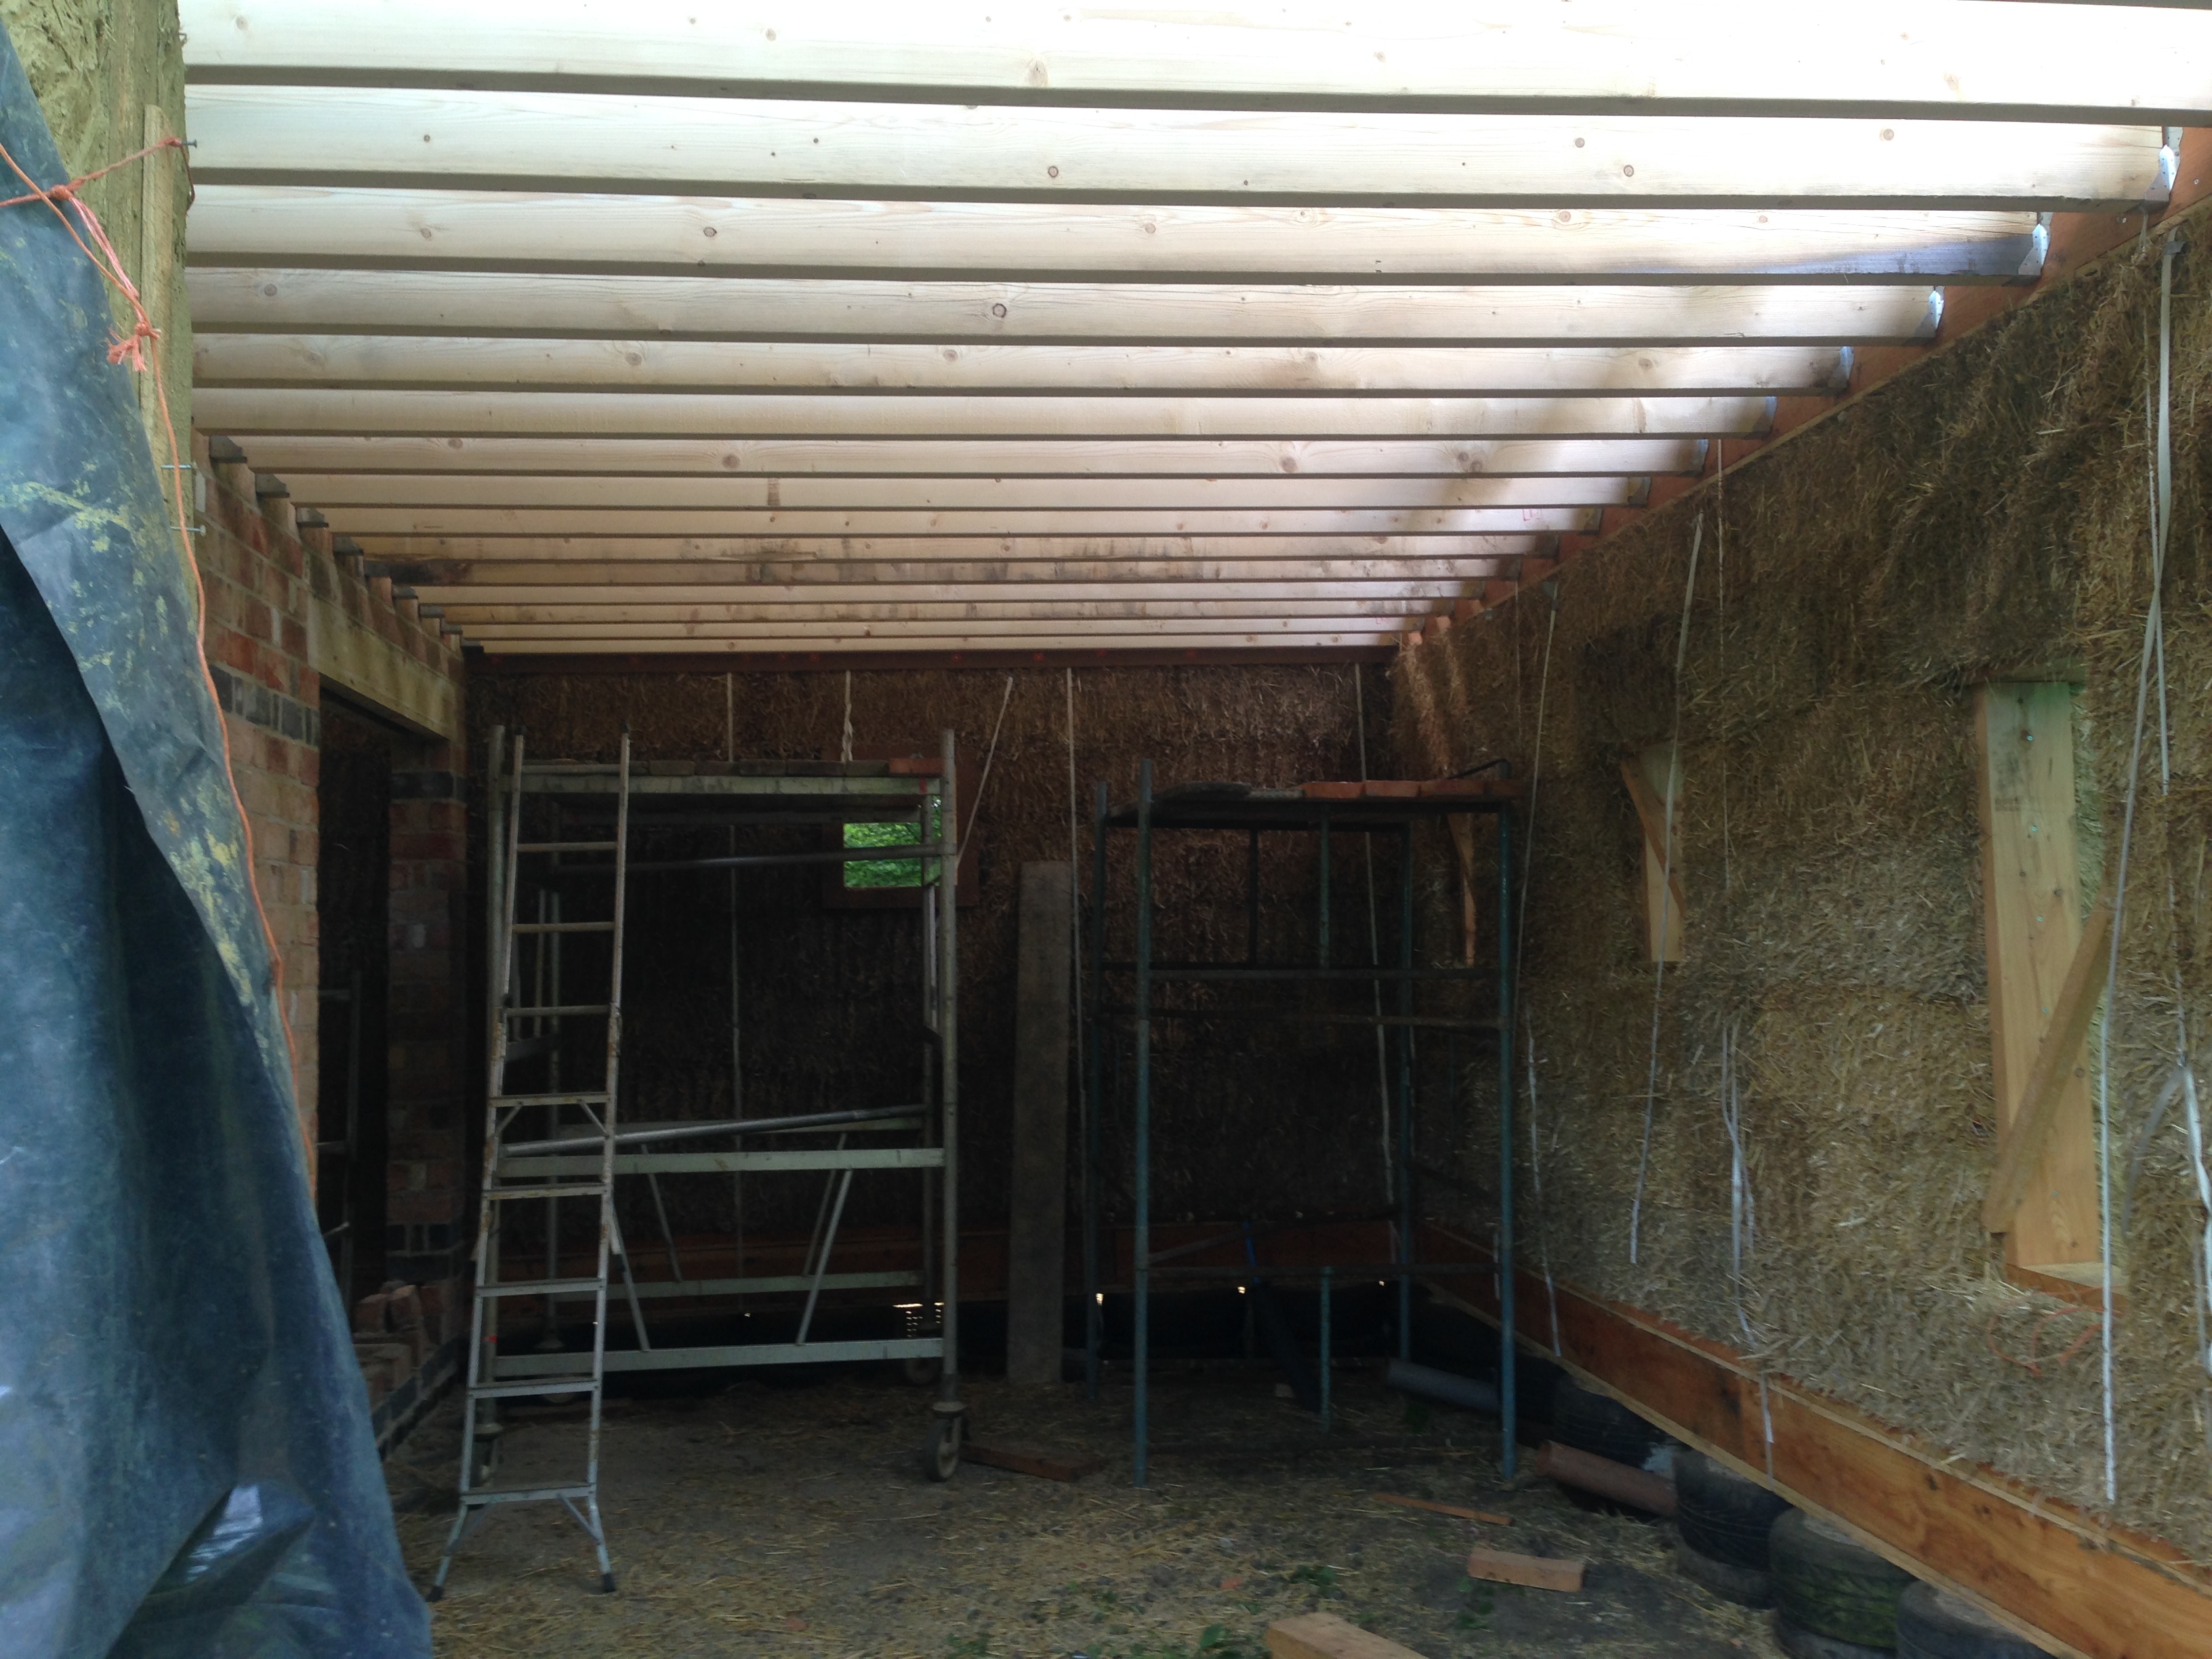
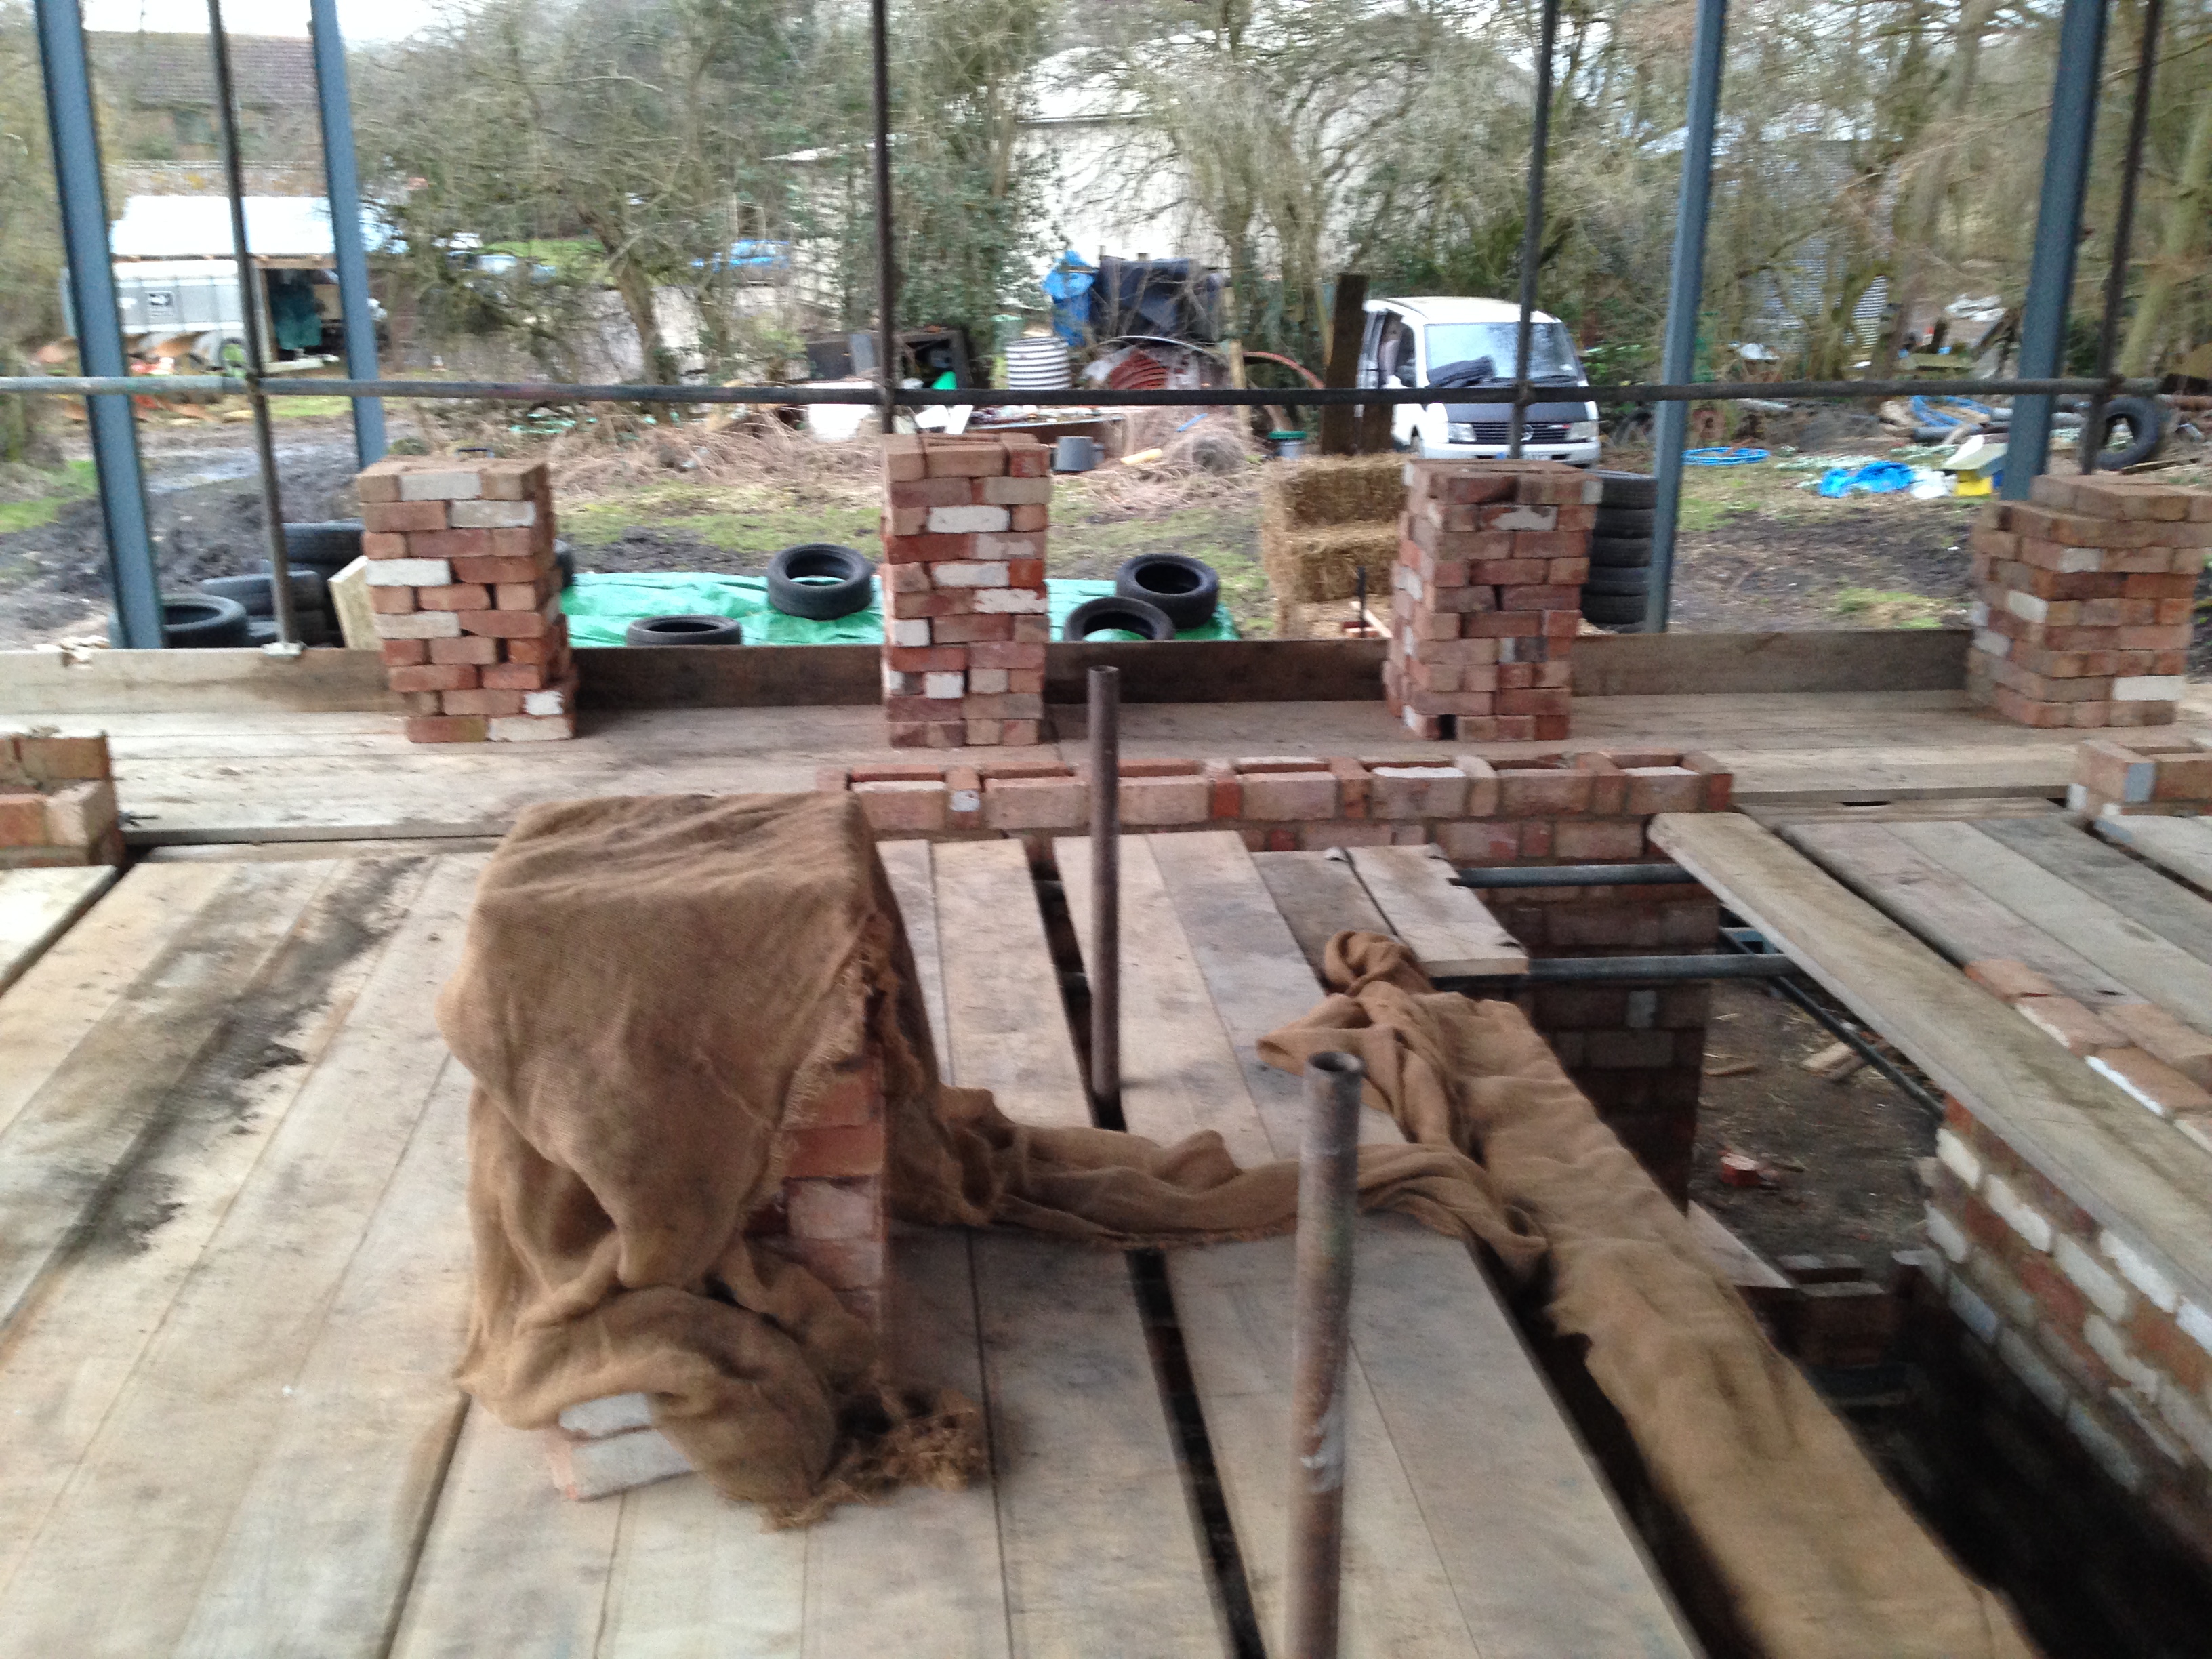
Downstairs joists and noggins in what will be the hall and kitchen
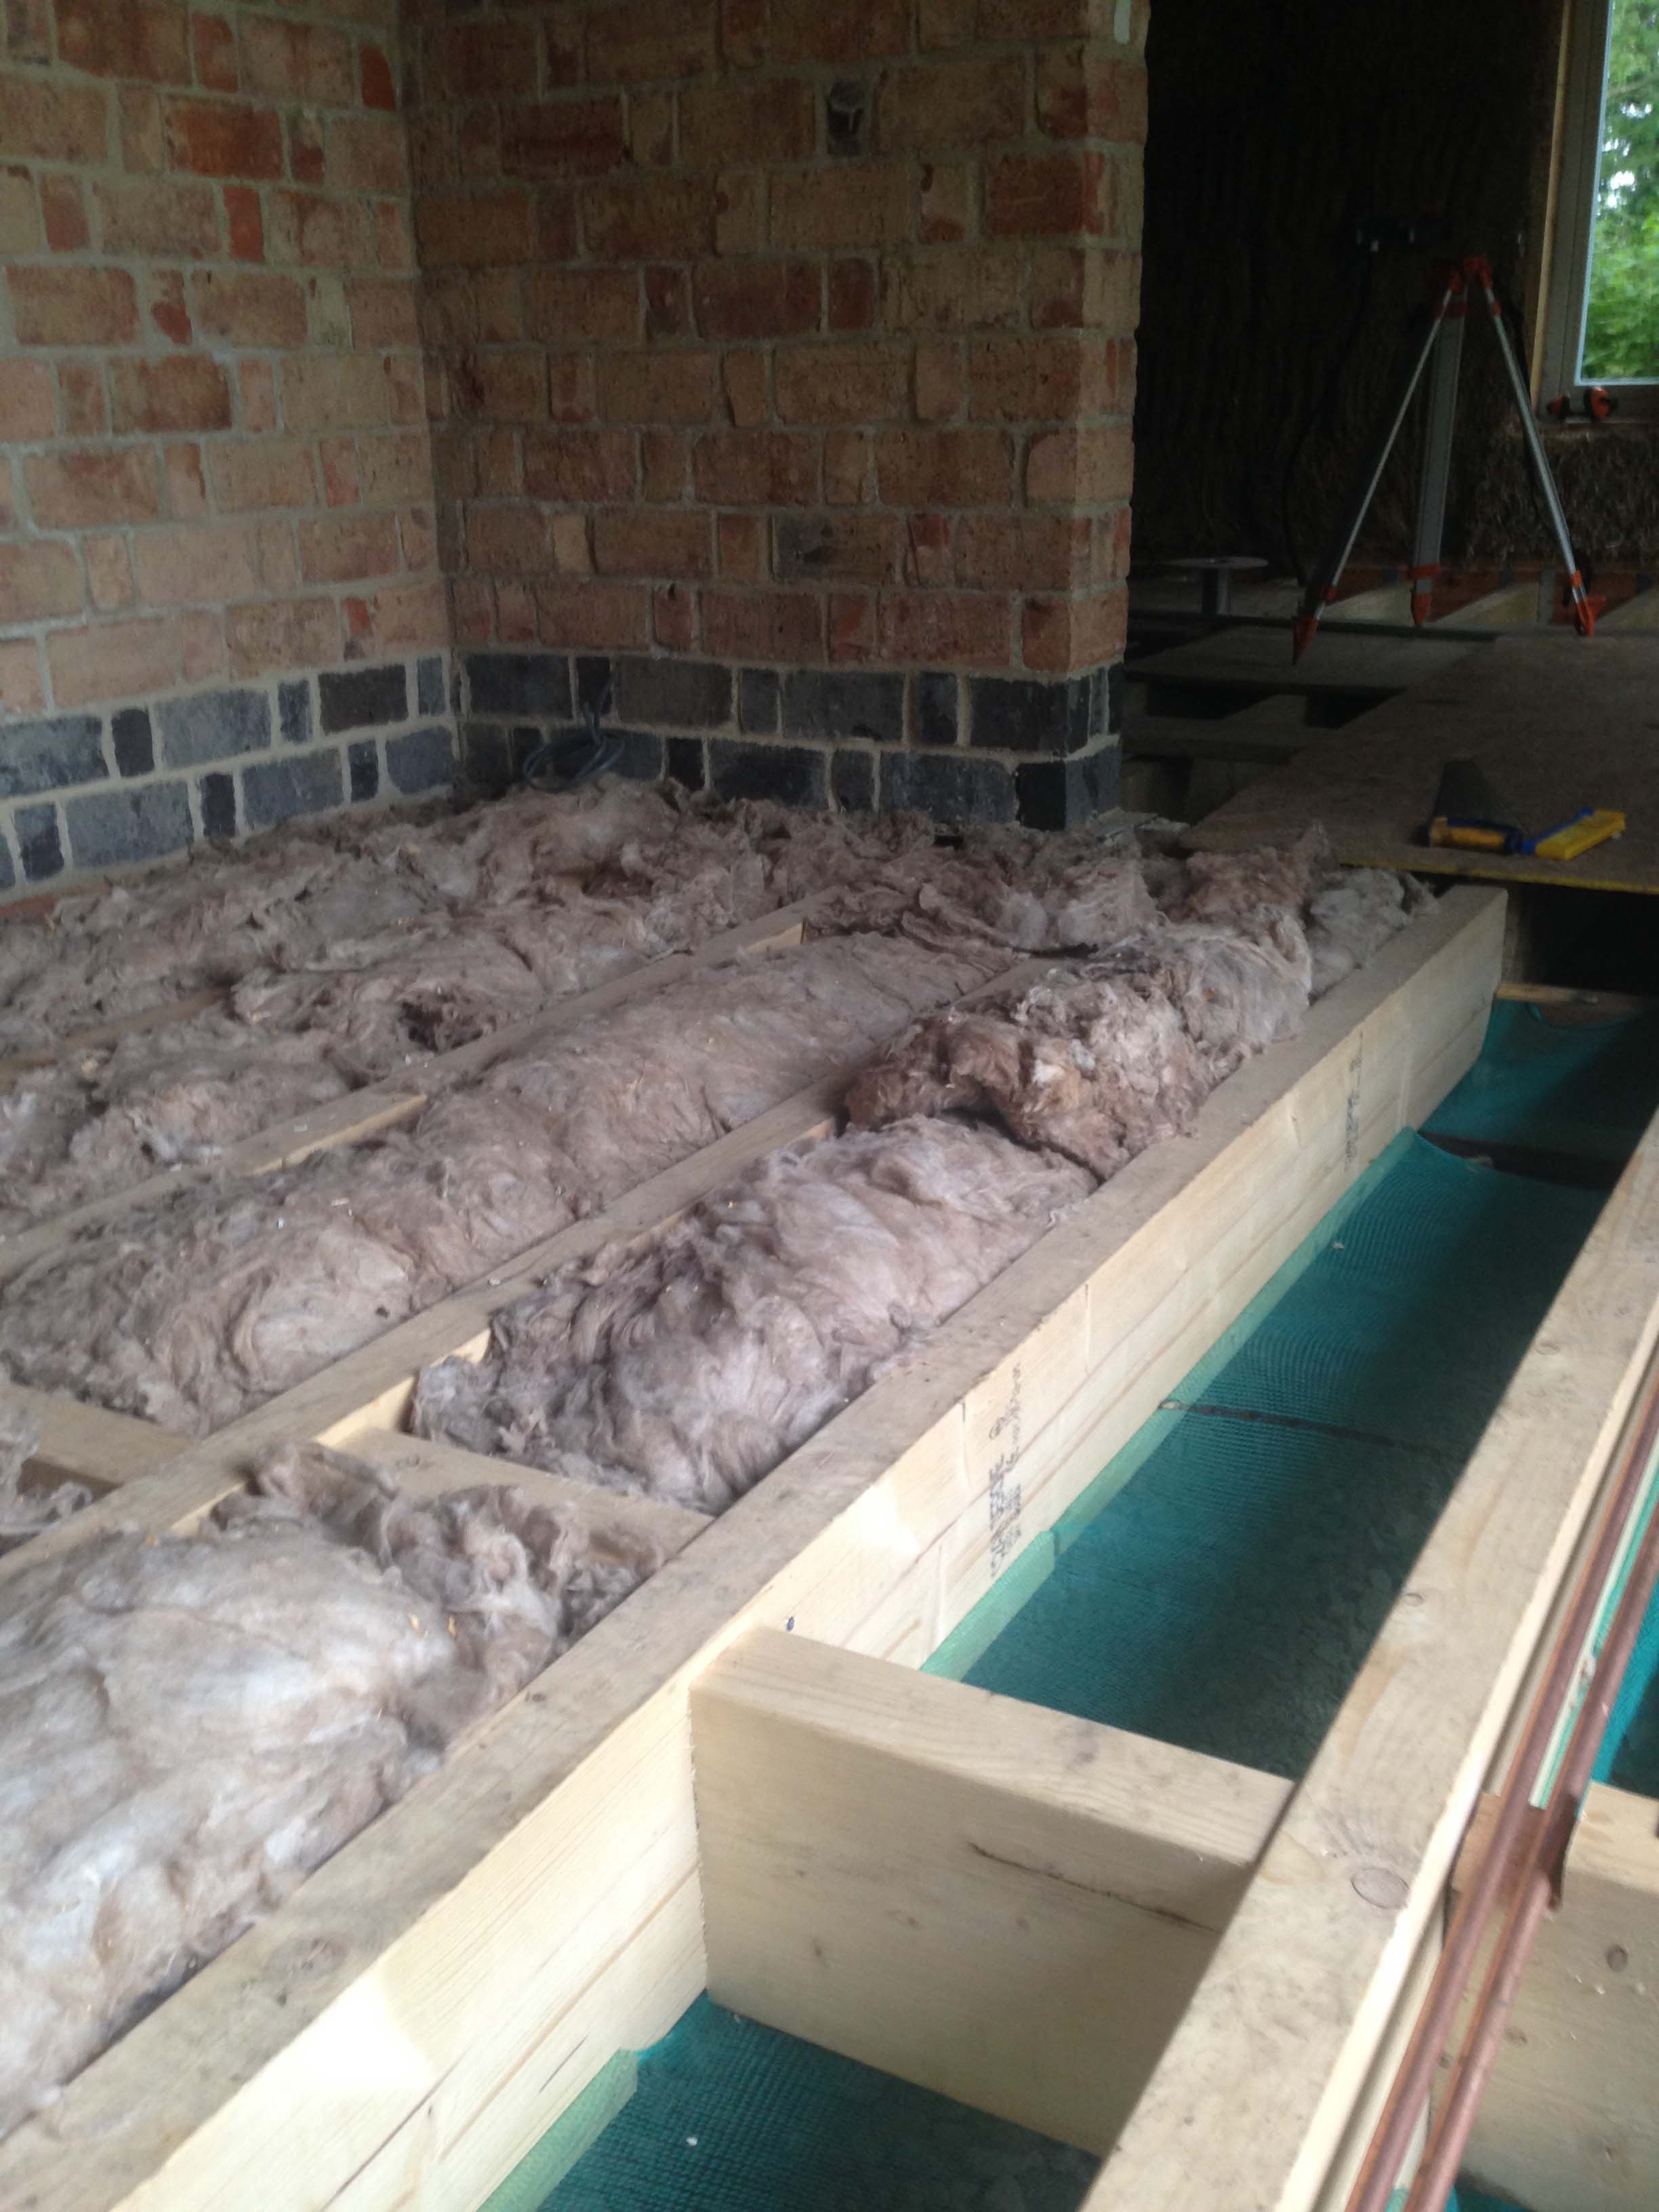
Last we spoke, I detailed how we had installed most of the joists throughout the house.The next step was to put some netting under the ground floor joists, to support the floor insulation, but also allow it to breathe. Its important to make sure there is enough airflow under the floor, and to the underside of the insulation, so there is no build up of moisture around the joists. We used left over debris netting, that we’d bought to try to keep the worst of the weather off the straw walls whilst building them (which didn’t work!). Our insulation is made up of reclaimed rock-wool from demolitions. This covered about half the ground floor. The rest was done with new rock-wool – to a depth of 250mm.
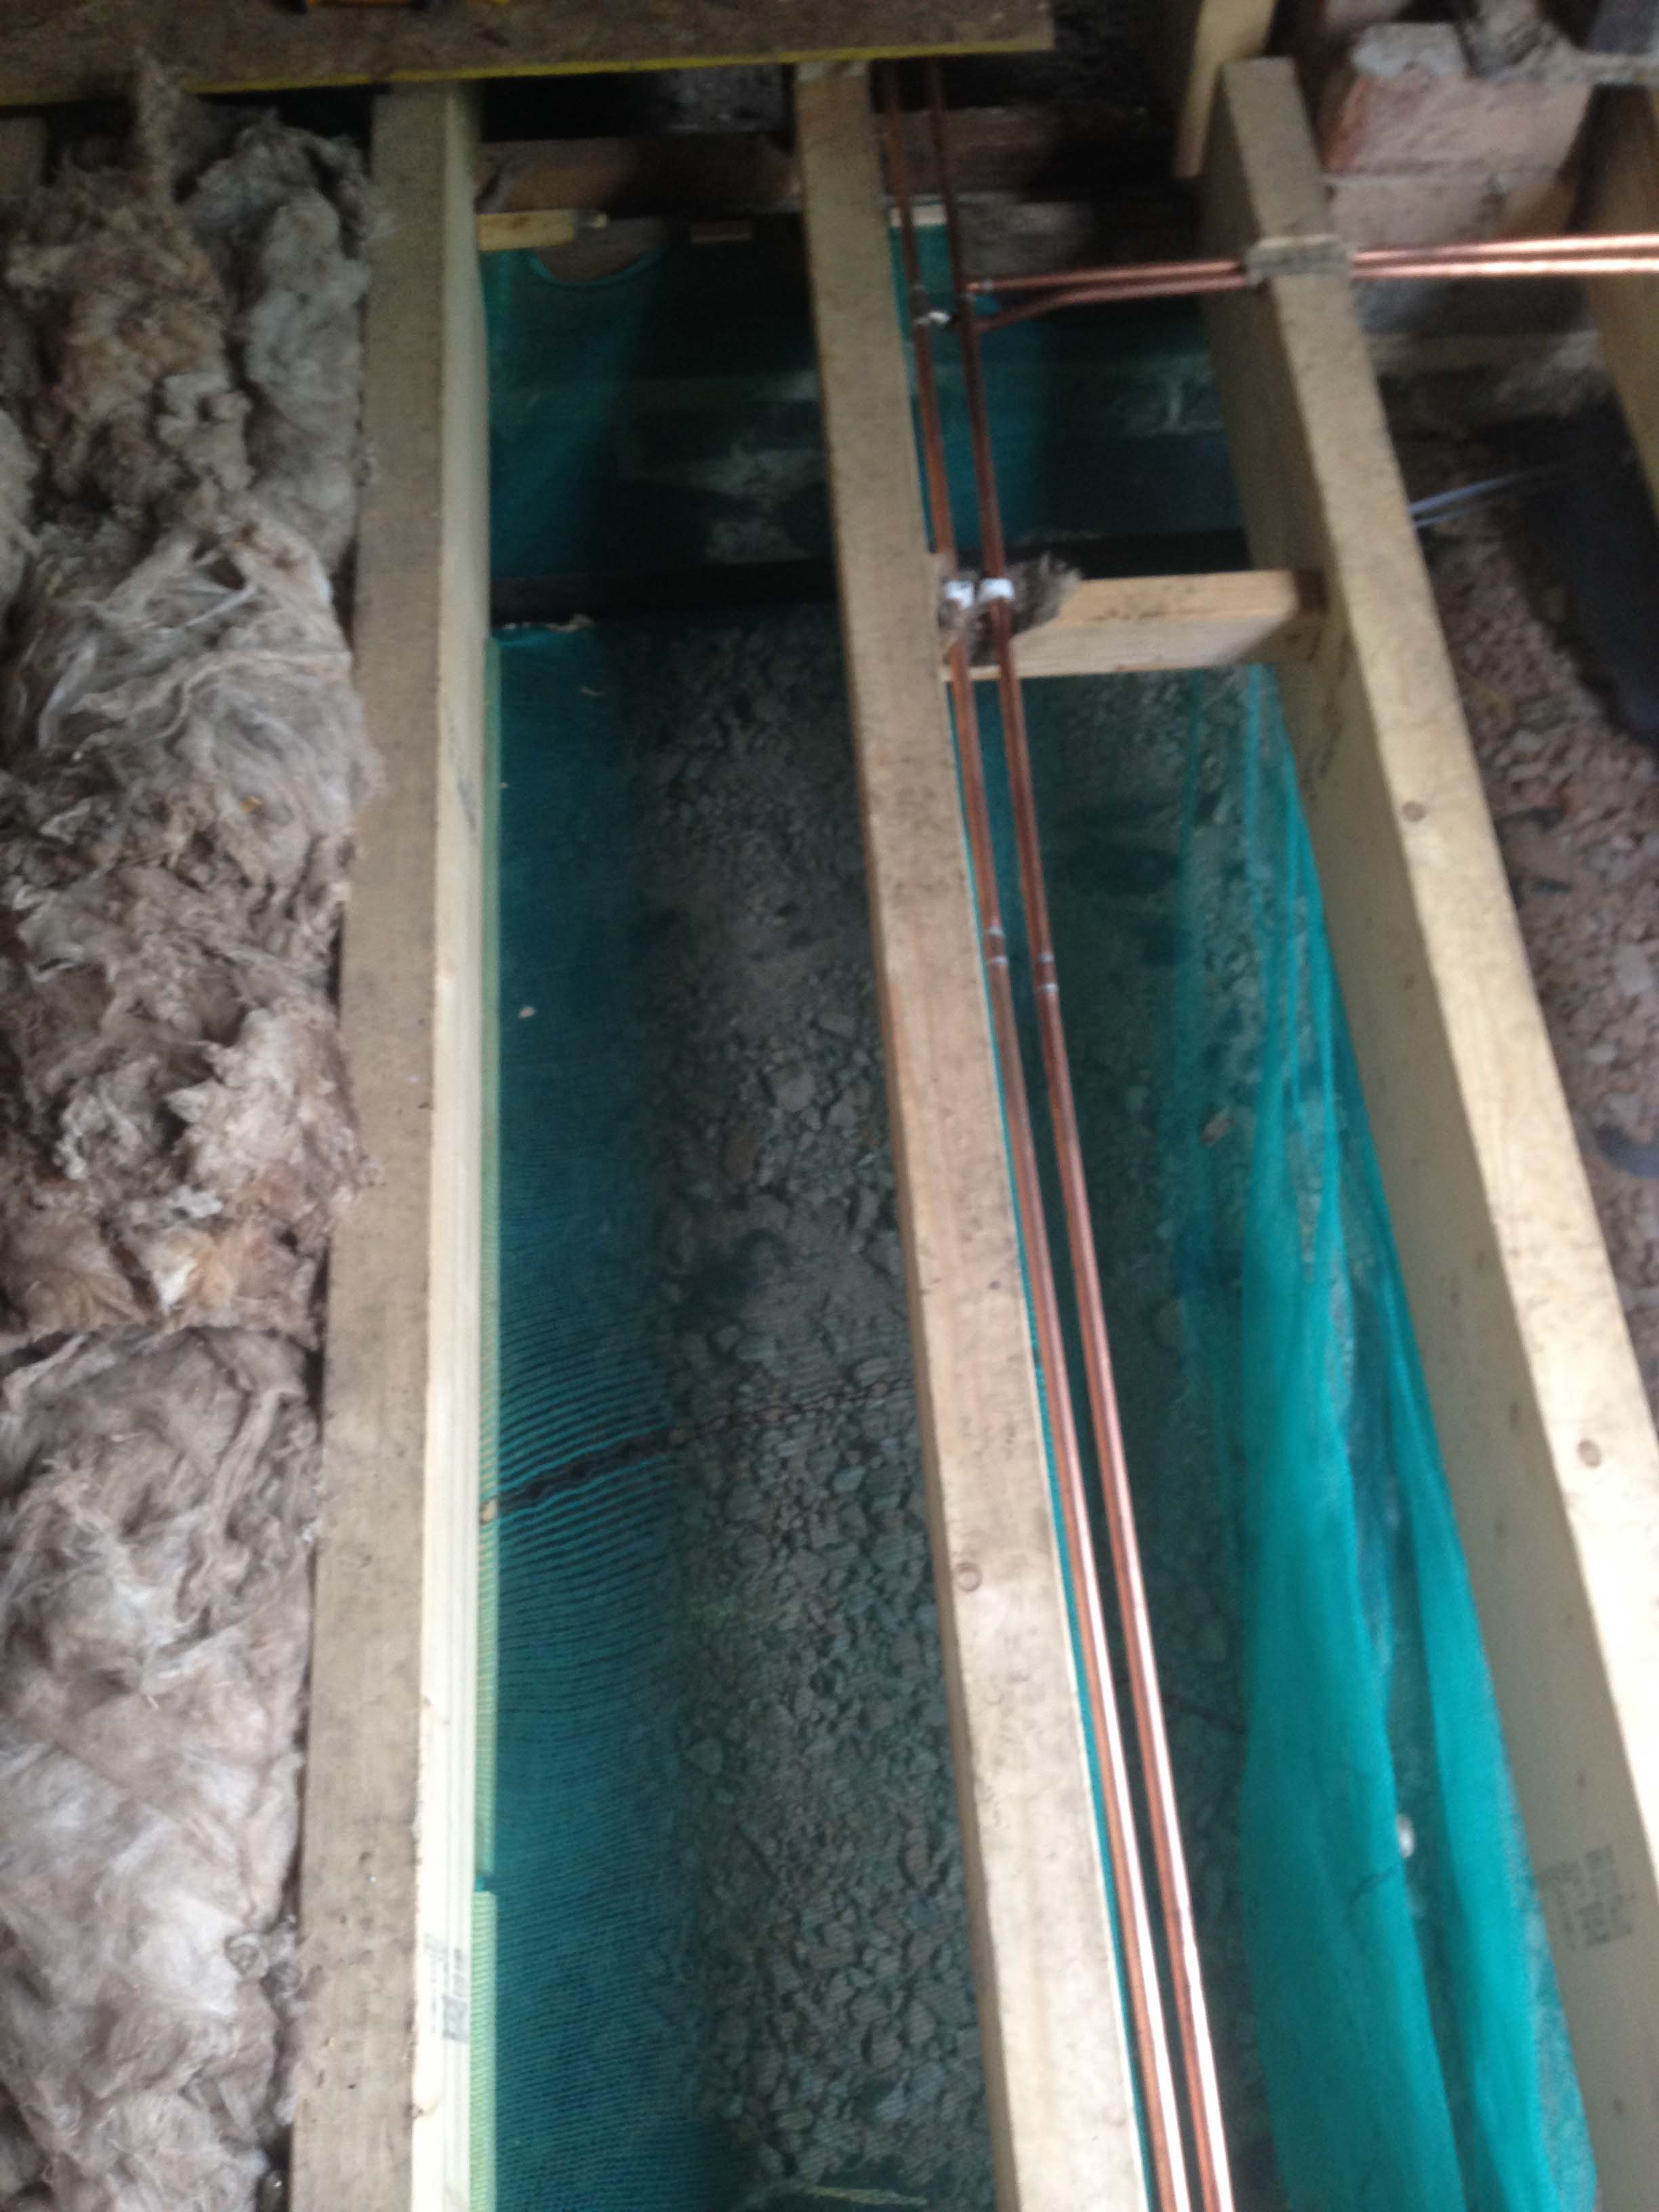
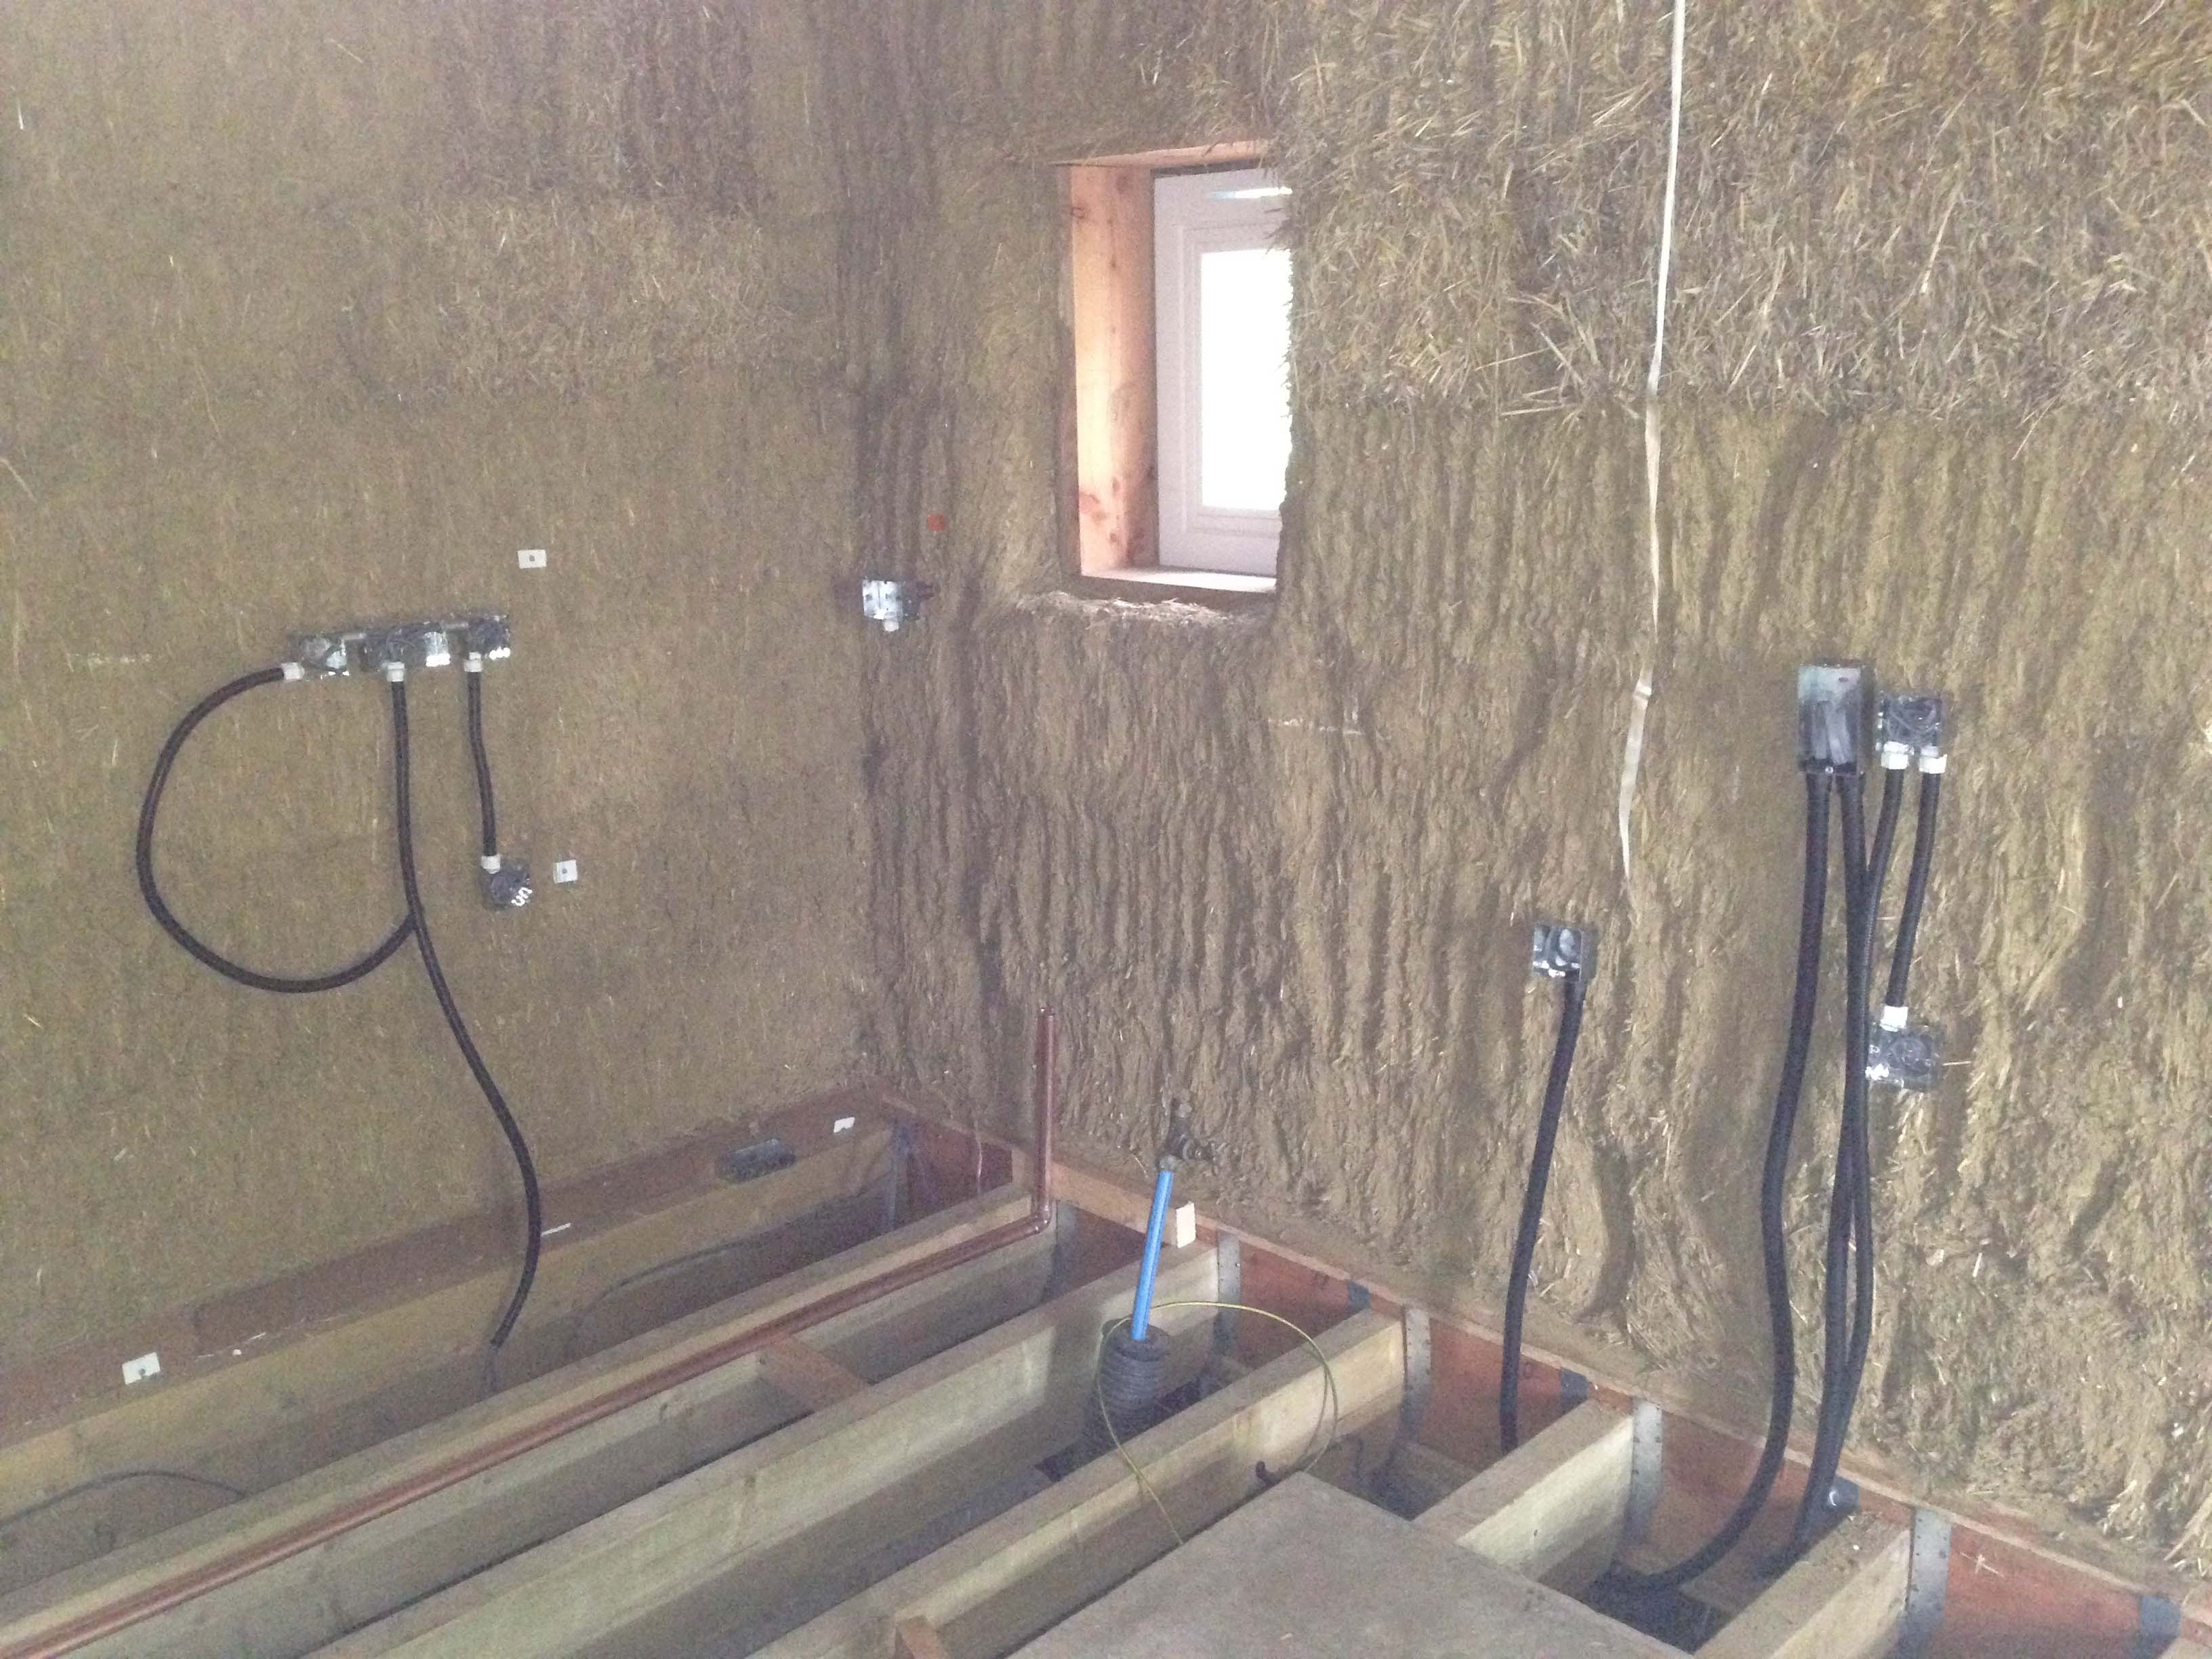
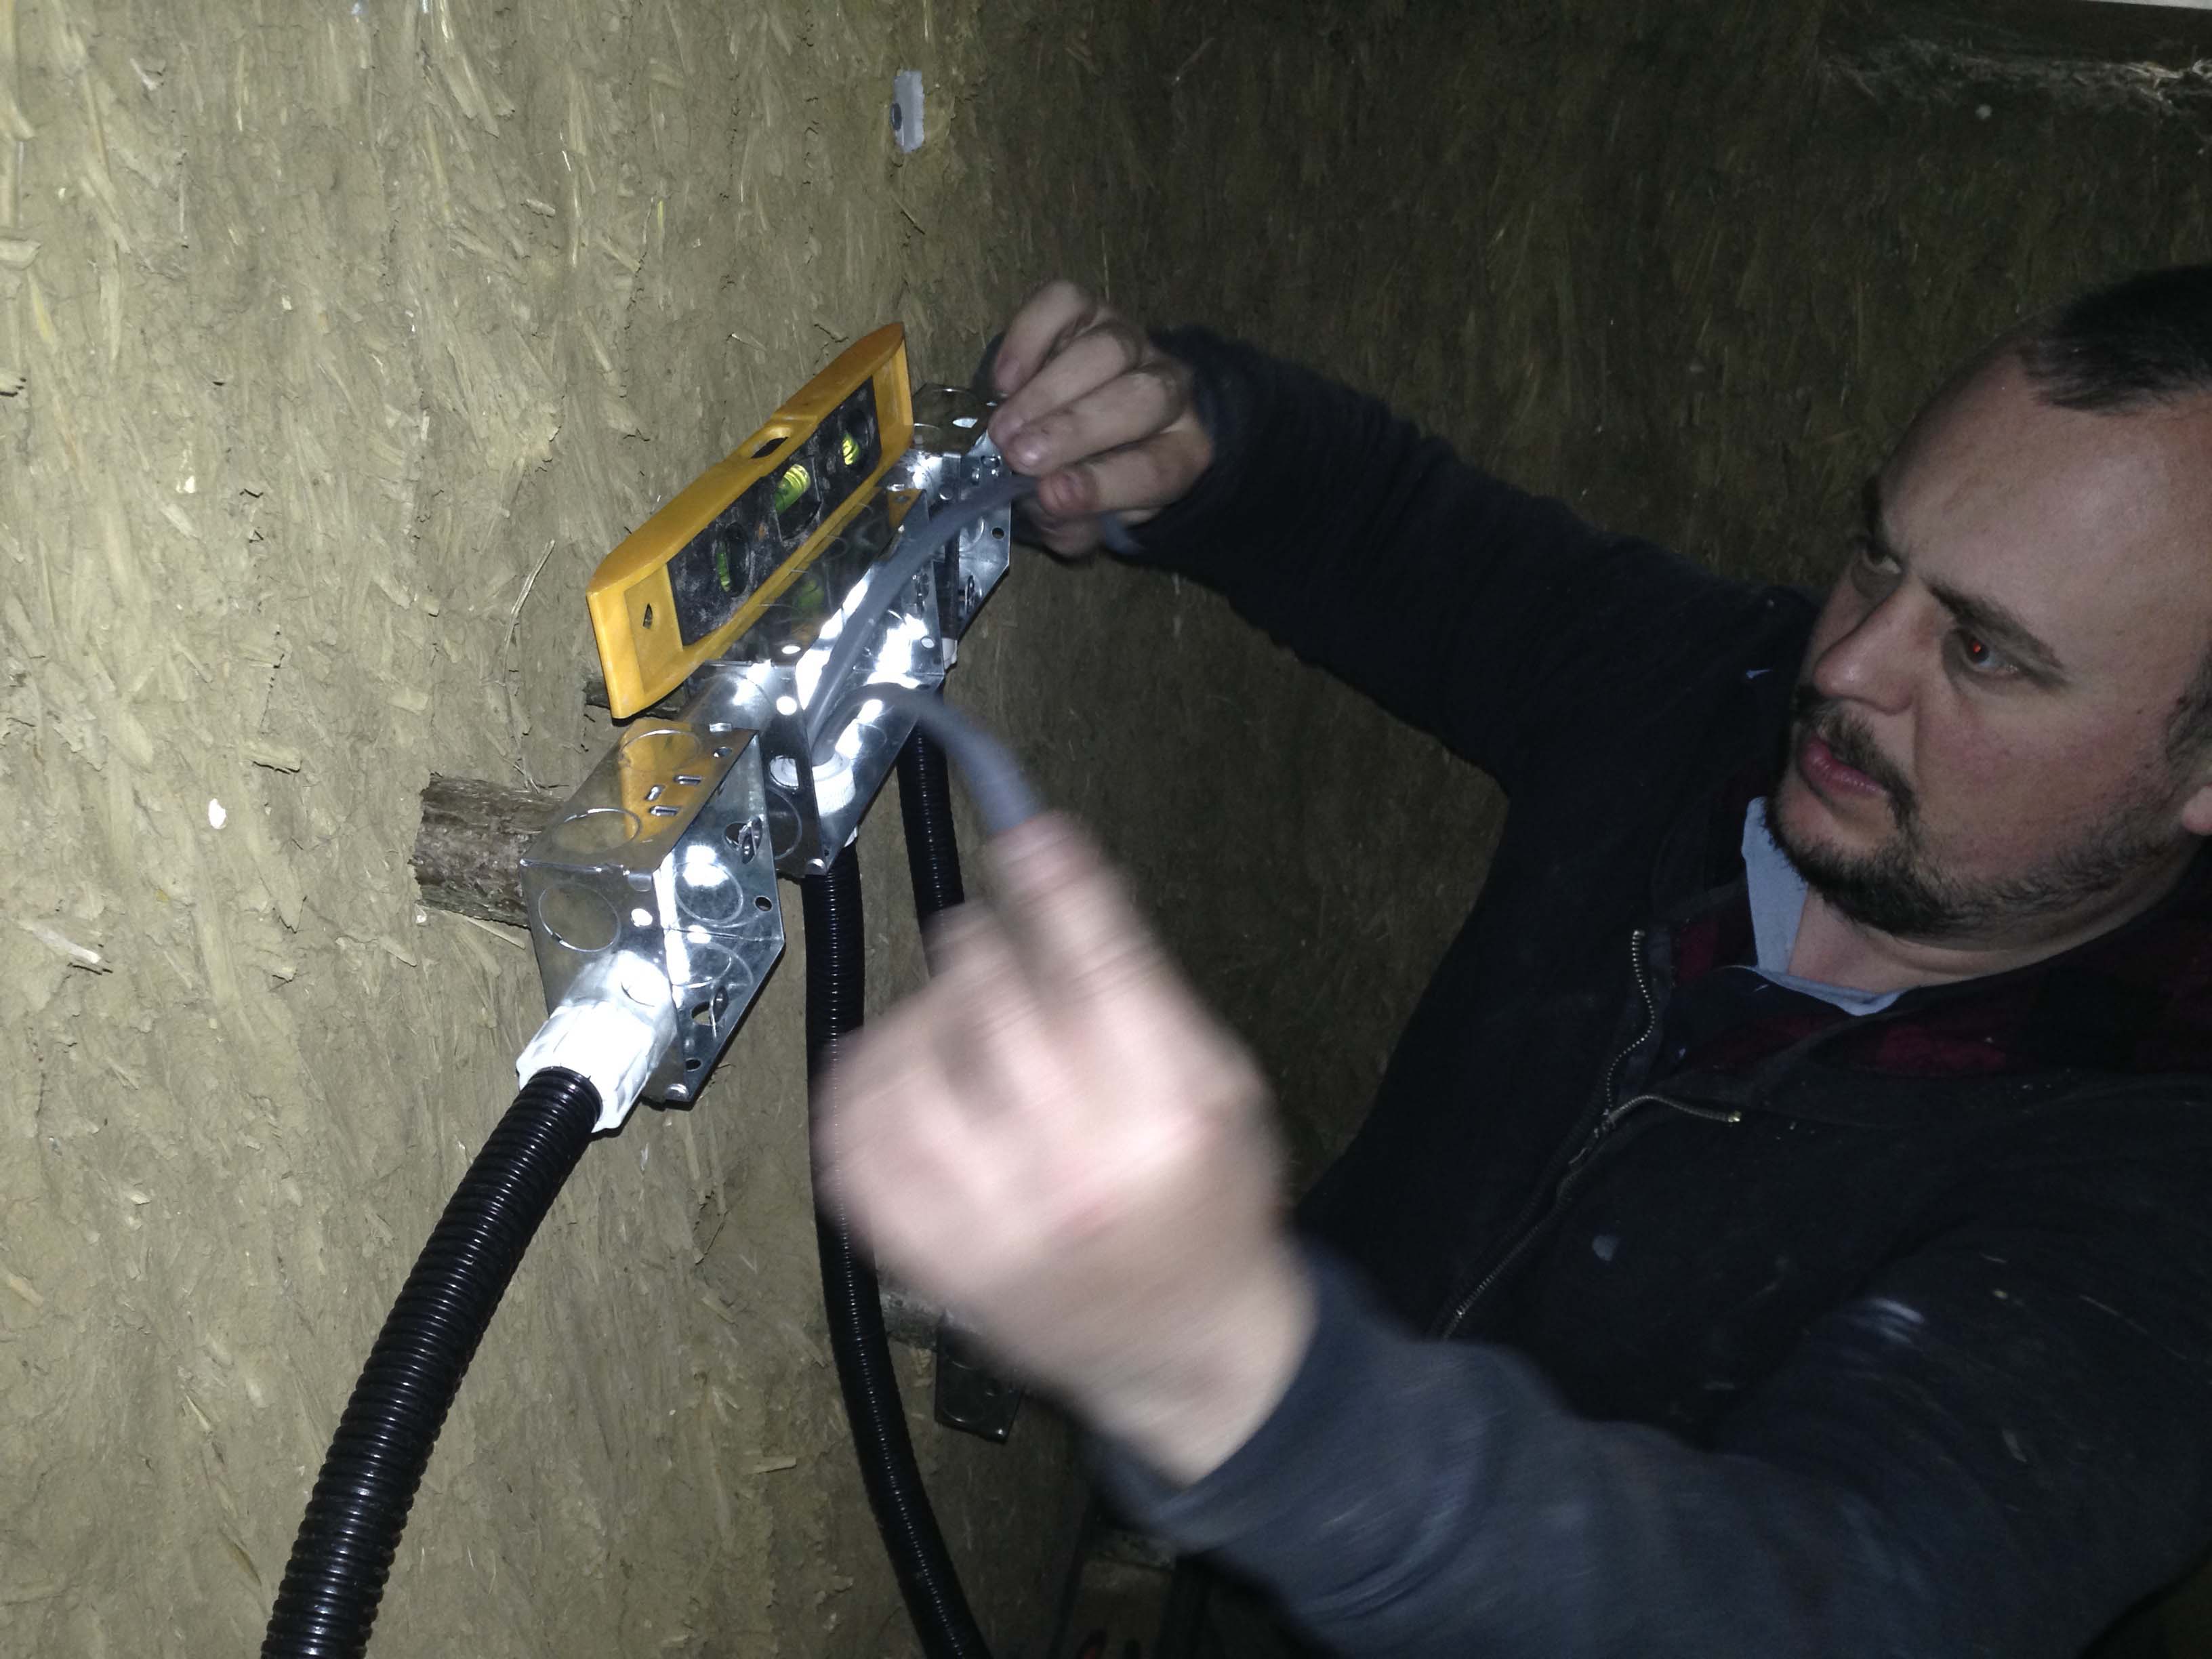
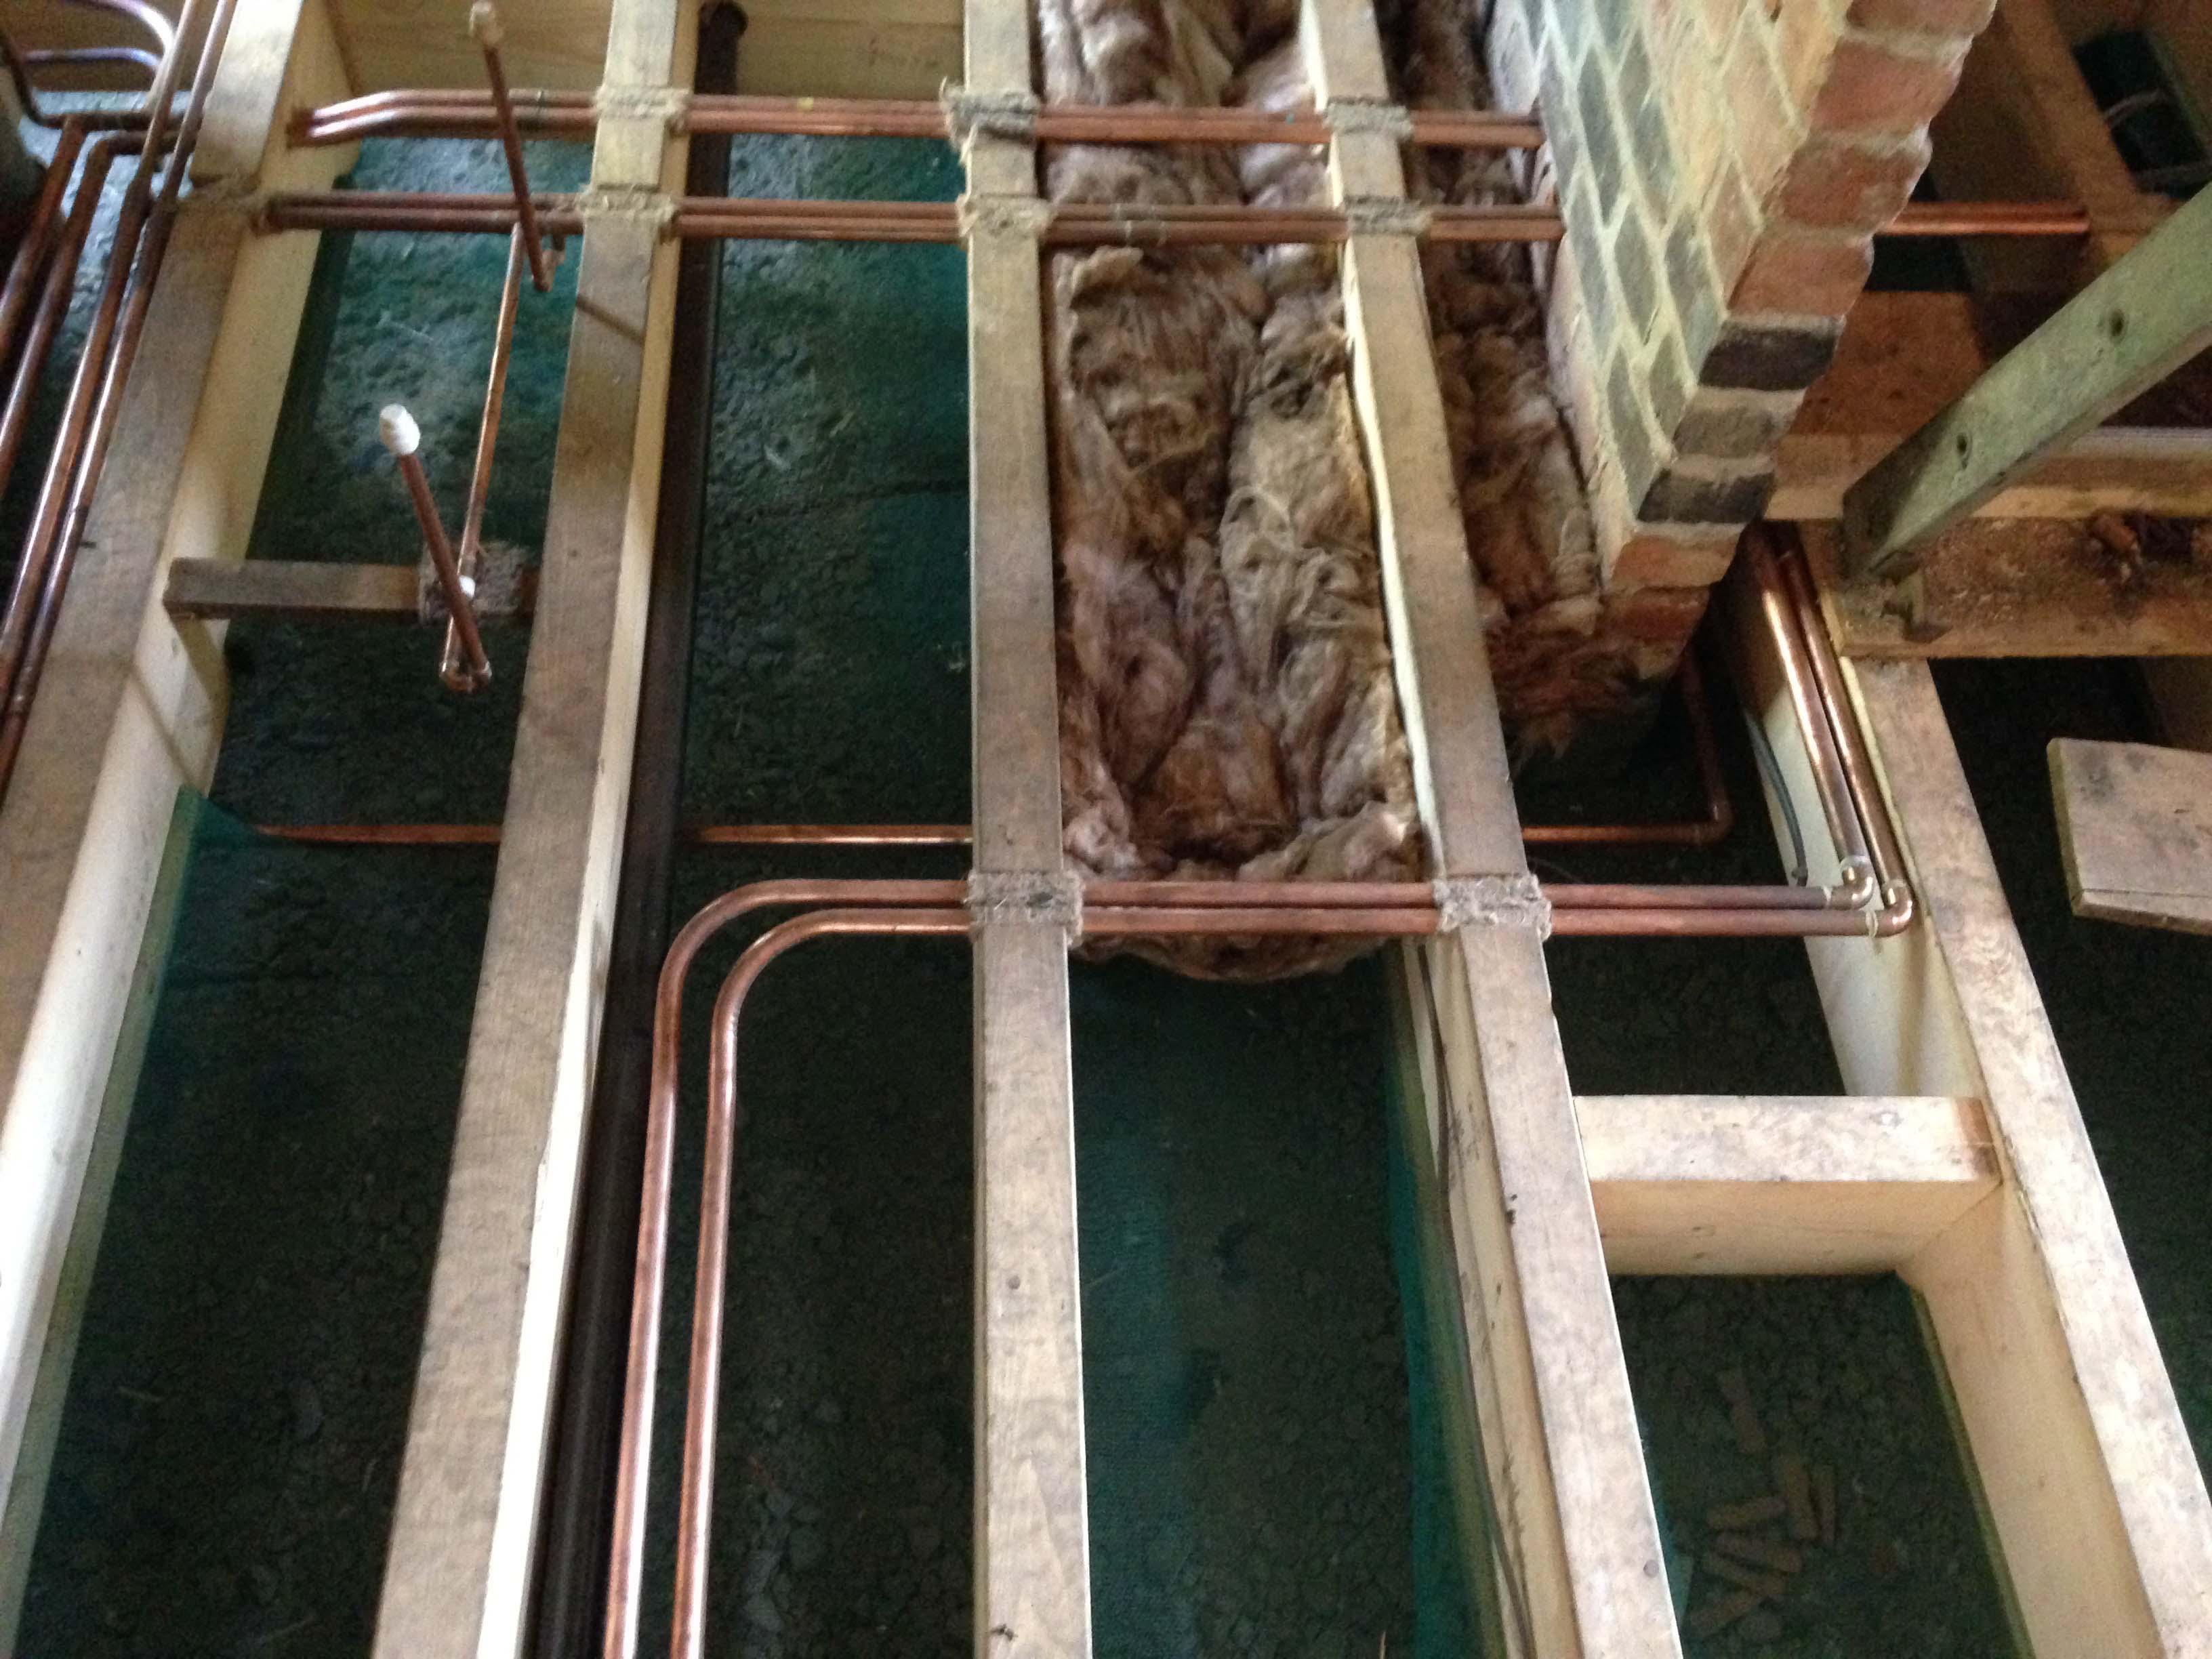
Once this was done, the first fix of both the electrics and plumbing could commence, so that we could think about laying the floors. spring, Liam and Dave (plumber) came to check out the job, and in the first week in June, they both spent four days putting in the bulk of the heating/water pipes and electrics. Both systems at this level are fairly standard, with the pipes in copper, and the wiring running in nice industrial looking conduit over the brick walls, and in plastic trunking chased into the straw walls.
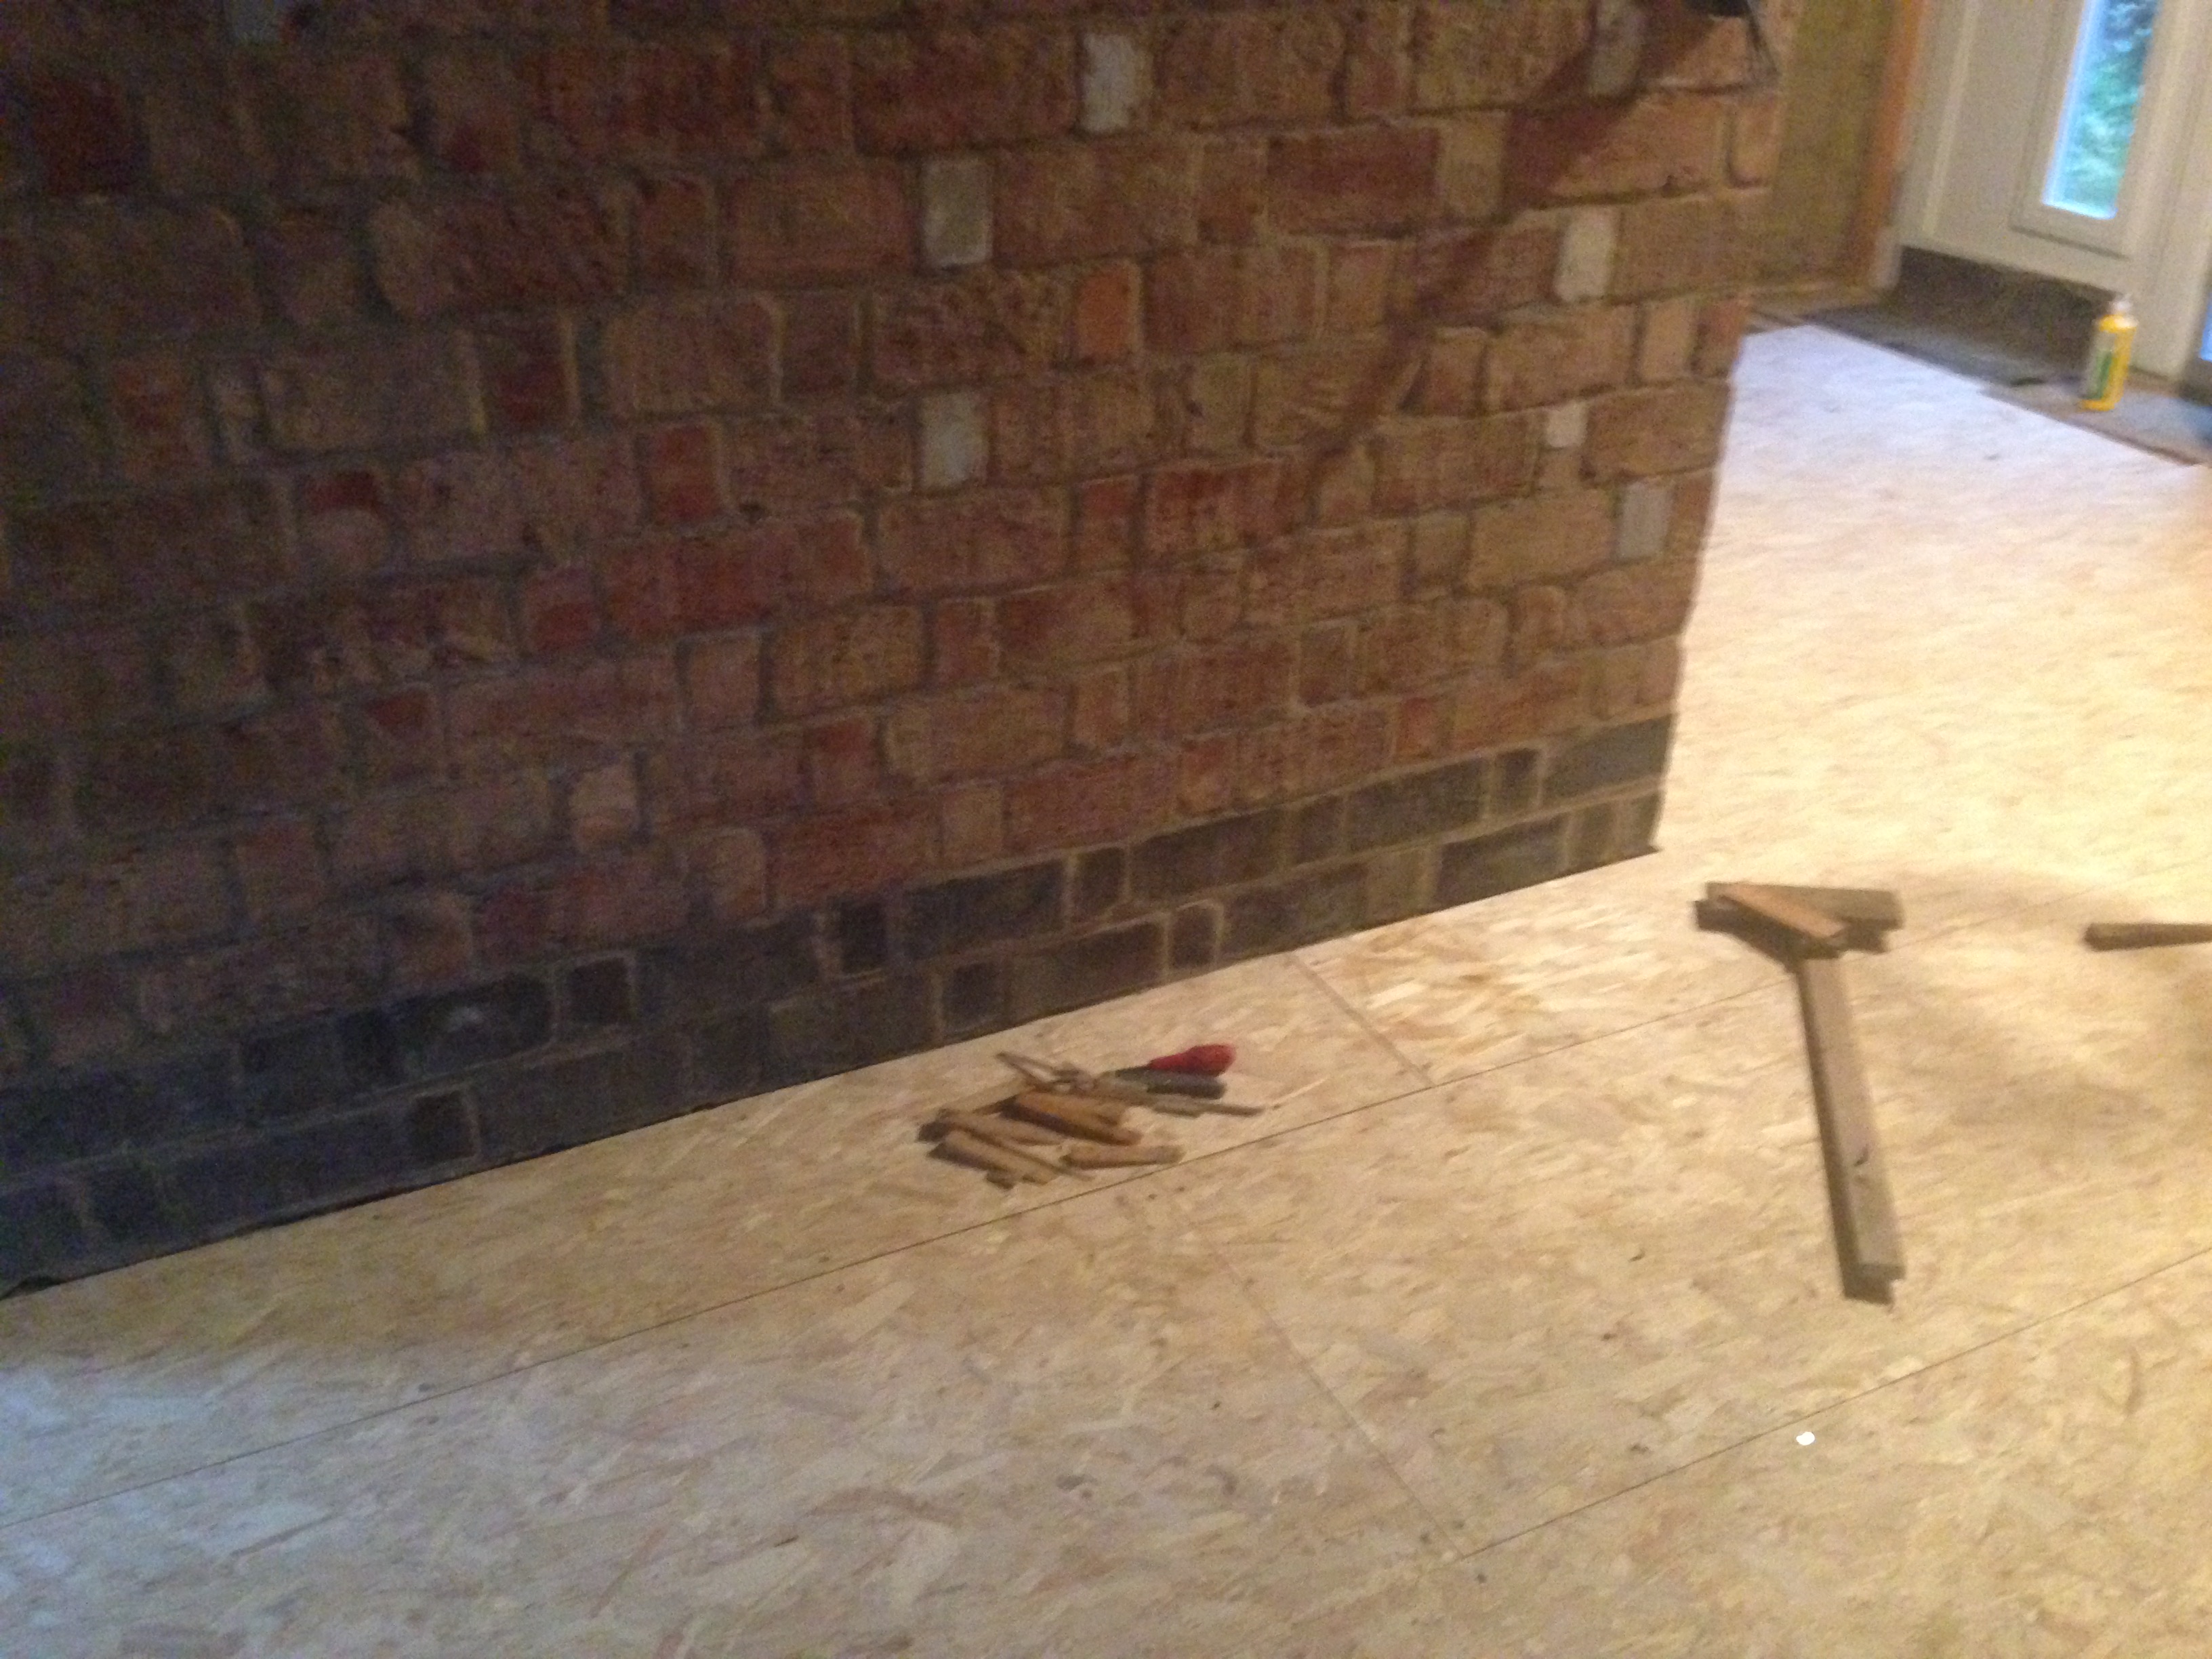
Wiring and pipes in, we could start to lay the ground floor floorboards. This was a nice swift job, and in no time at all we had a smart tongue and groove OSB floor – no more slipping off the joists!
Now we could start working our way up the house – next job the ground floor ceiling – another bog-standard job, 12.5mm plasterboard. For the sake of time and cost, we had to sacrifice a small bit of our carbon gains for high footprint gypsum – still its easy to install.
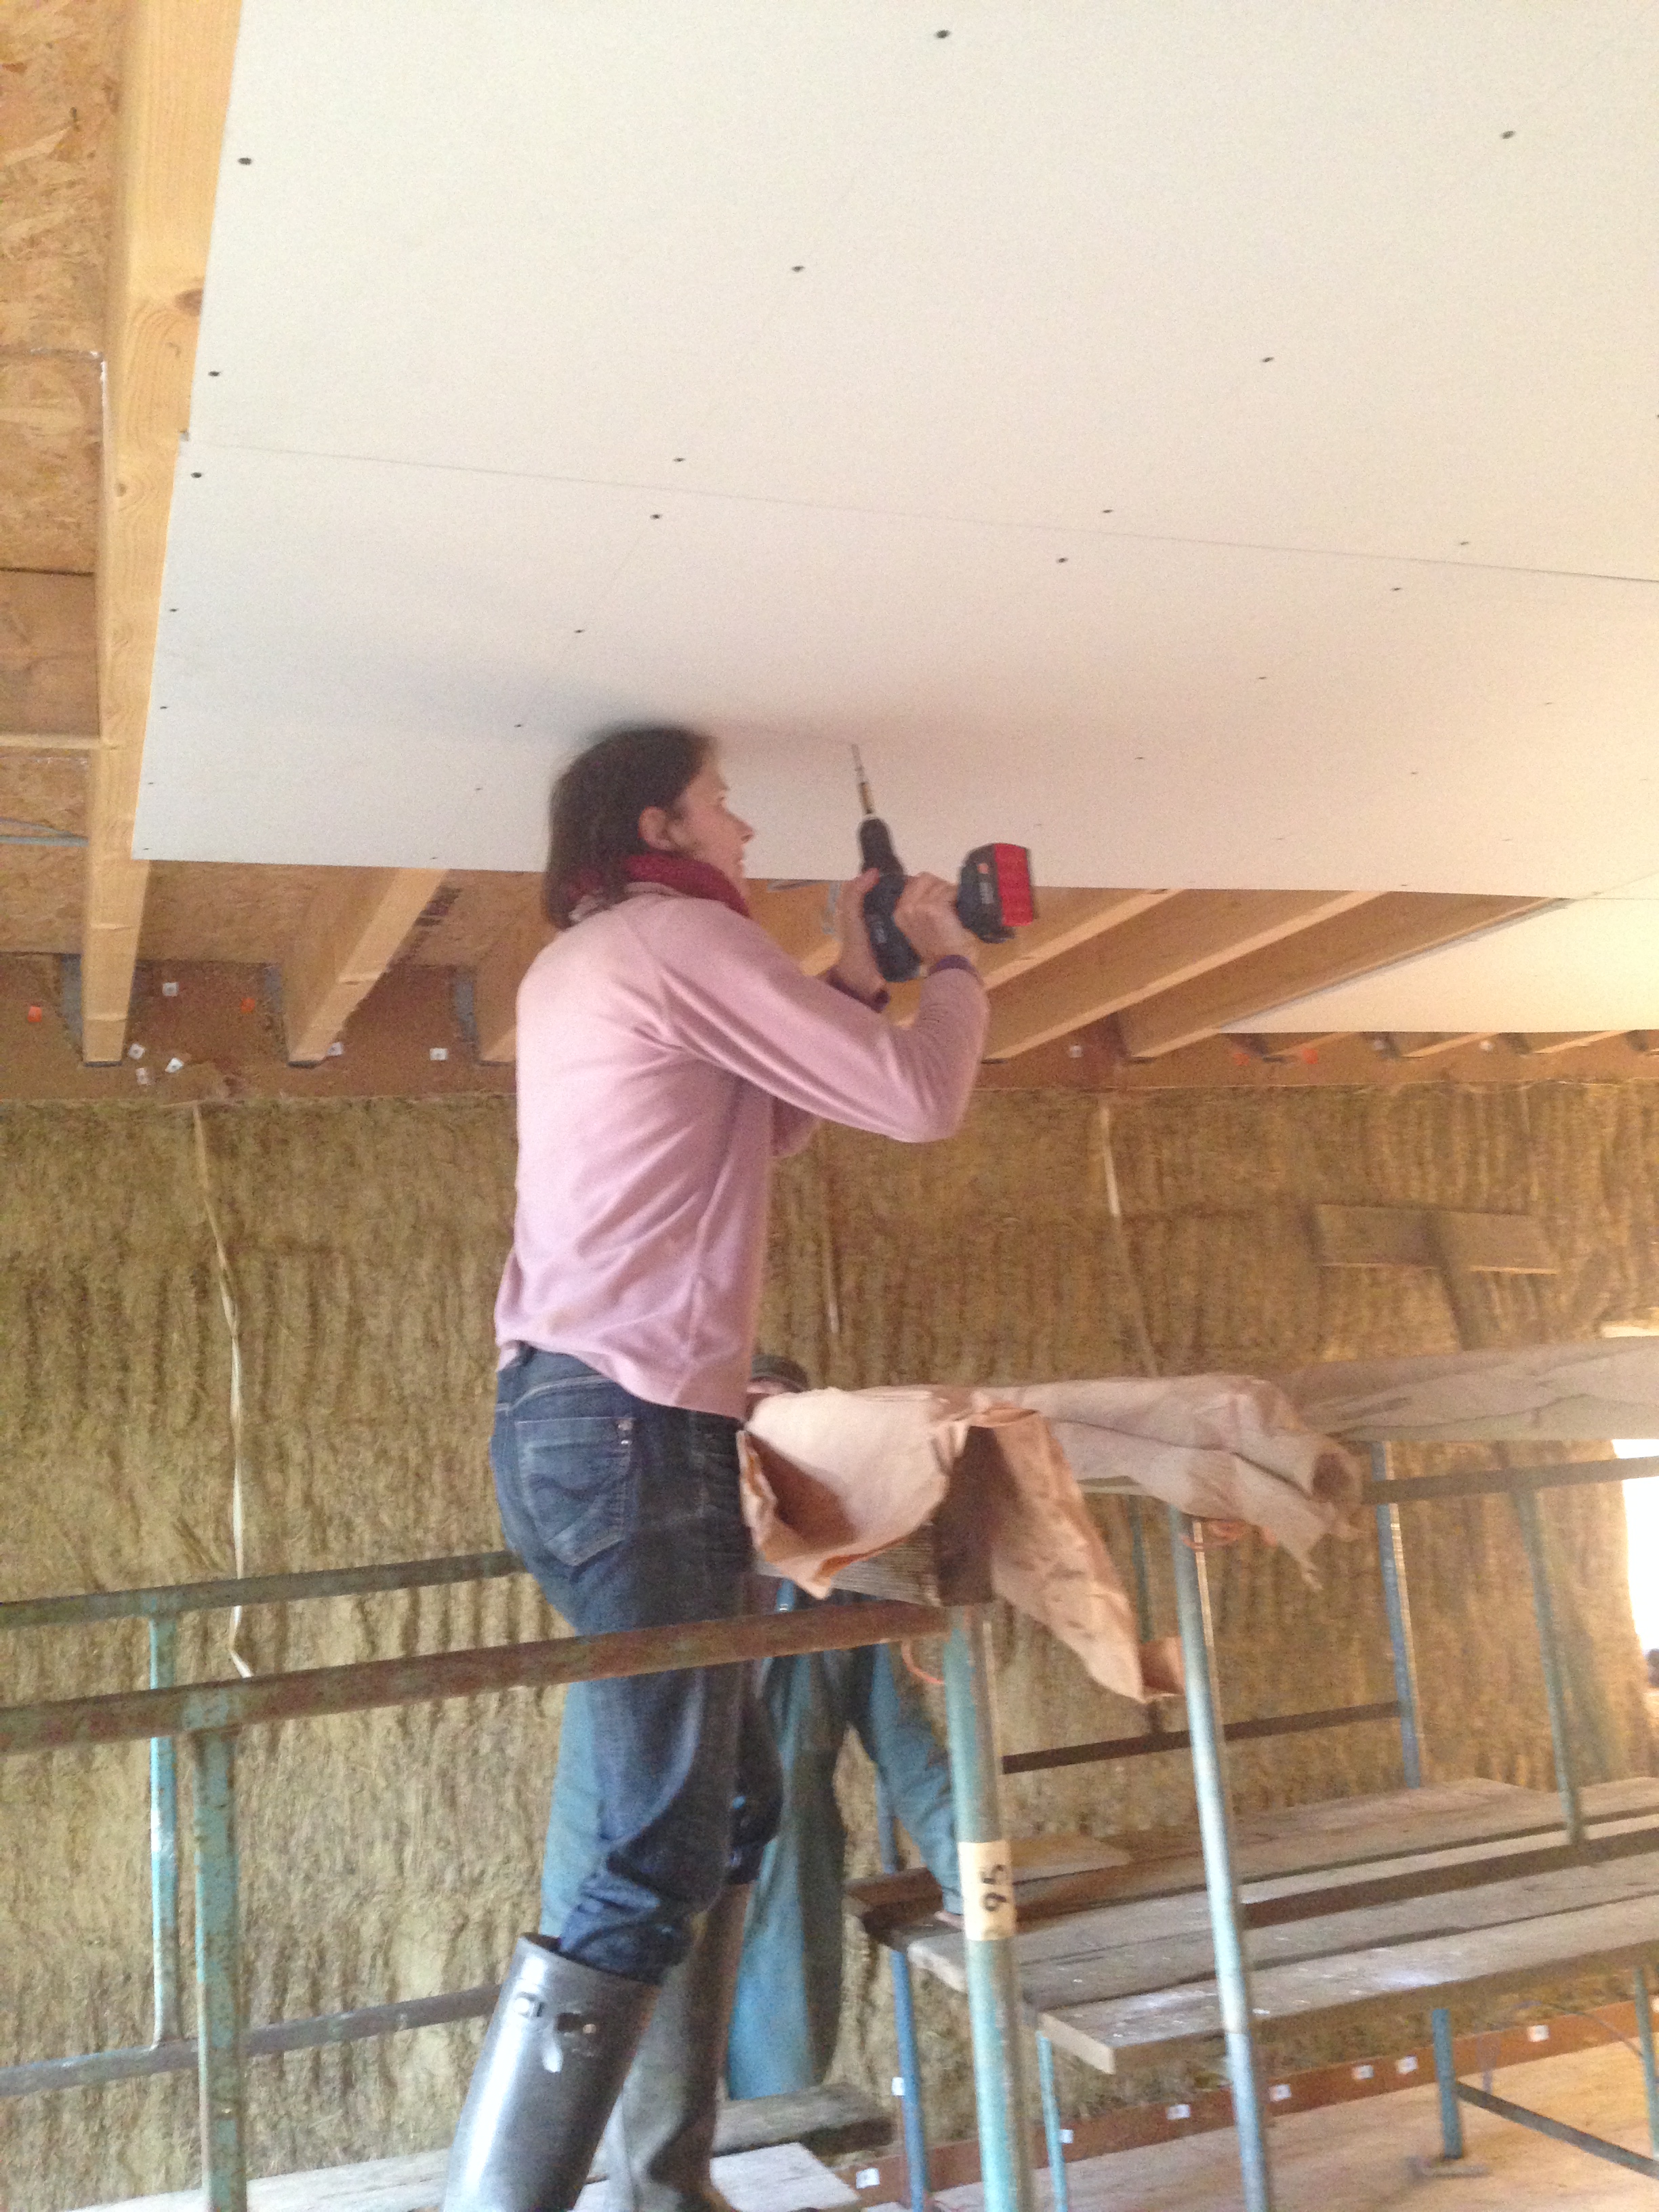
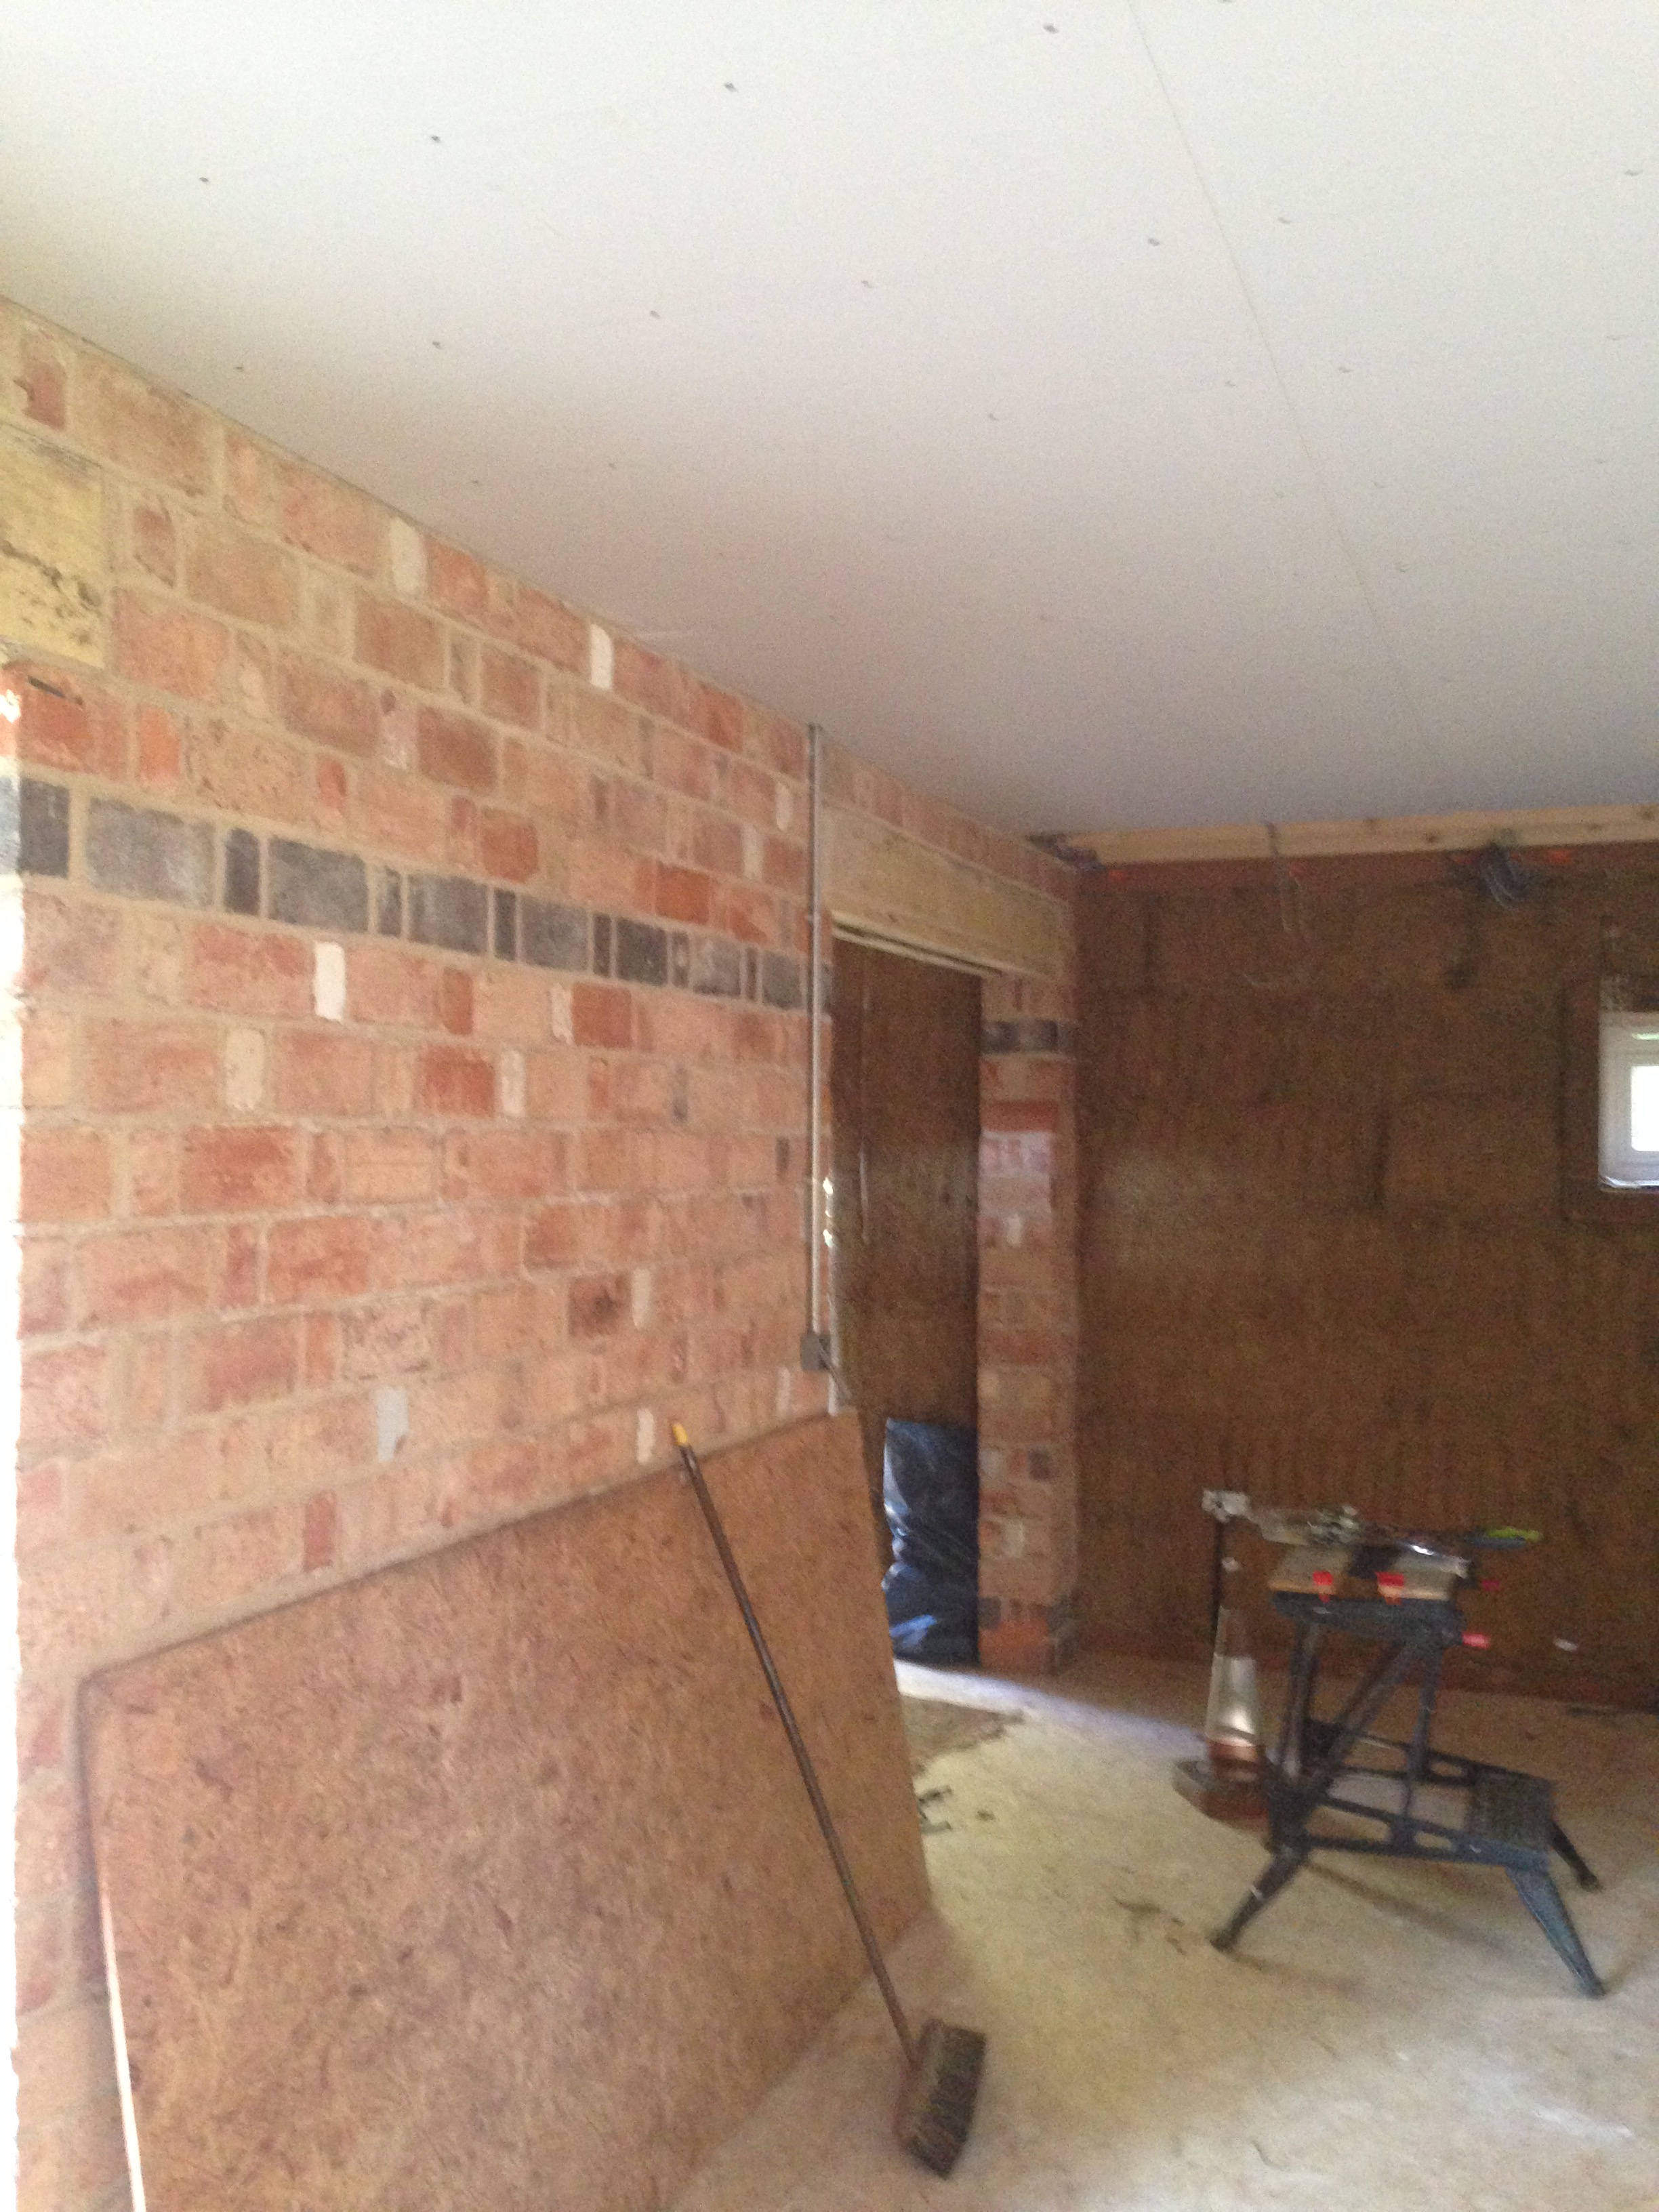
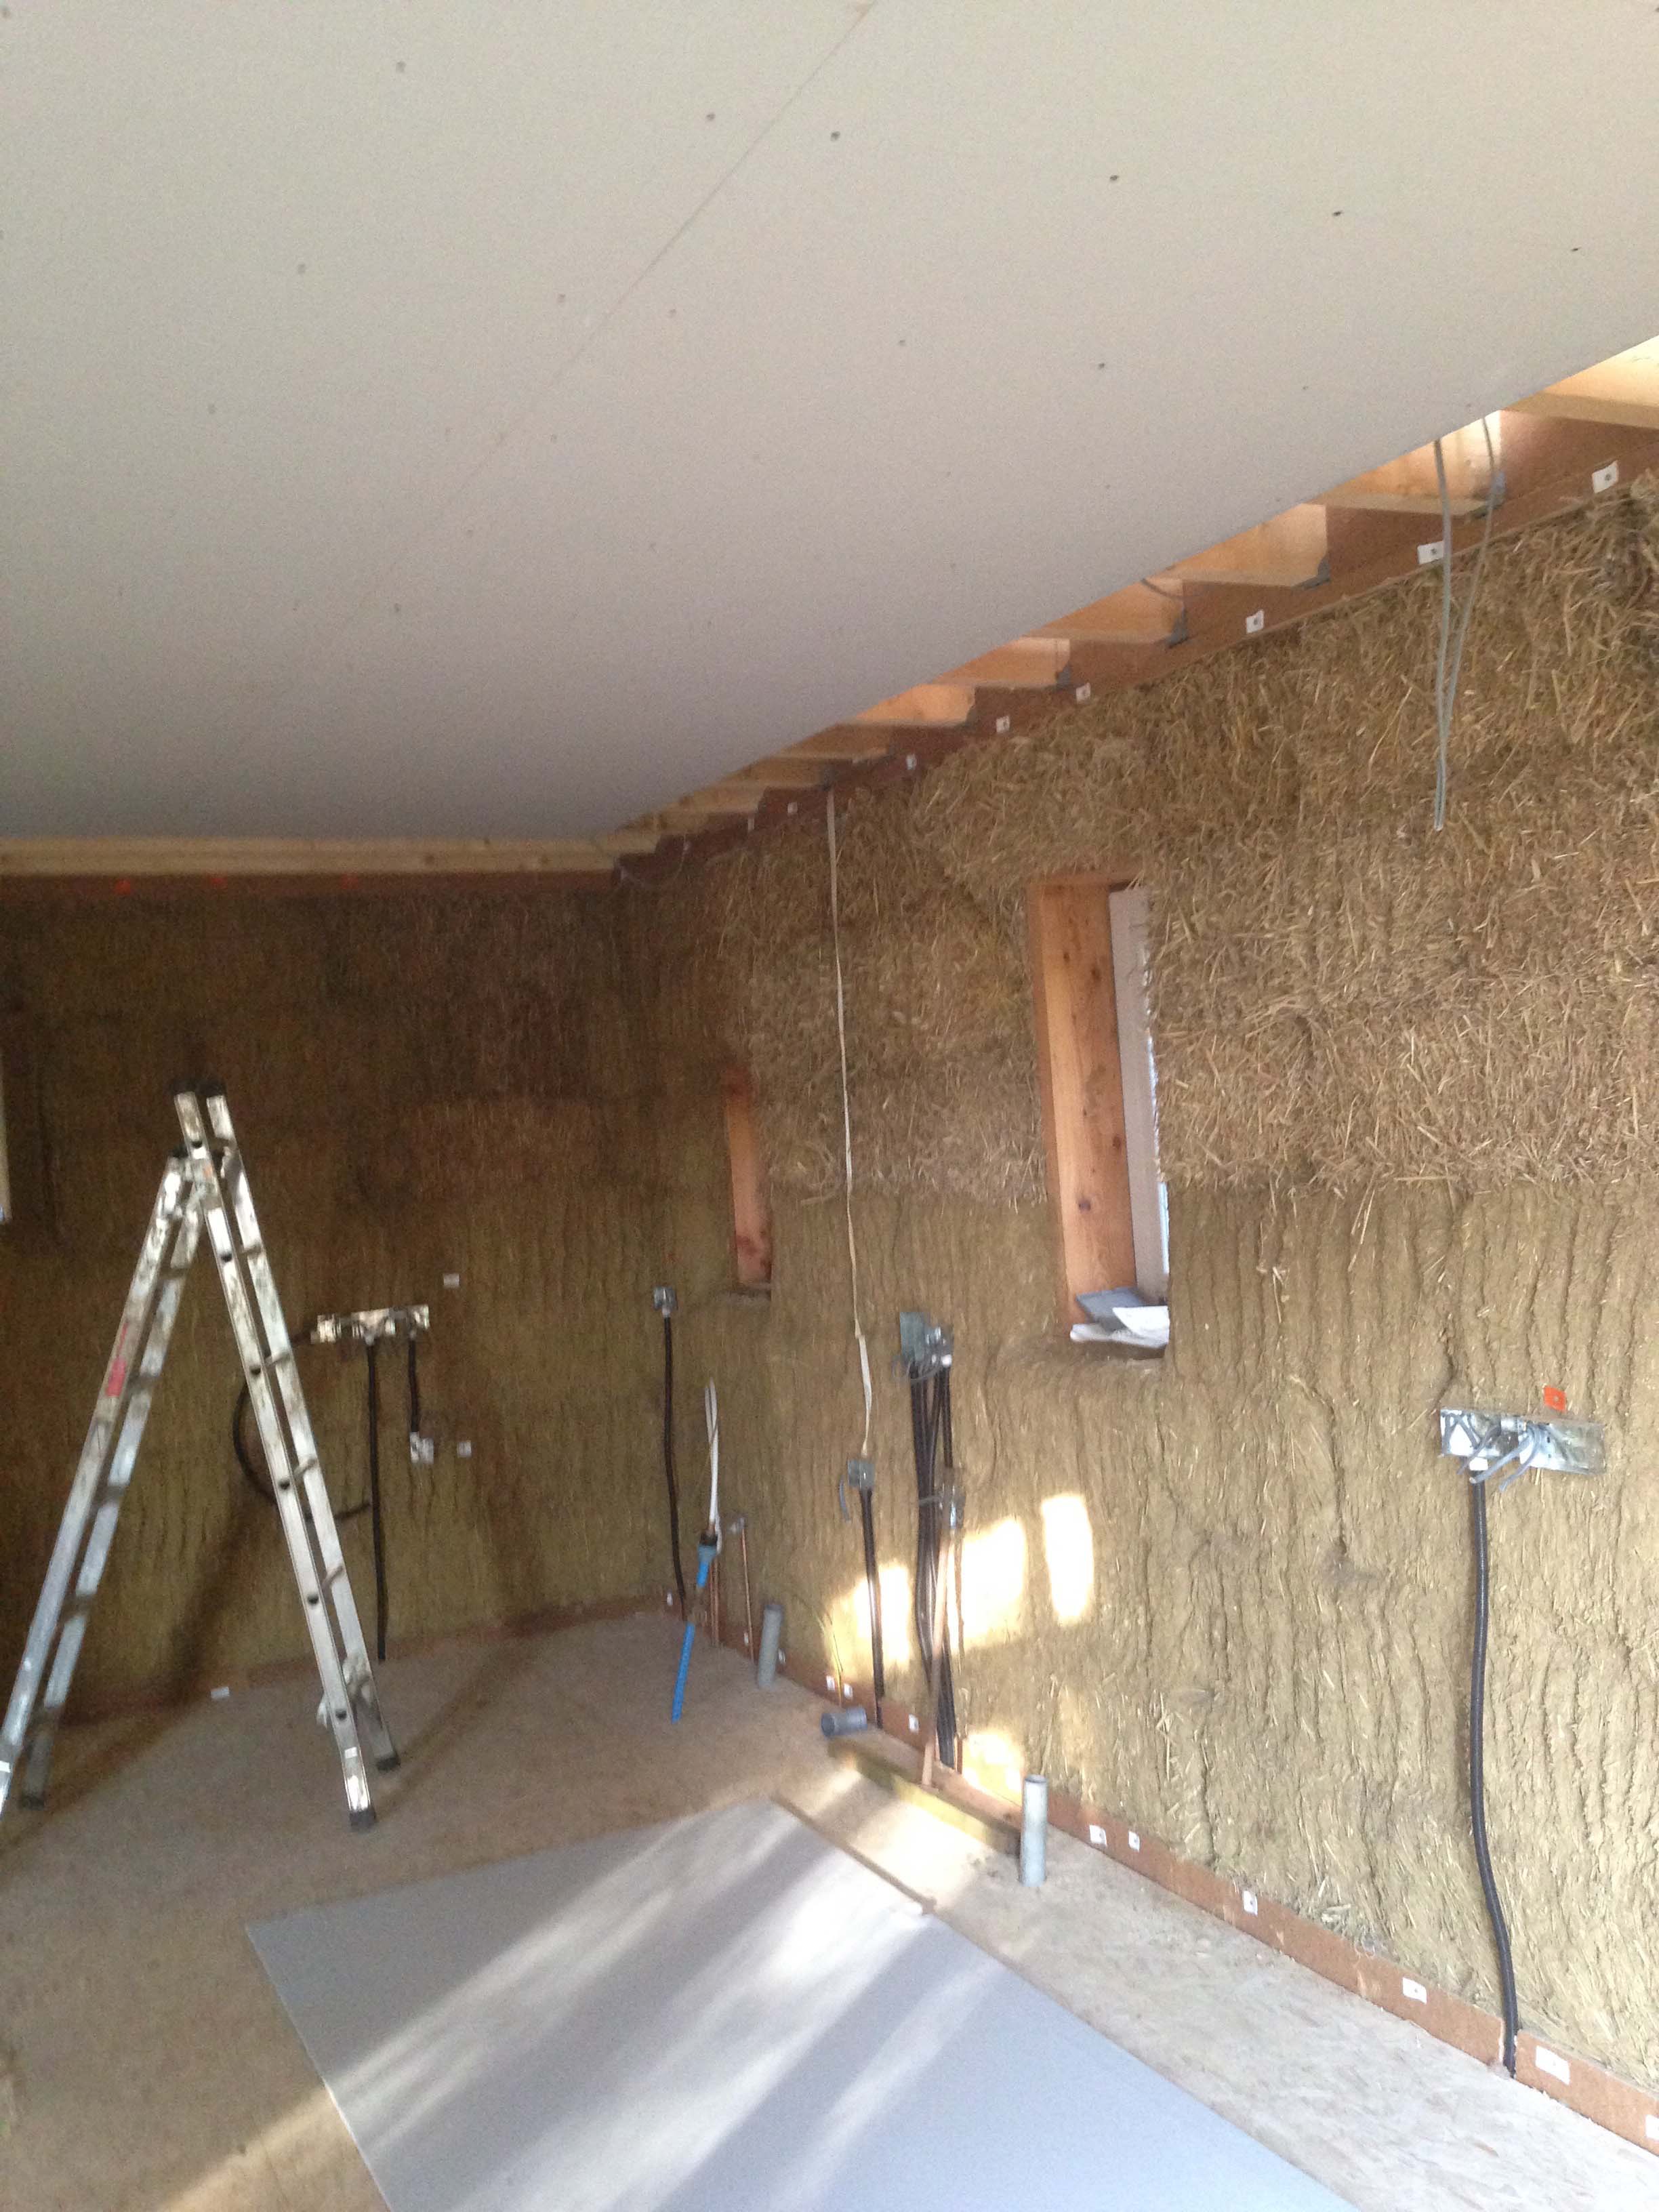
First ceiling in place, we moved upstairs to start insulating the first floor and boarding that out. This gave us a stable platform to plasterboard the upstairs ceiling. And thence to the roof space…and a layer of insulation, plus a lot of air-tightness tape. The key to good thermal performance is not only the thickness and effectiveness of the insulation, but also reduction of drafts. To this end, we need to seal the thermal envelope (the inside of the house) from the outside. To do this we used specialist air-tightness tape – on the face of it, very expensive. However, it sticks to all sorts of surfaces – like dry clay plaster, wood and bricks, making it very effective.
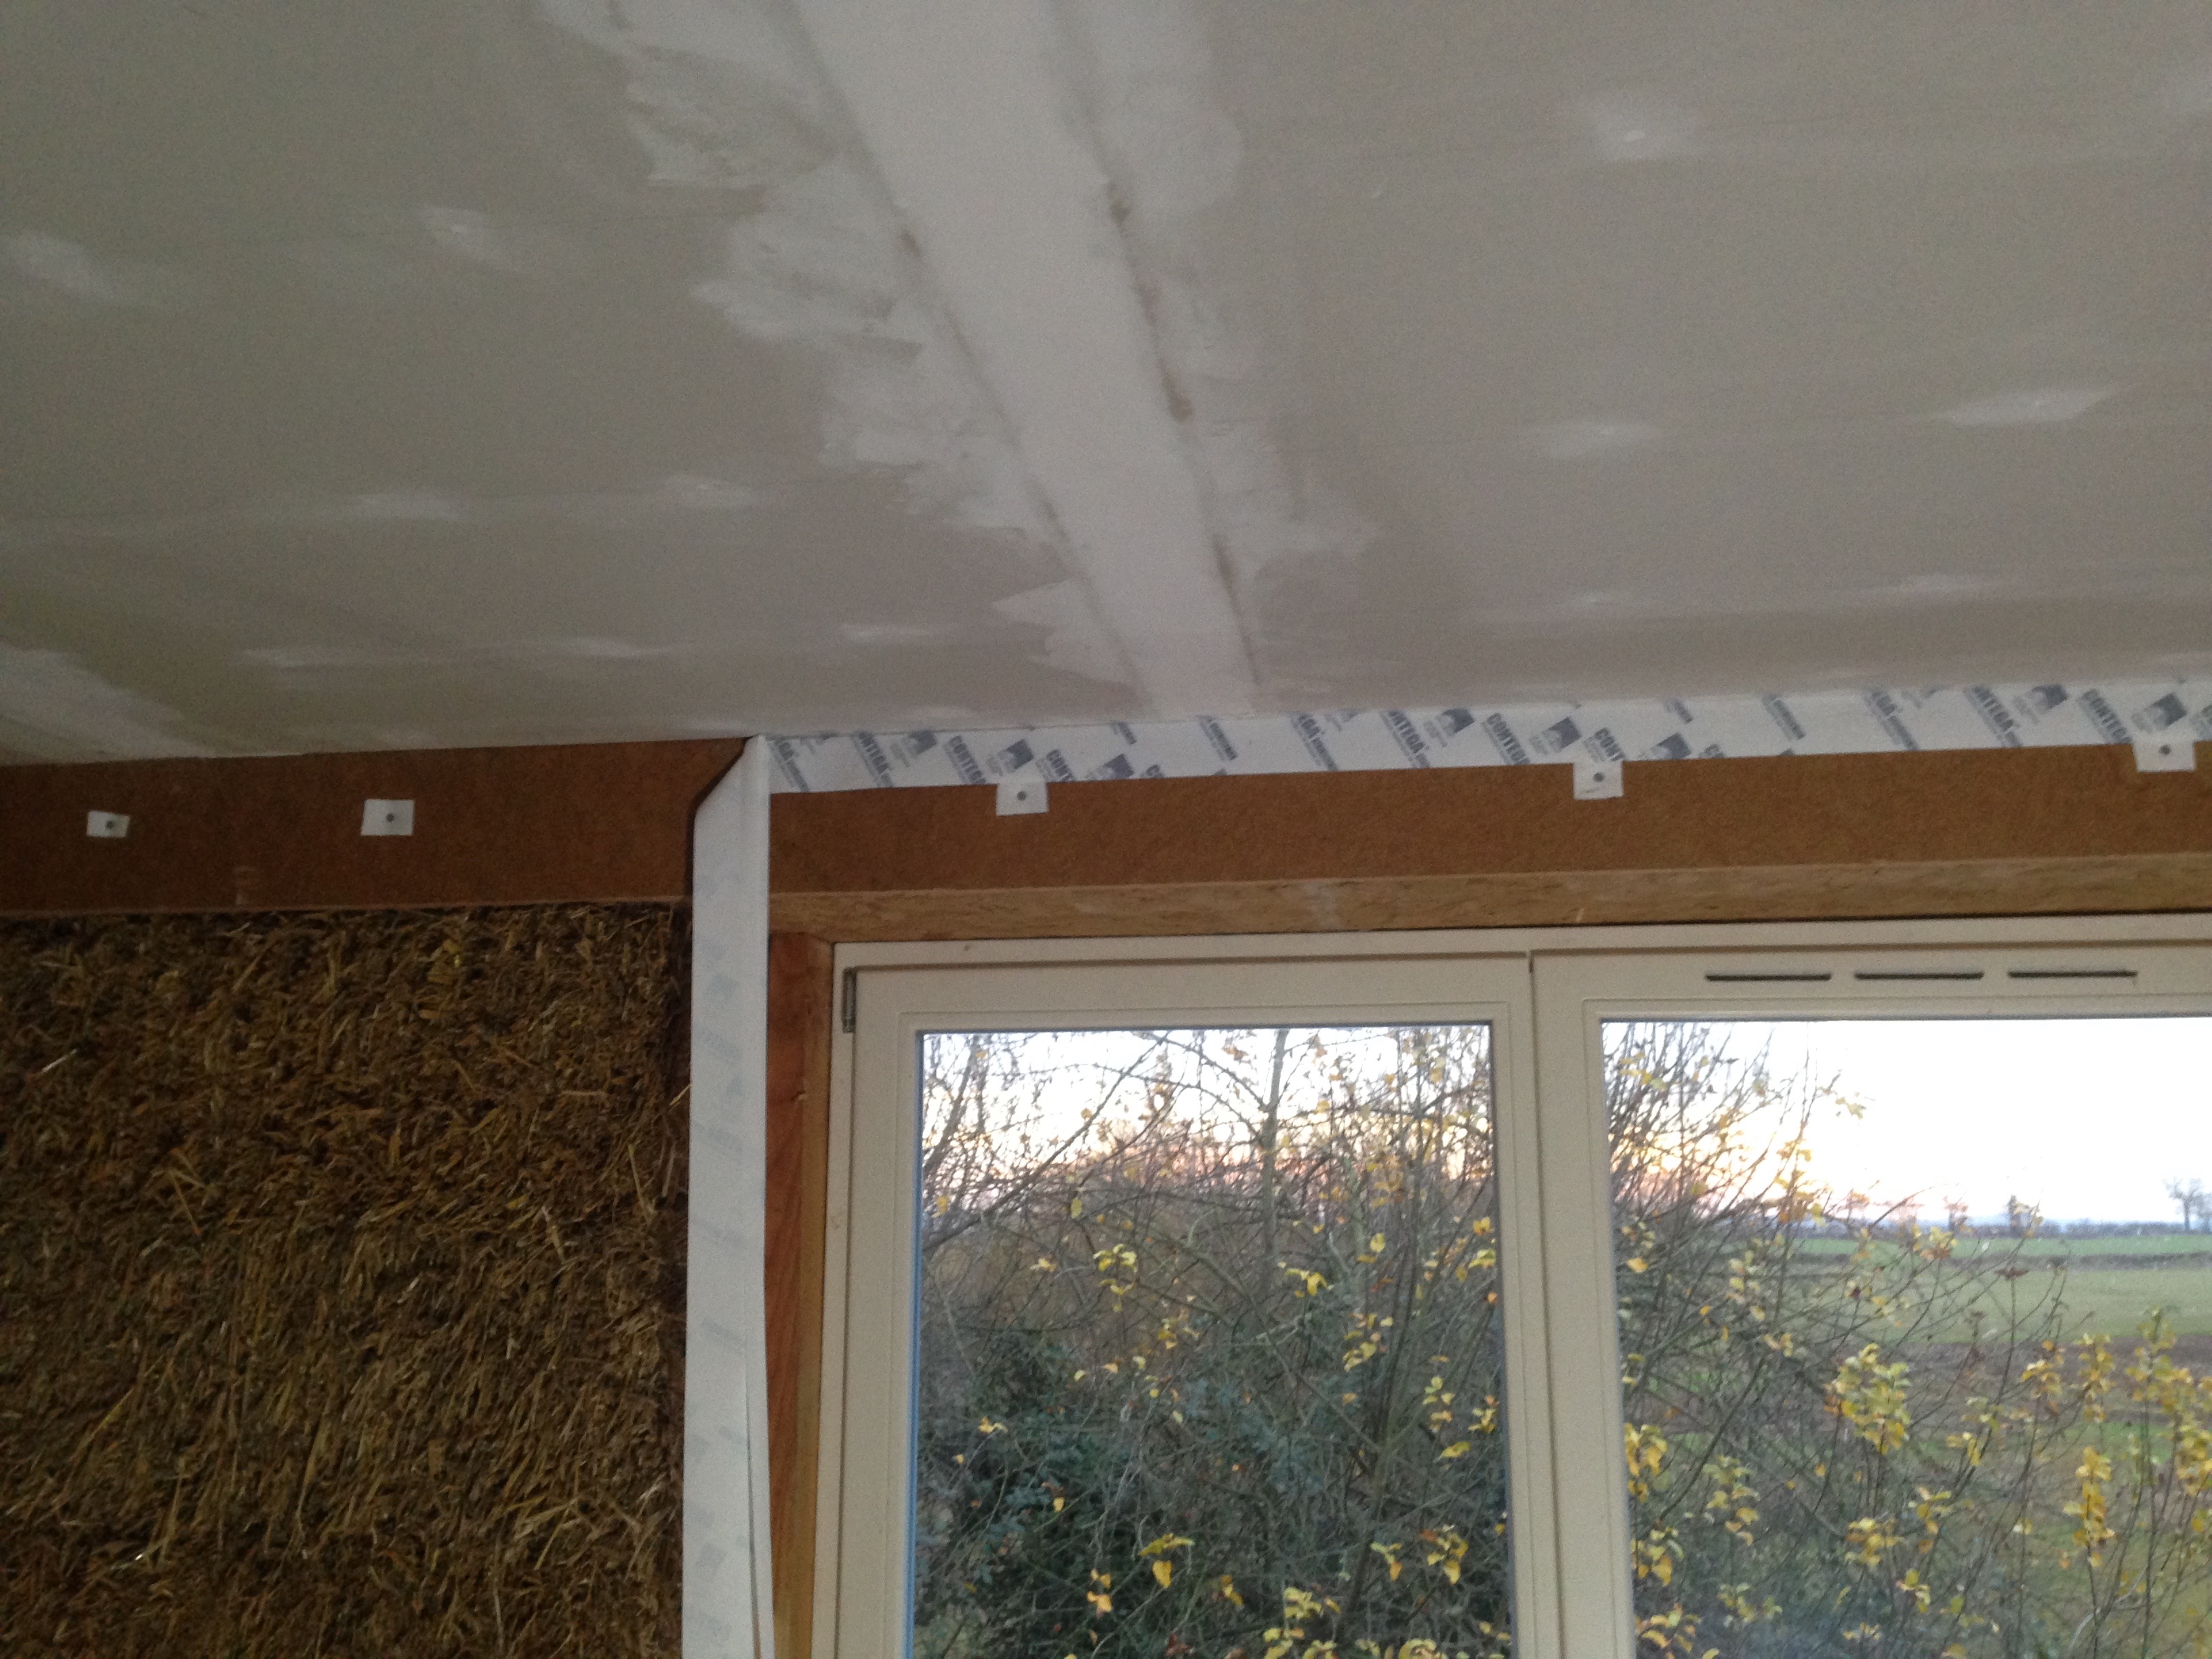
Sealing the gap between upstairs walls and the plasterboard ceiling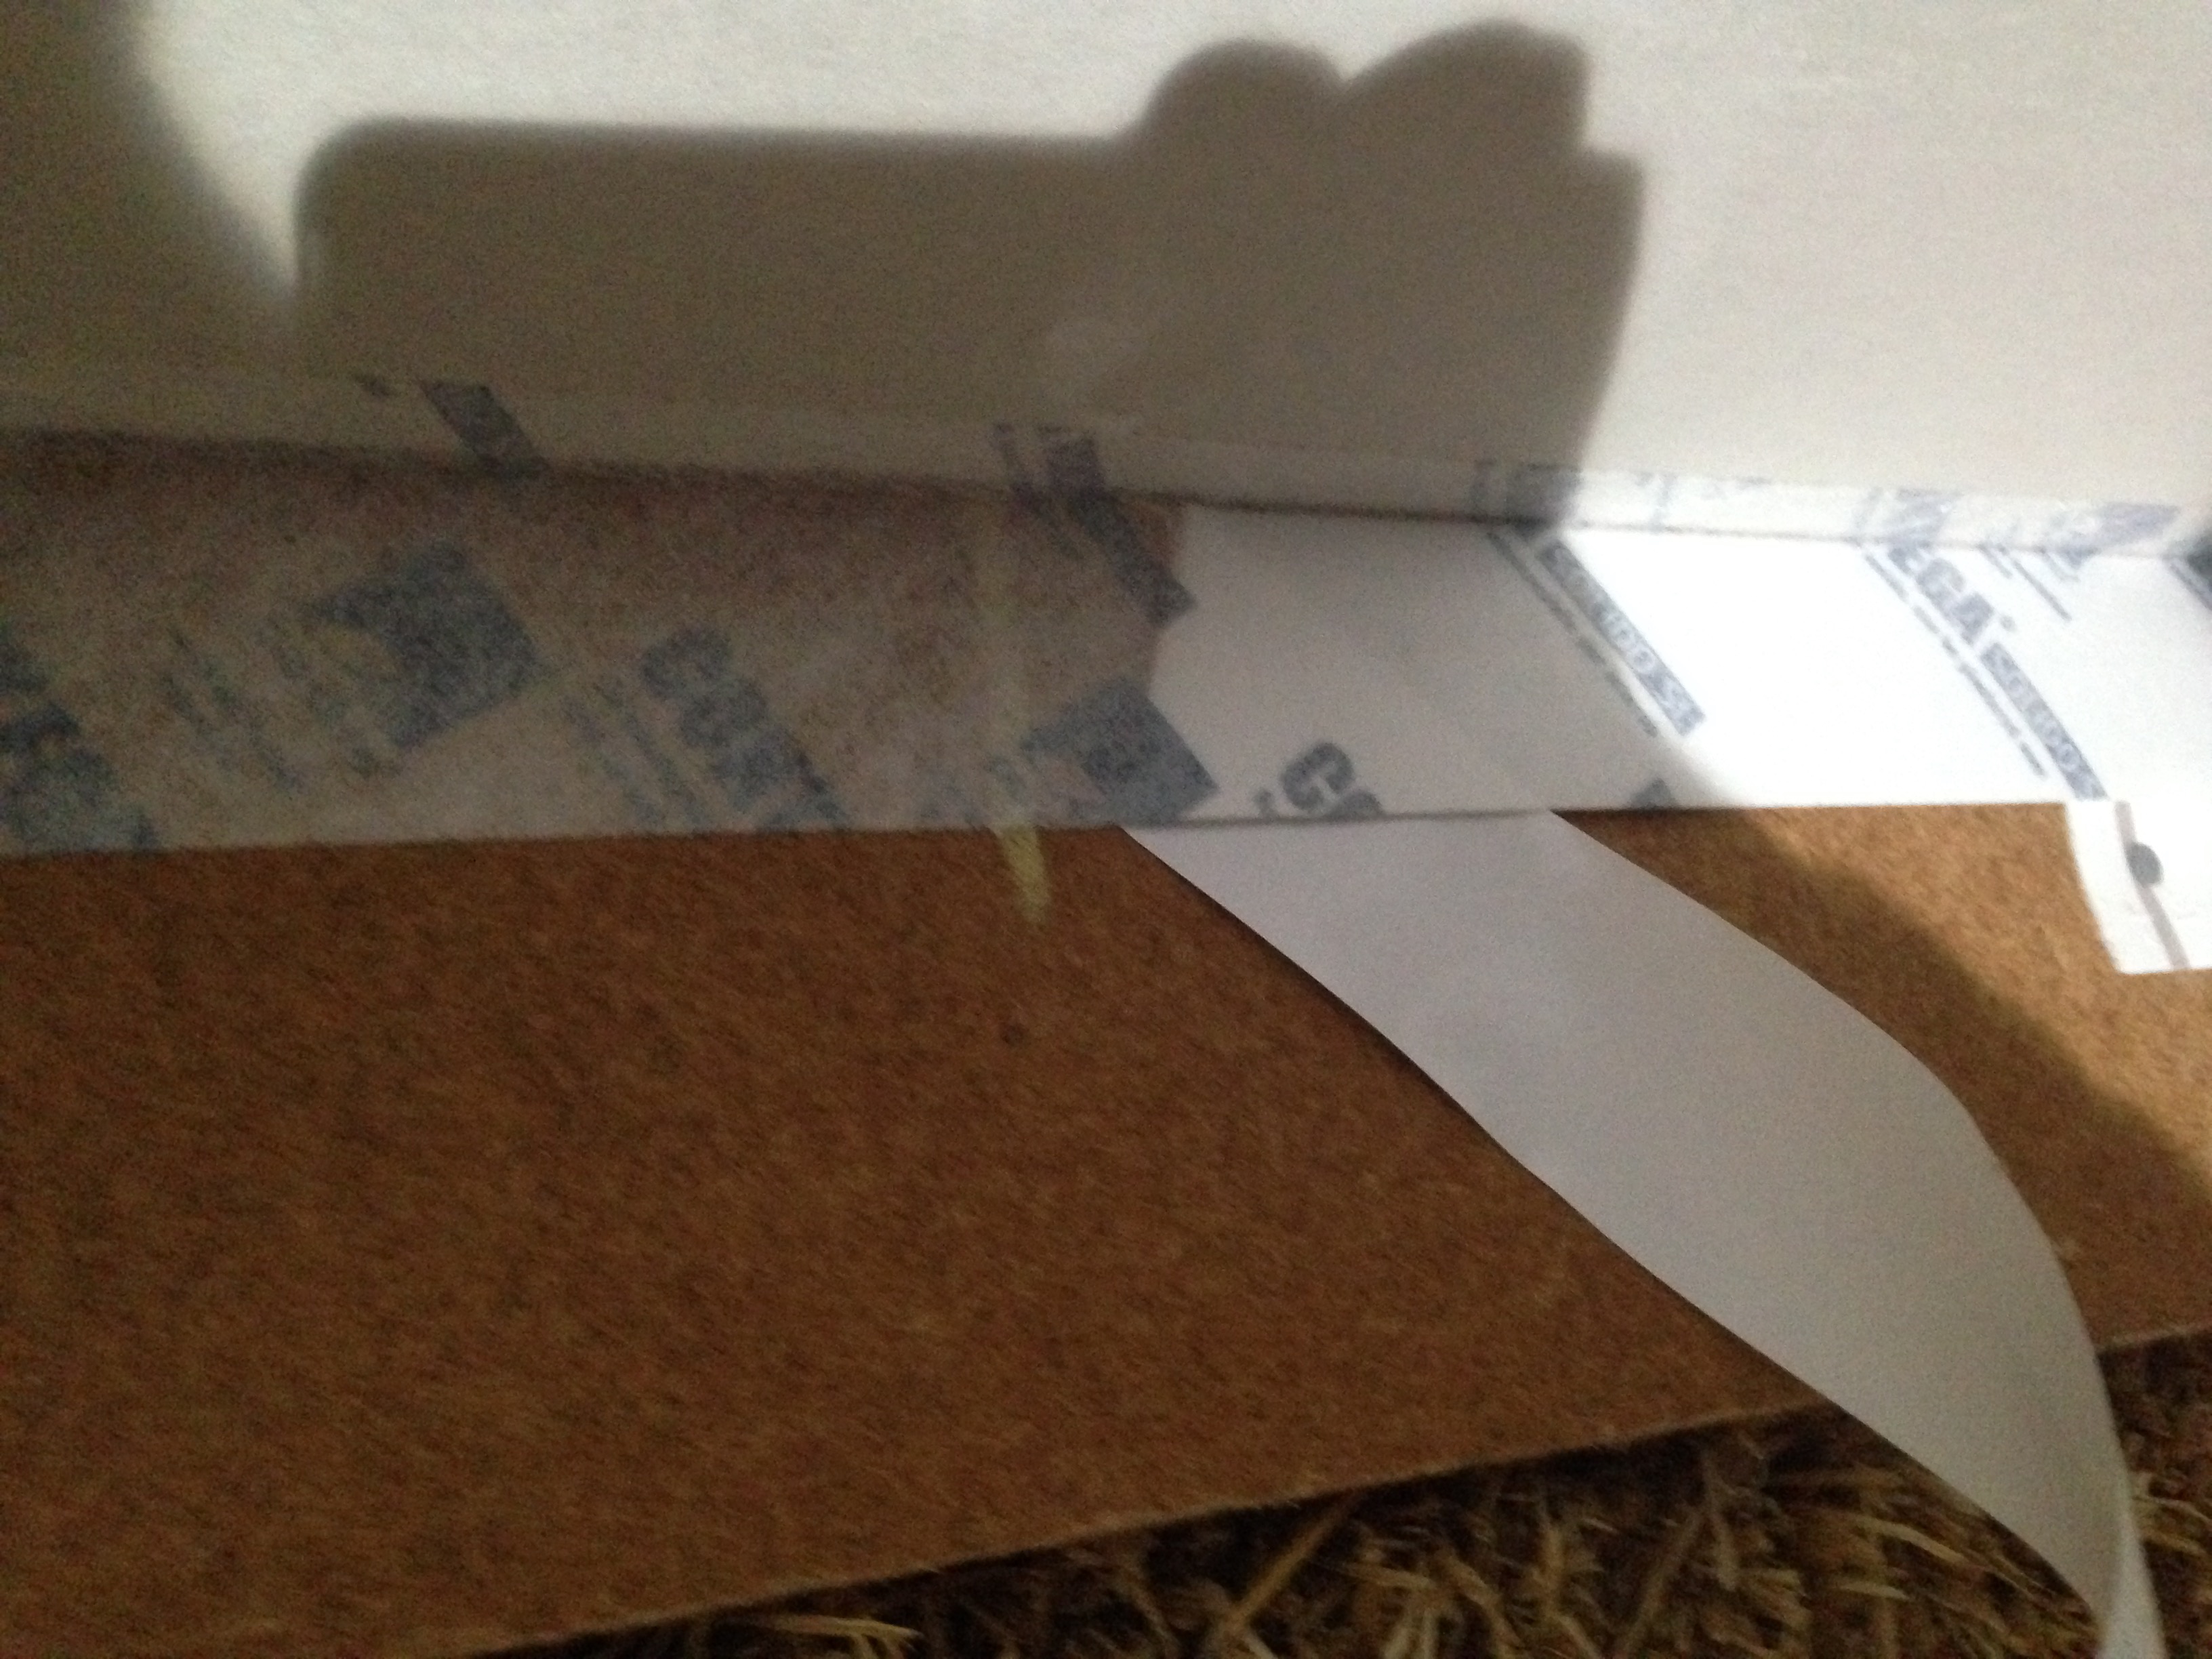
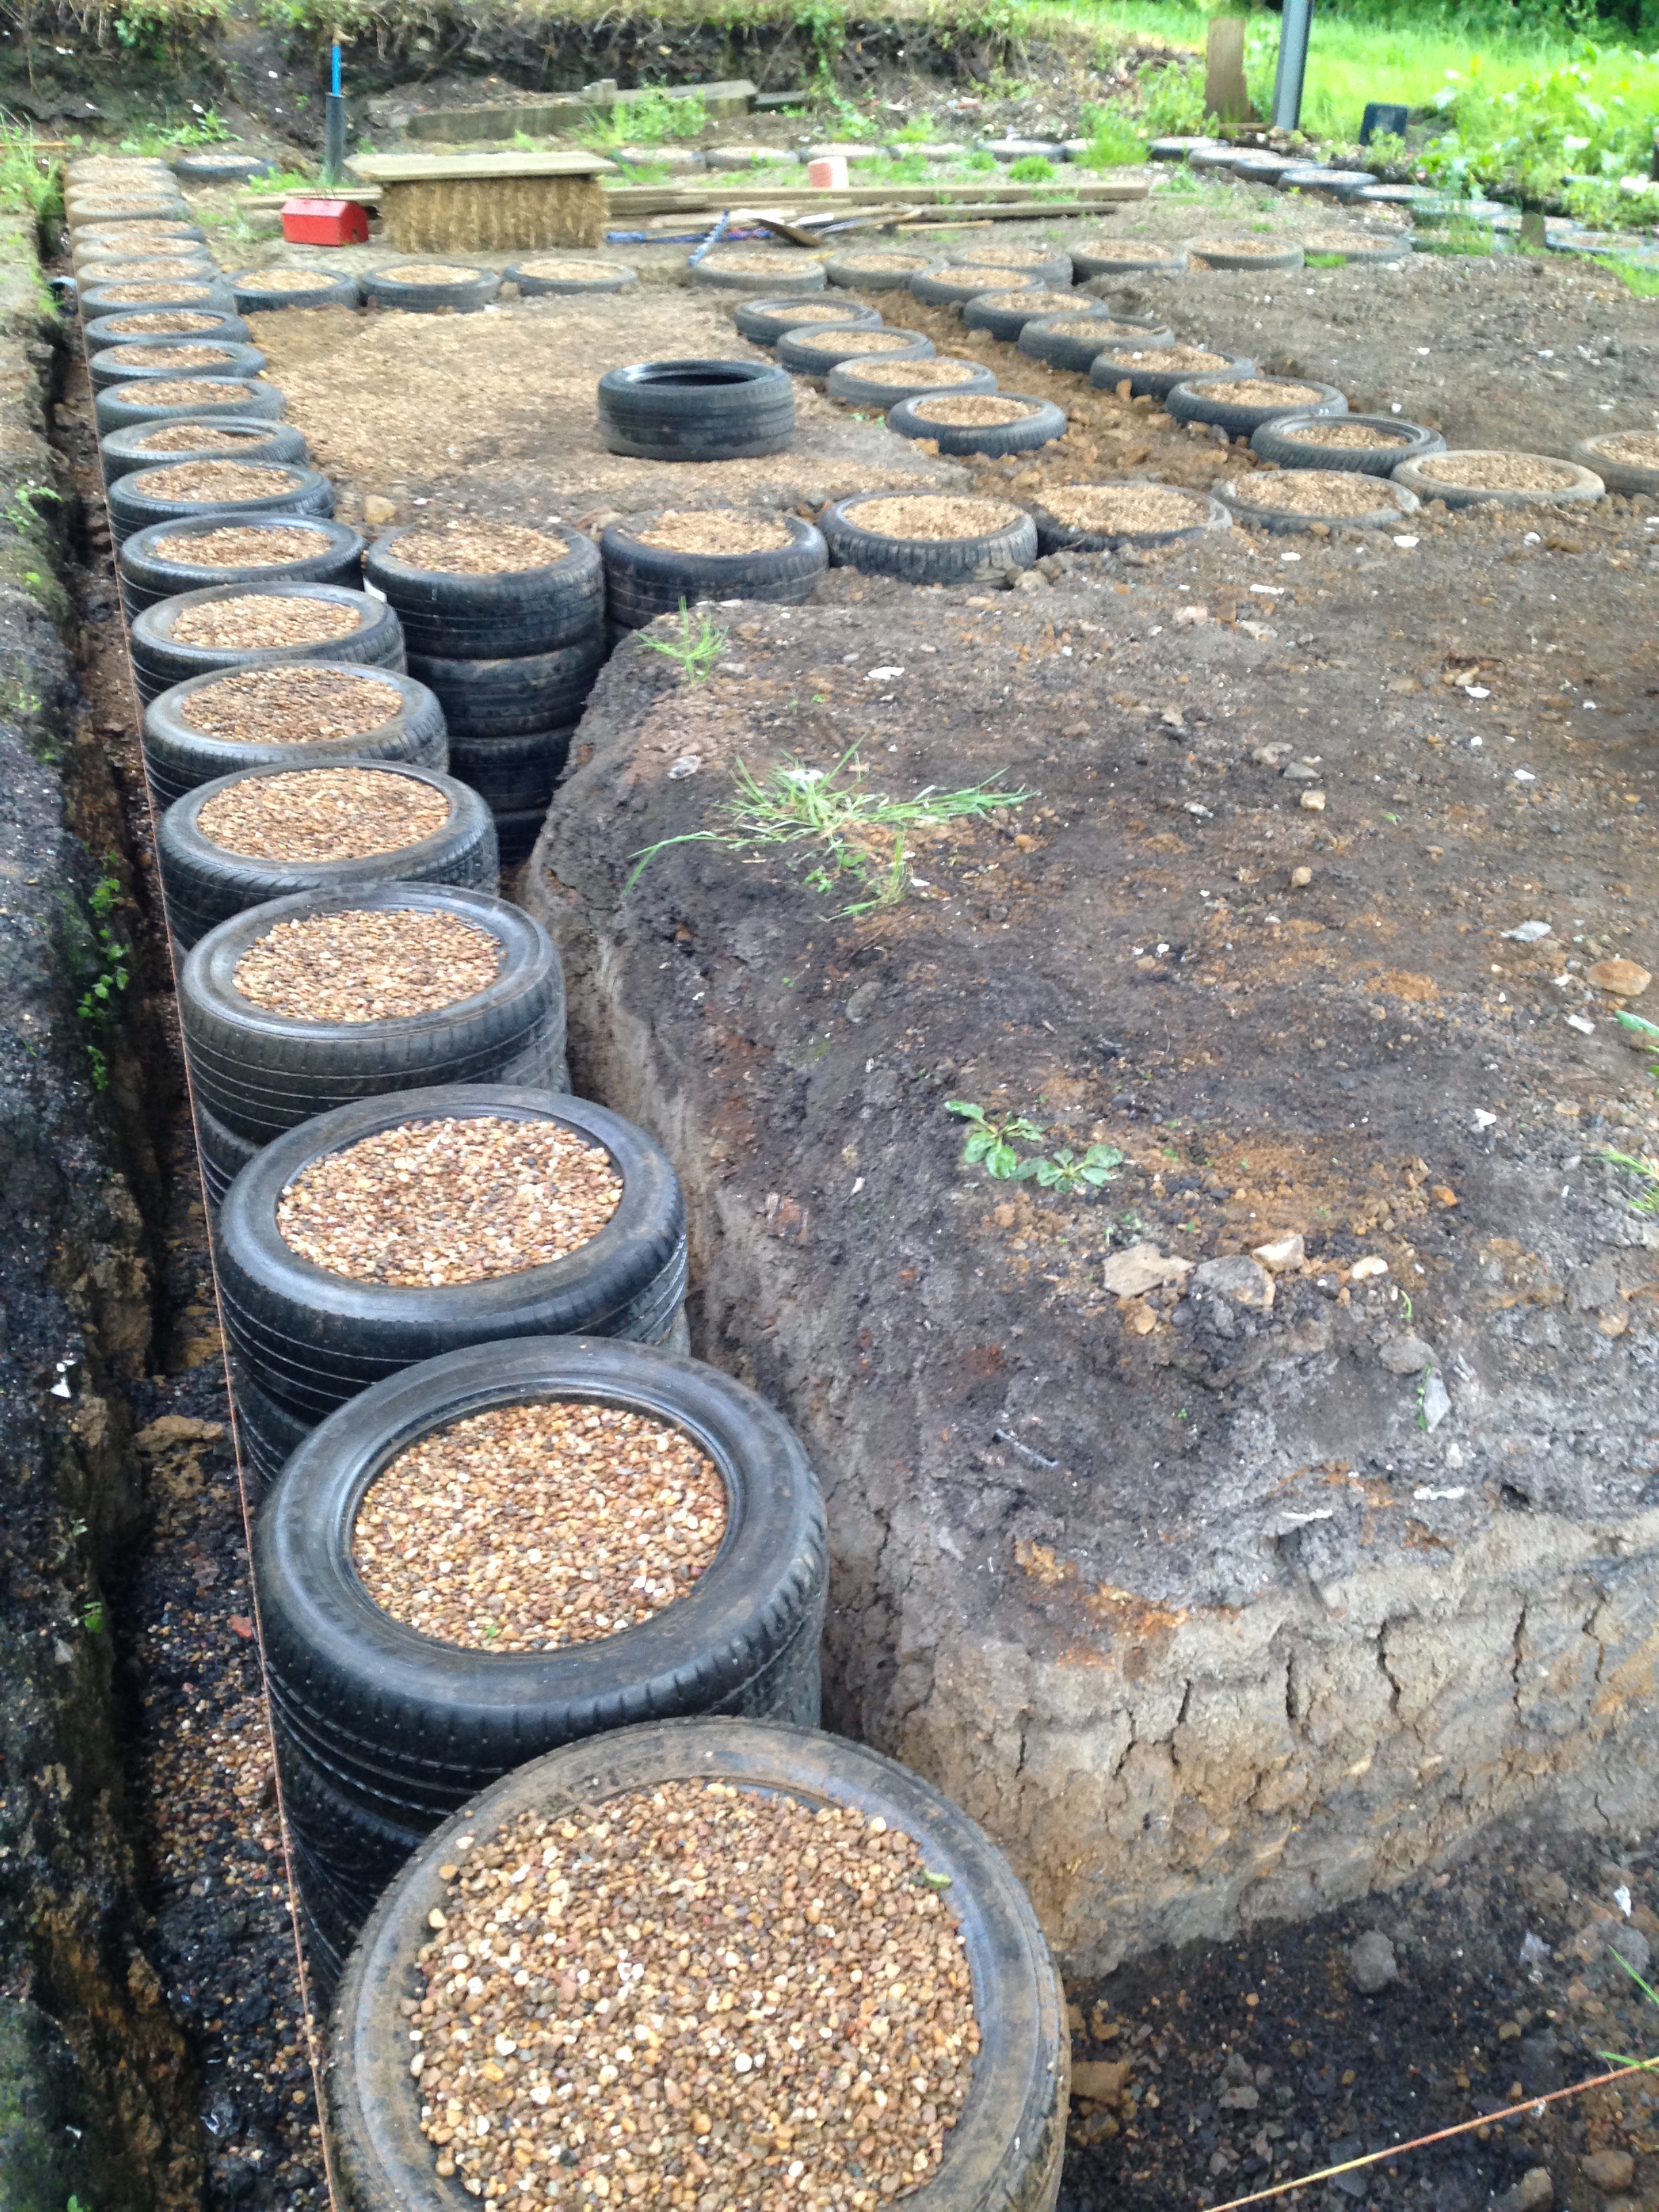
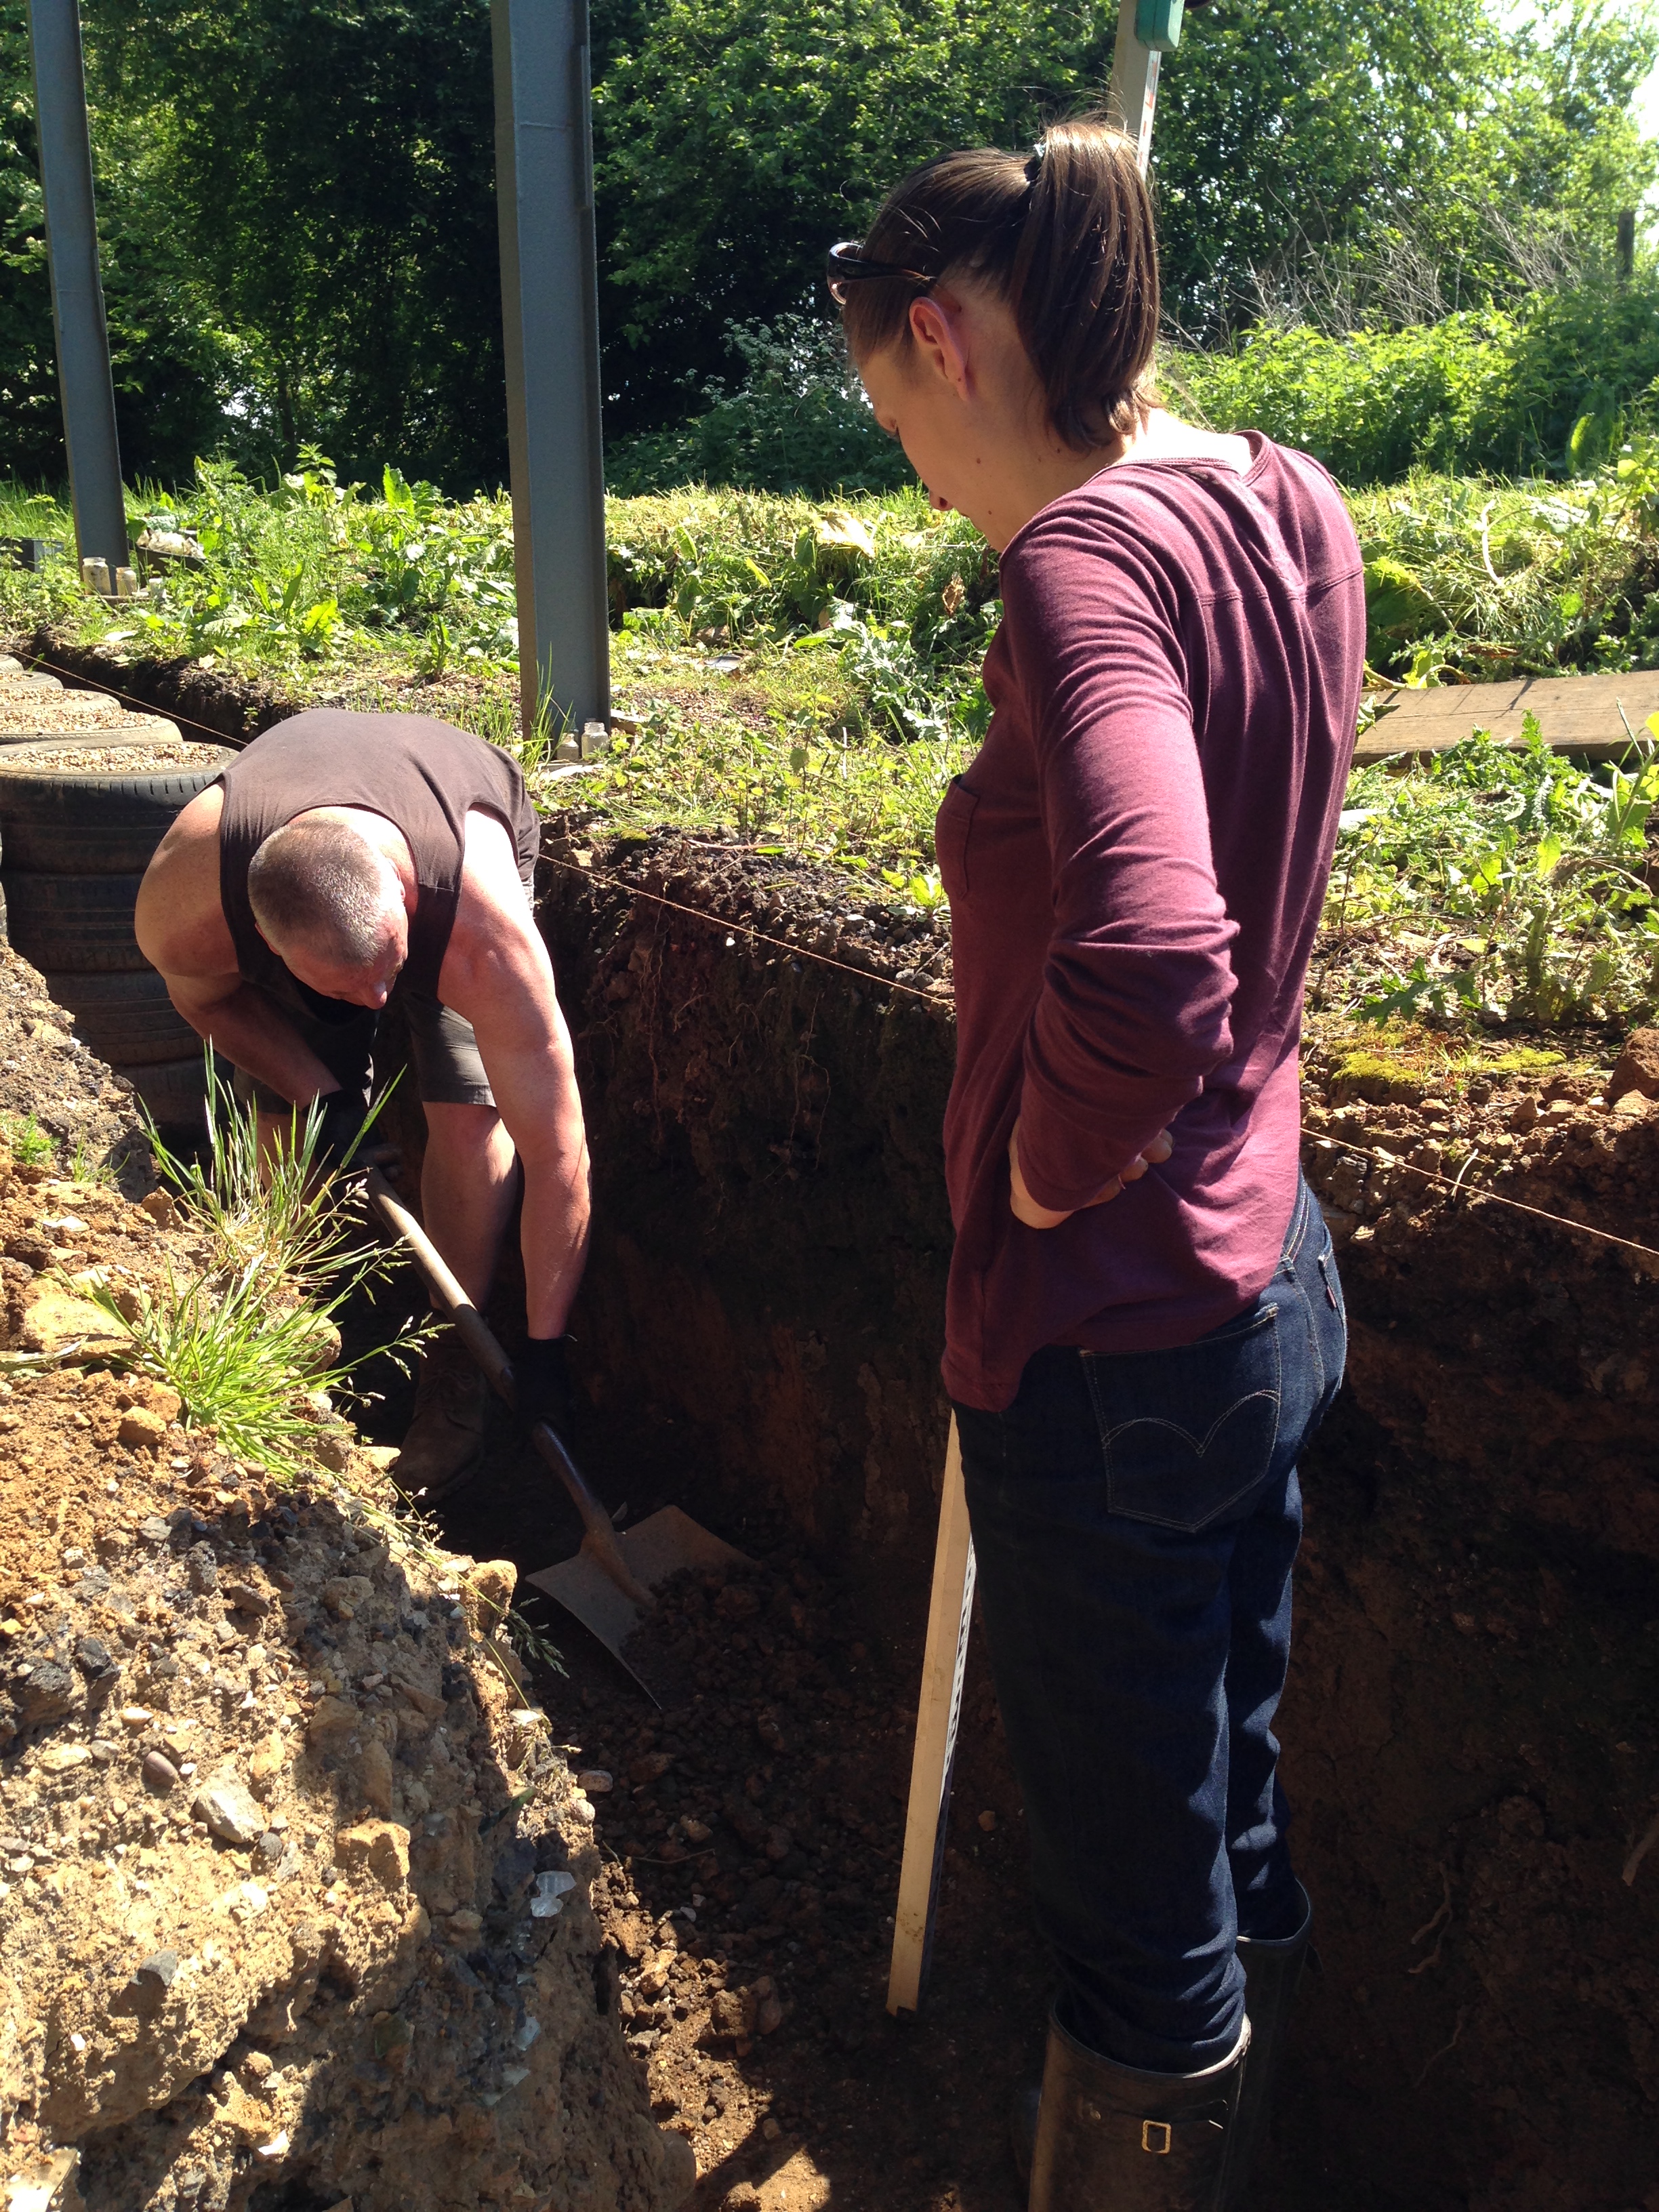
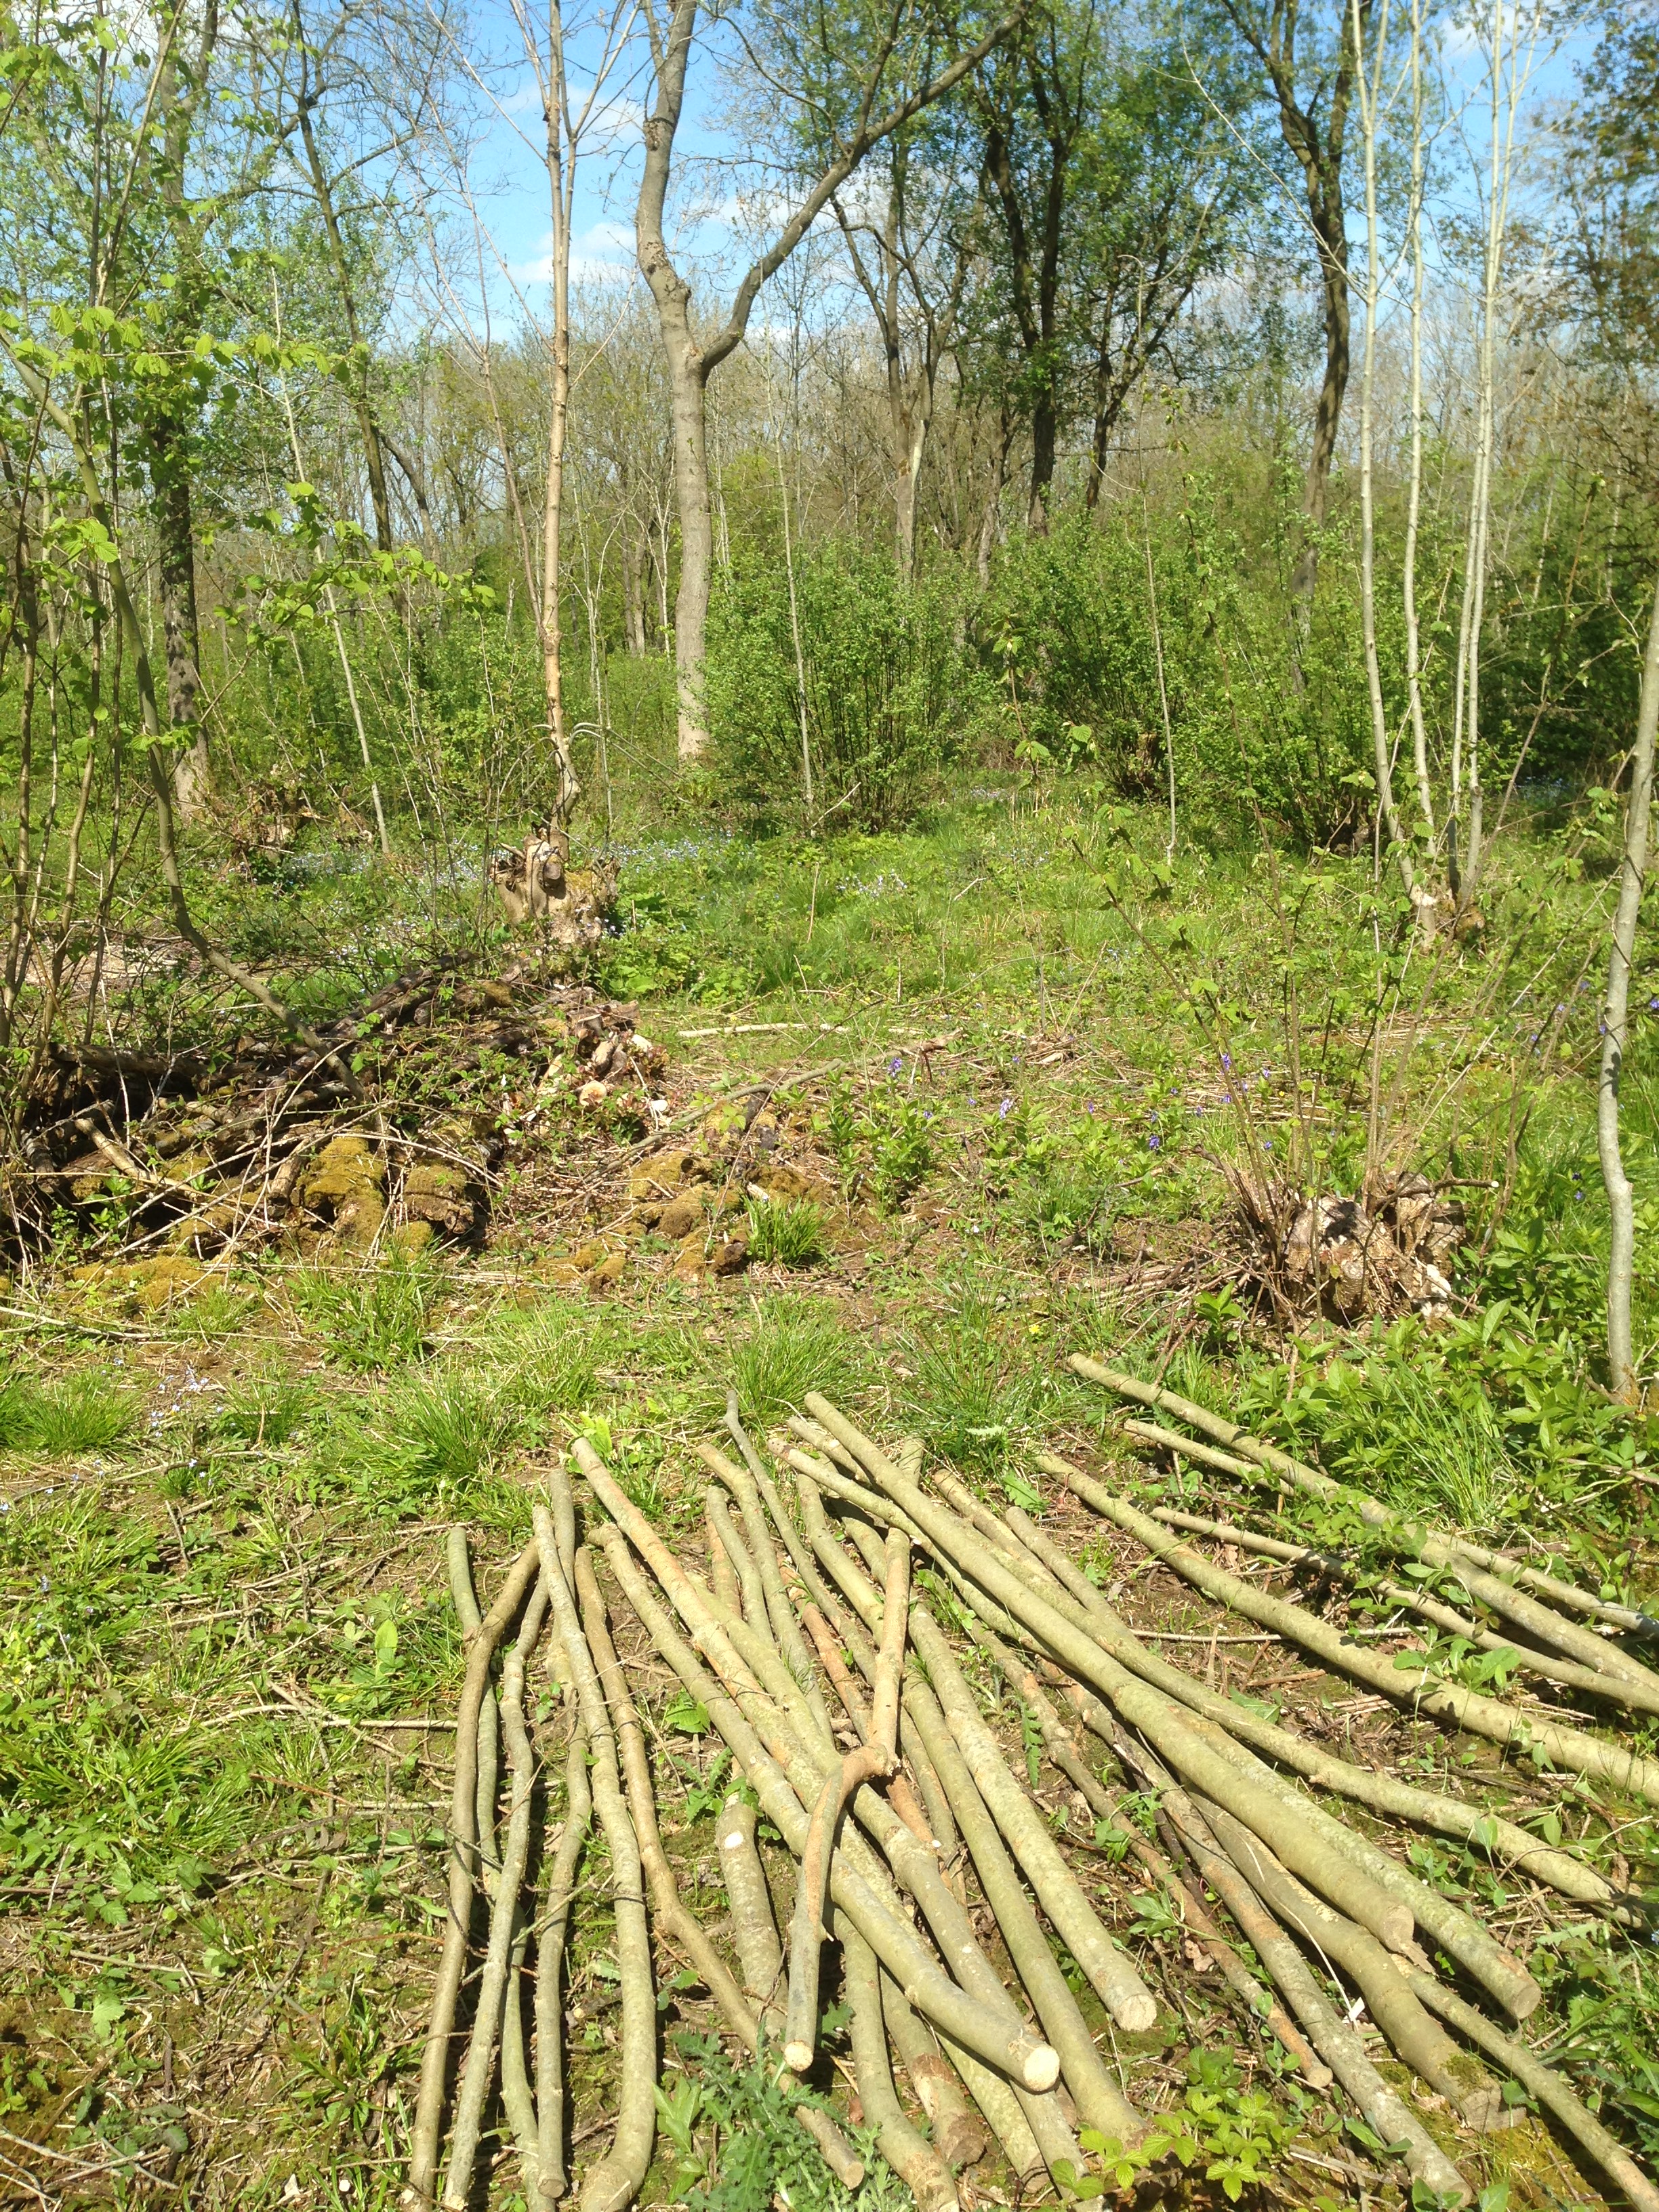
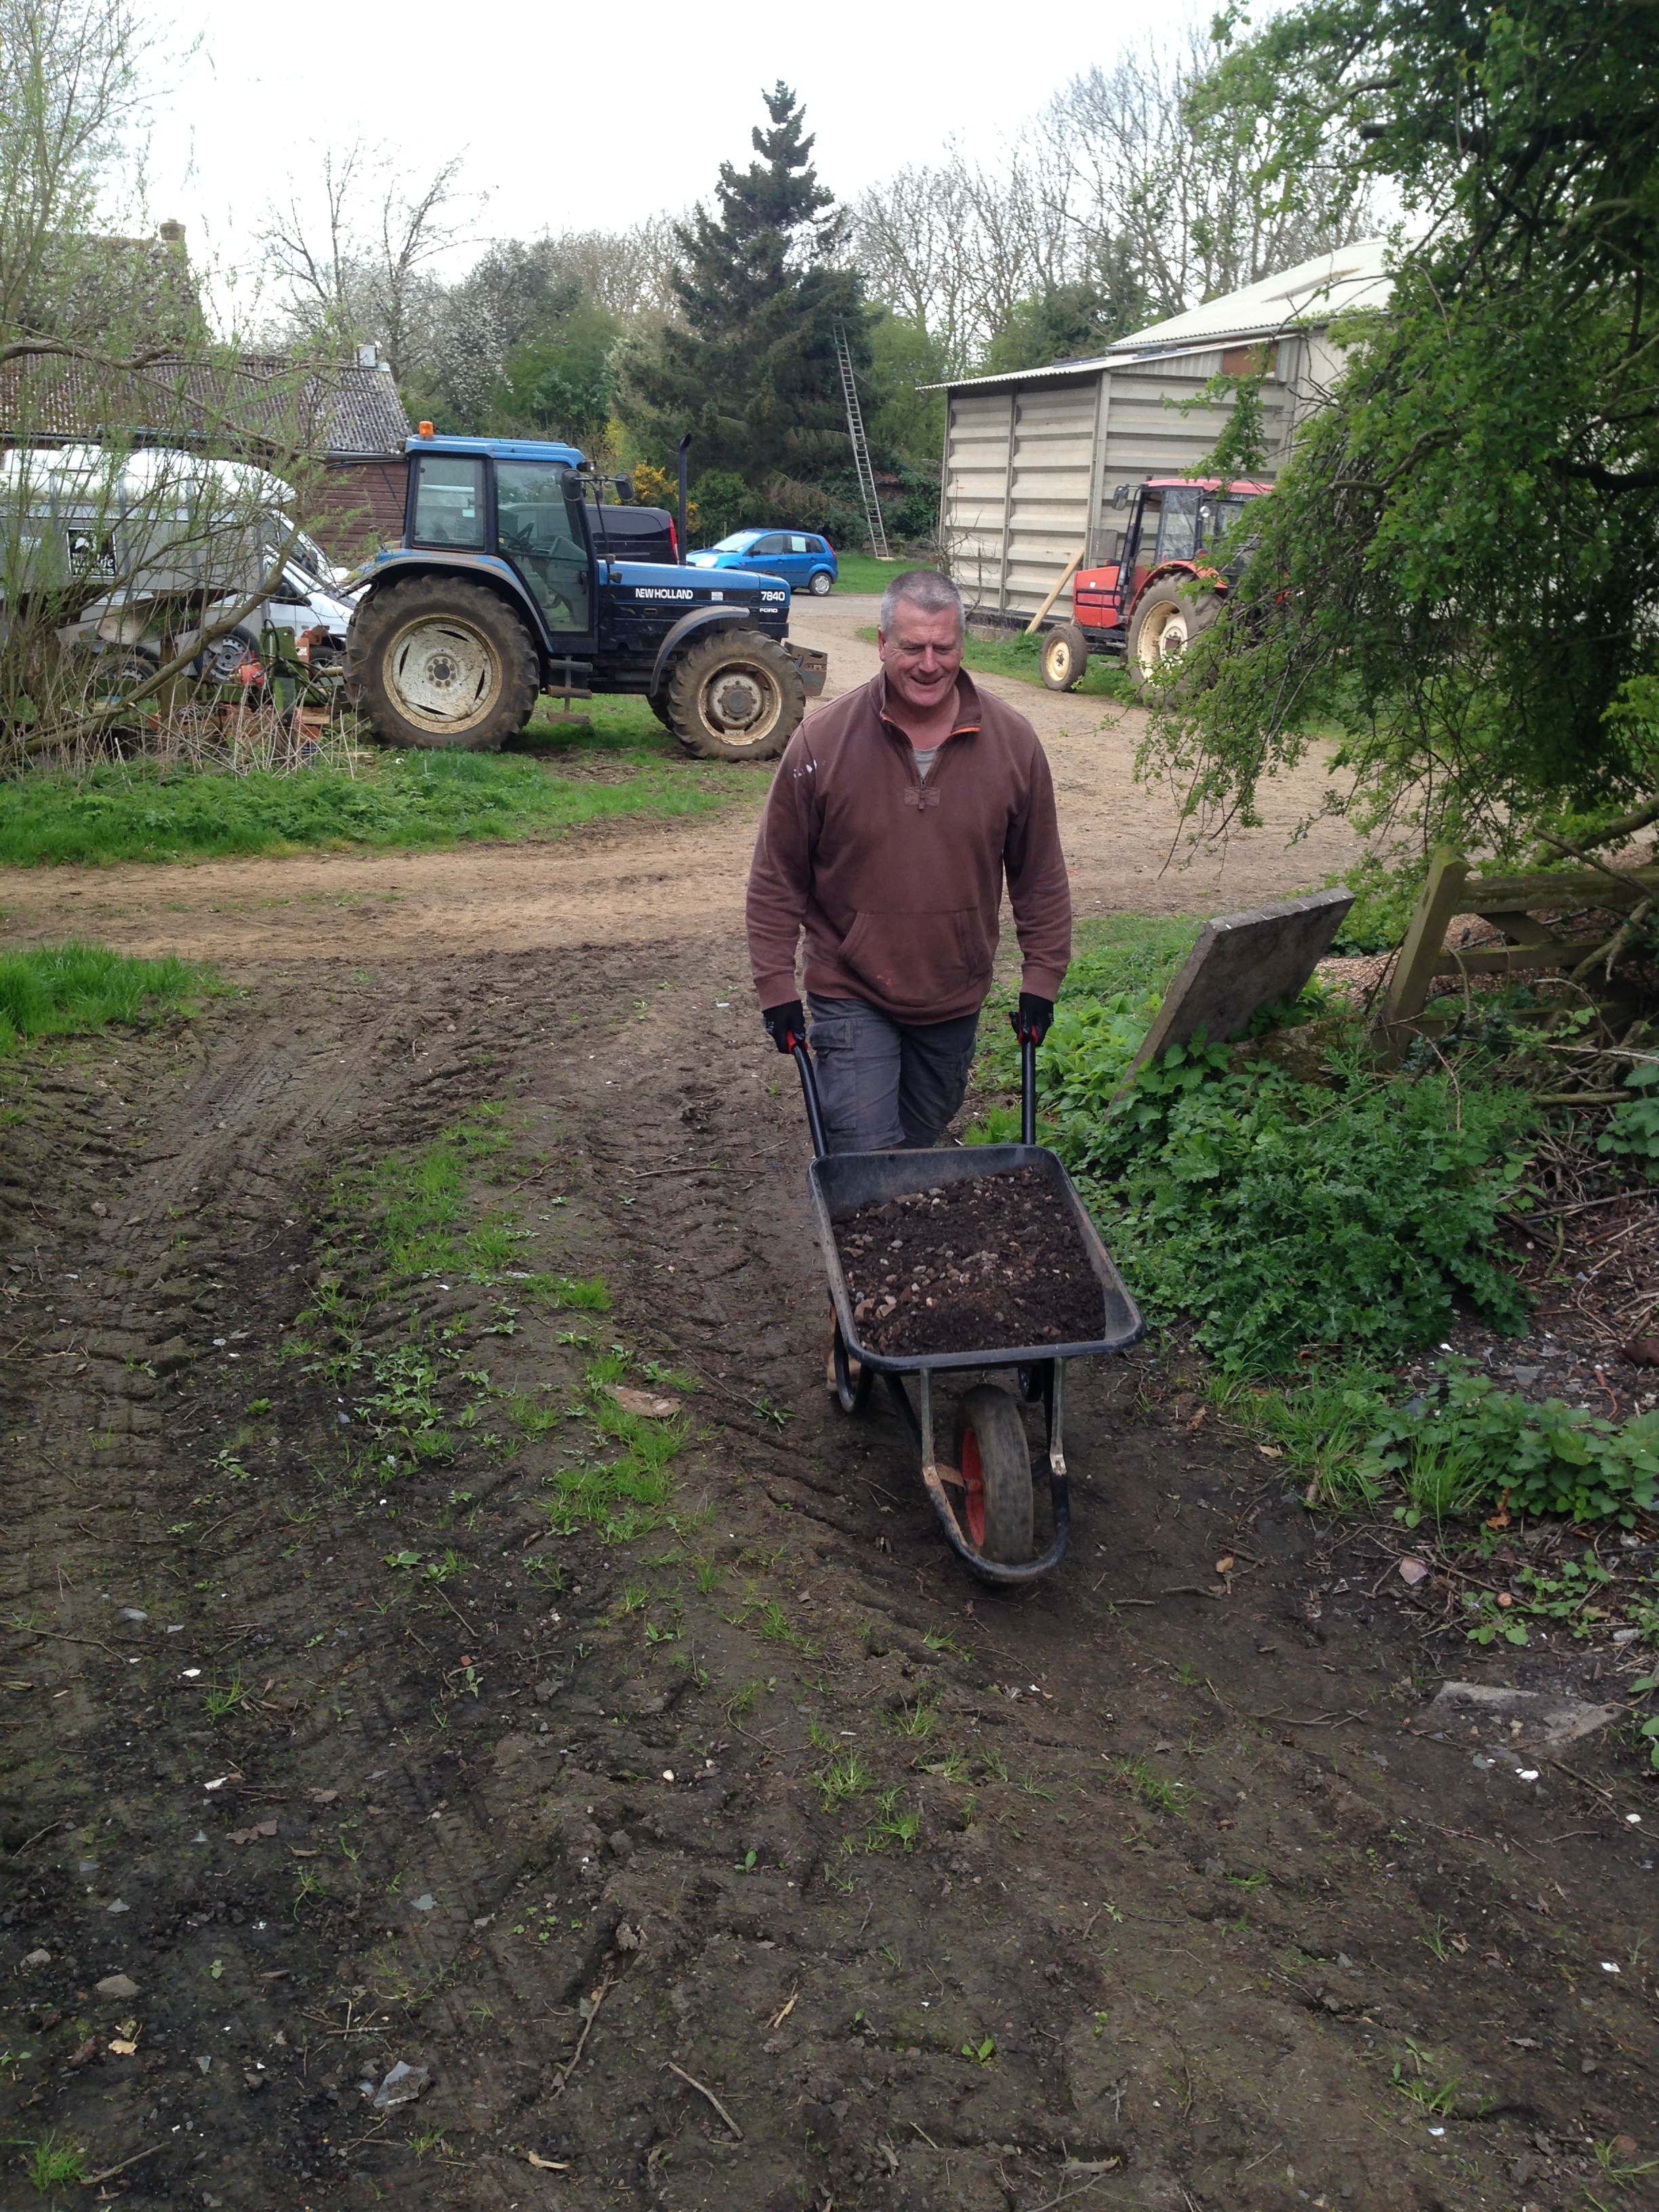
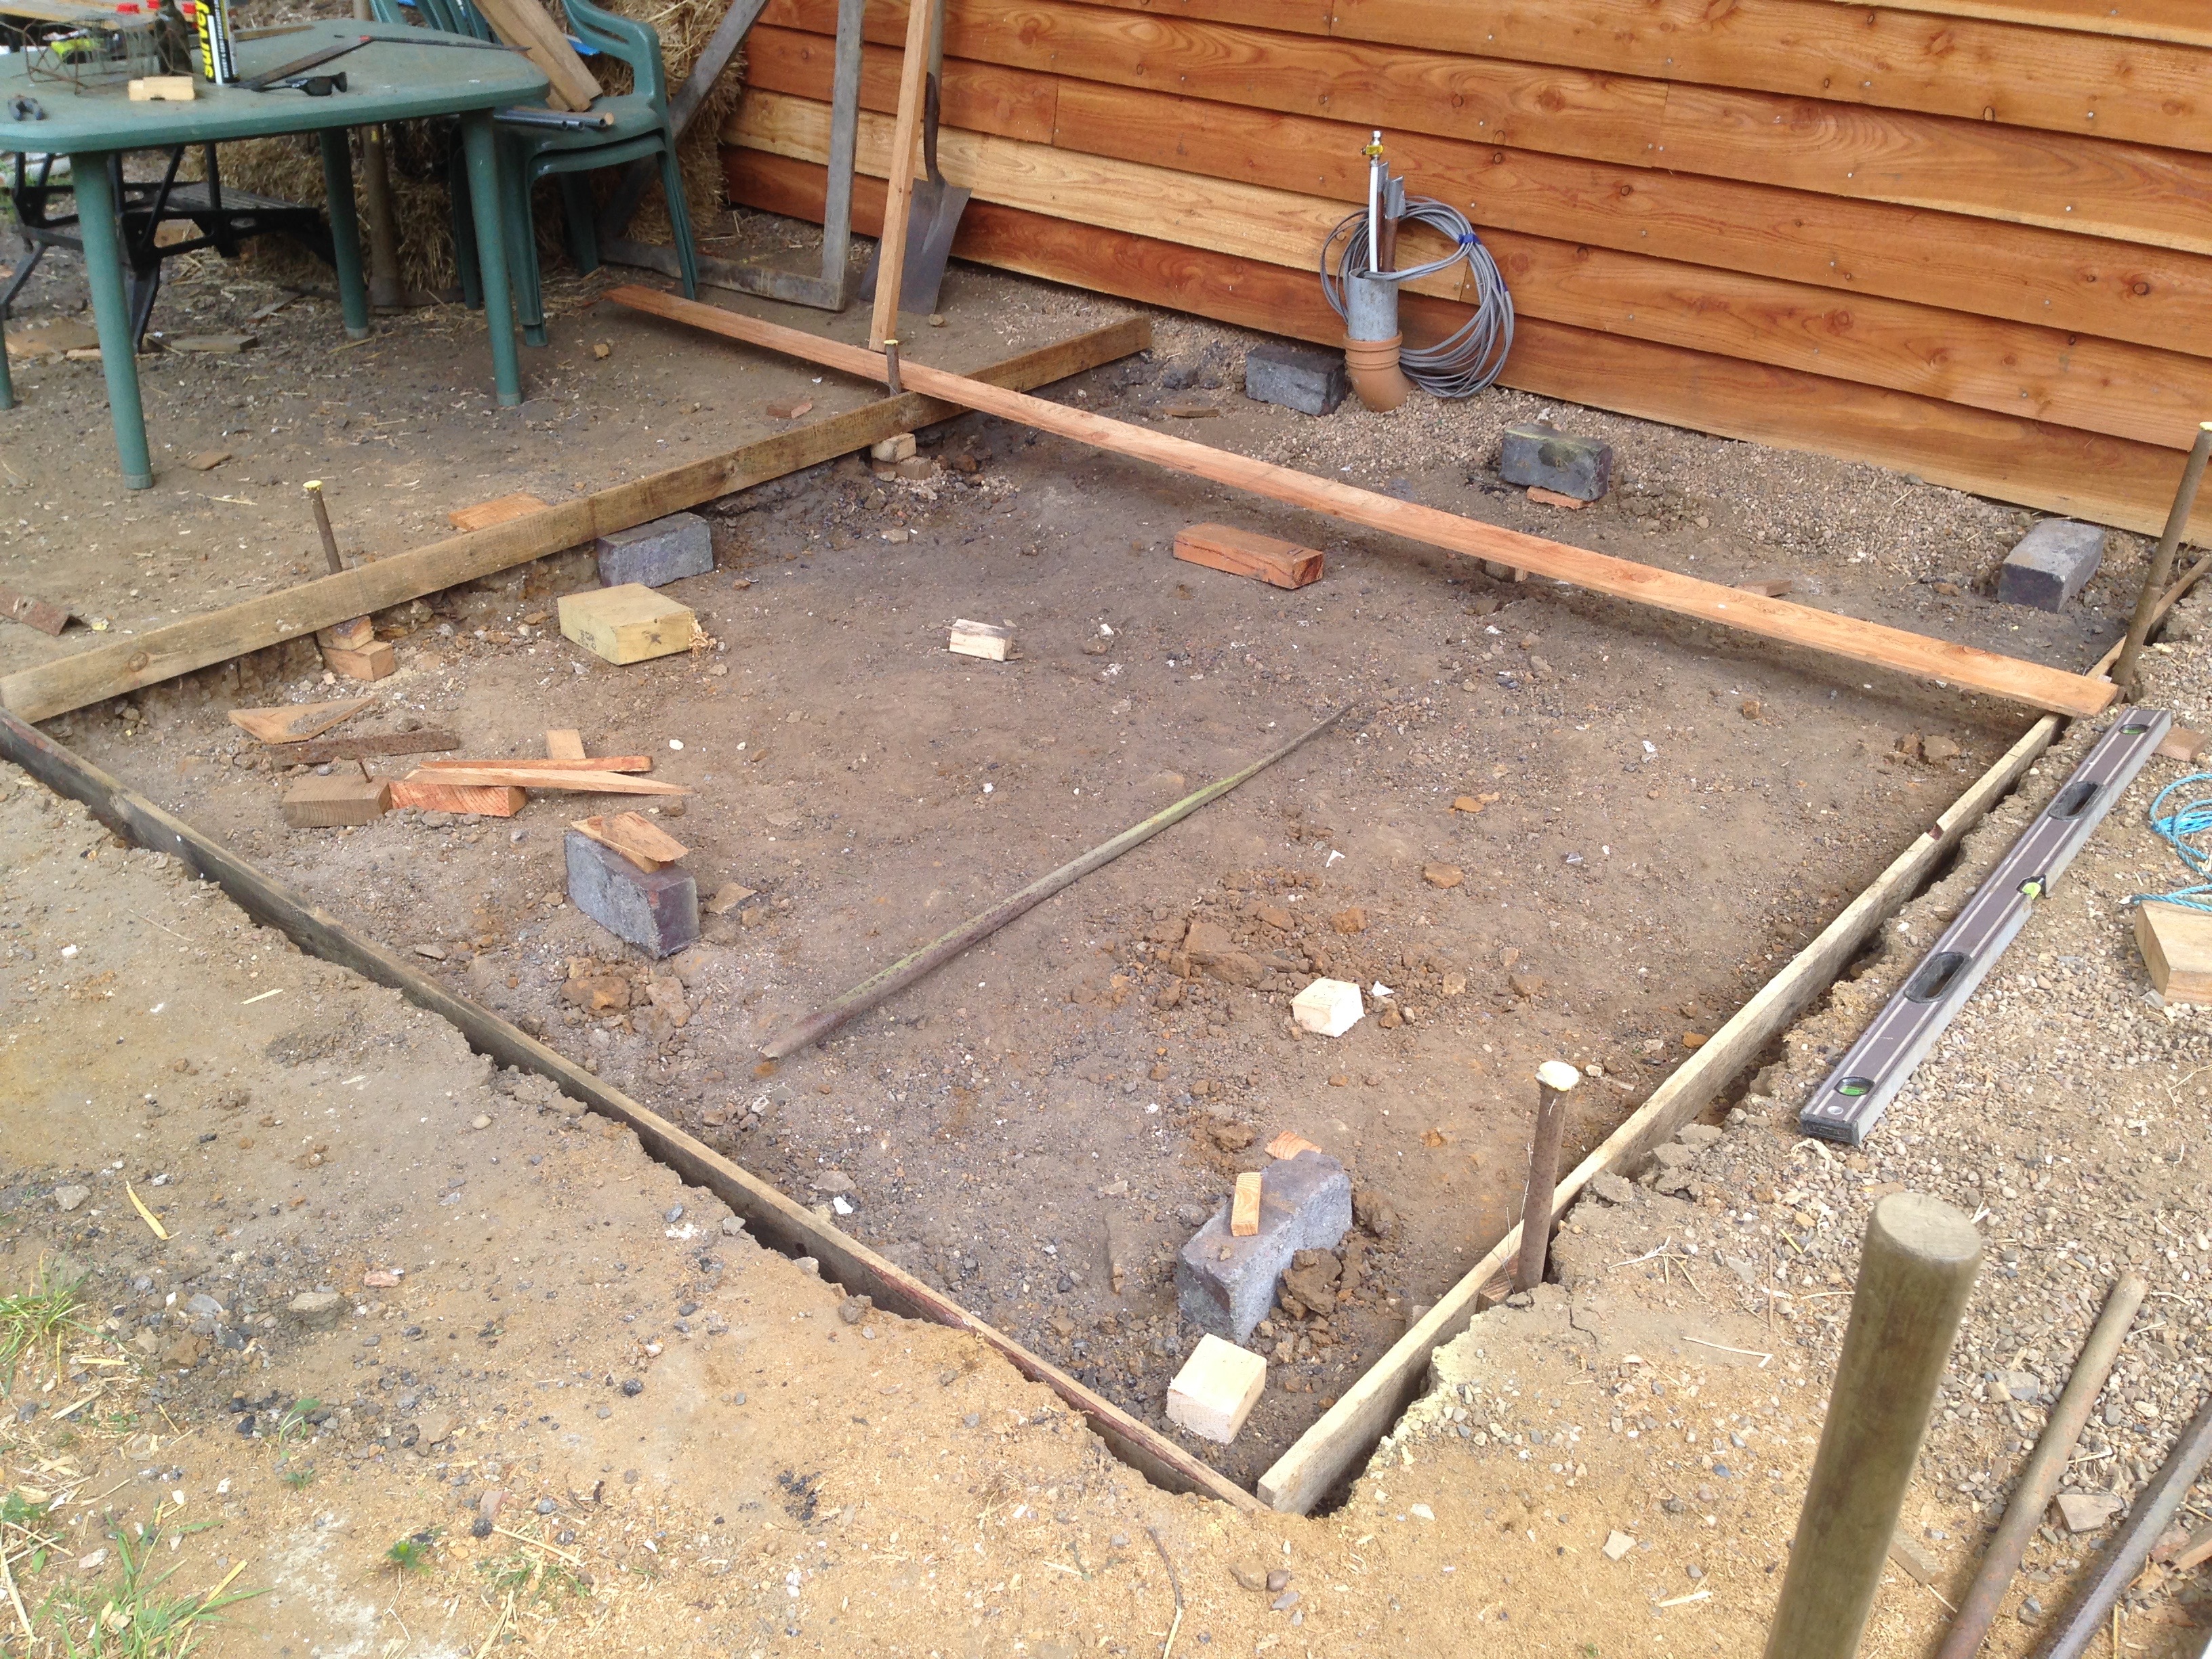
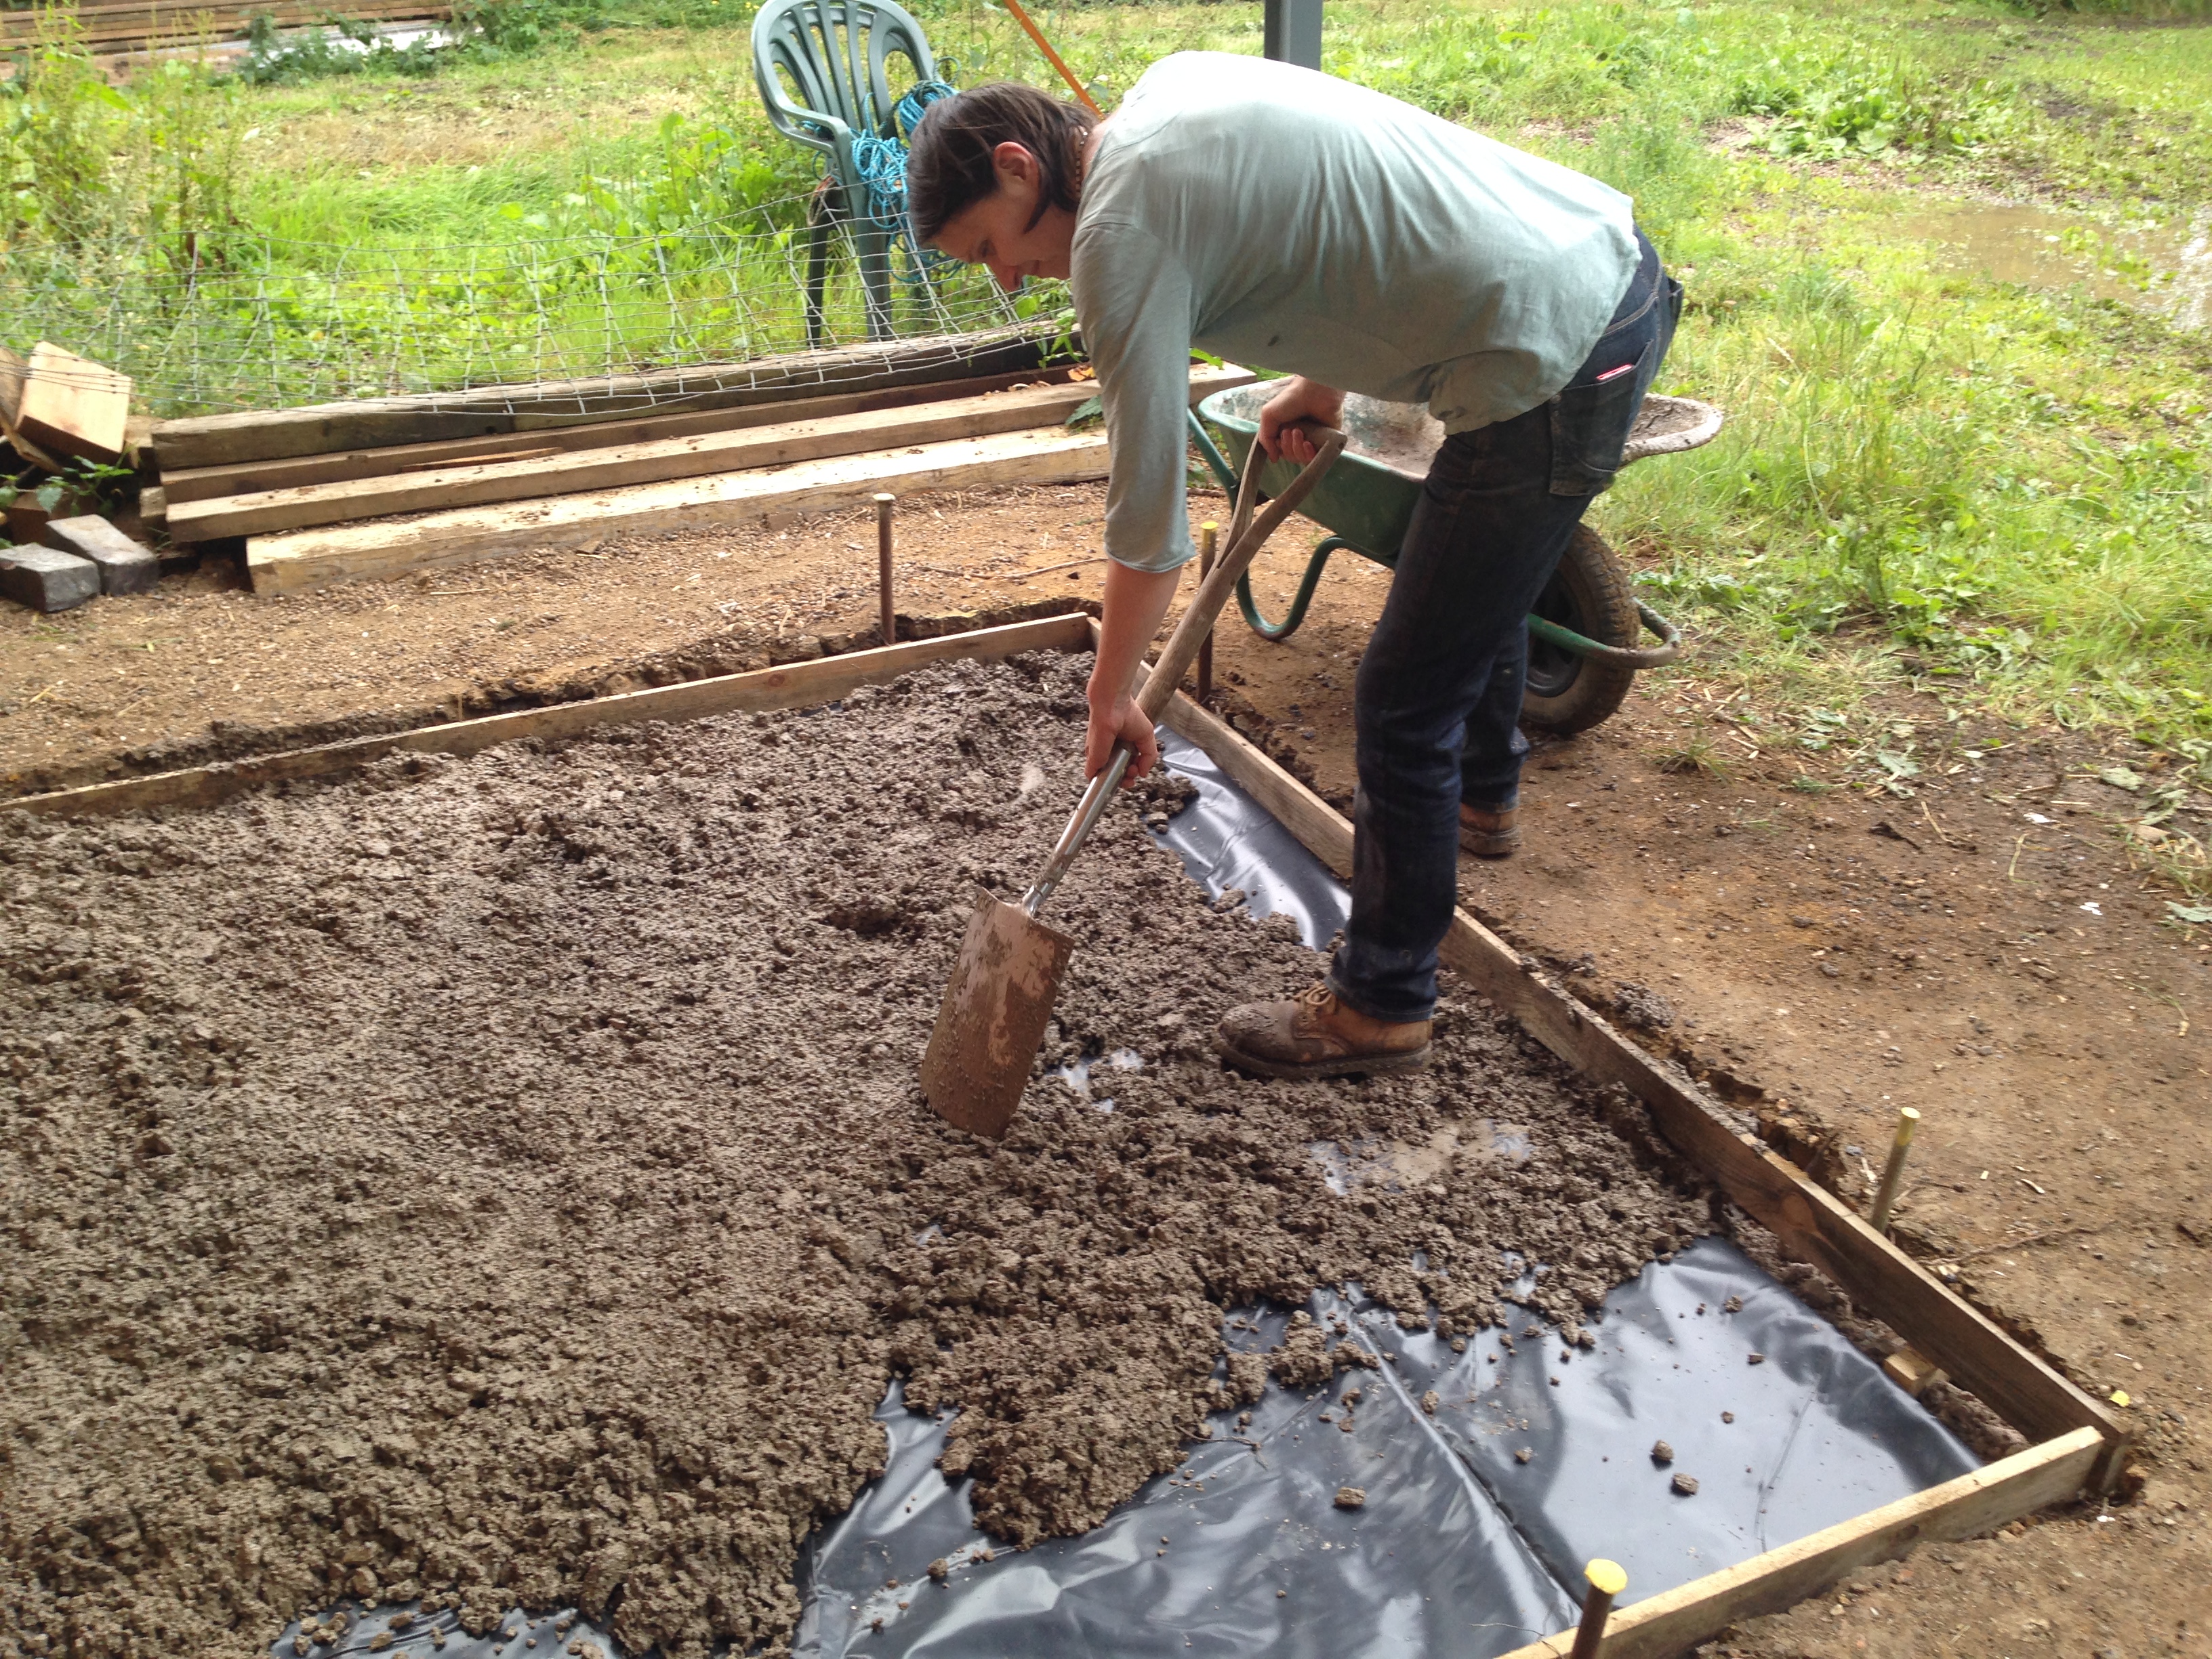
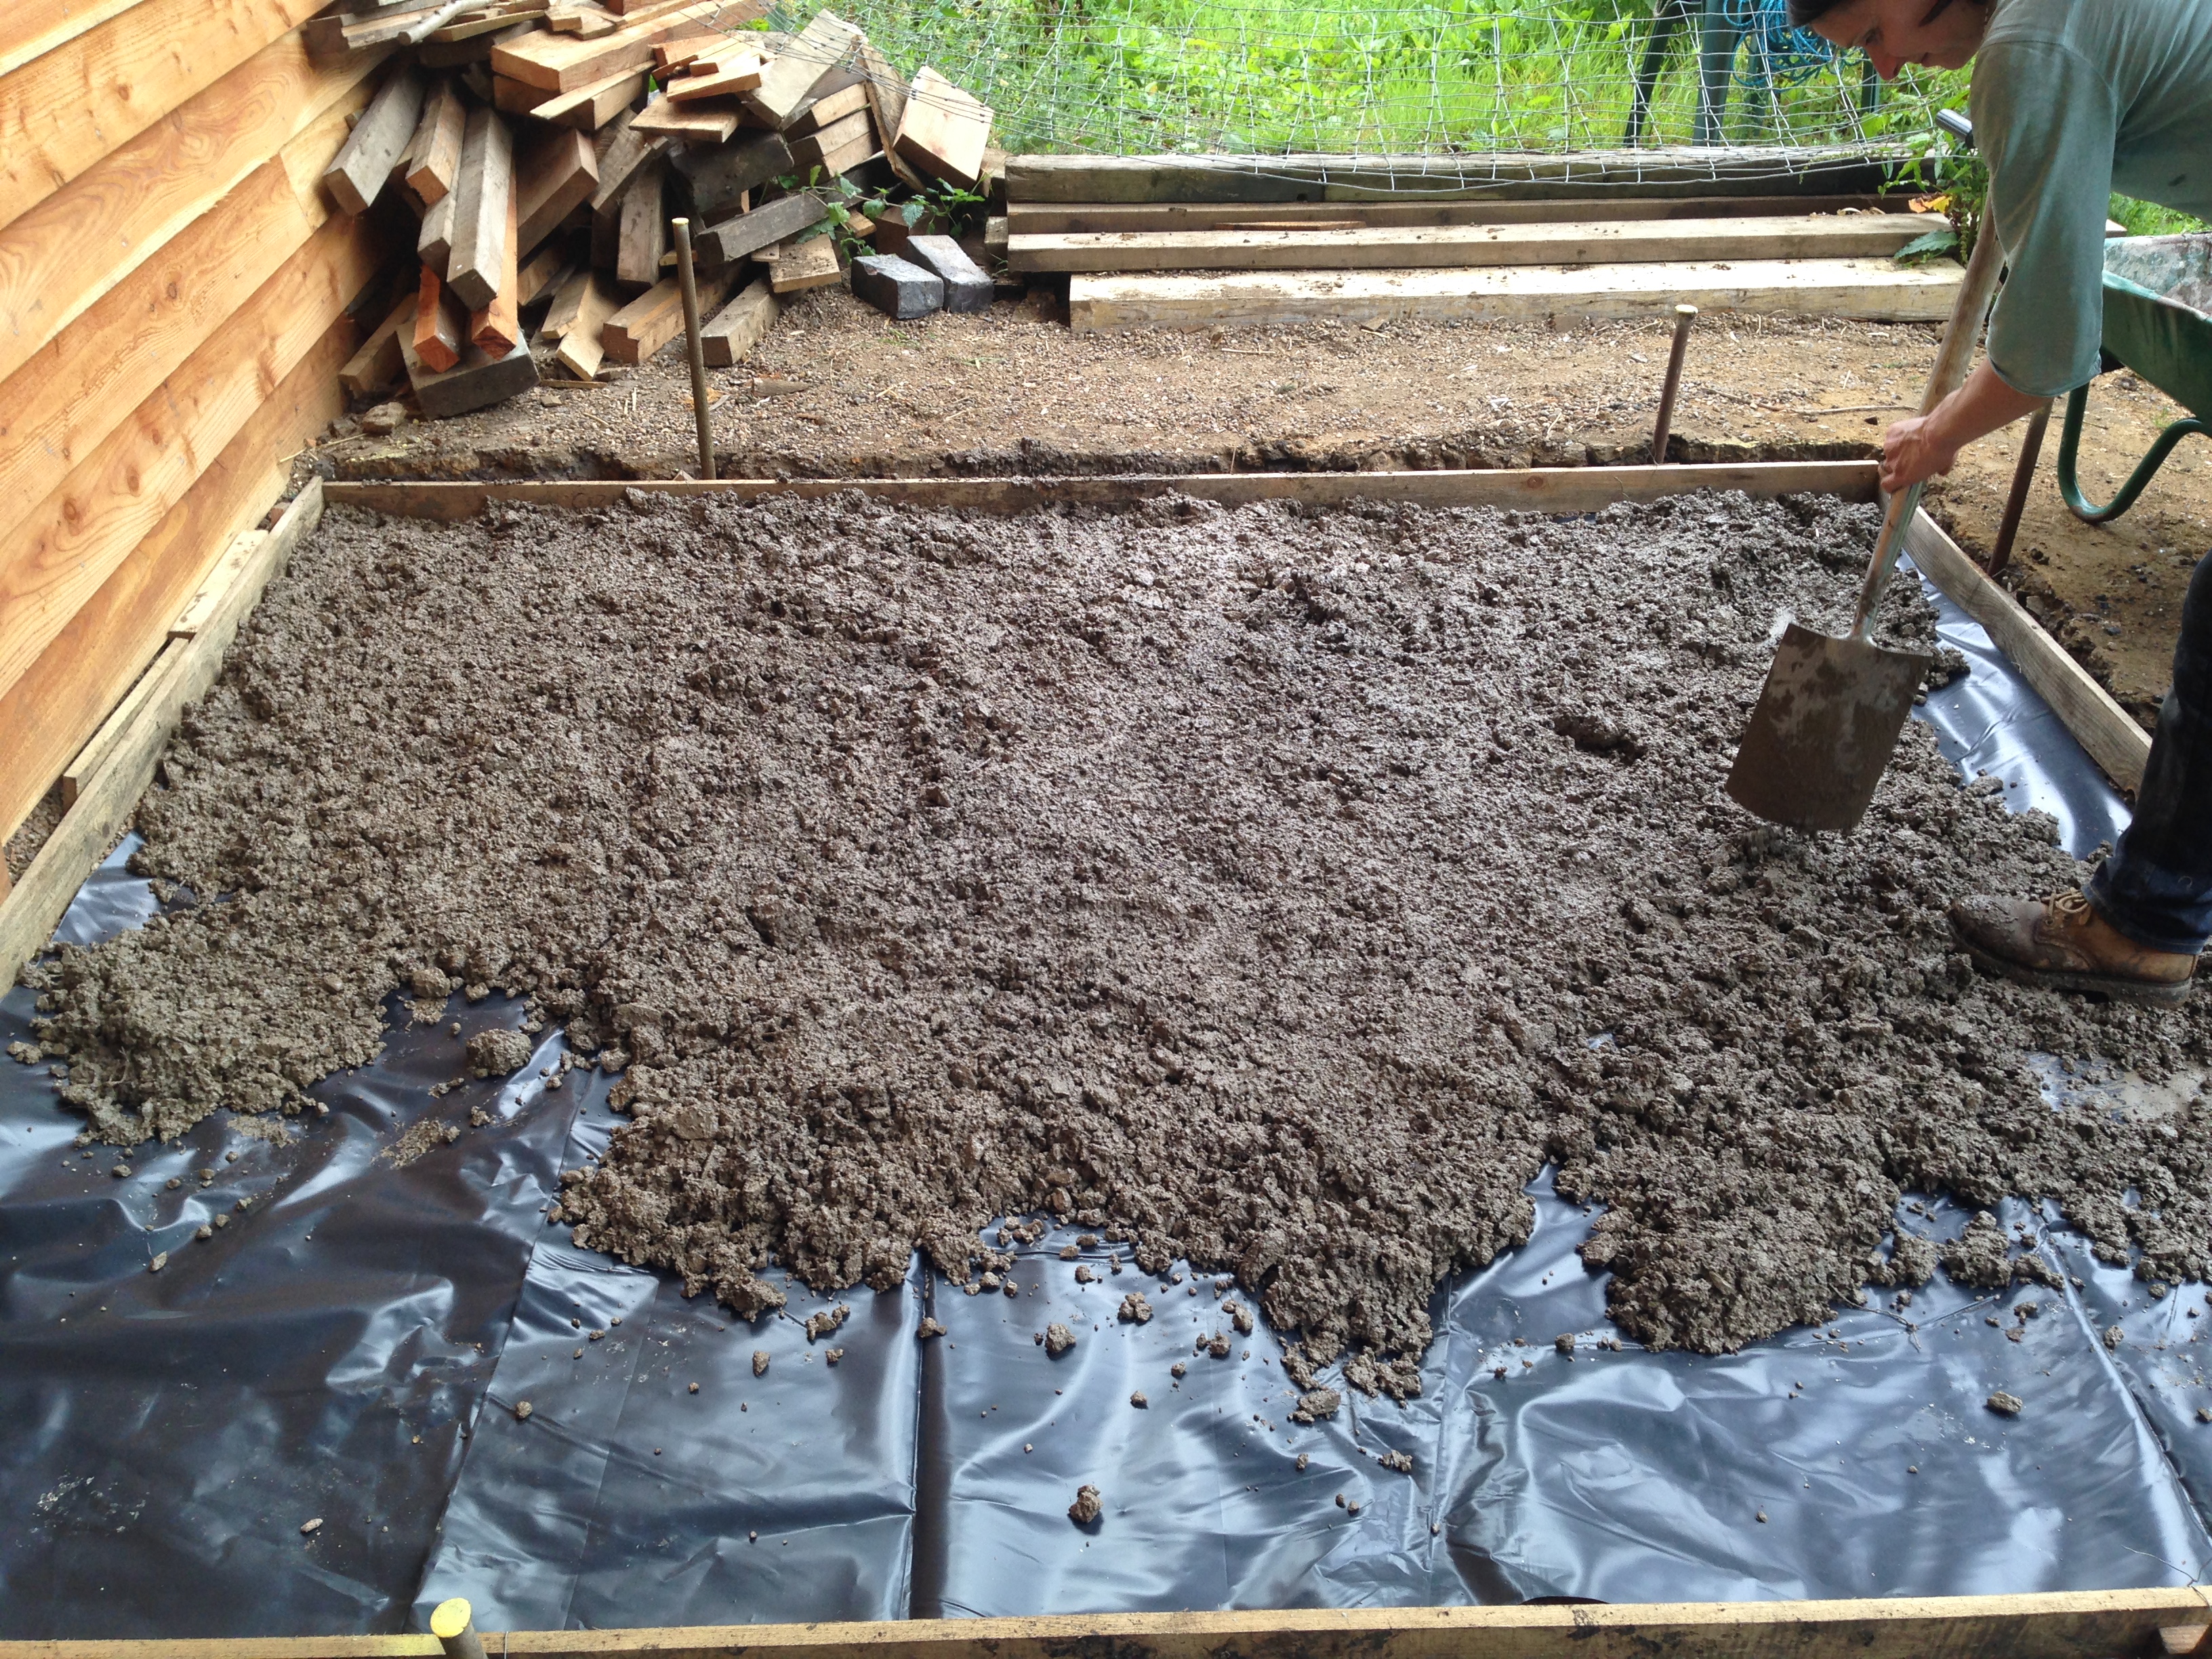
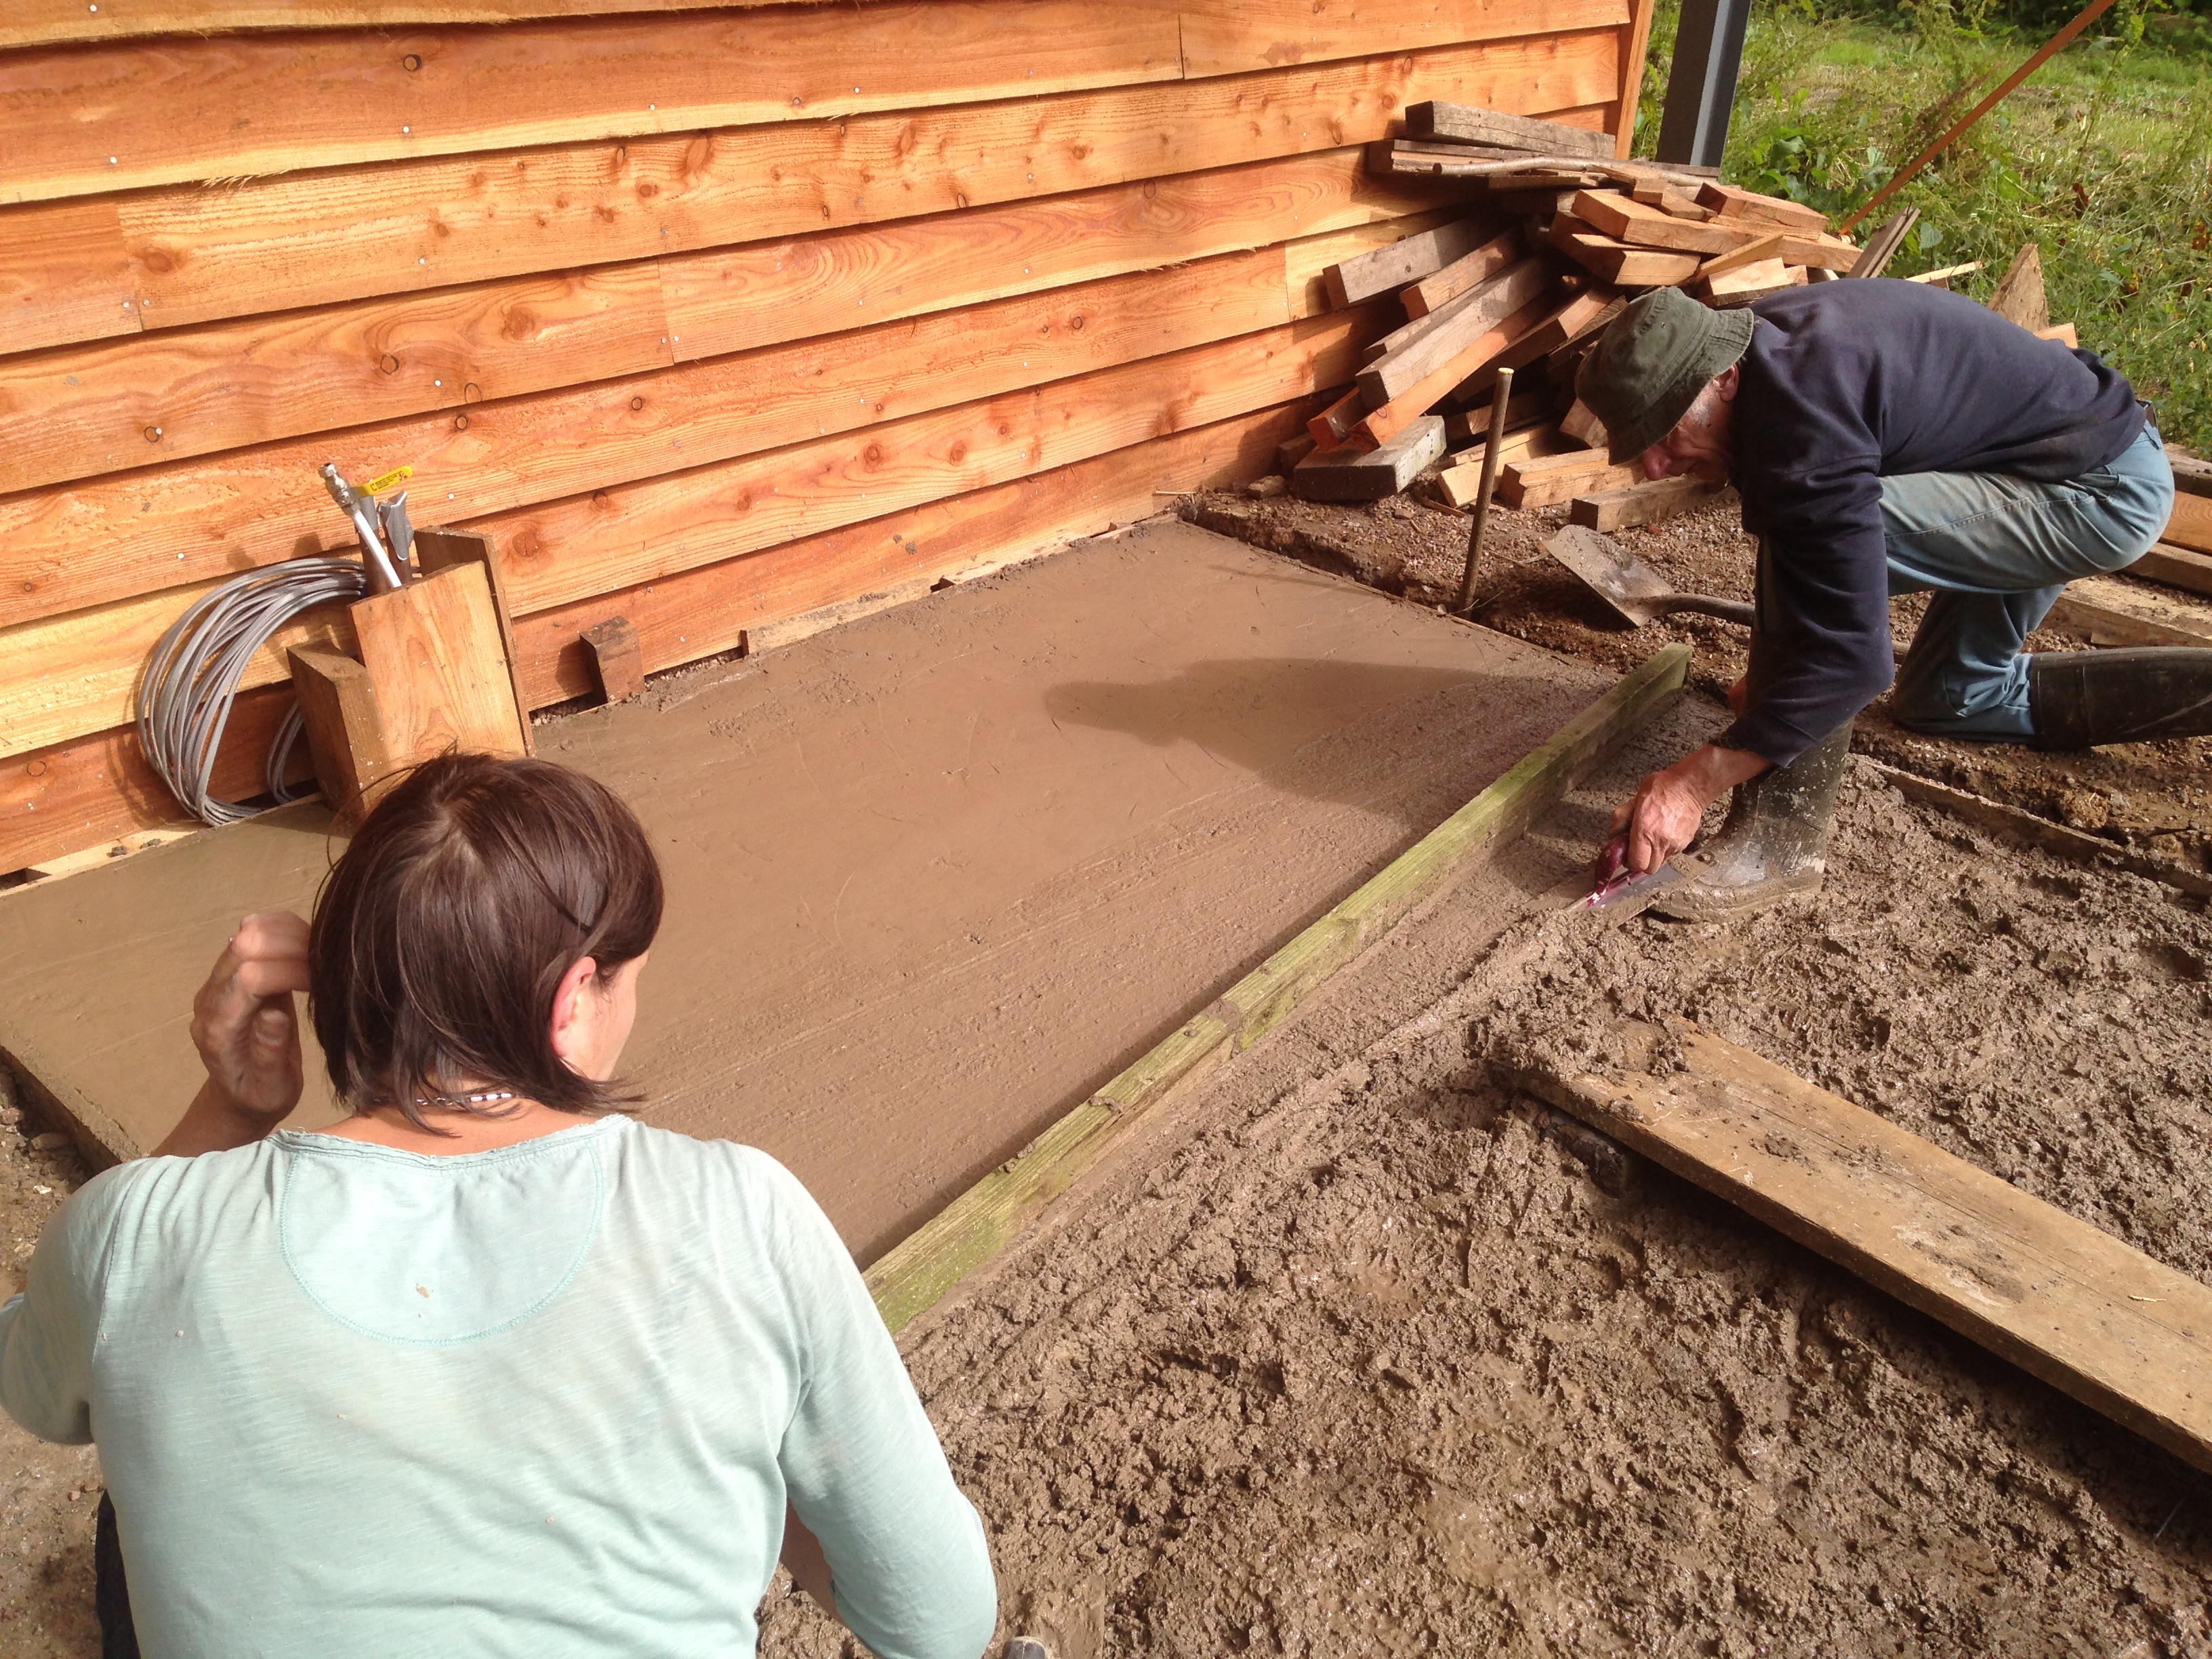
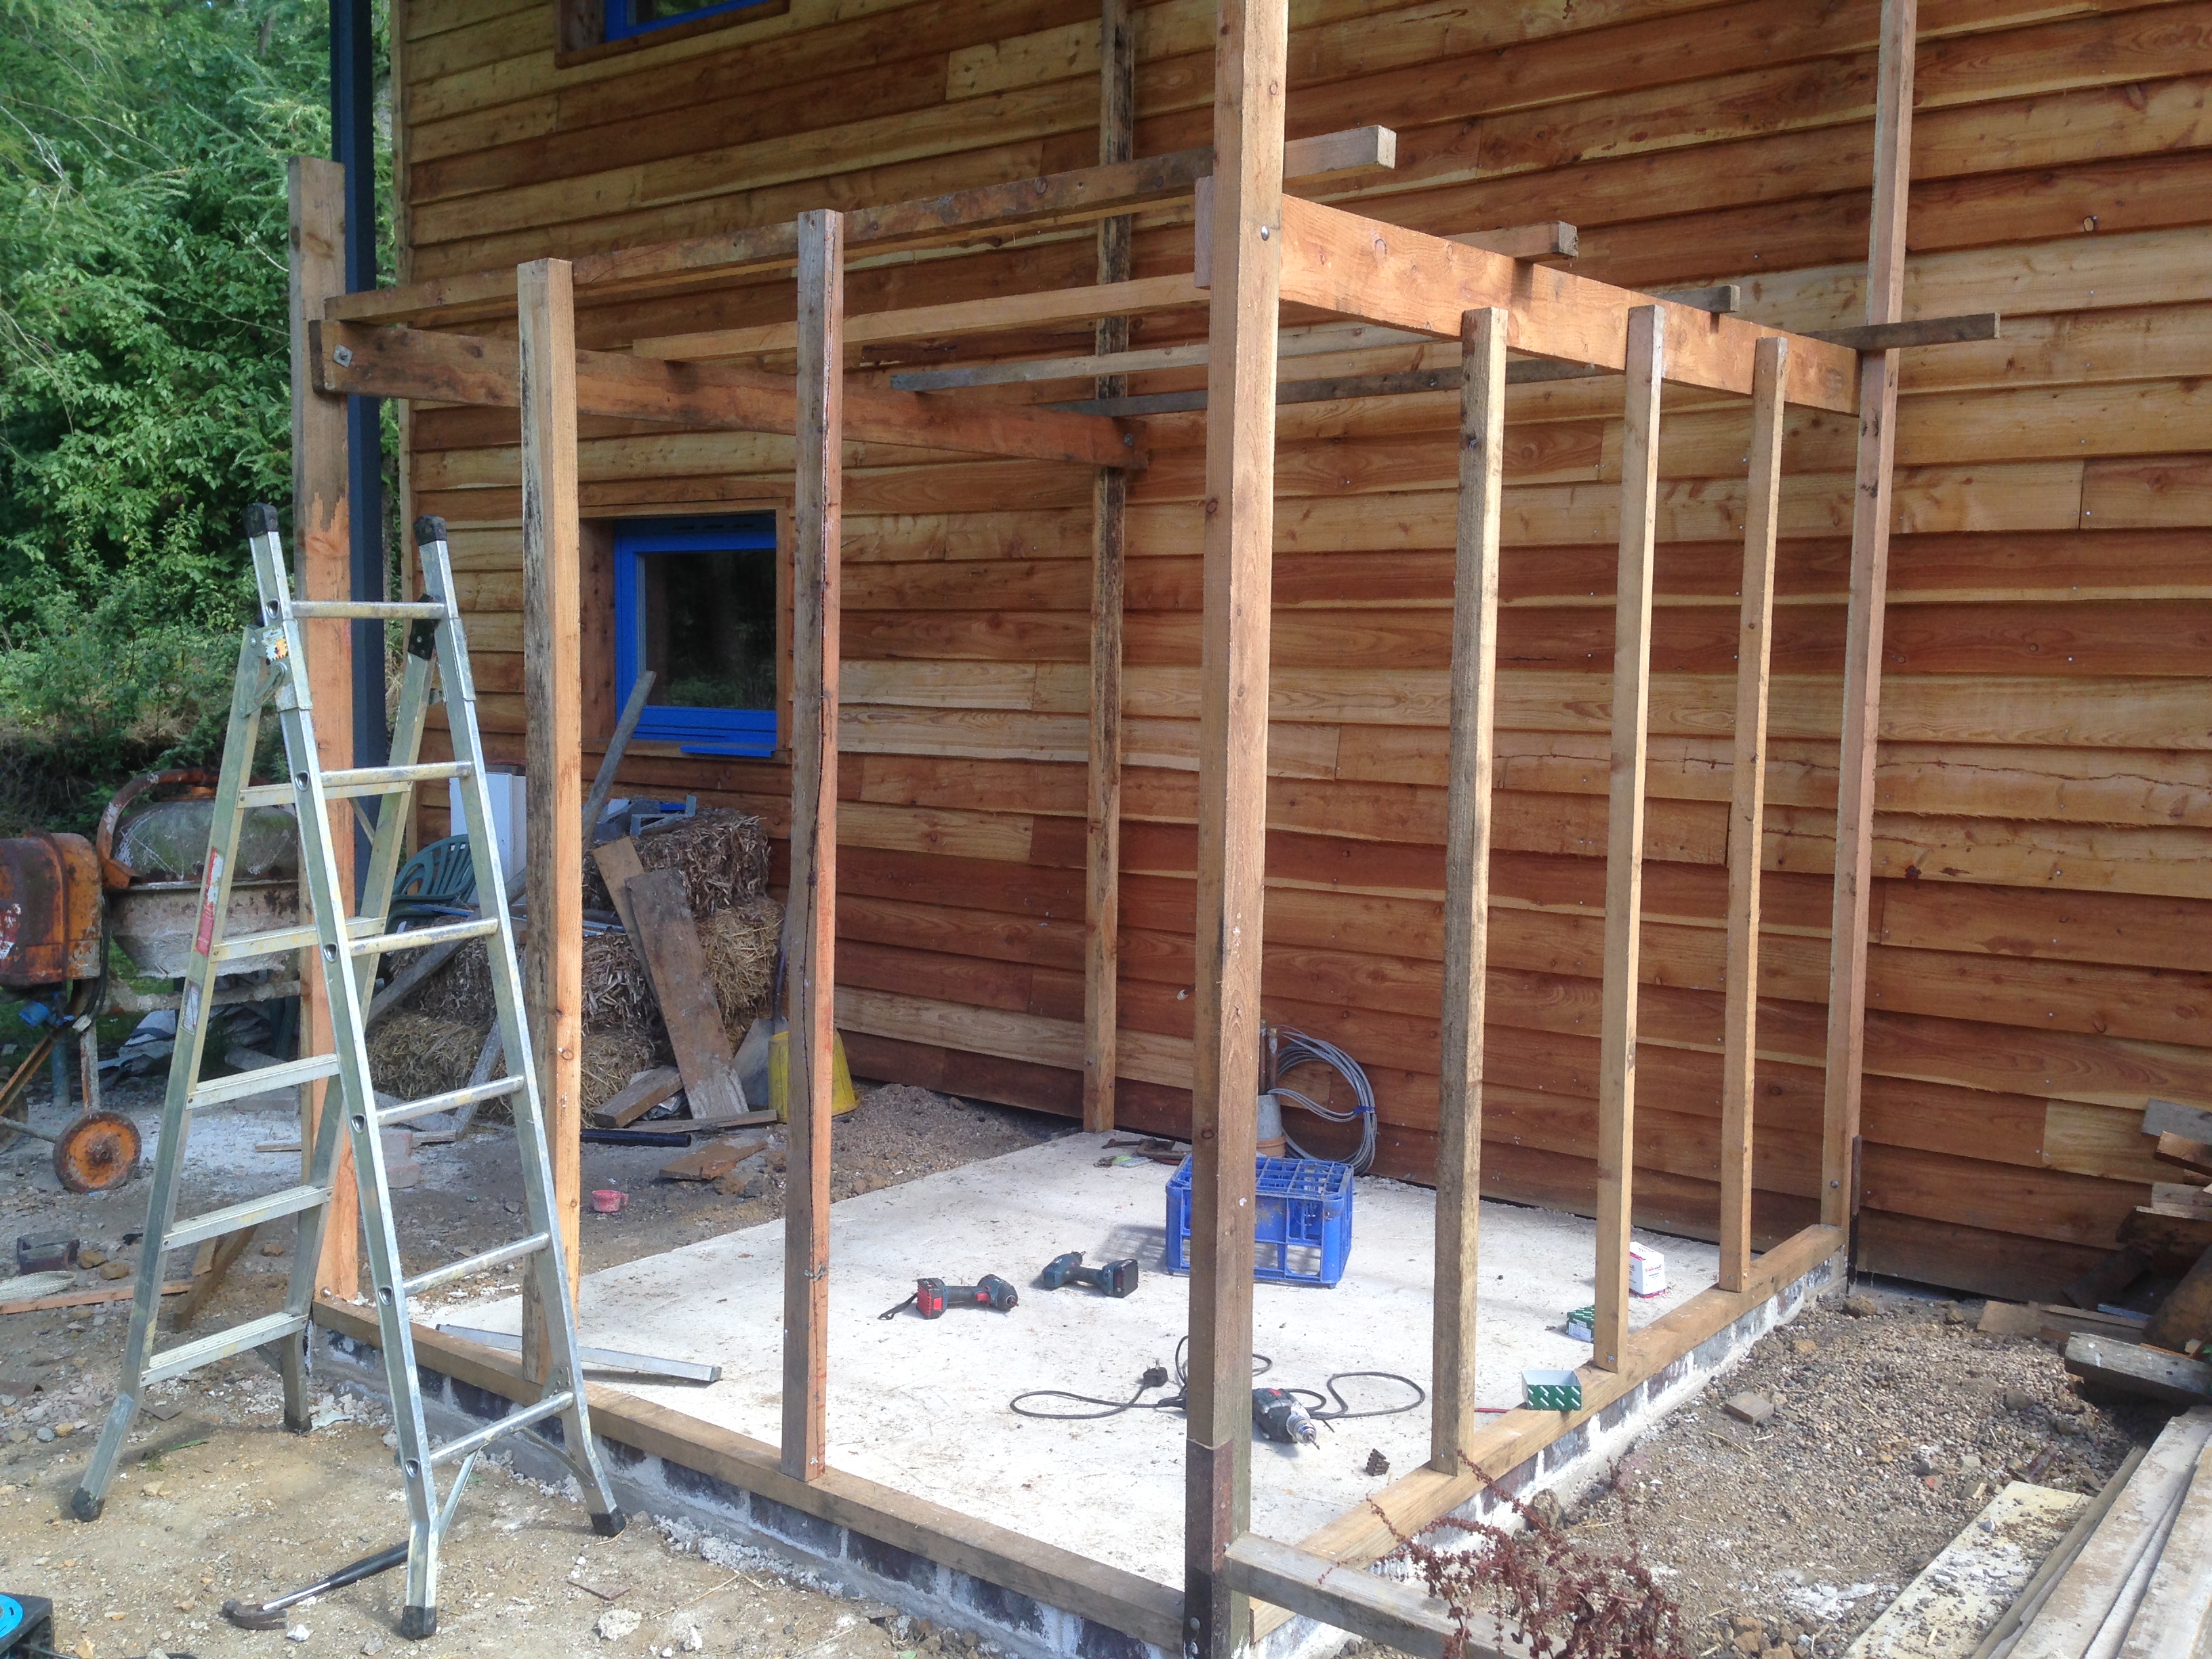
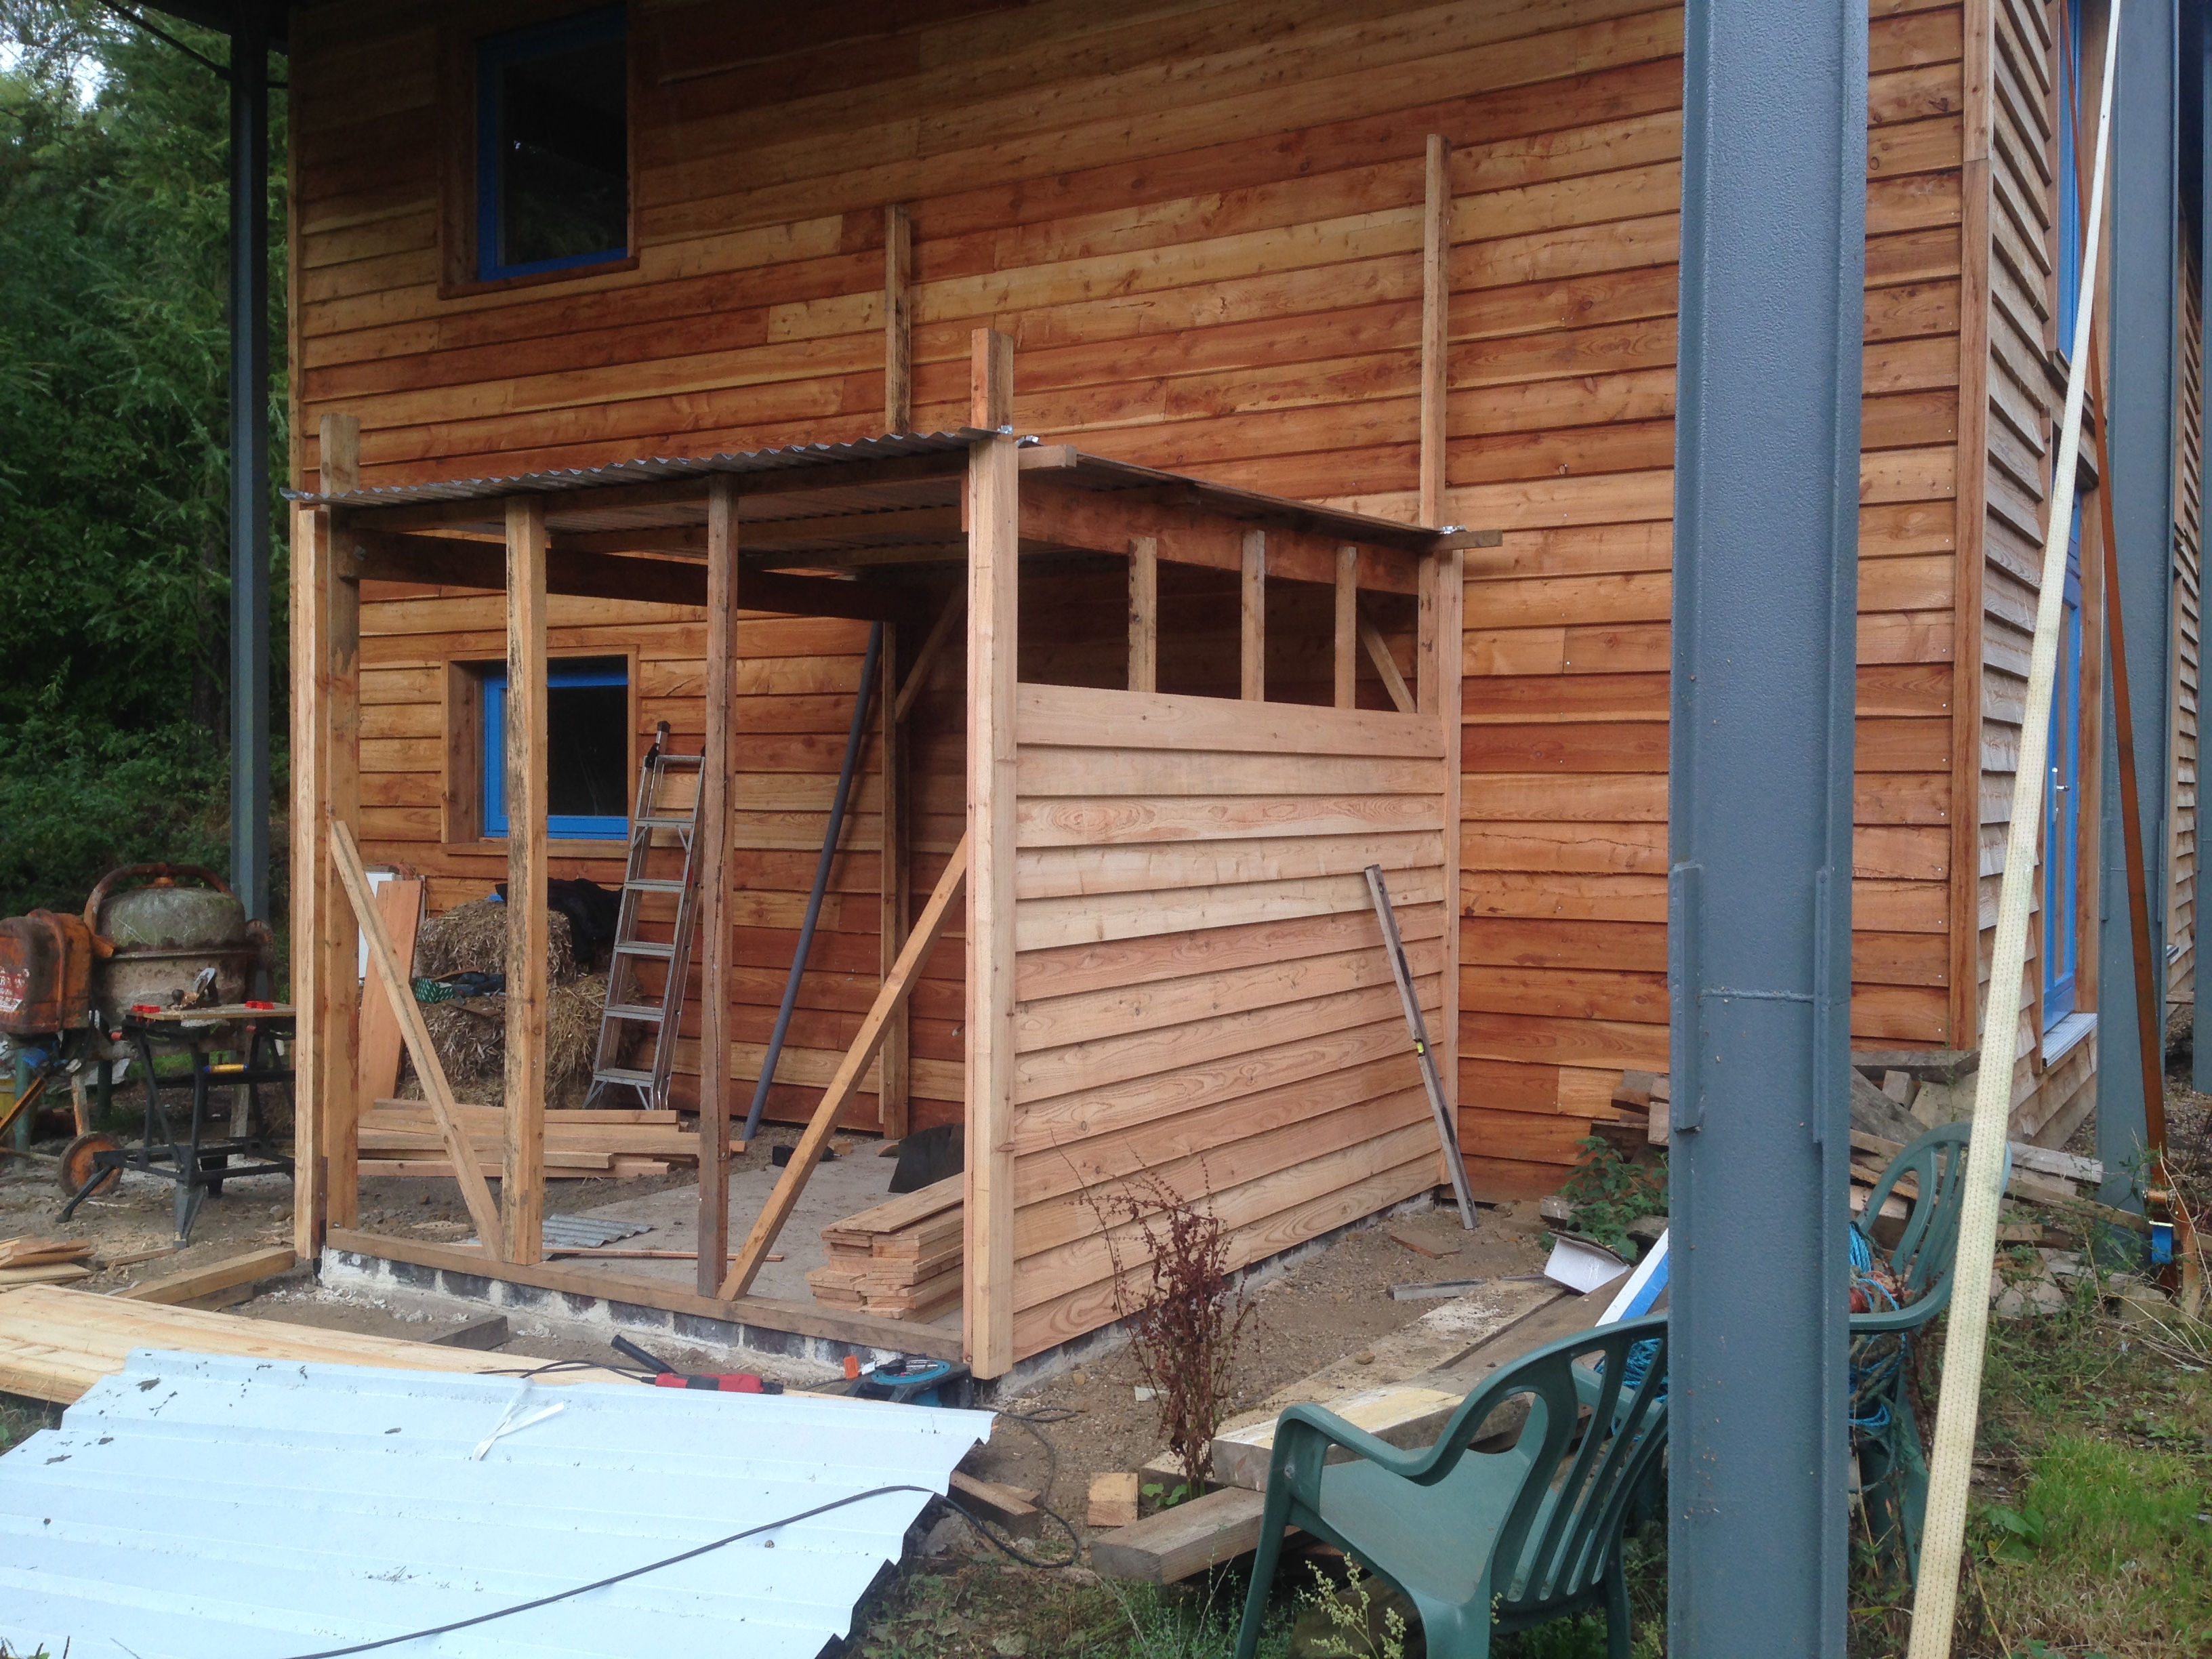
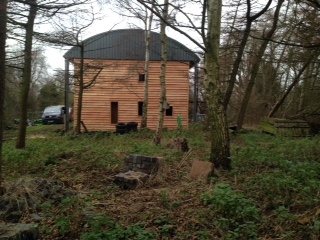
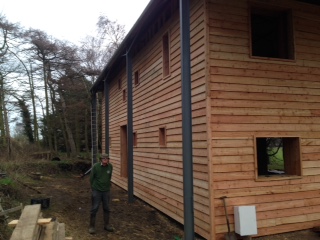
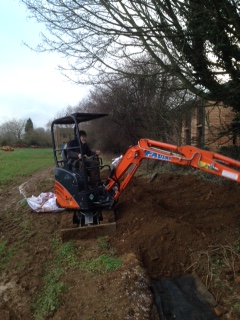
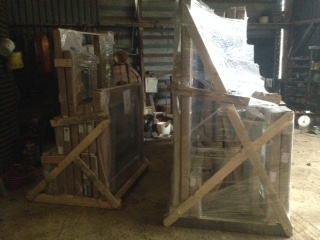
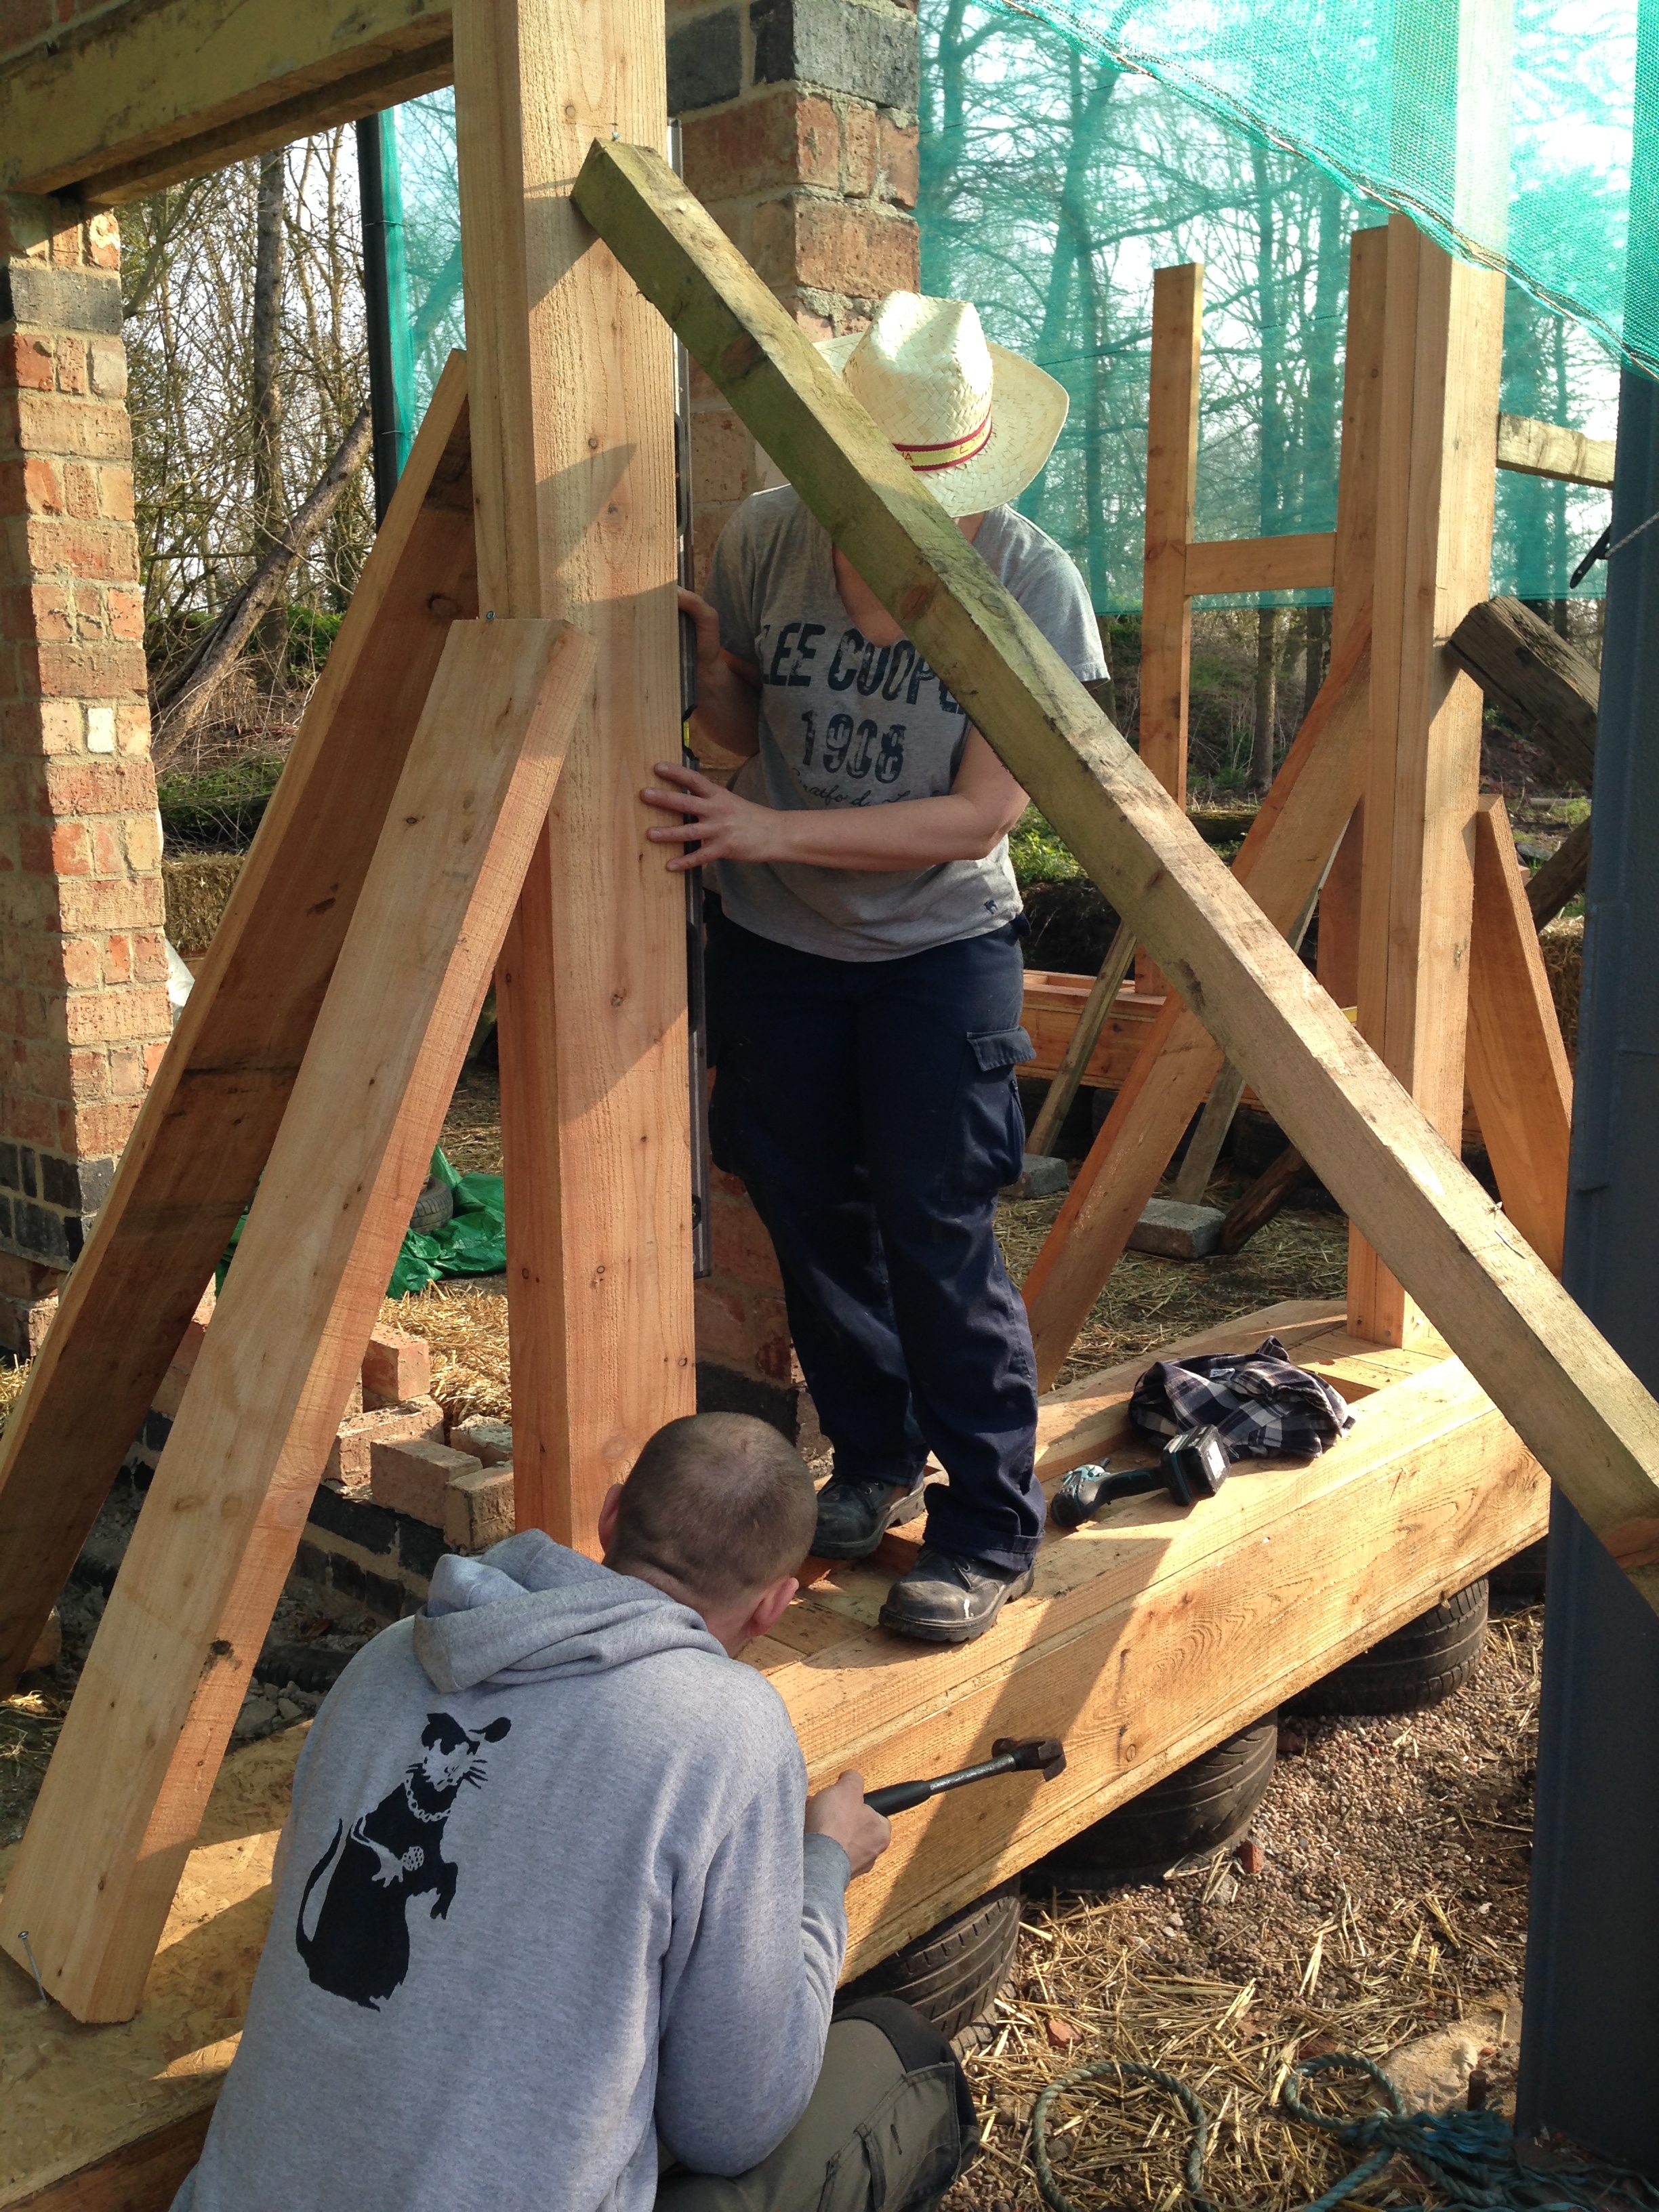
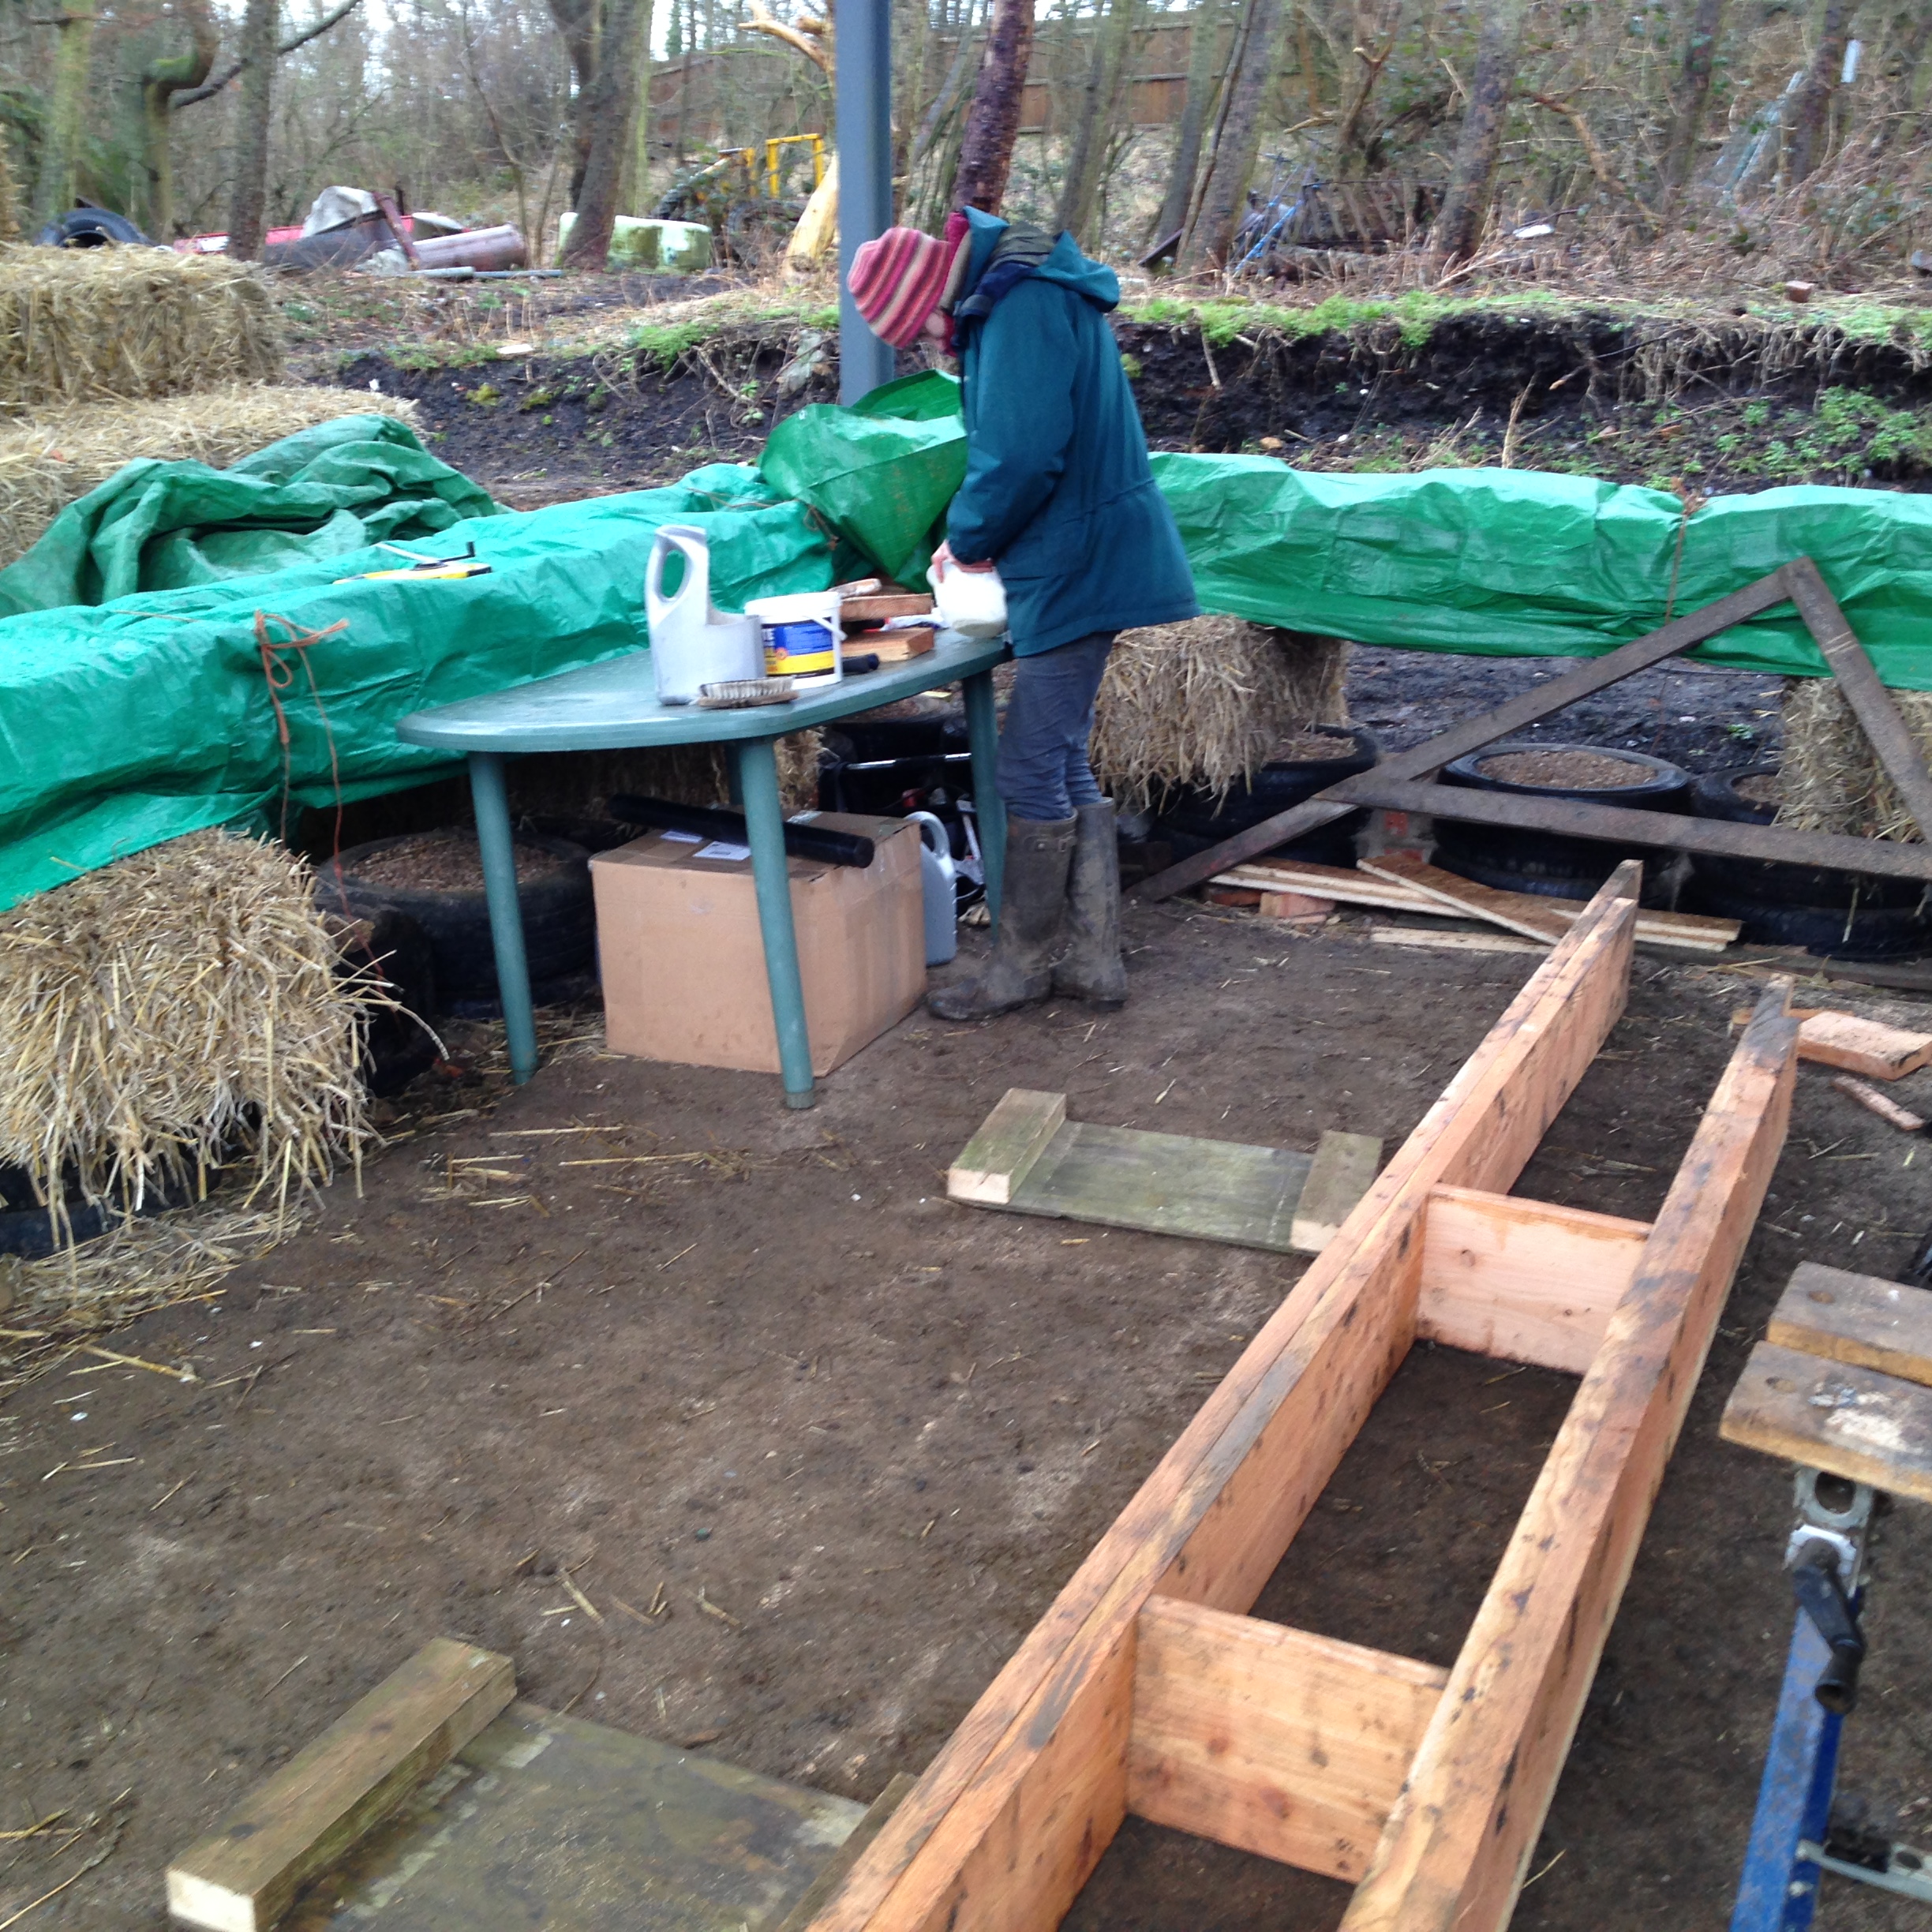
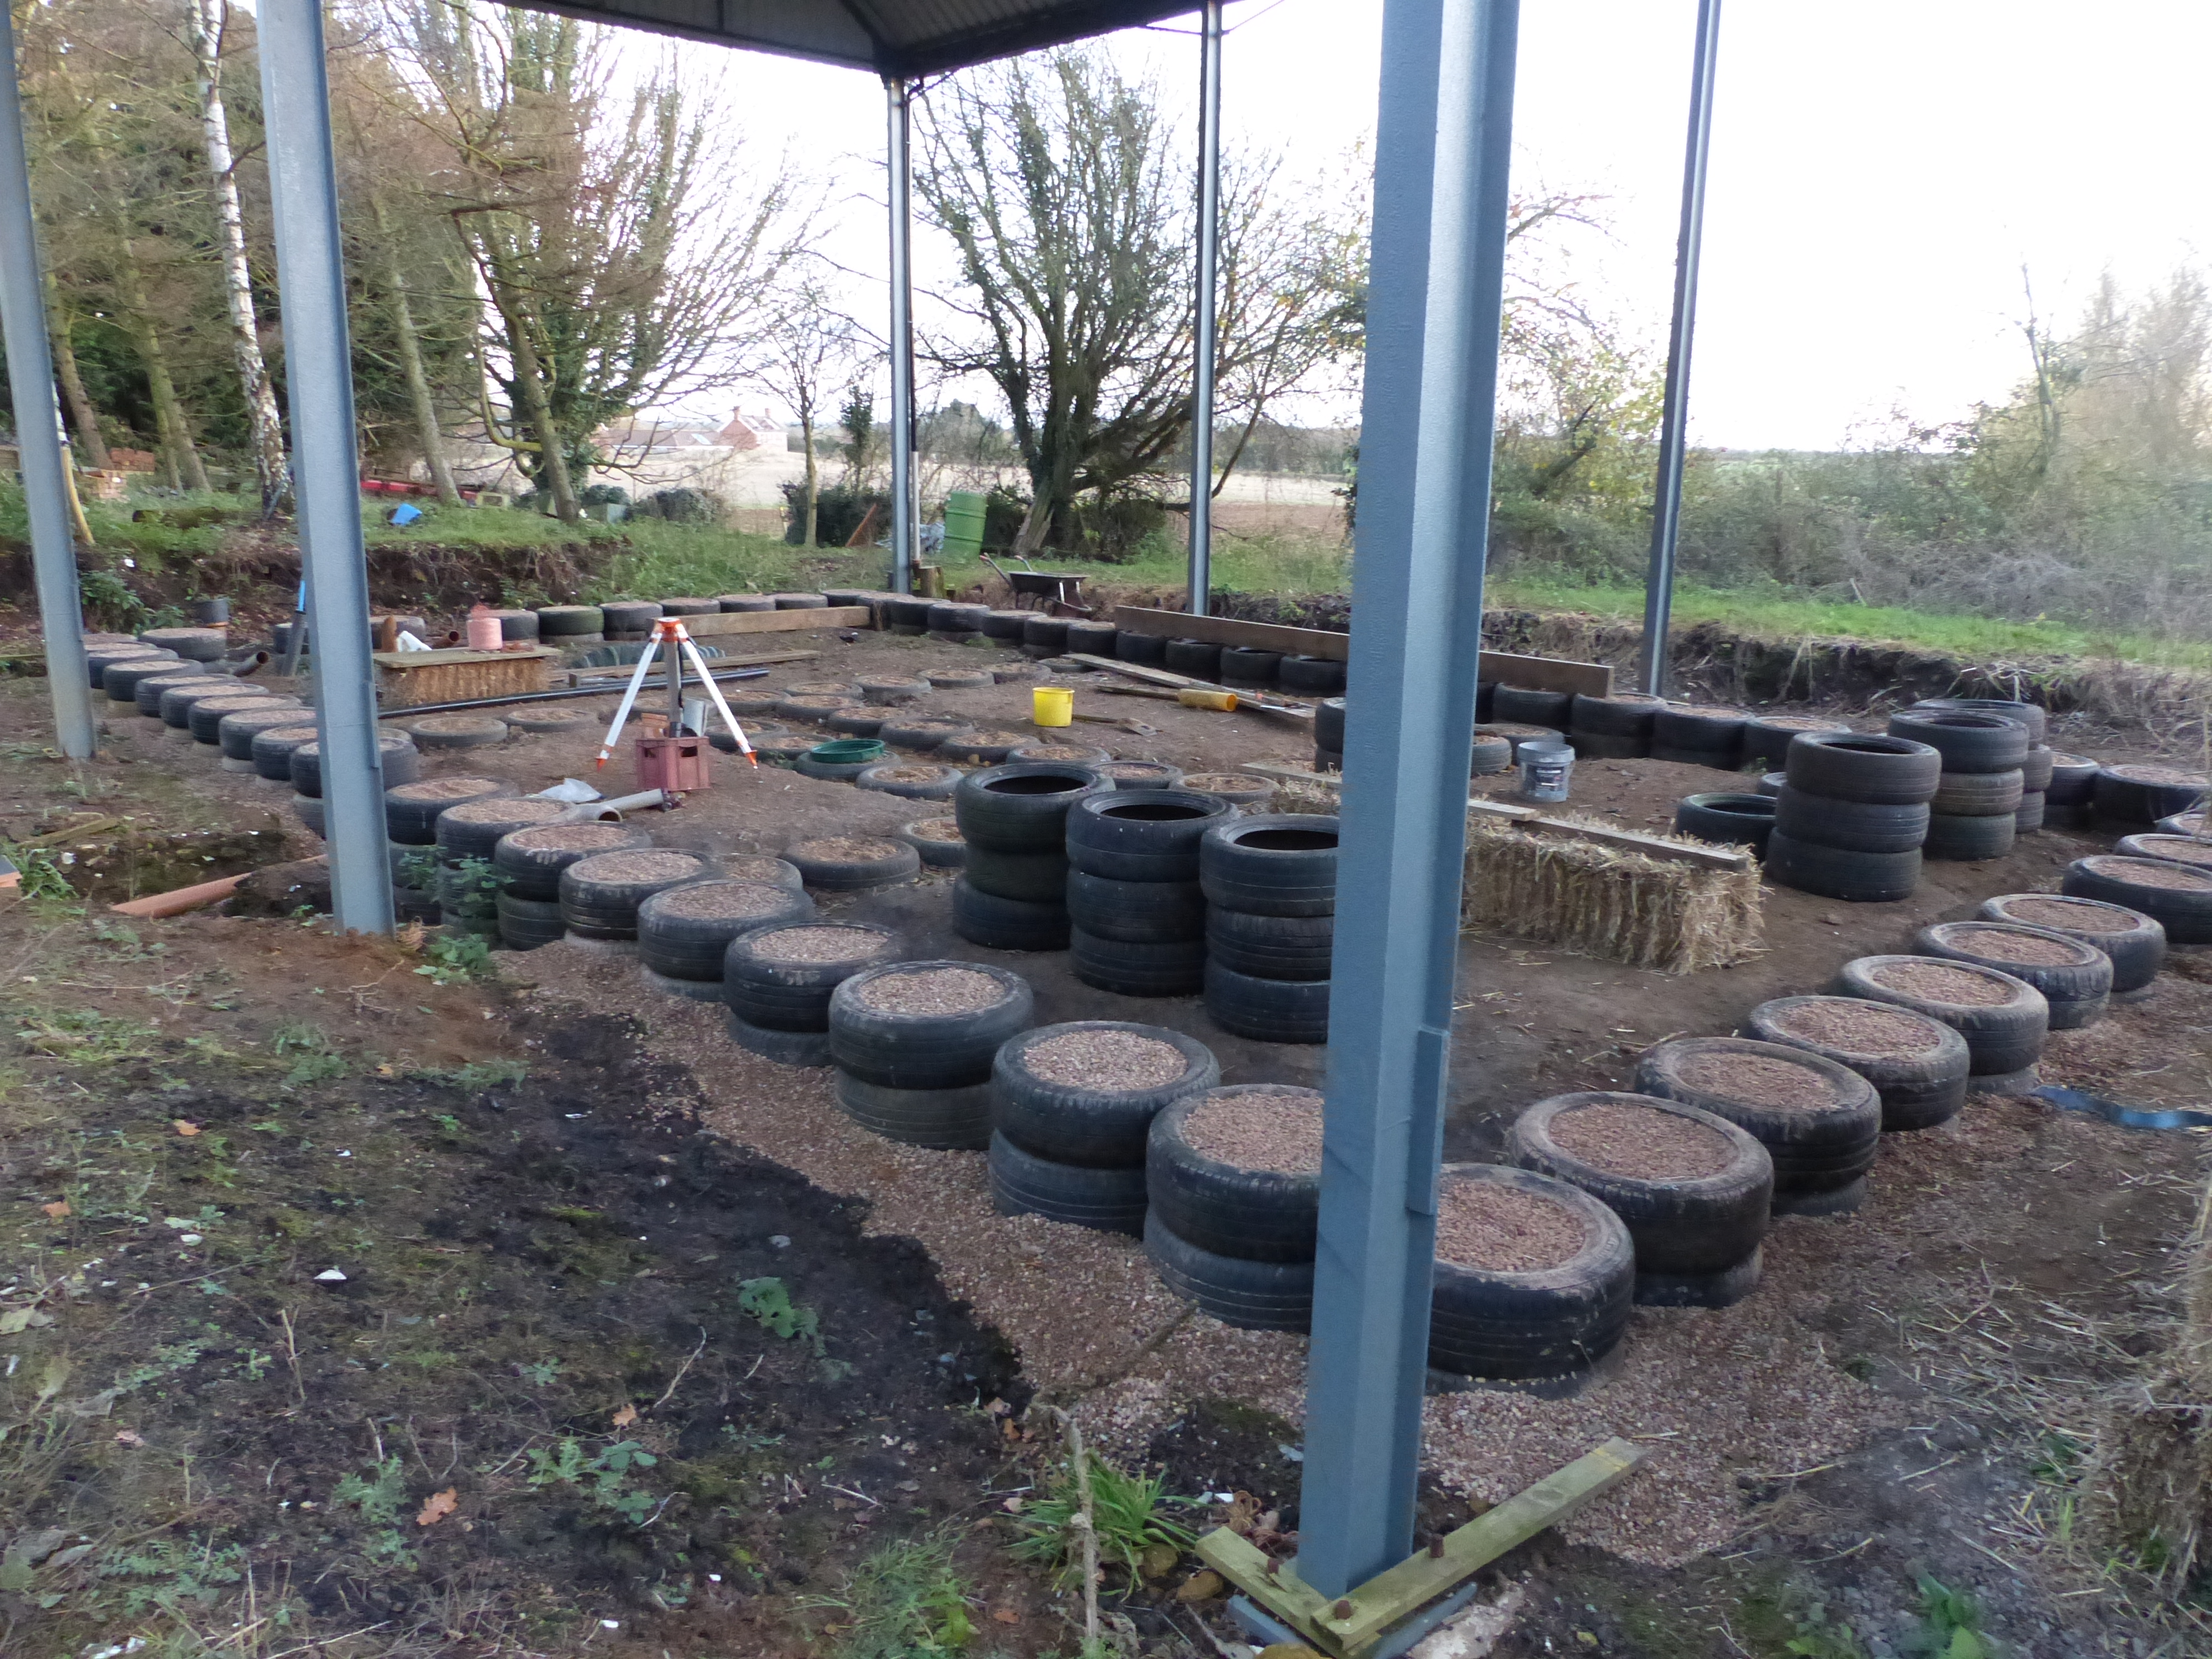
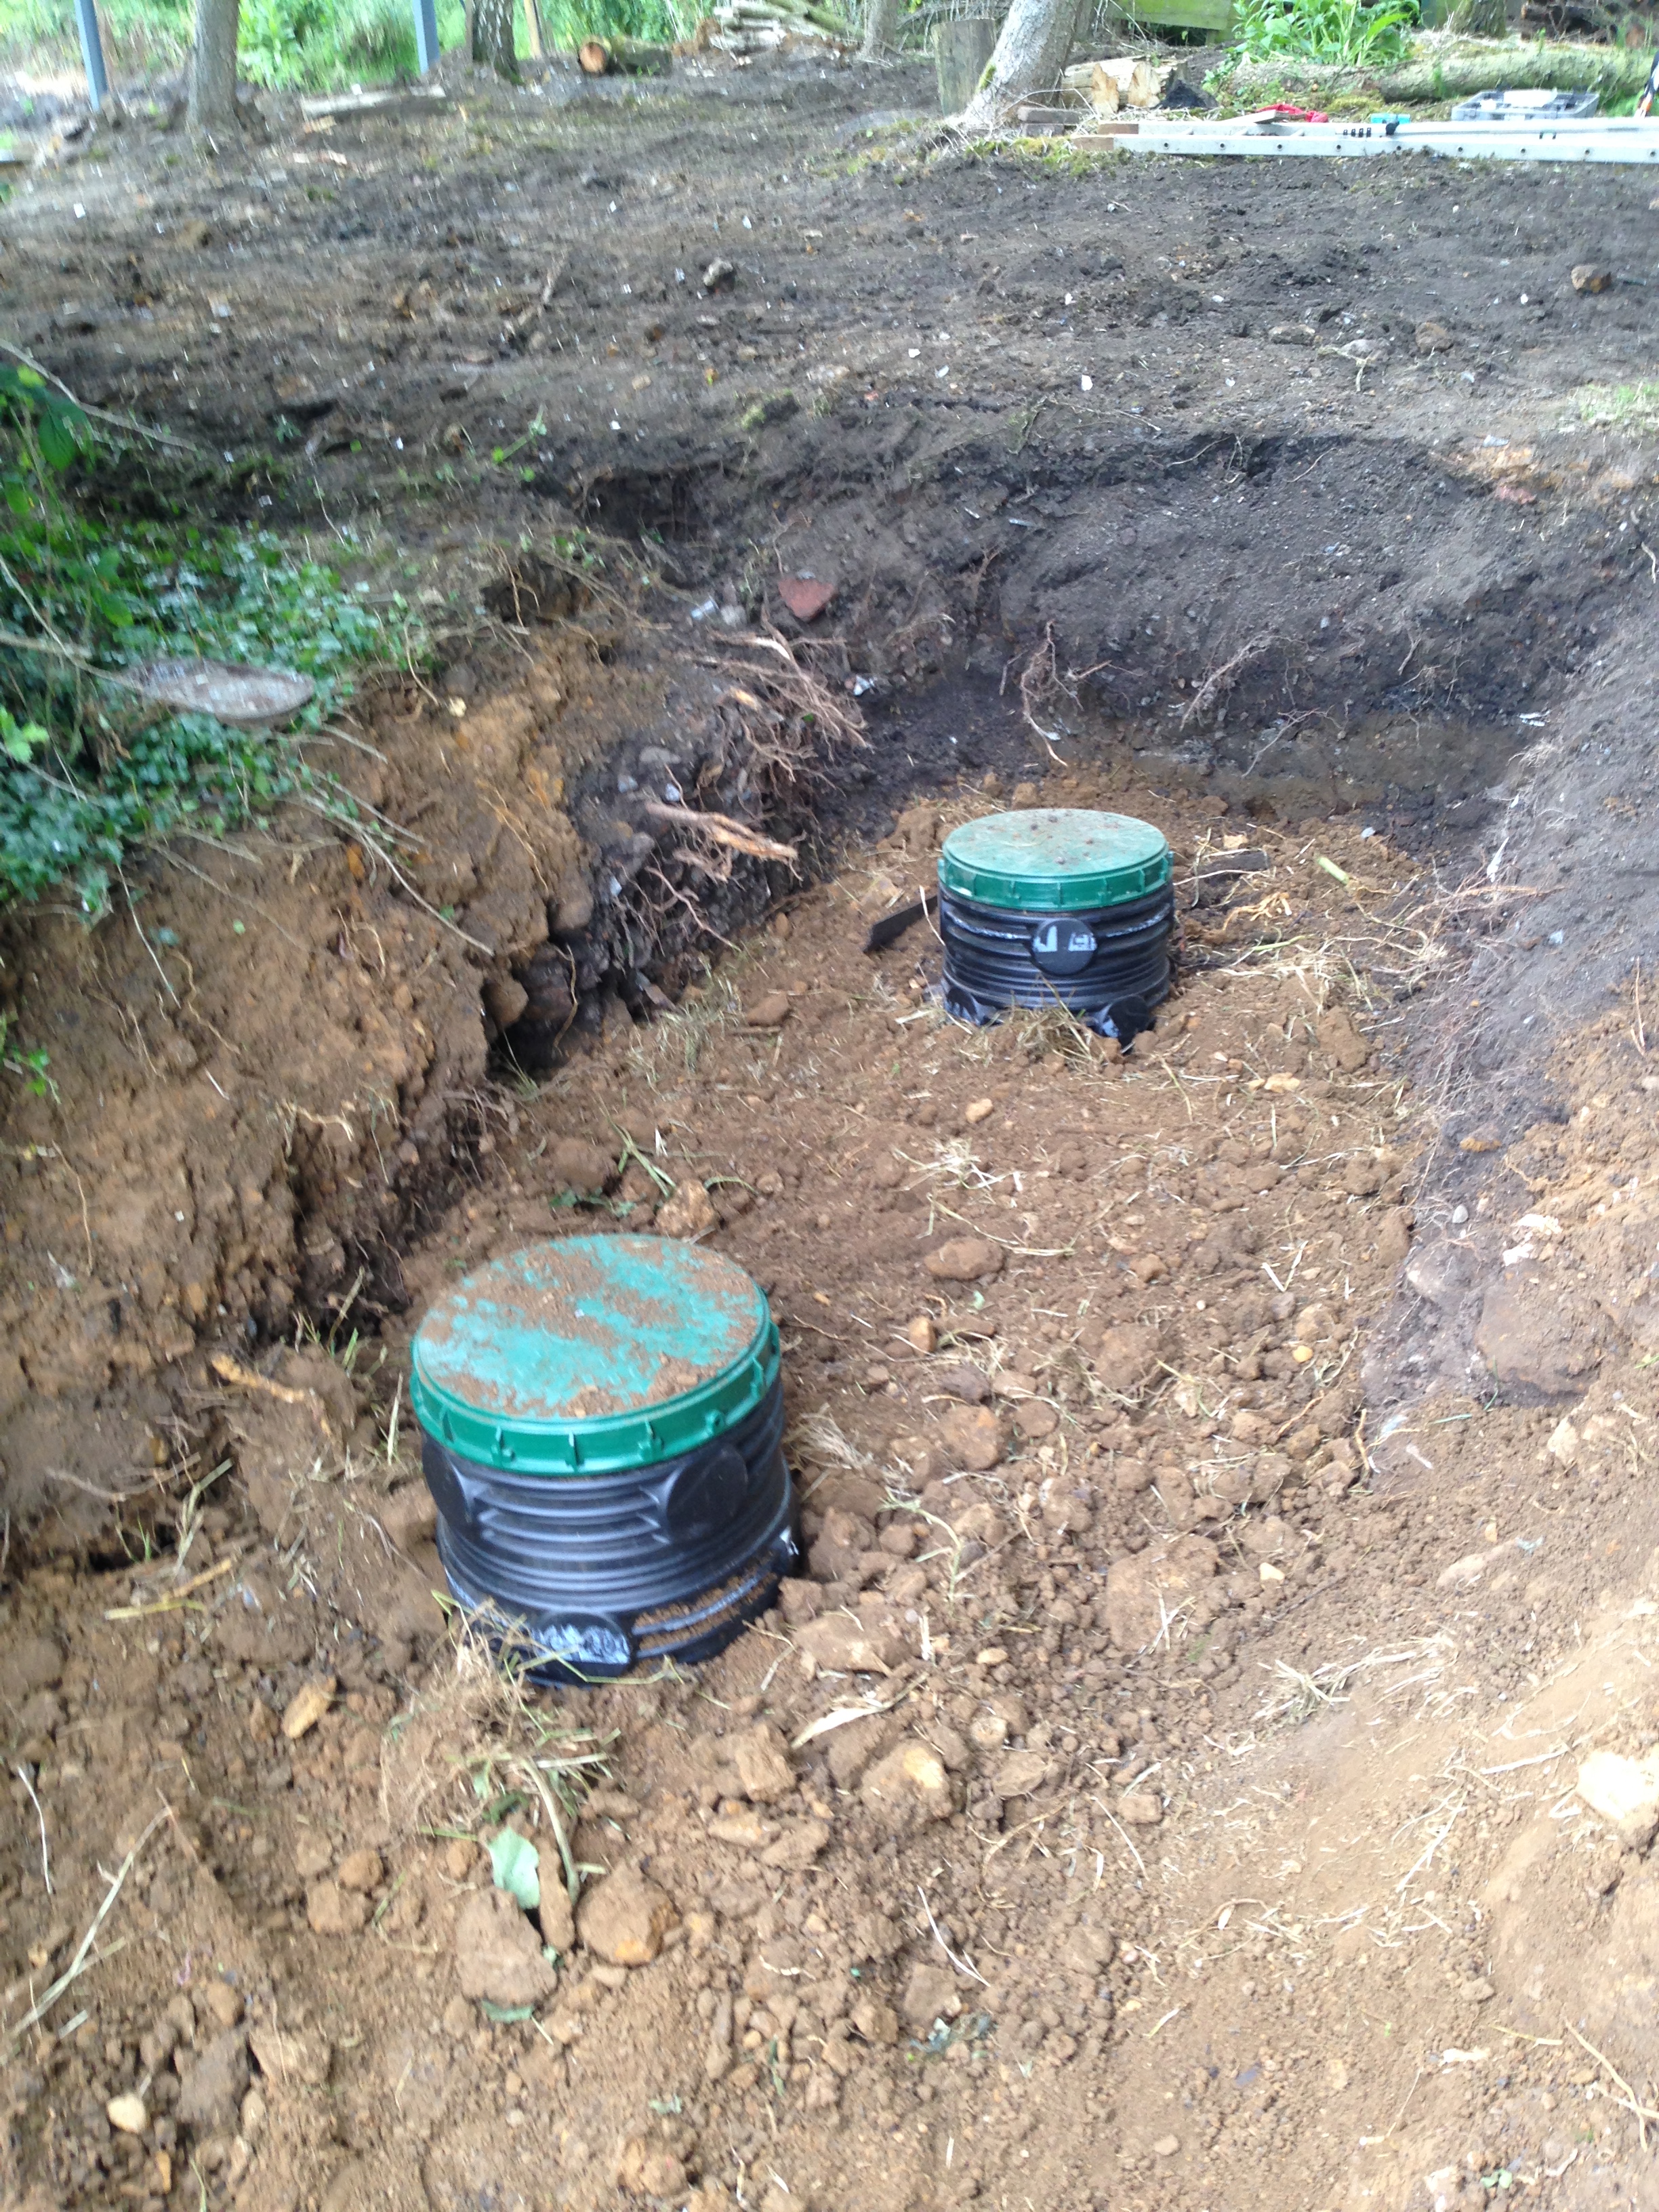
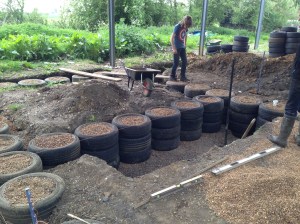
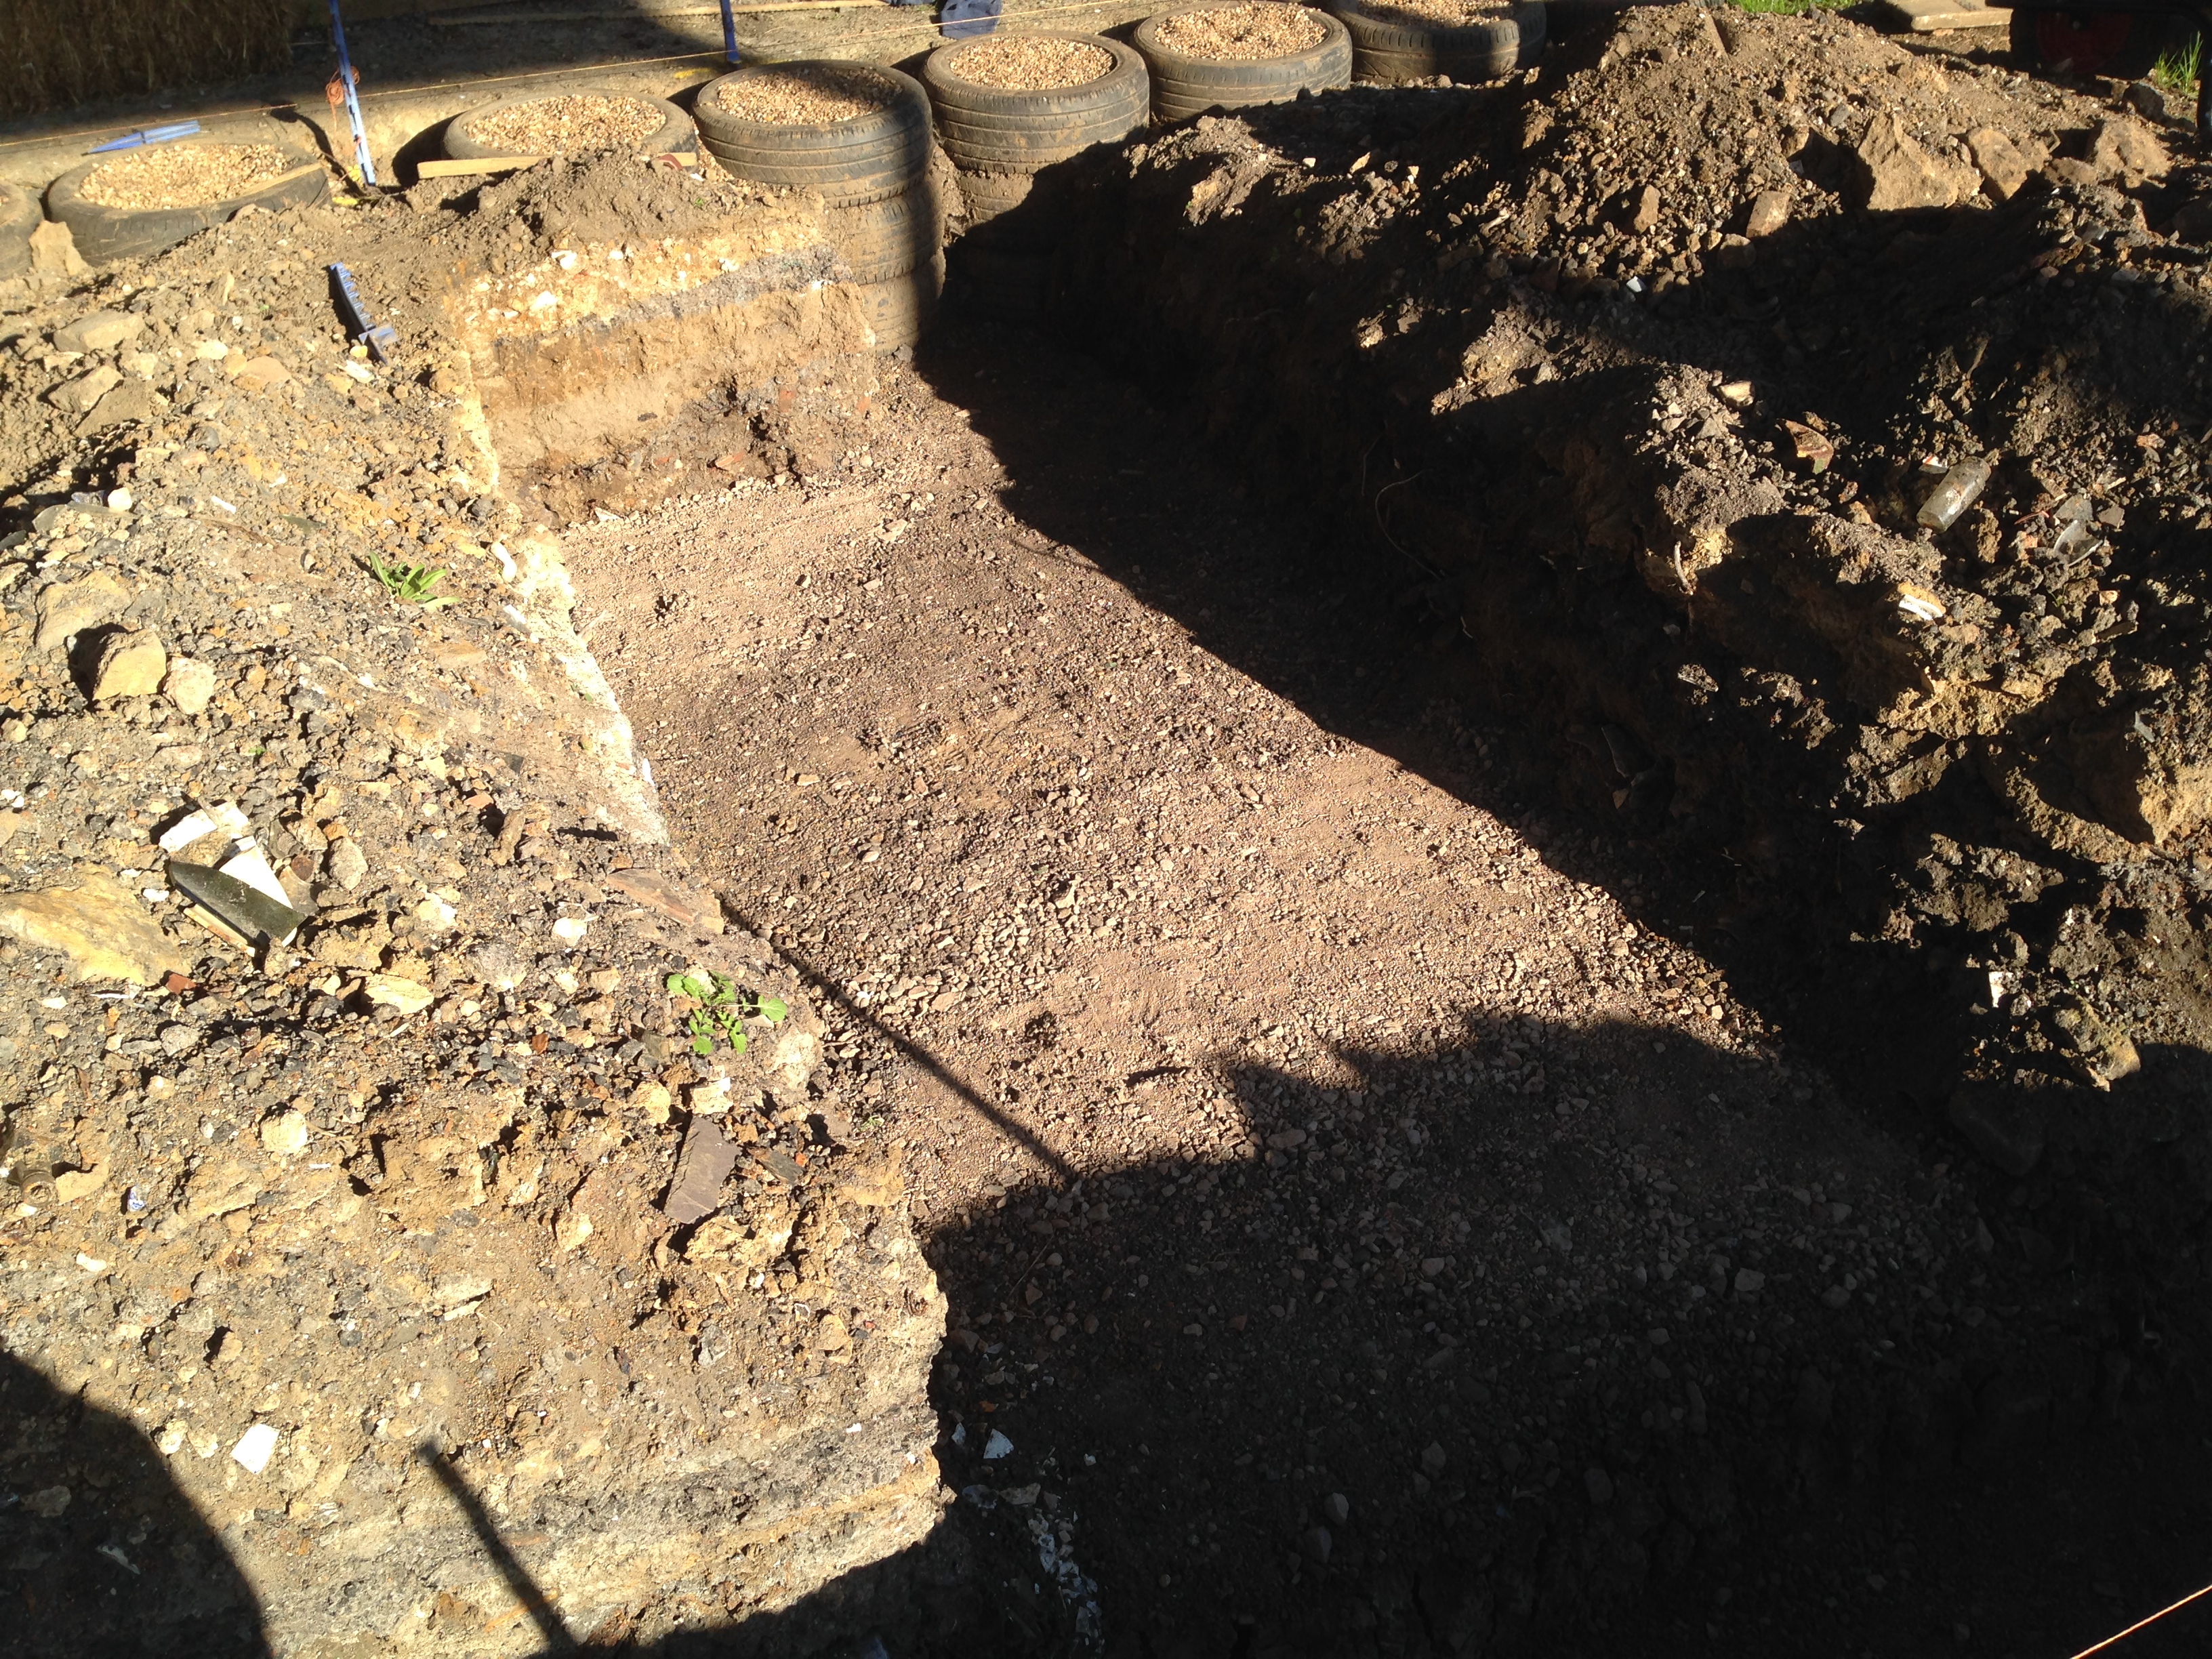
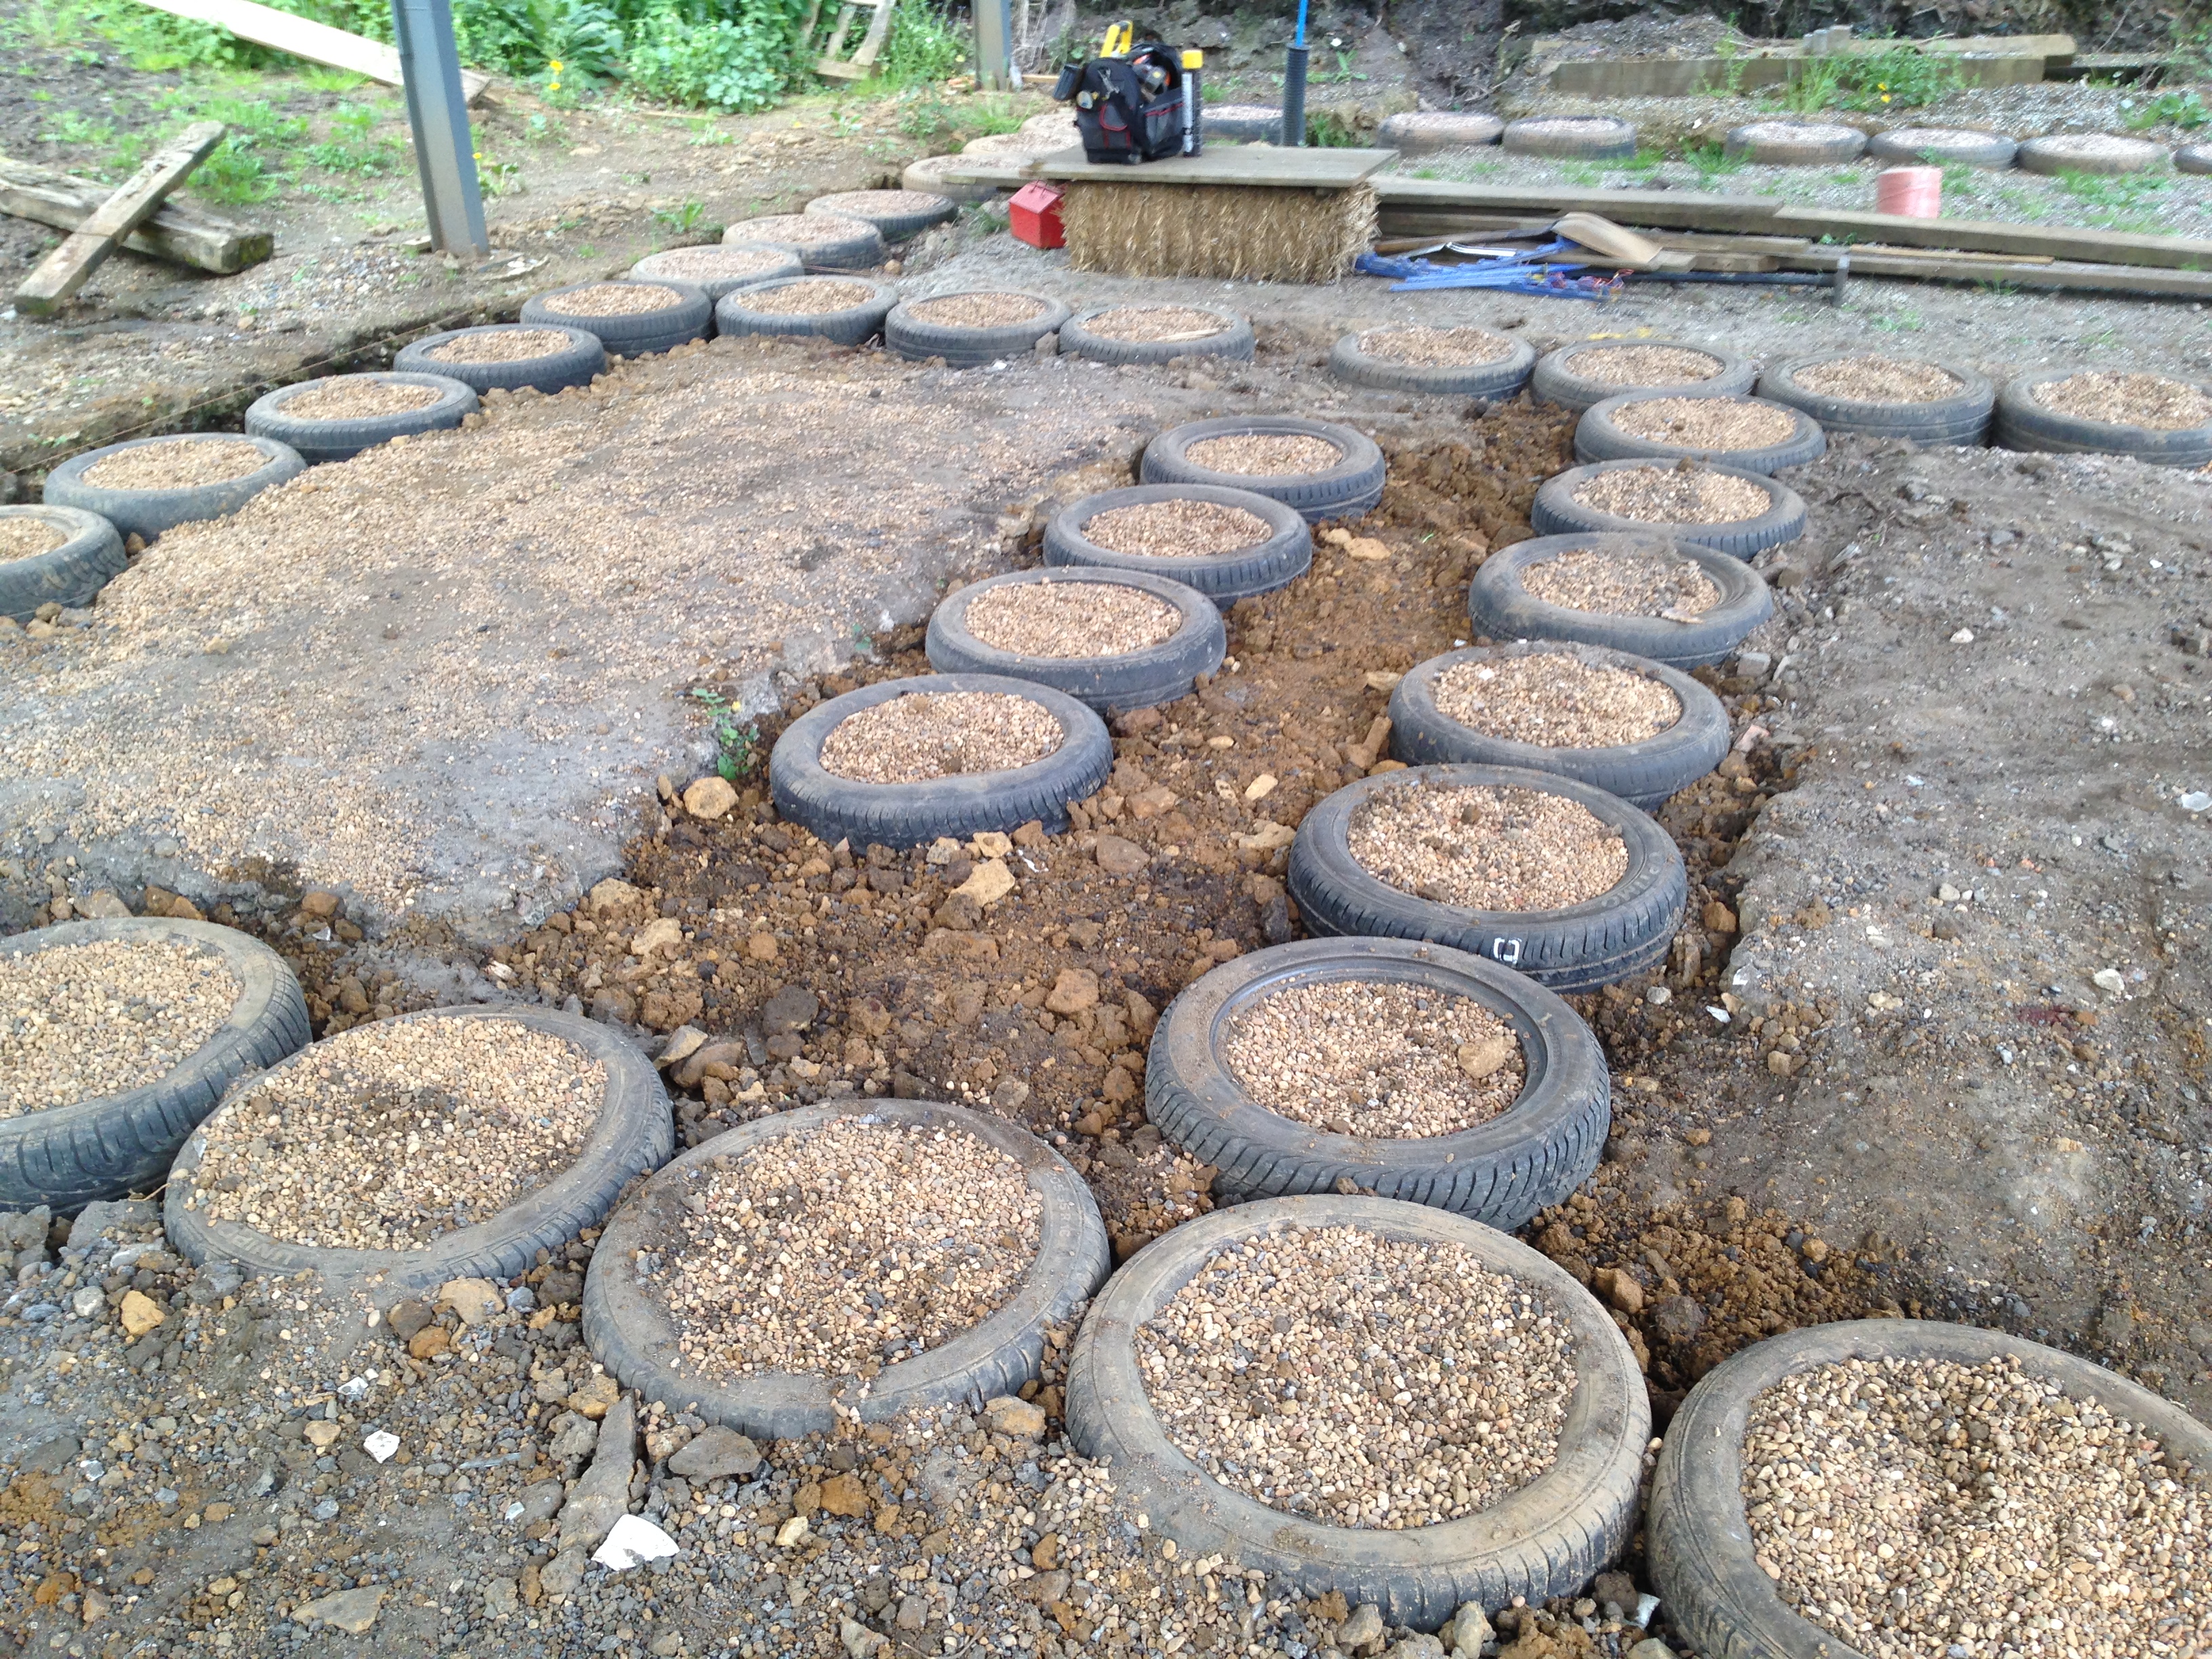
Now, a quick trip back in time…..in mid-summer, before we headed off for a month’s sabbatical in the western isles (someone’s got to do it…) we started to prepare the ground outside the house for the laying of the concrete base for the boiler house. In keeping with the construction of the house, and the use of solar panels for electricity generation, we planned to heat the house using locally sourced biomass. In our case, this will be logs from the management of hedges and woodland on the farm (coppicing and hedge-laying). This boiler is to be housed outside the house, as it requires a 1500litre accumulator tank, to store heat from log burning. To this end, we needed to lay a solid plinth capable of supporting over two tonnes of water and boiler. Therefore, we decided to resort to concrete – resilient, easy to lay and reinforceable.

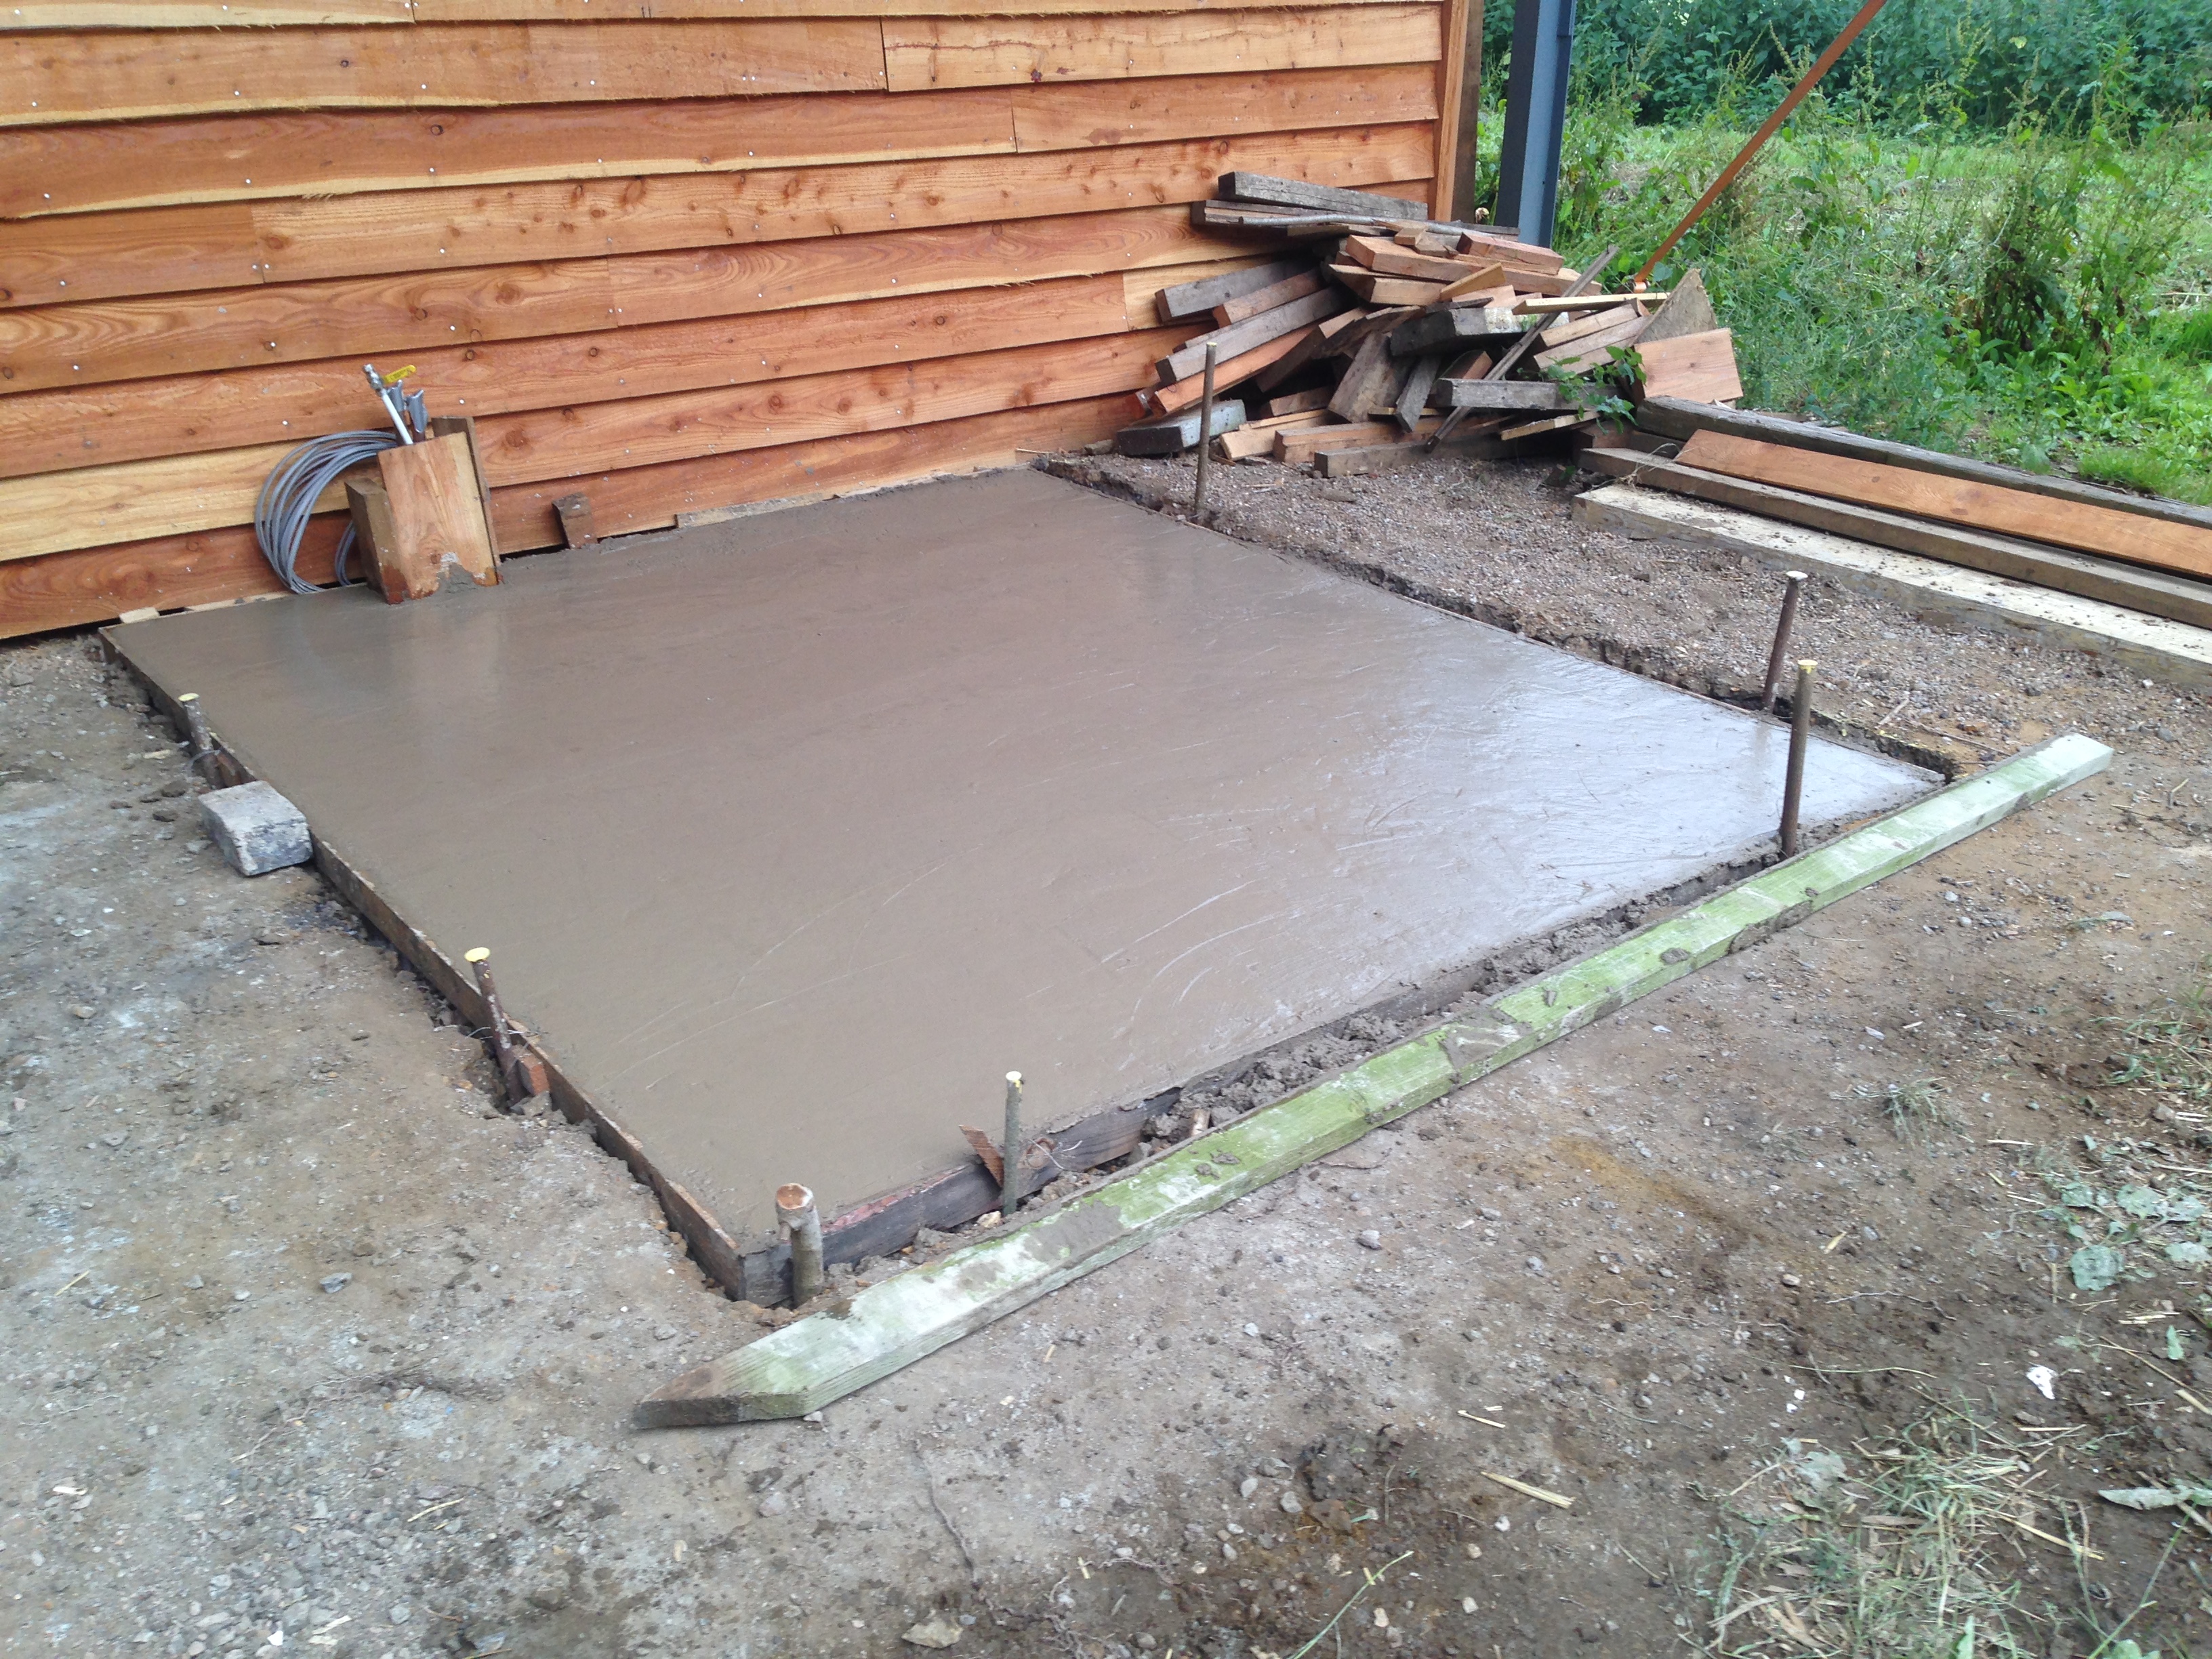
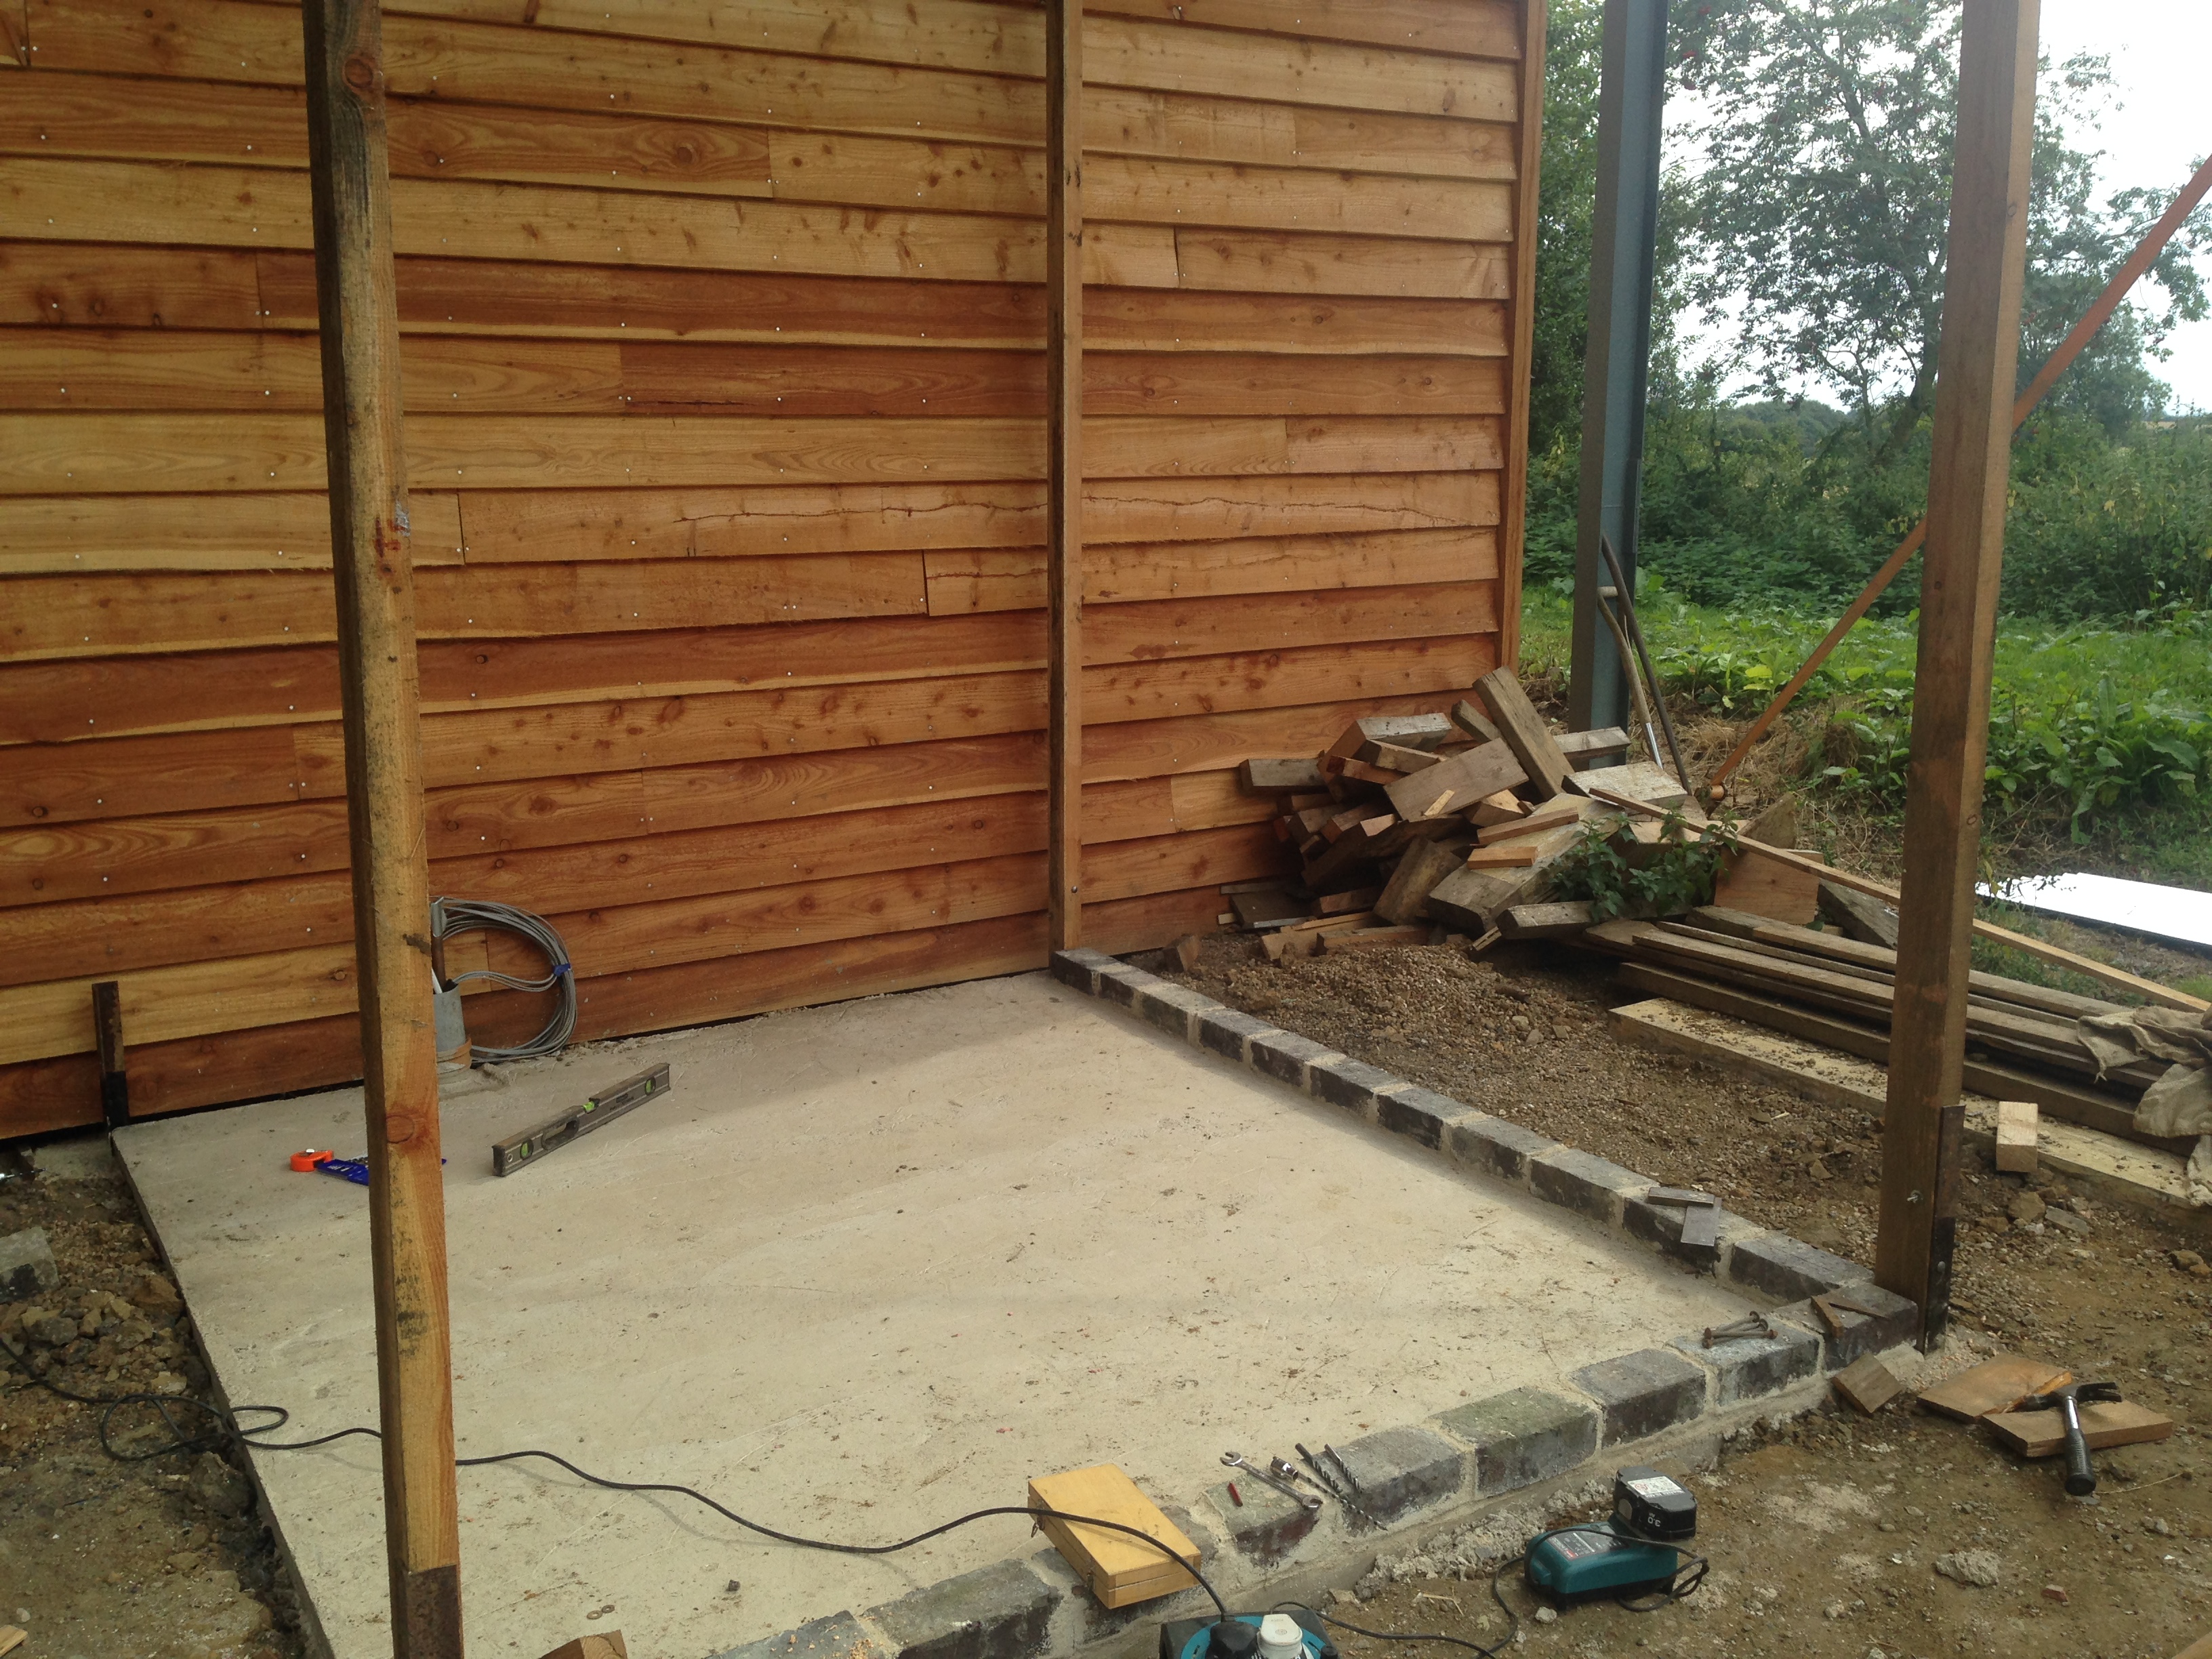
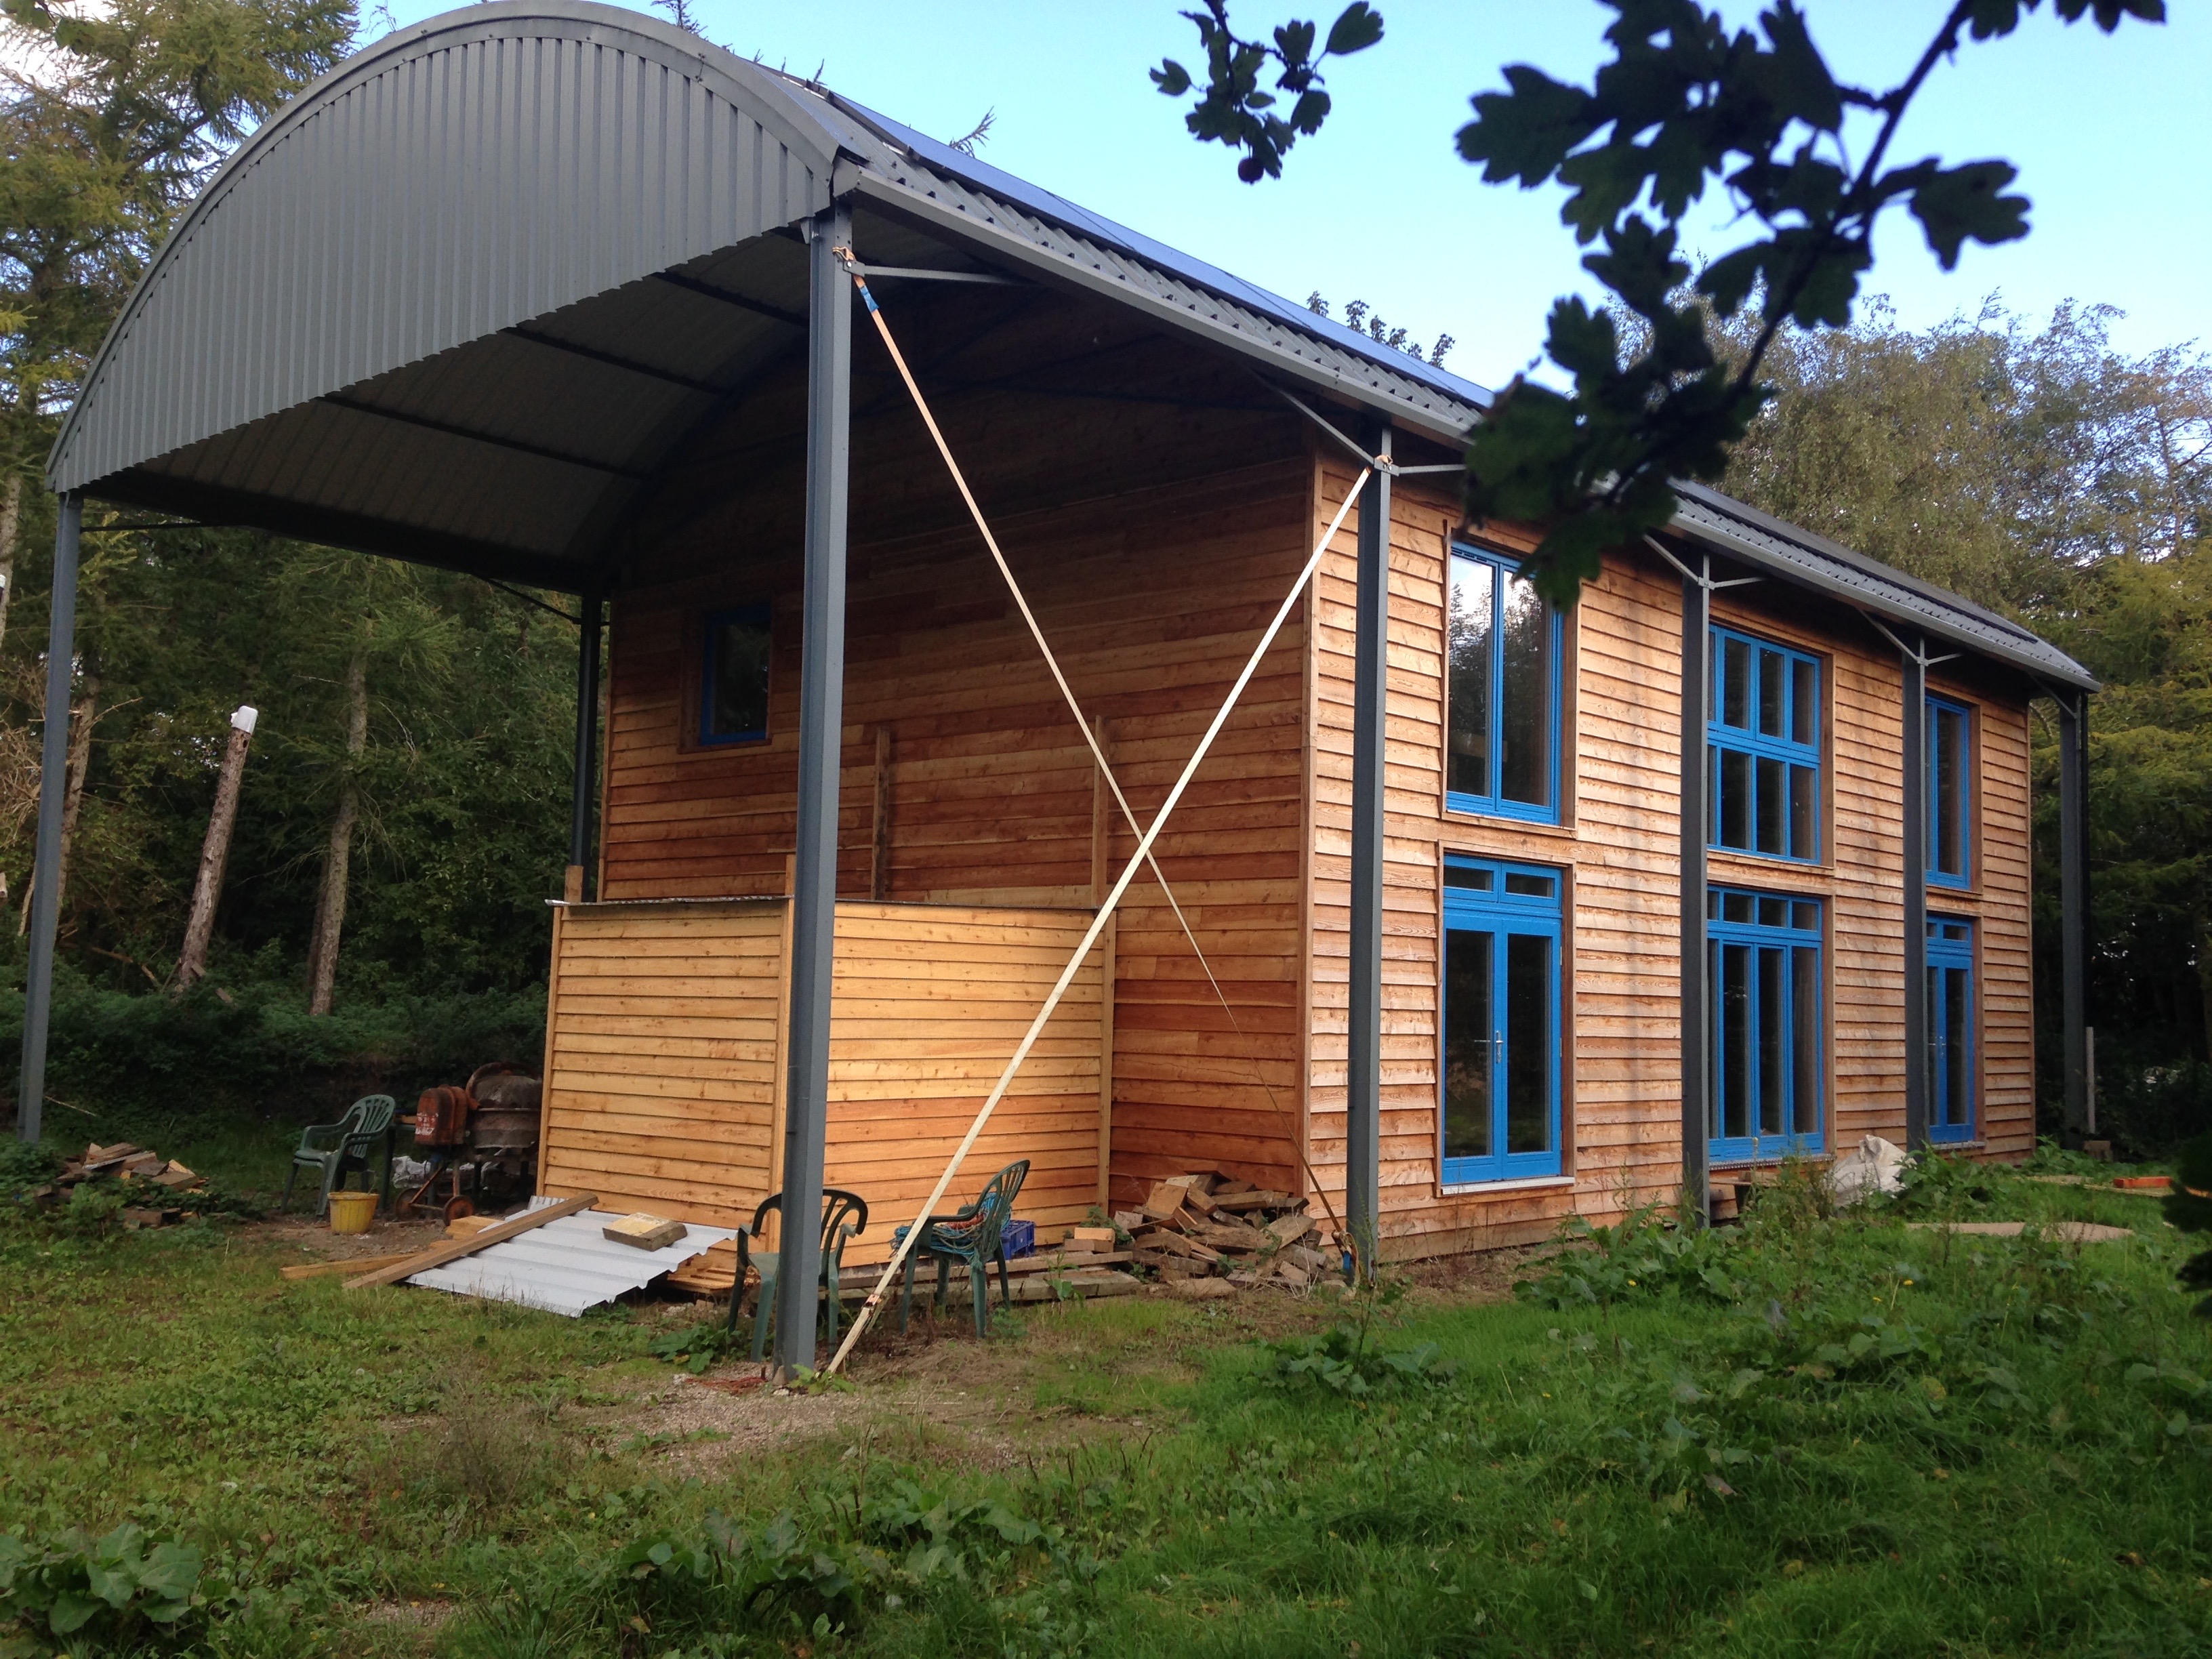
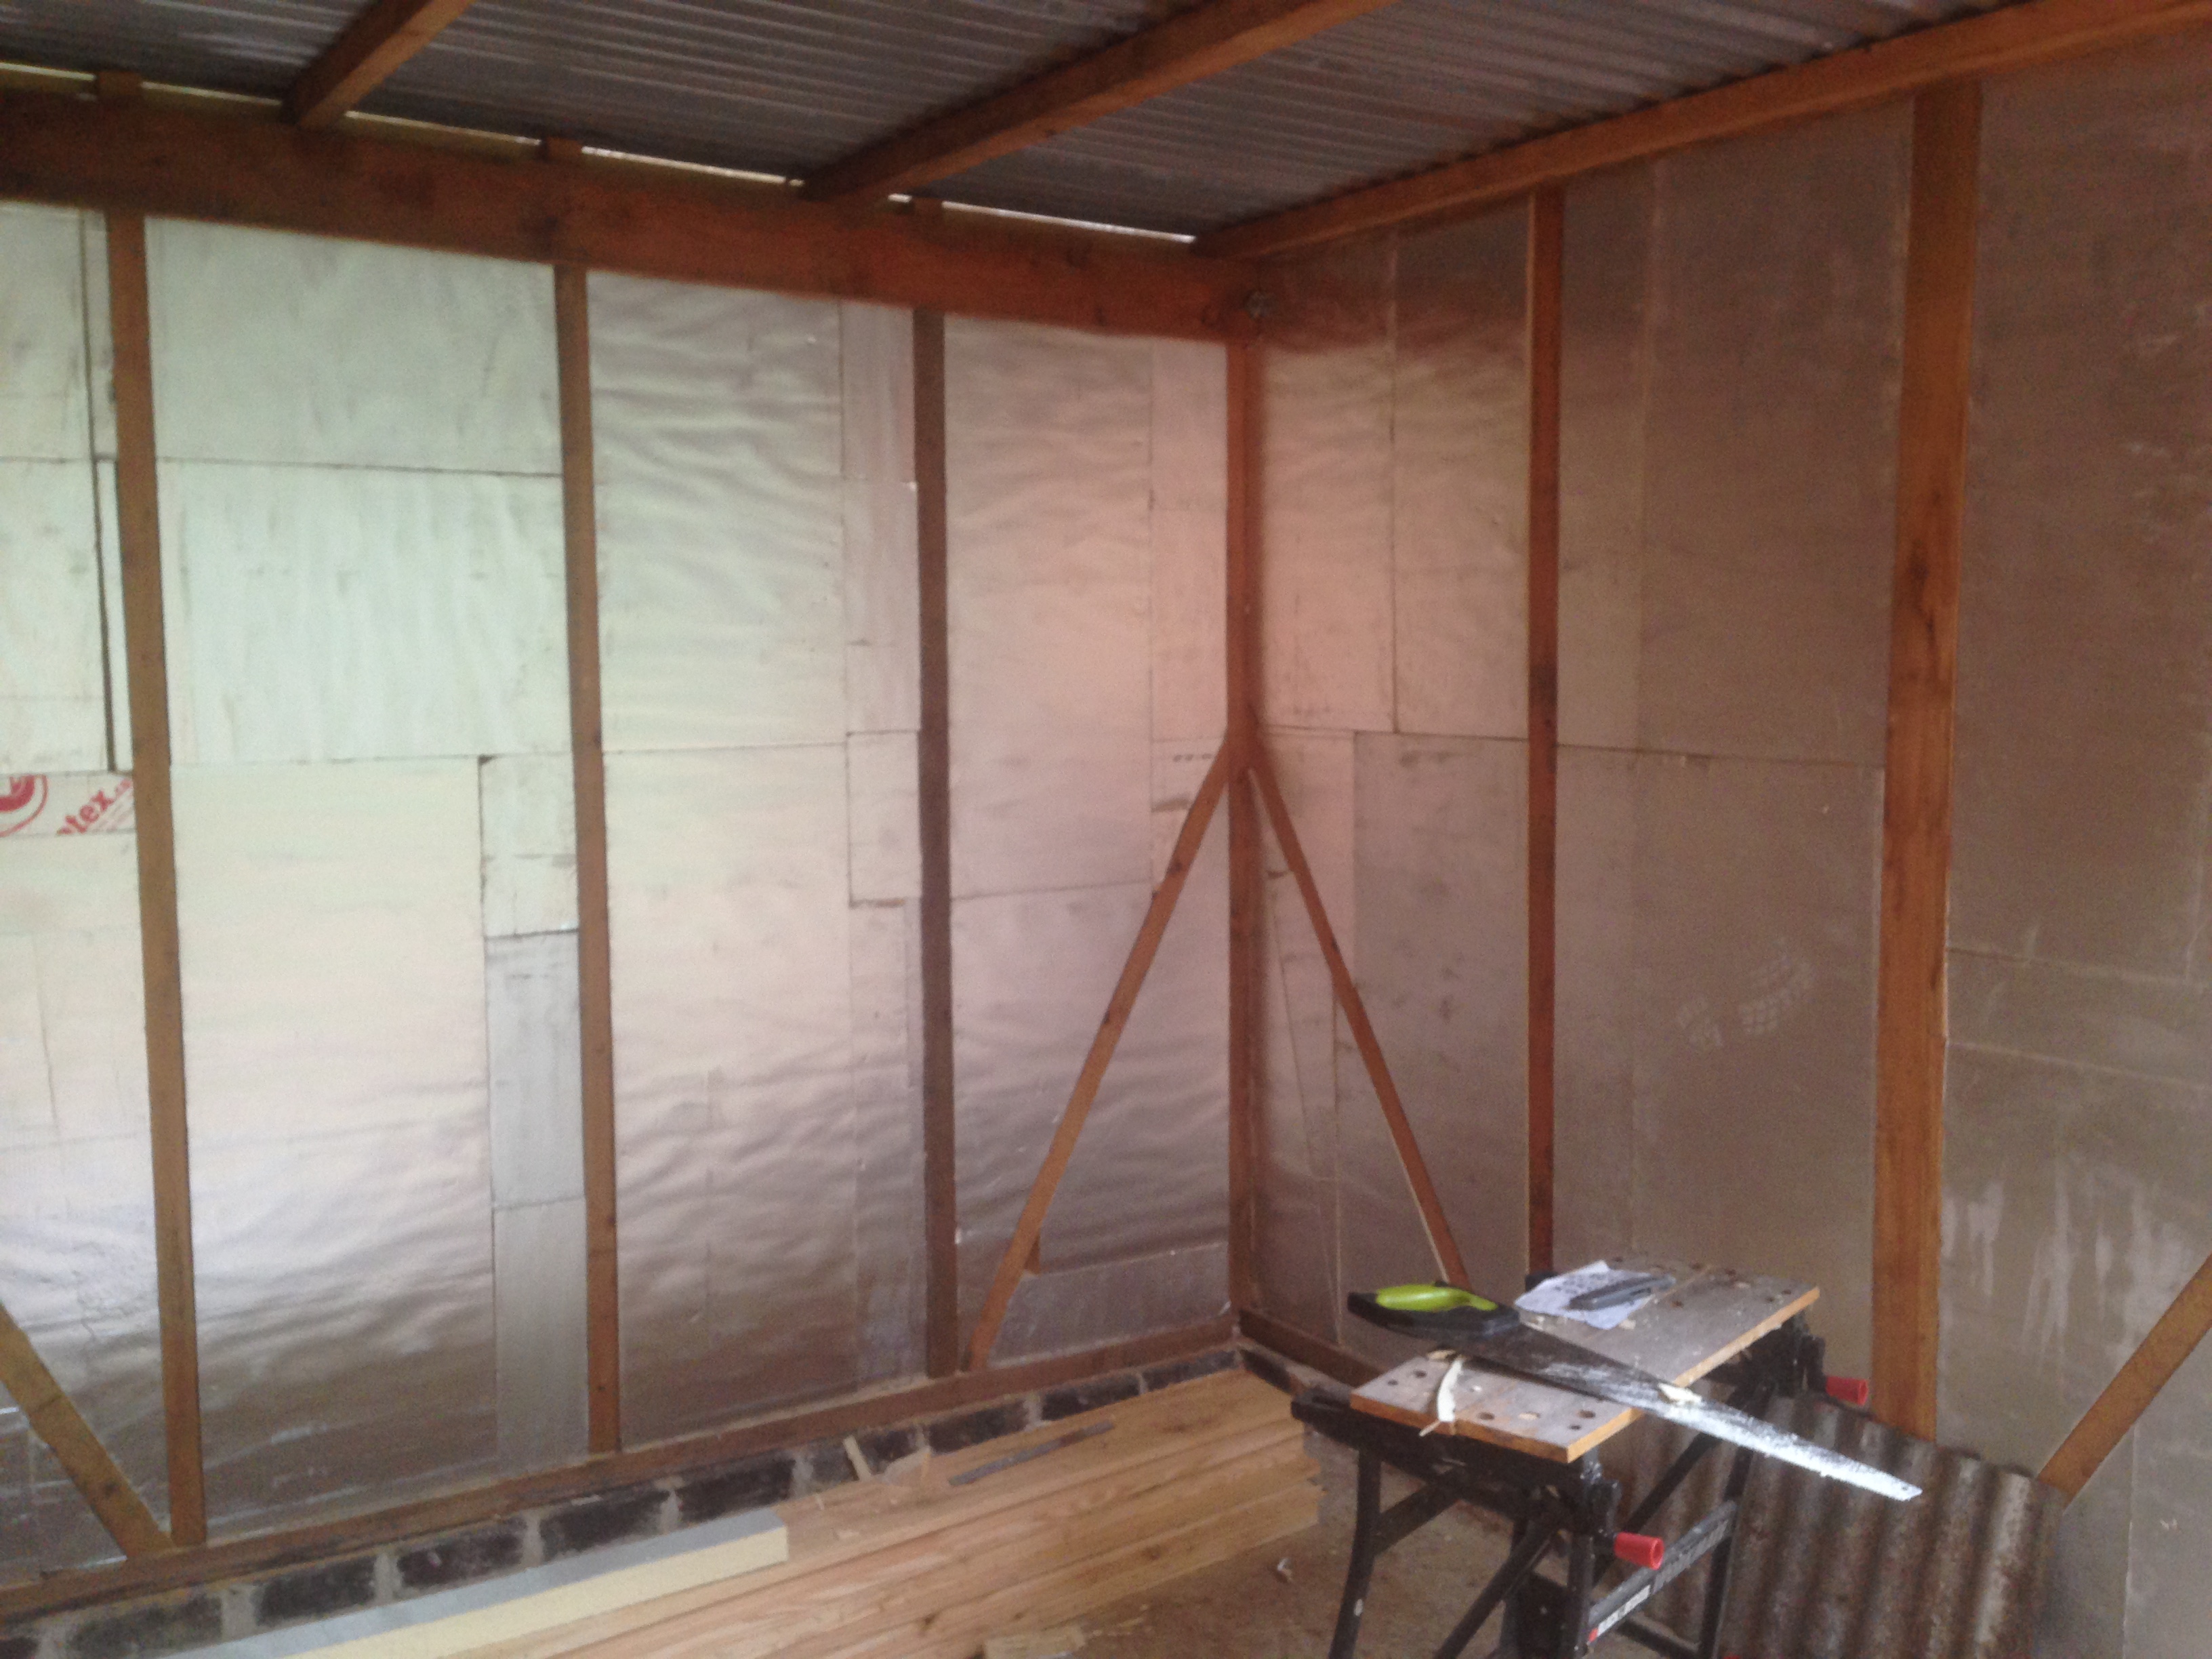
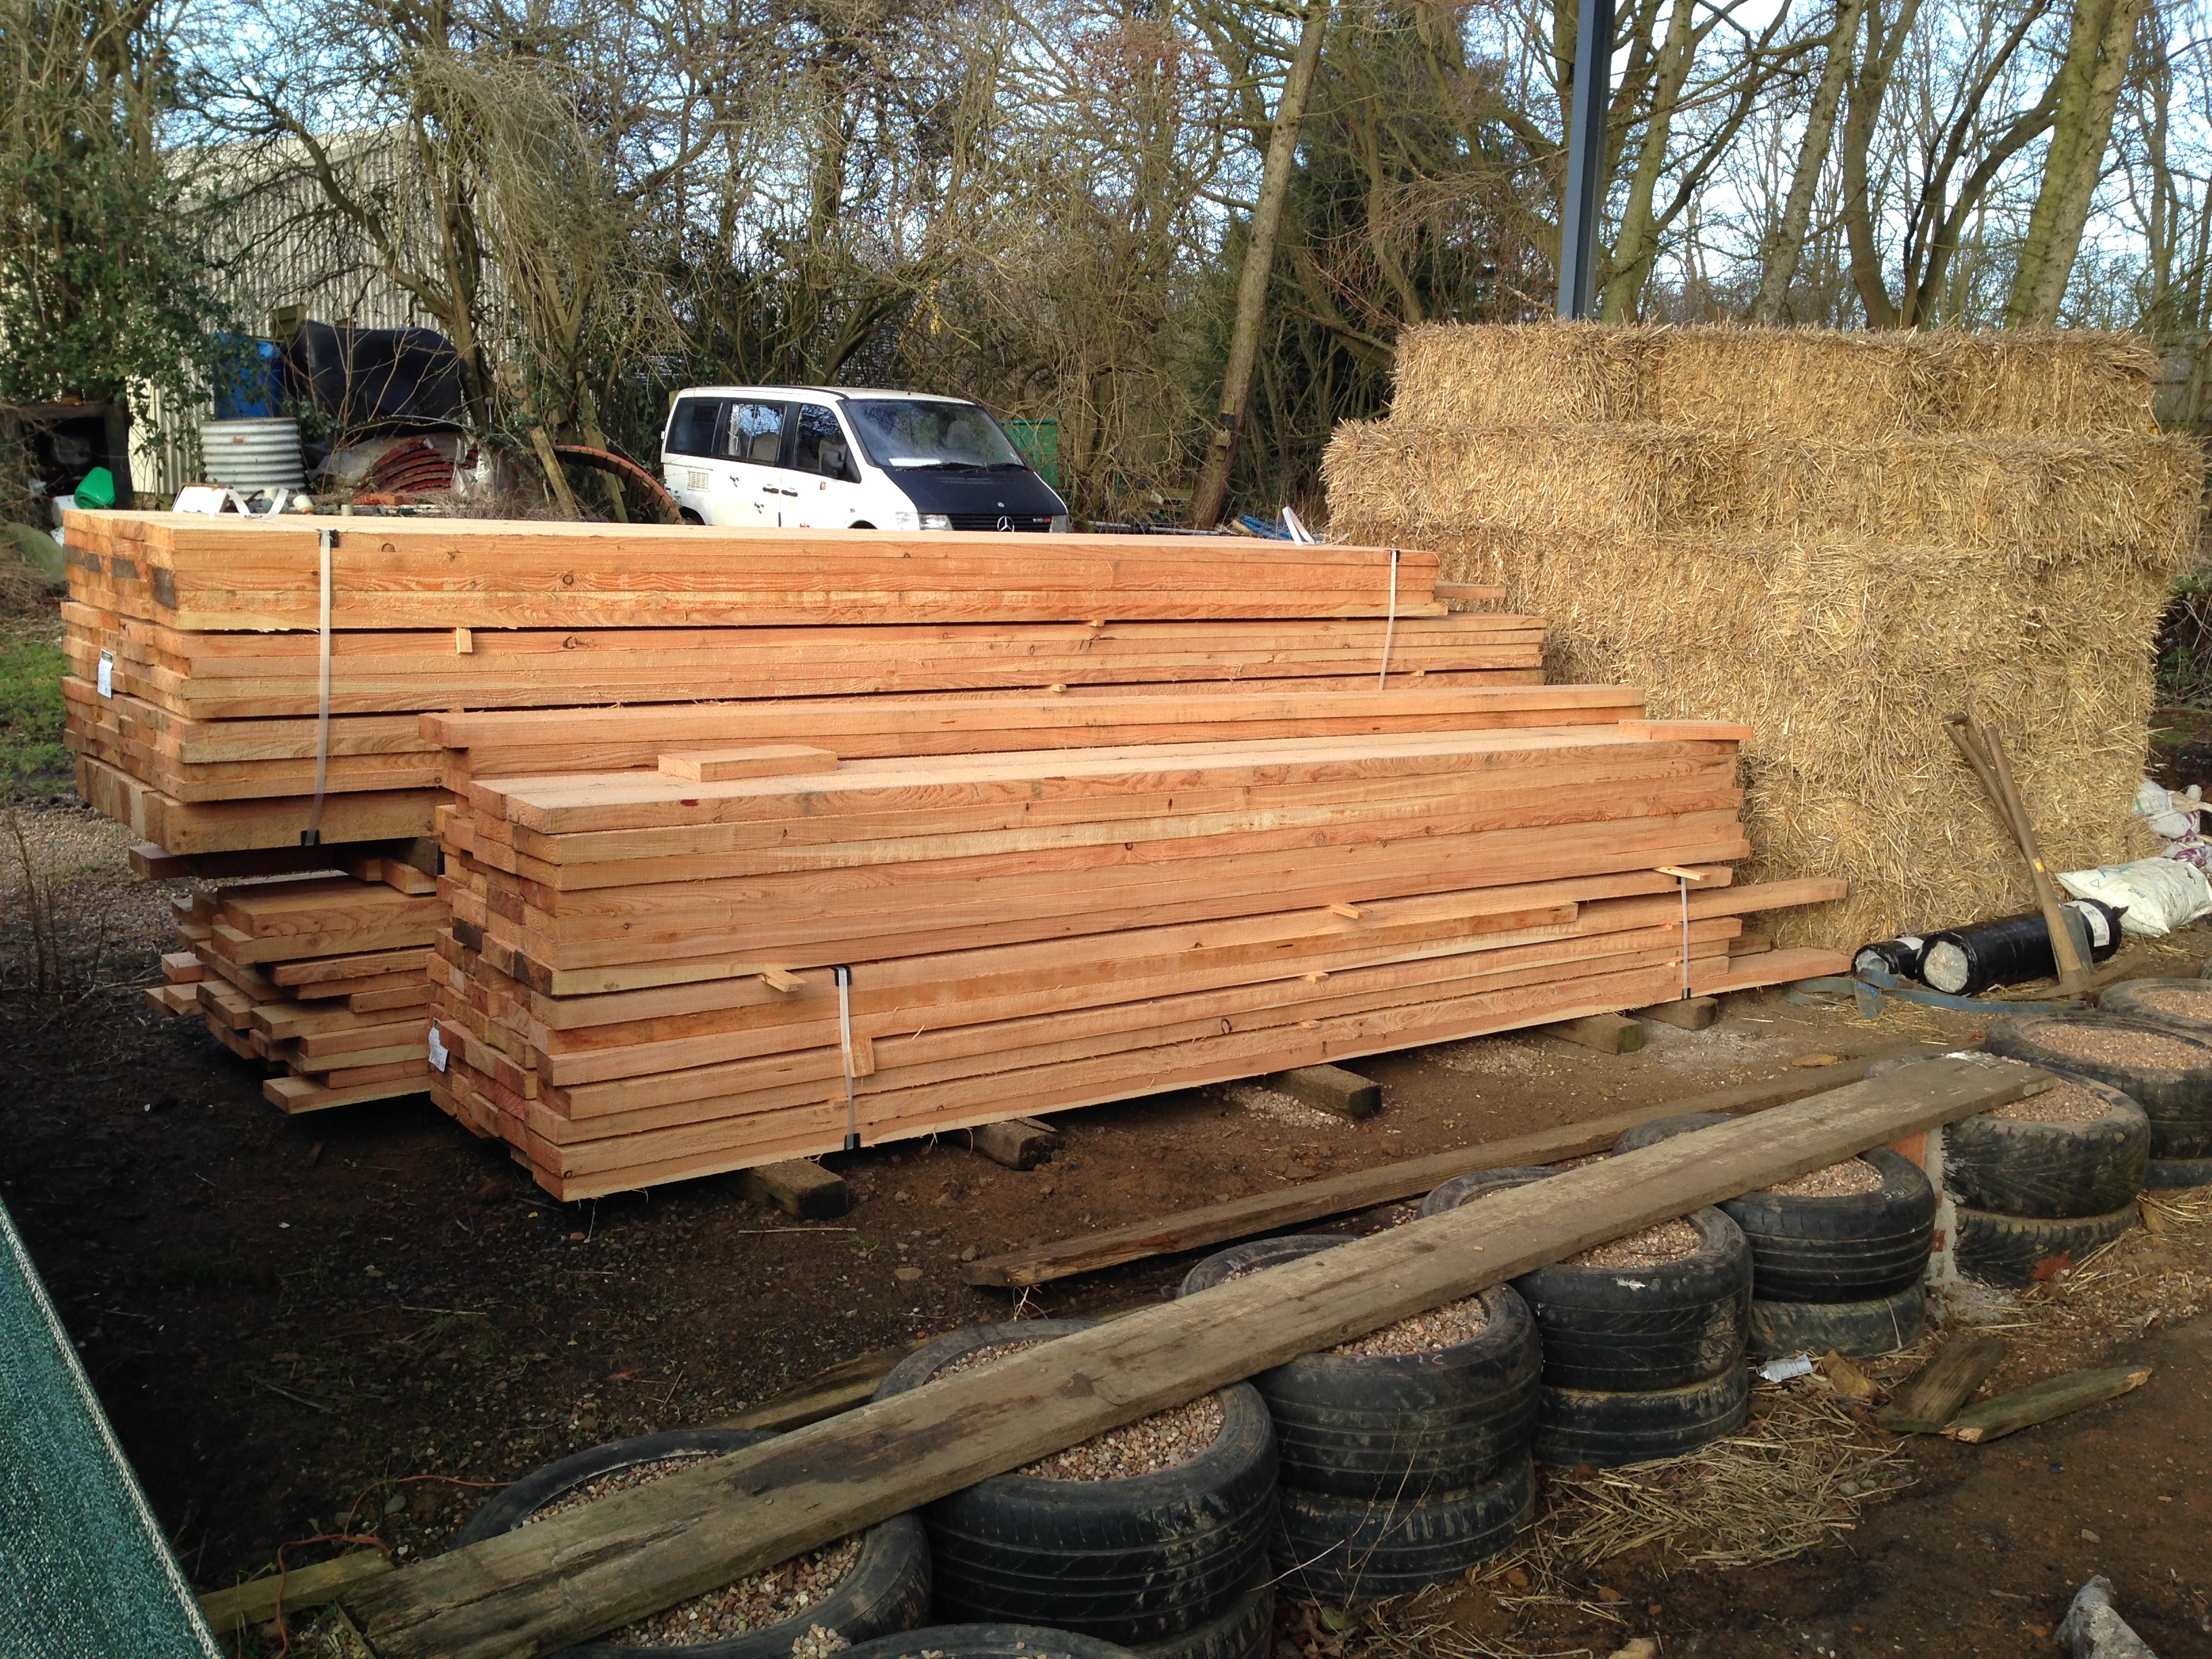
On our return from the north, we built the boiler house over this concrete slab, over the course of a couple of weekends. A robust frame (hopefully one day to support a deck, for sunbathing on rainy days!) clad with larch, lined with rigid foam insulation and under a tin roof.
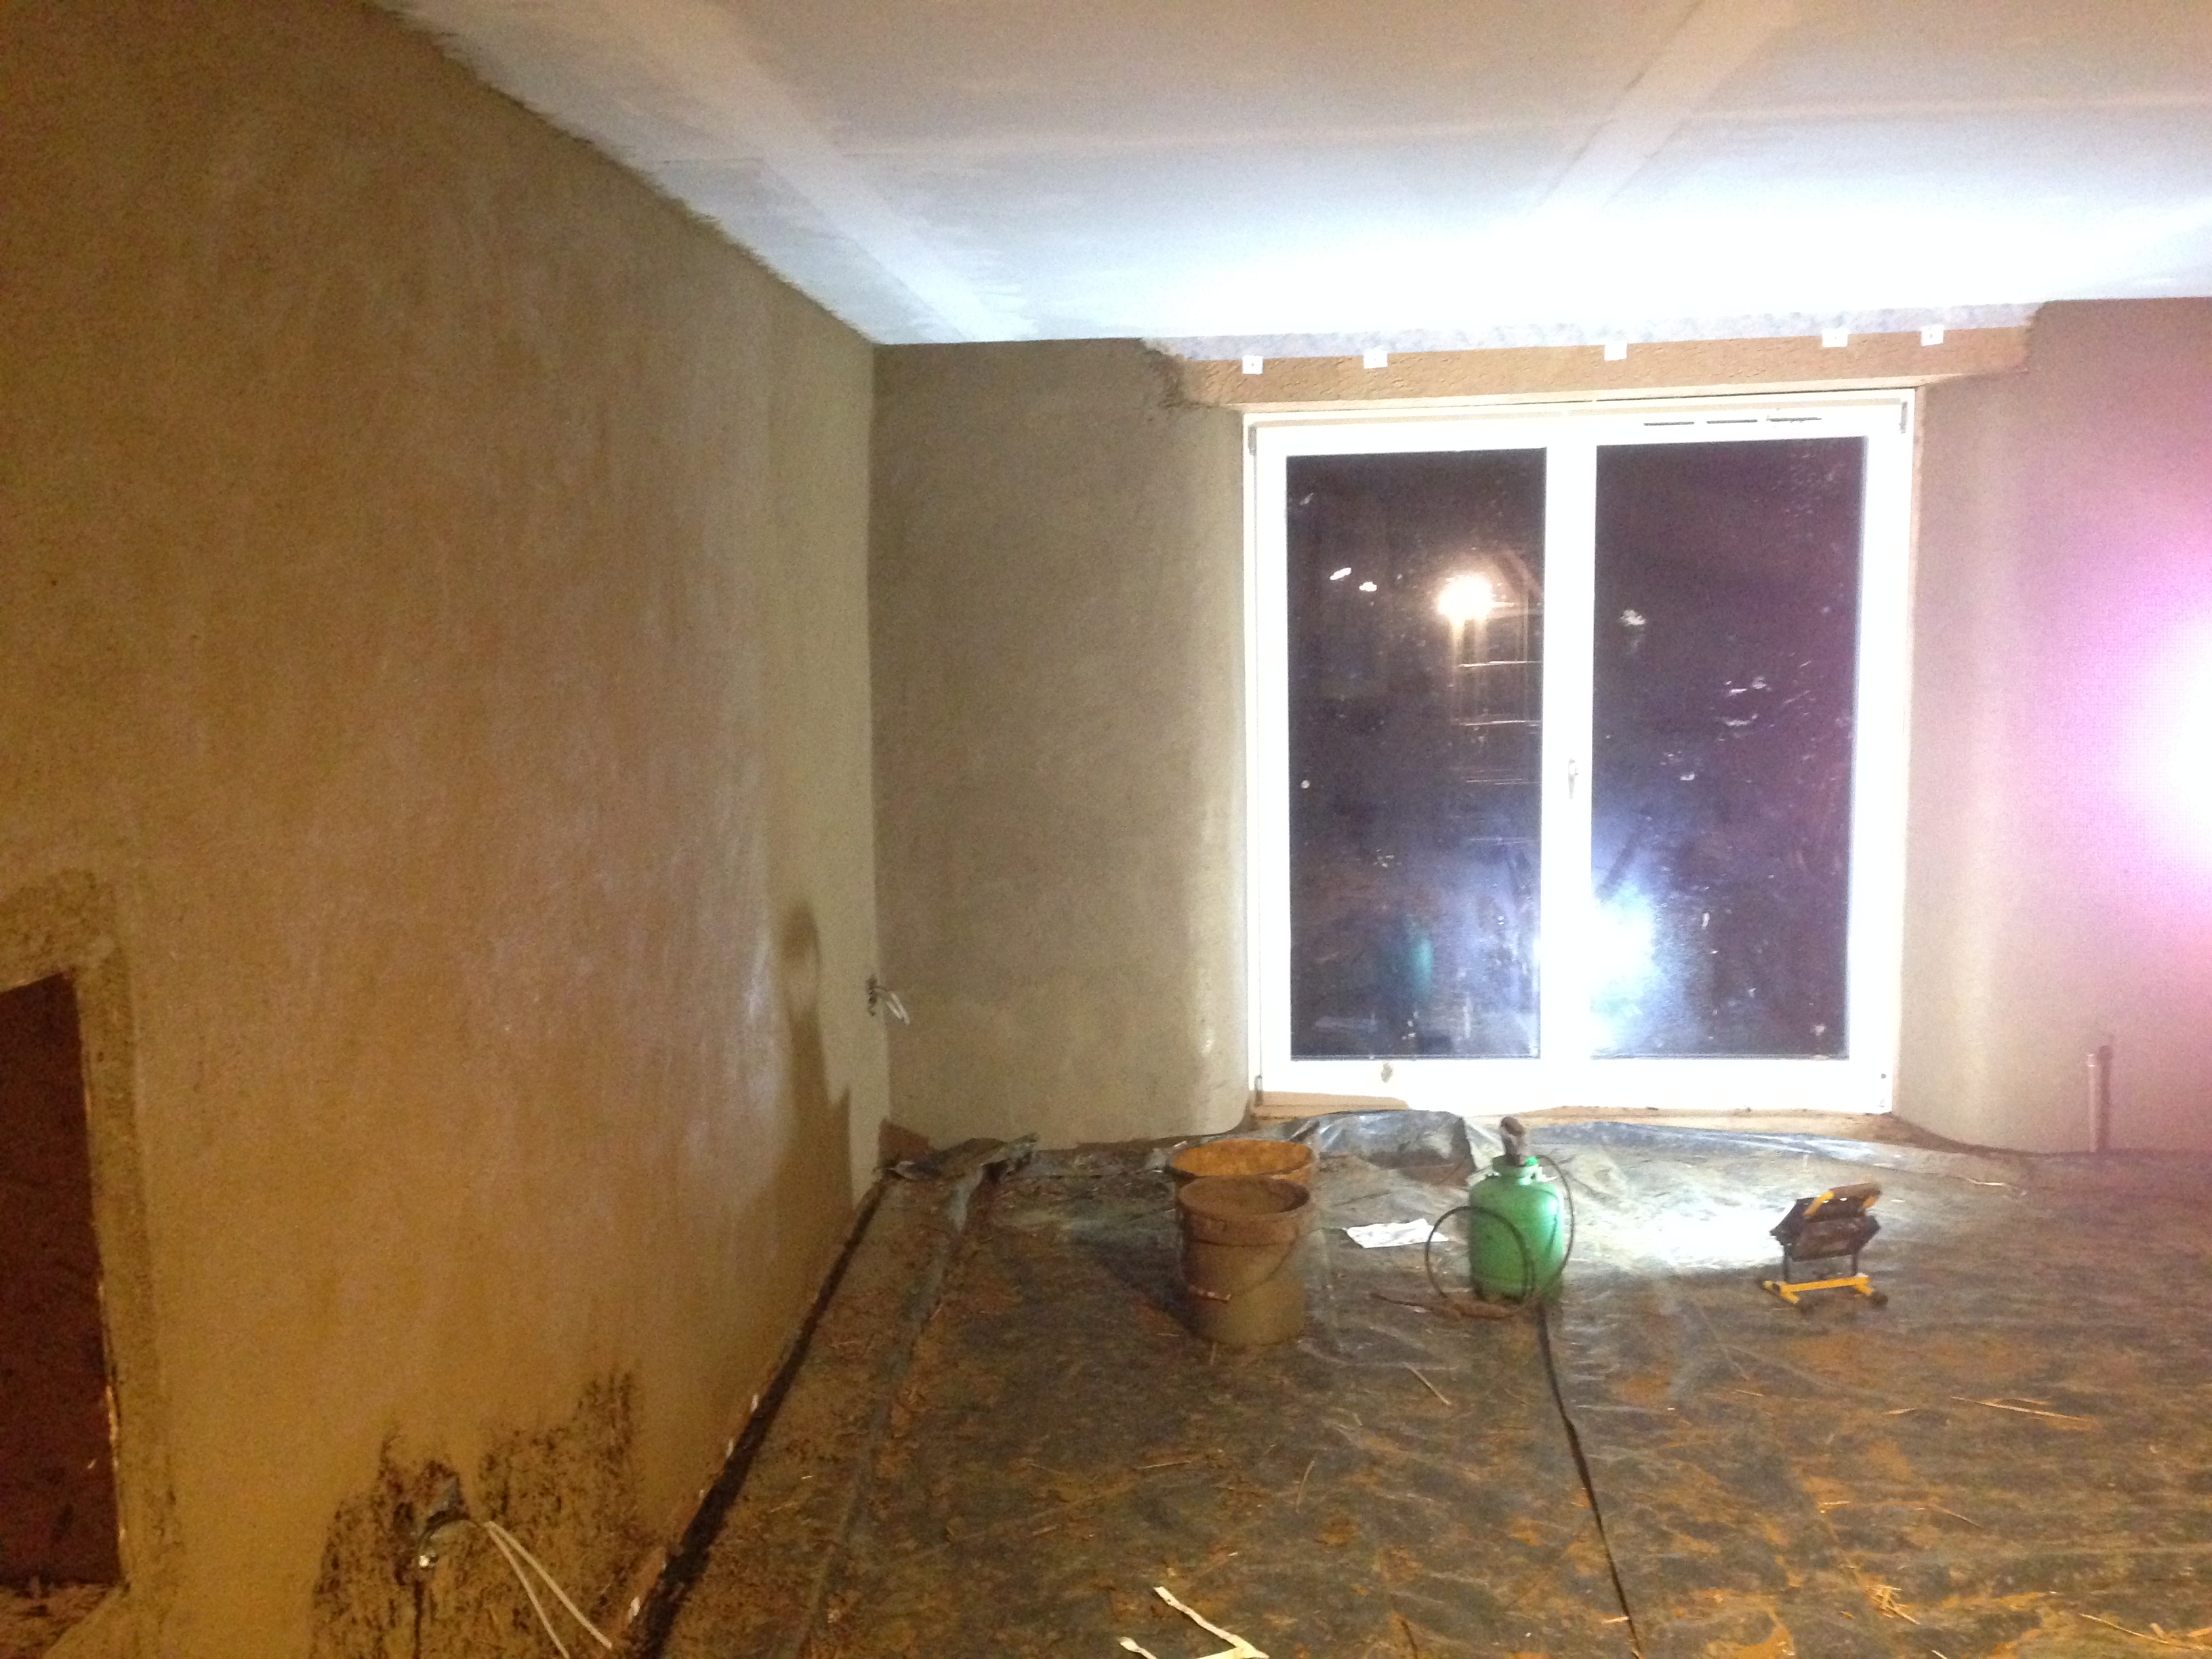
Right, back to now, or then……anyway, once the ceilings and floors were finished, we could start with the last remaining big job – plastering the straw walls.
Some may remember that about 18 months ago, we had a StrawWorks course on clay plastering. Well, your memory is about as hazy as mine, so we had to dredge our memories to get the correct mix of clay, straw and sand for our plaster mix. We did remember that we’d written our trial mix proportions on the ring beam below each example when we did them (see here). What we didn’t remember is that since then, we’d screwed floor joists to this ring beam, so would have had to take up the entire floor to read them! So we remembered/guessed at 3 sand to 1 clay and 1 chopped straw, and started with that. That proved to be a lucky guess, and the plaster started to go on well in the kitchen. Well, buy slowly – it took me, Katie and Kev Hutchby three weeks to plaster the kitchen. So we got a bit more organised……
- We recruited more help – Archie (my nephew, and all round handy man, rock fan and young person) was signed up as regular Saturday worker, Kev and Anna proved able and willing for big plastering days, and Thom provided invaluable help and support over the festive period.
- I experimented and got a plaster preparation routine sorted using the venerable cement mixer.
- We got better at it!
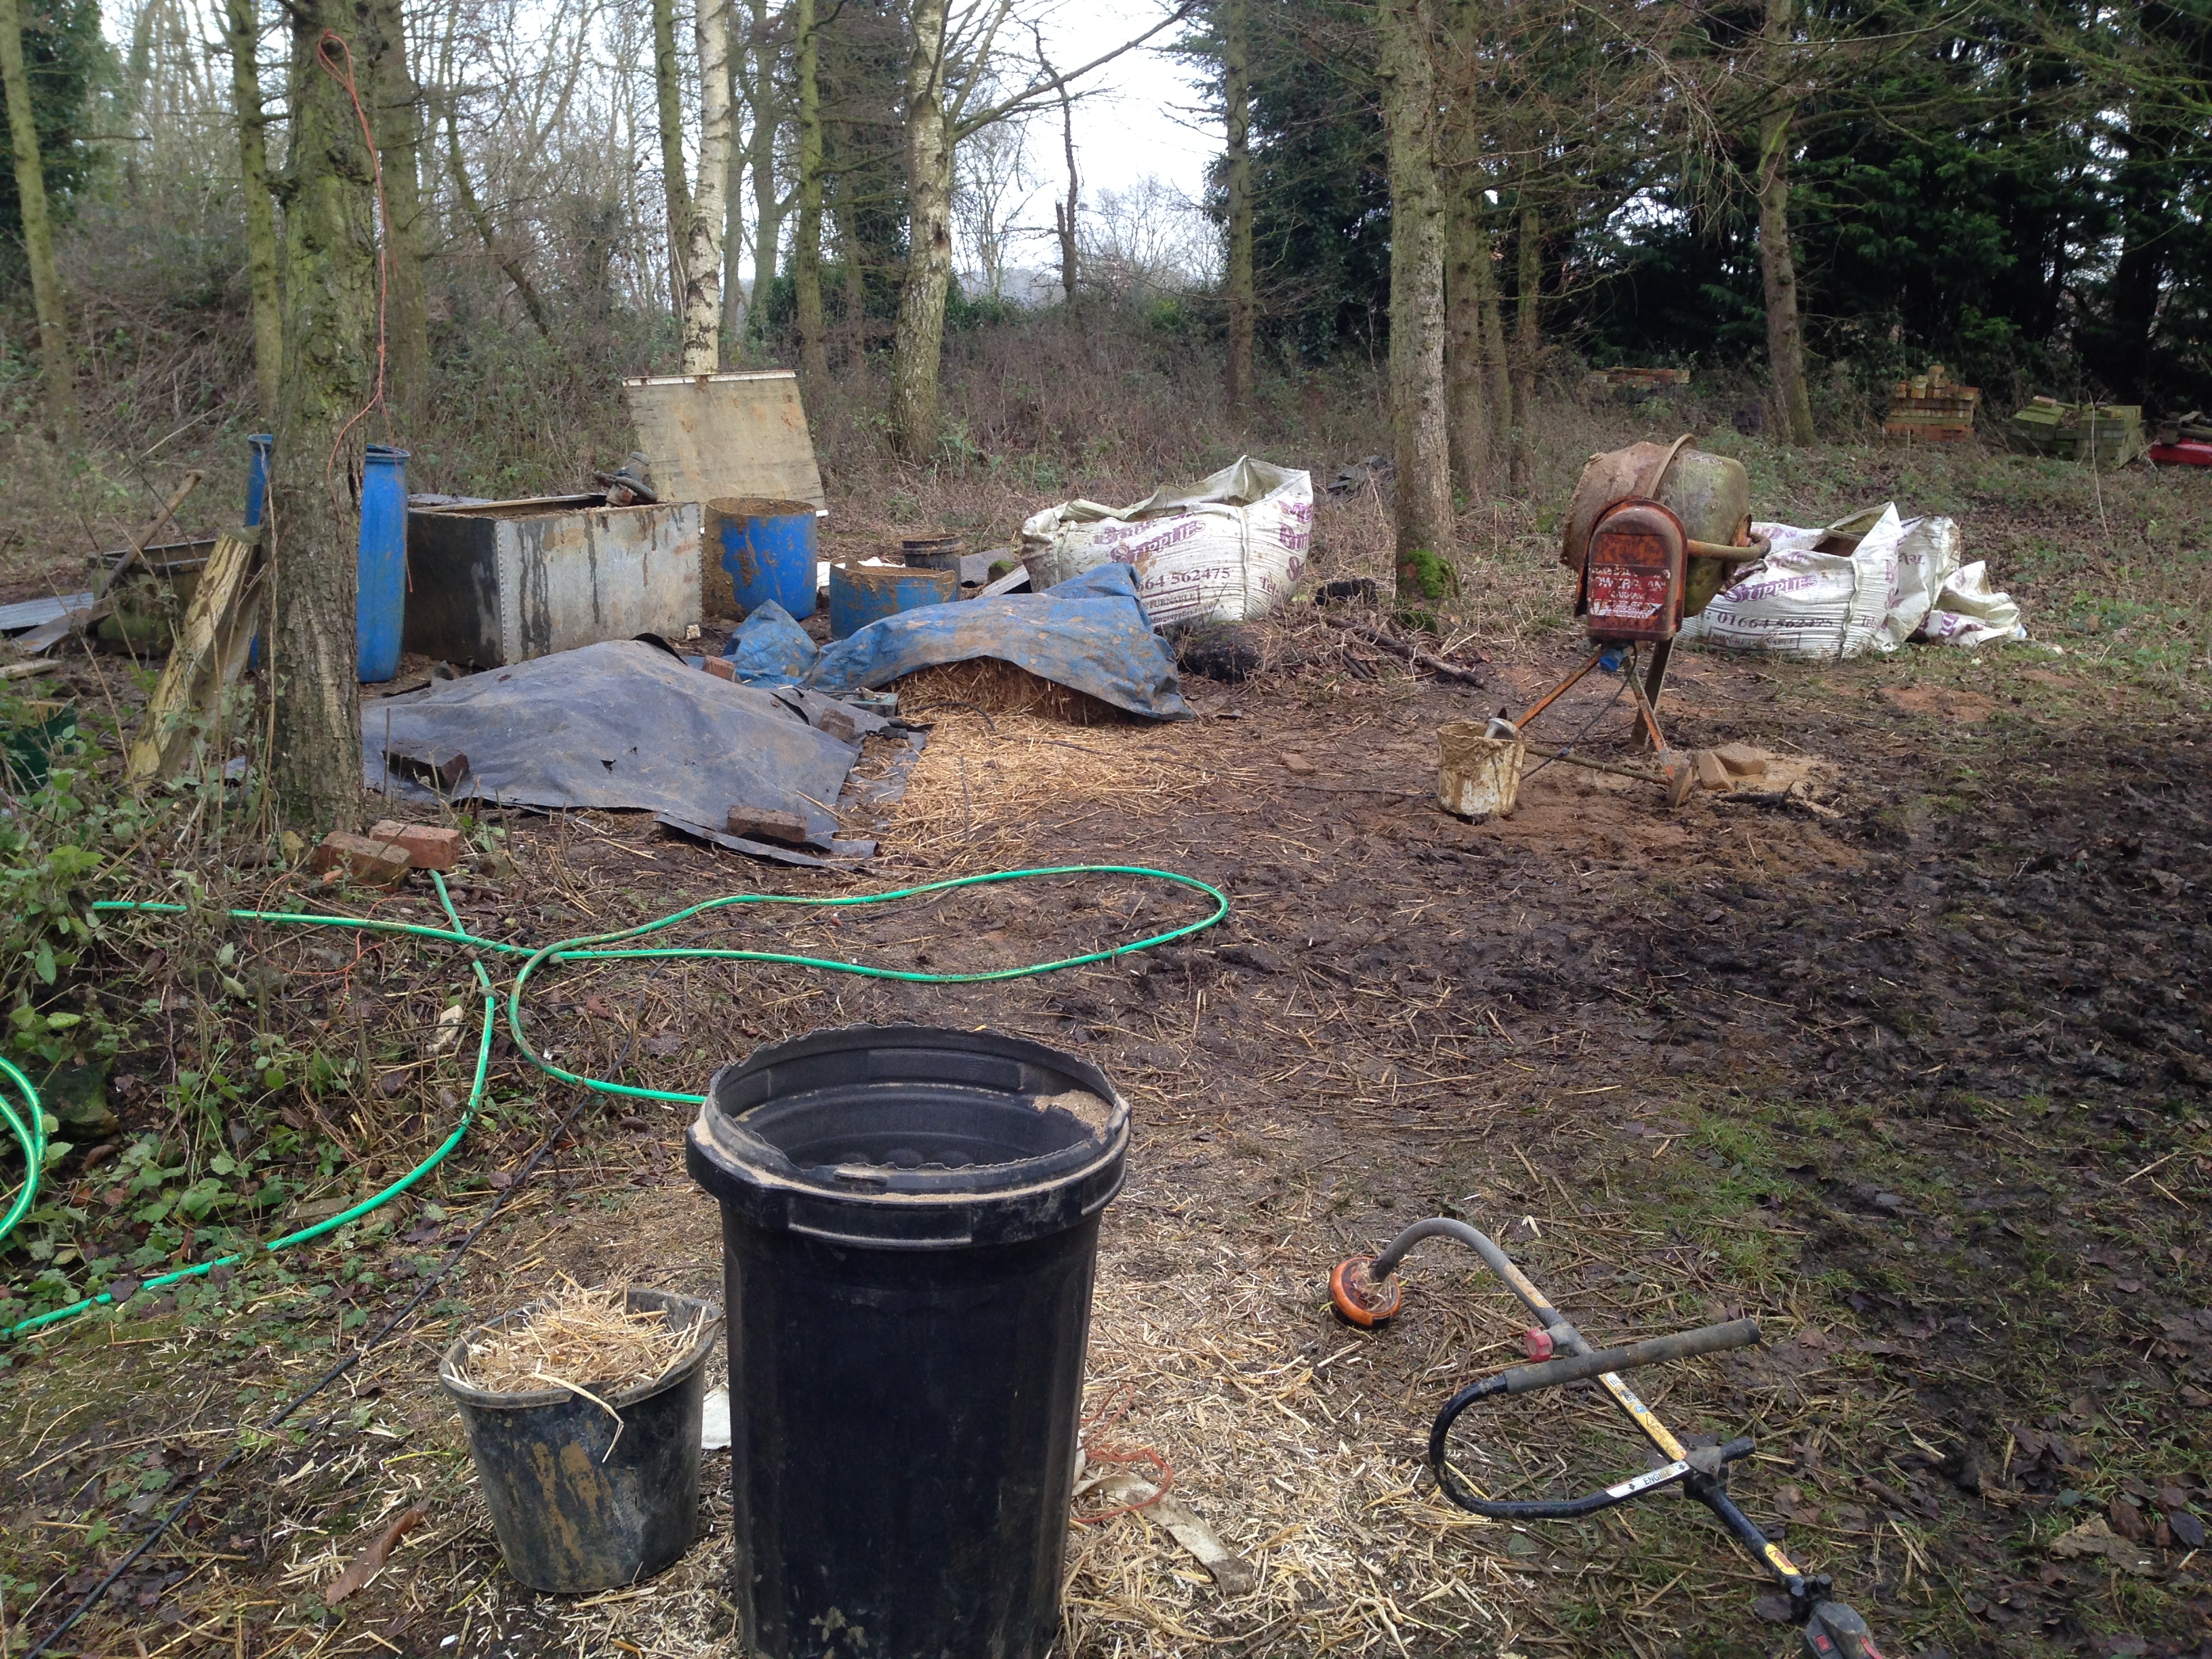
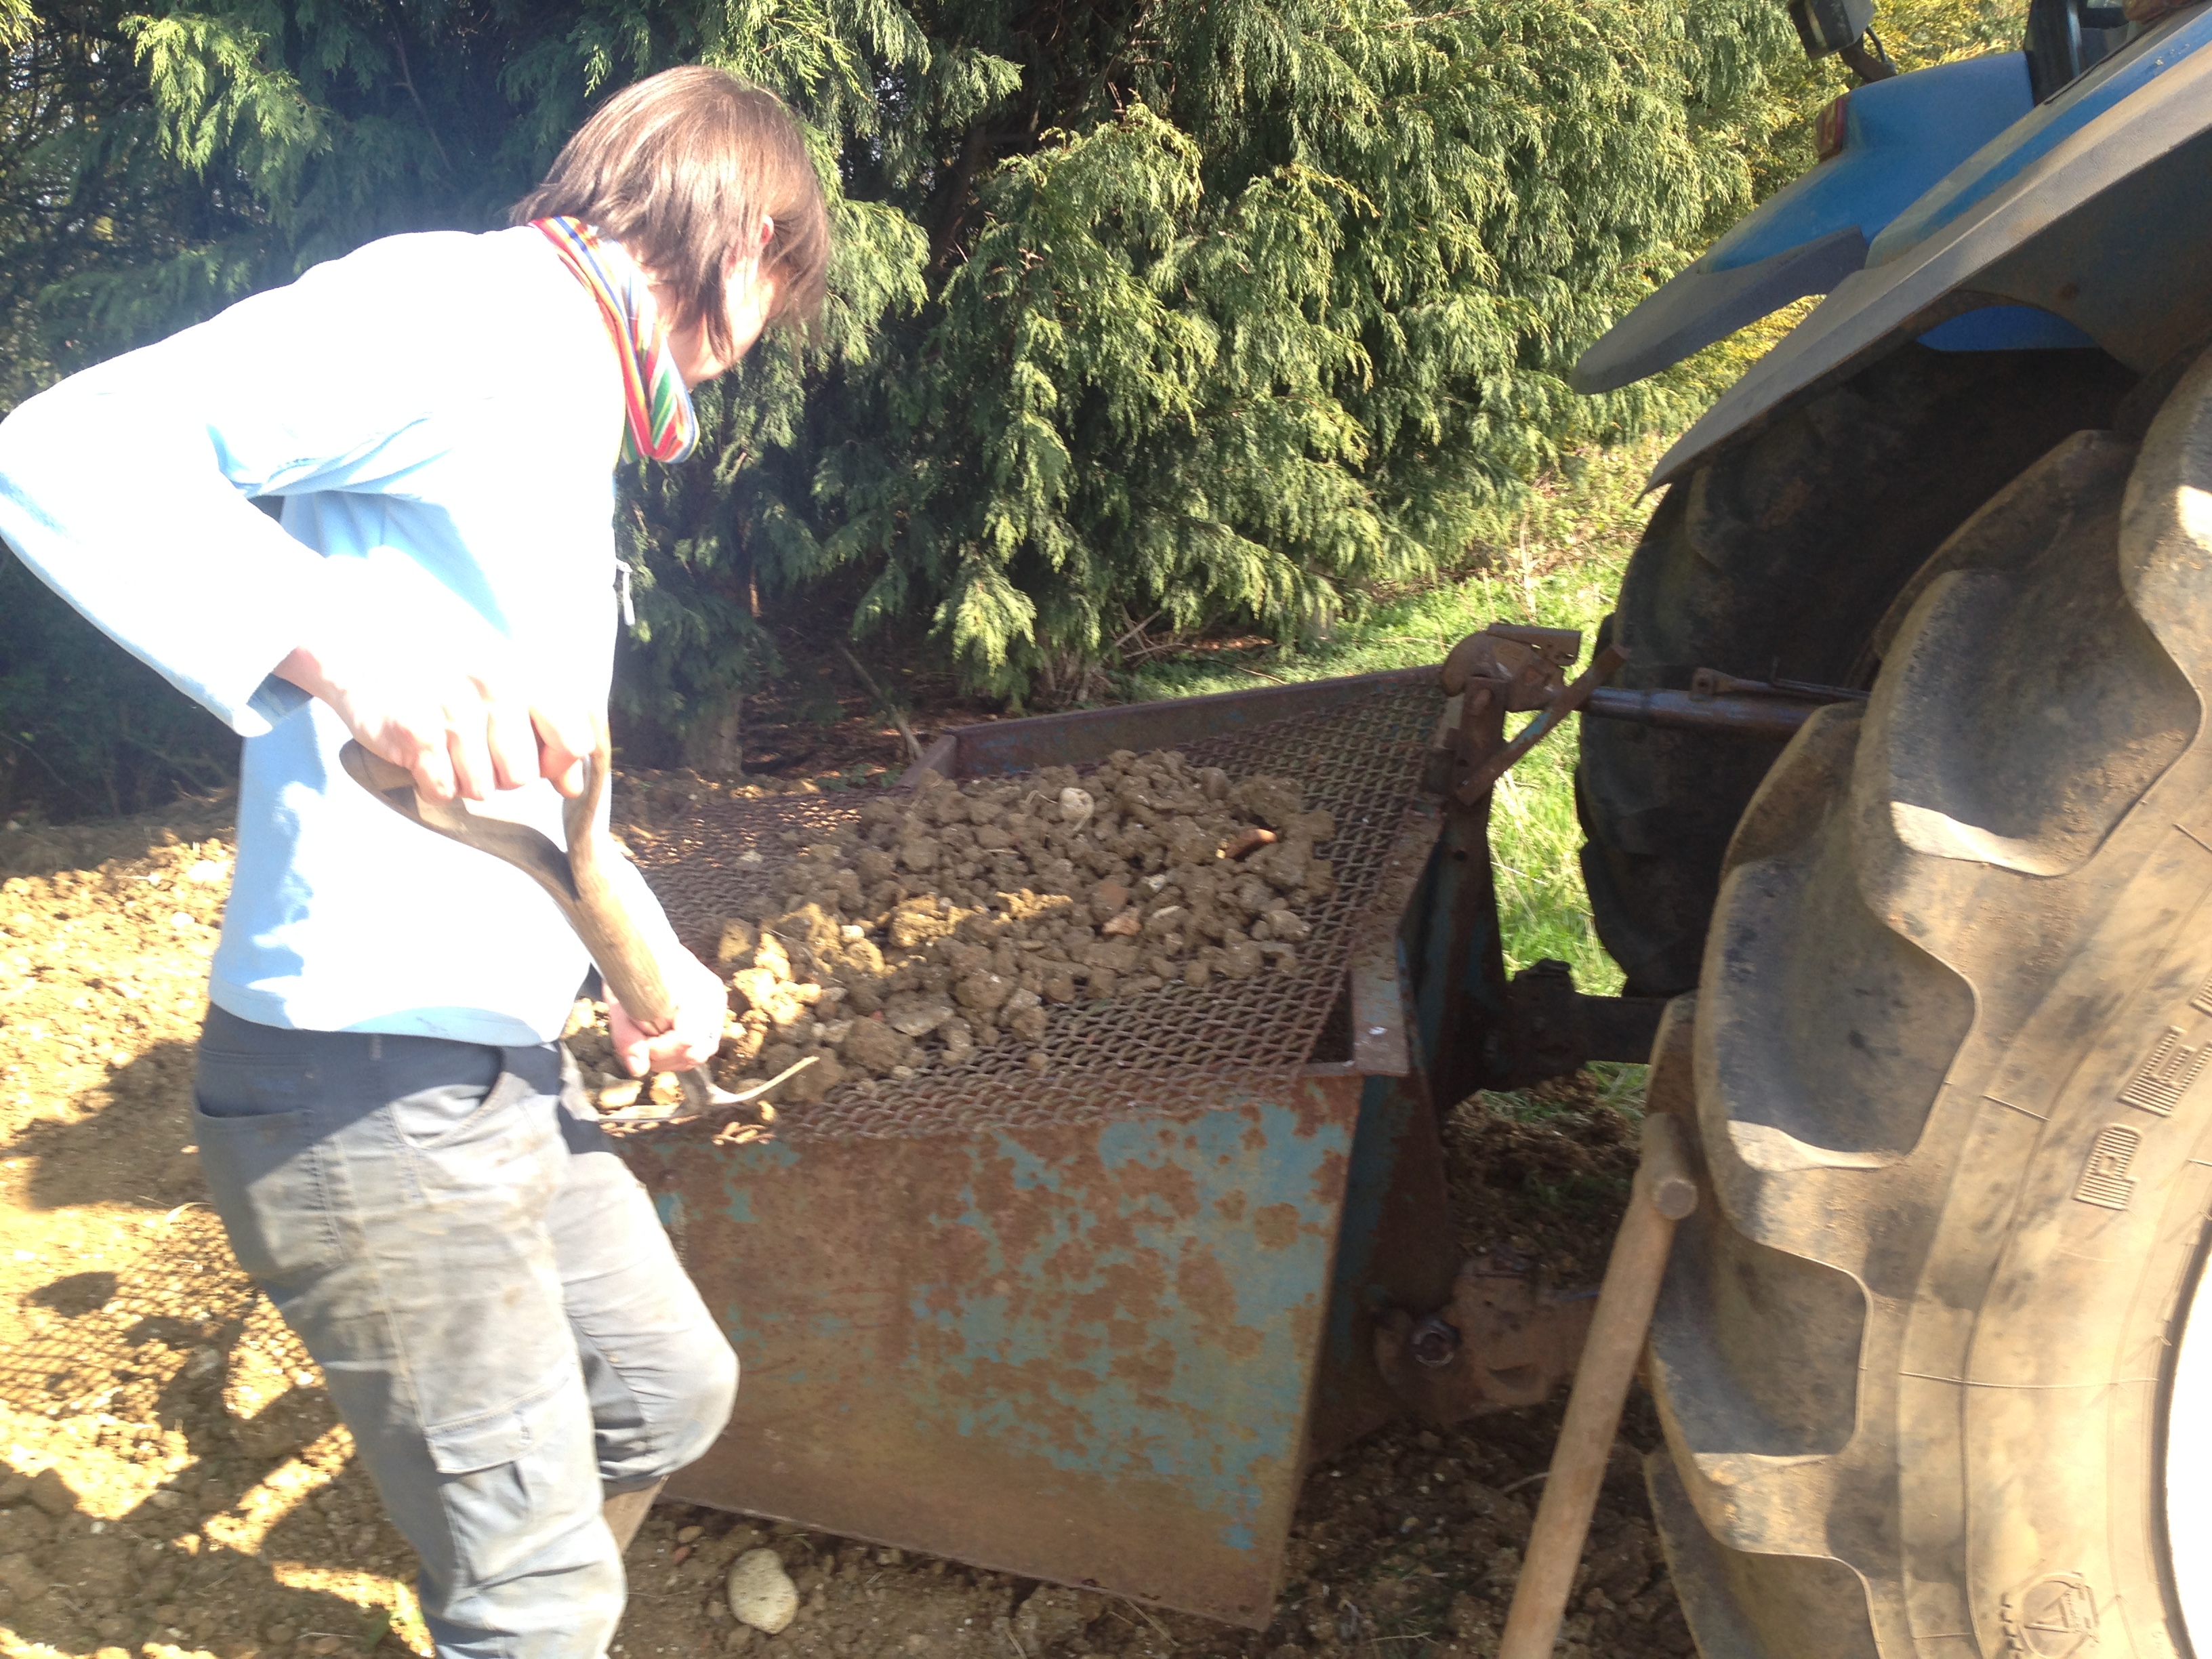
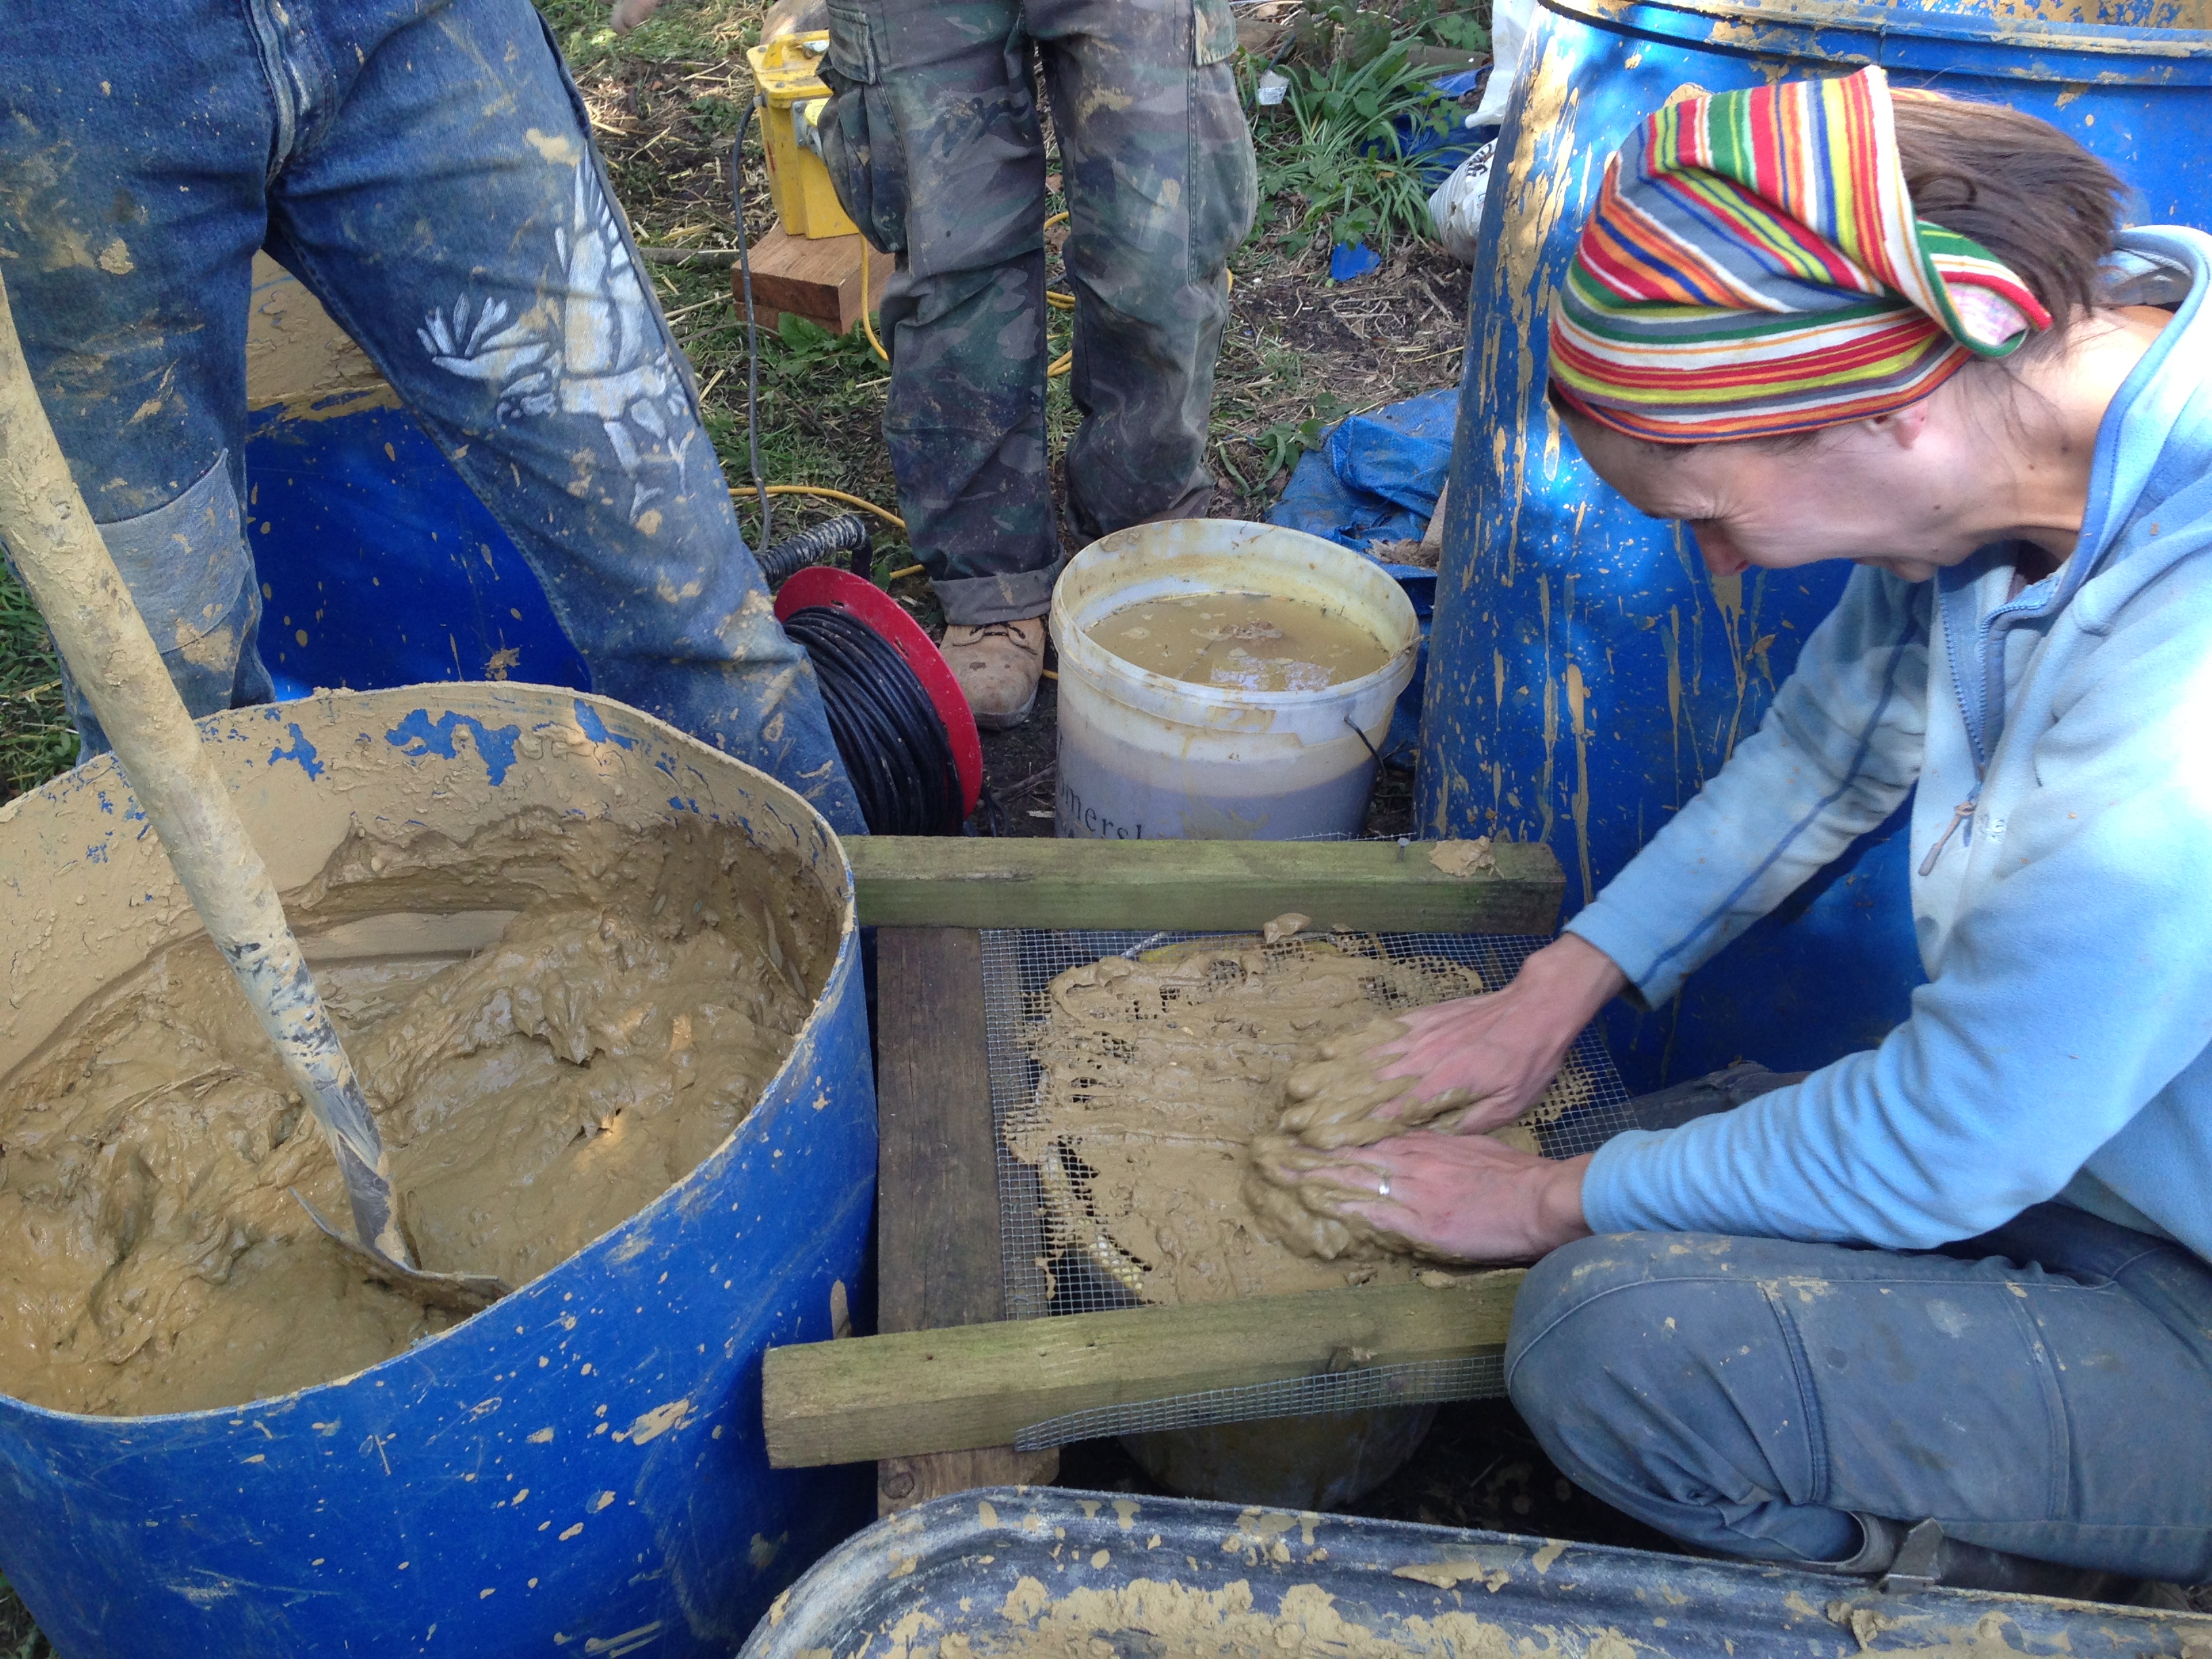
THE ‘MUD STATION’ – raw mud (clay) is soaked, mixed and sieved, before mixing with straw and sand
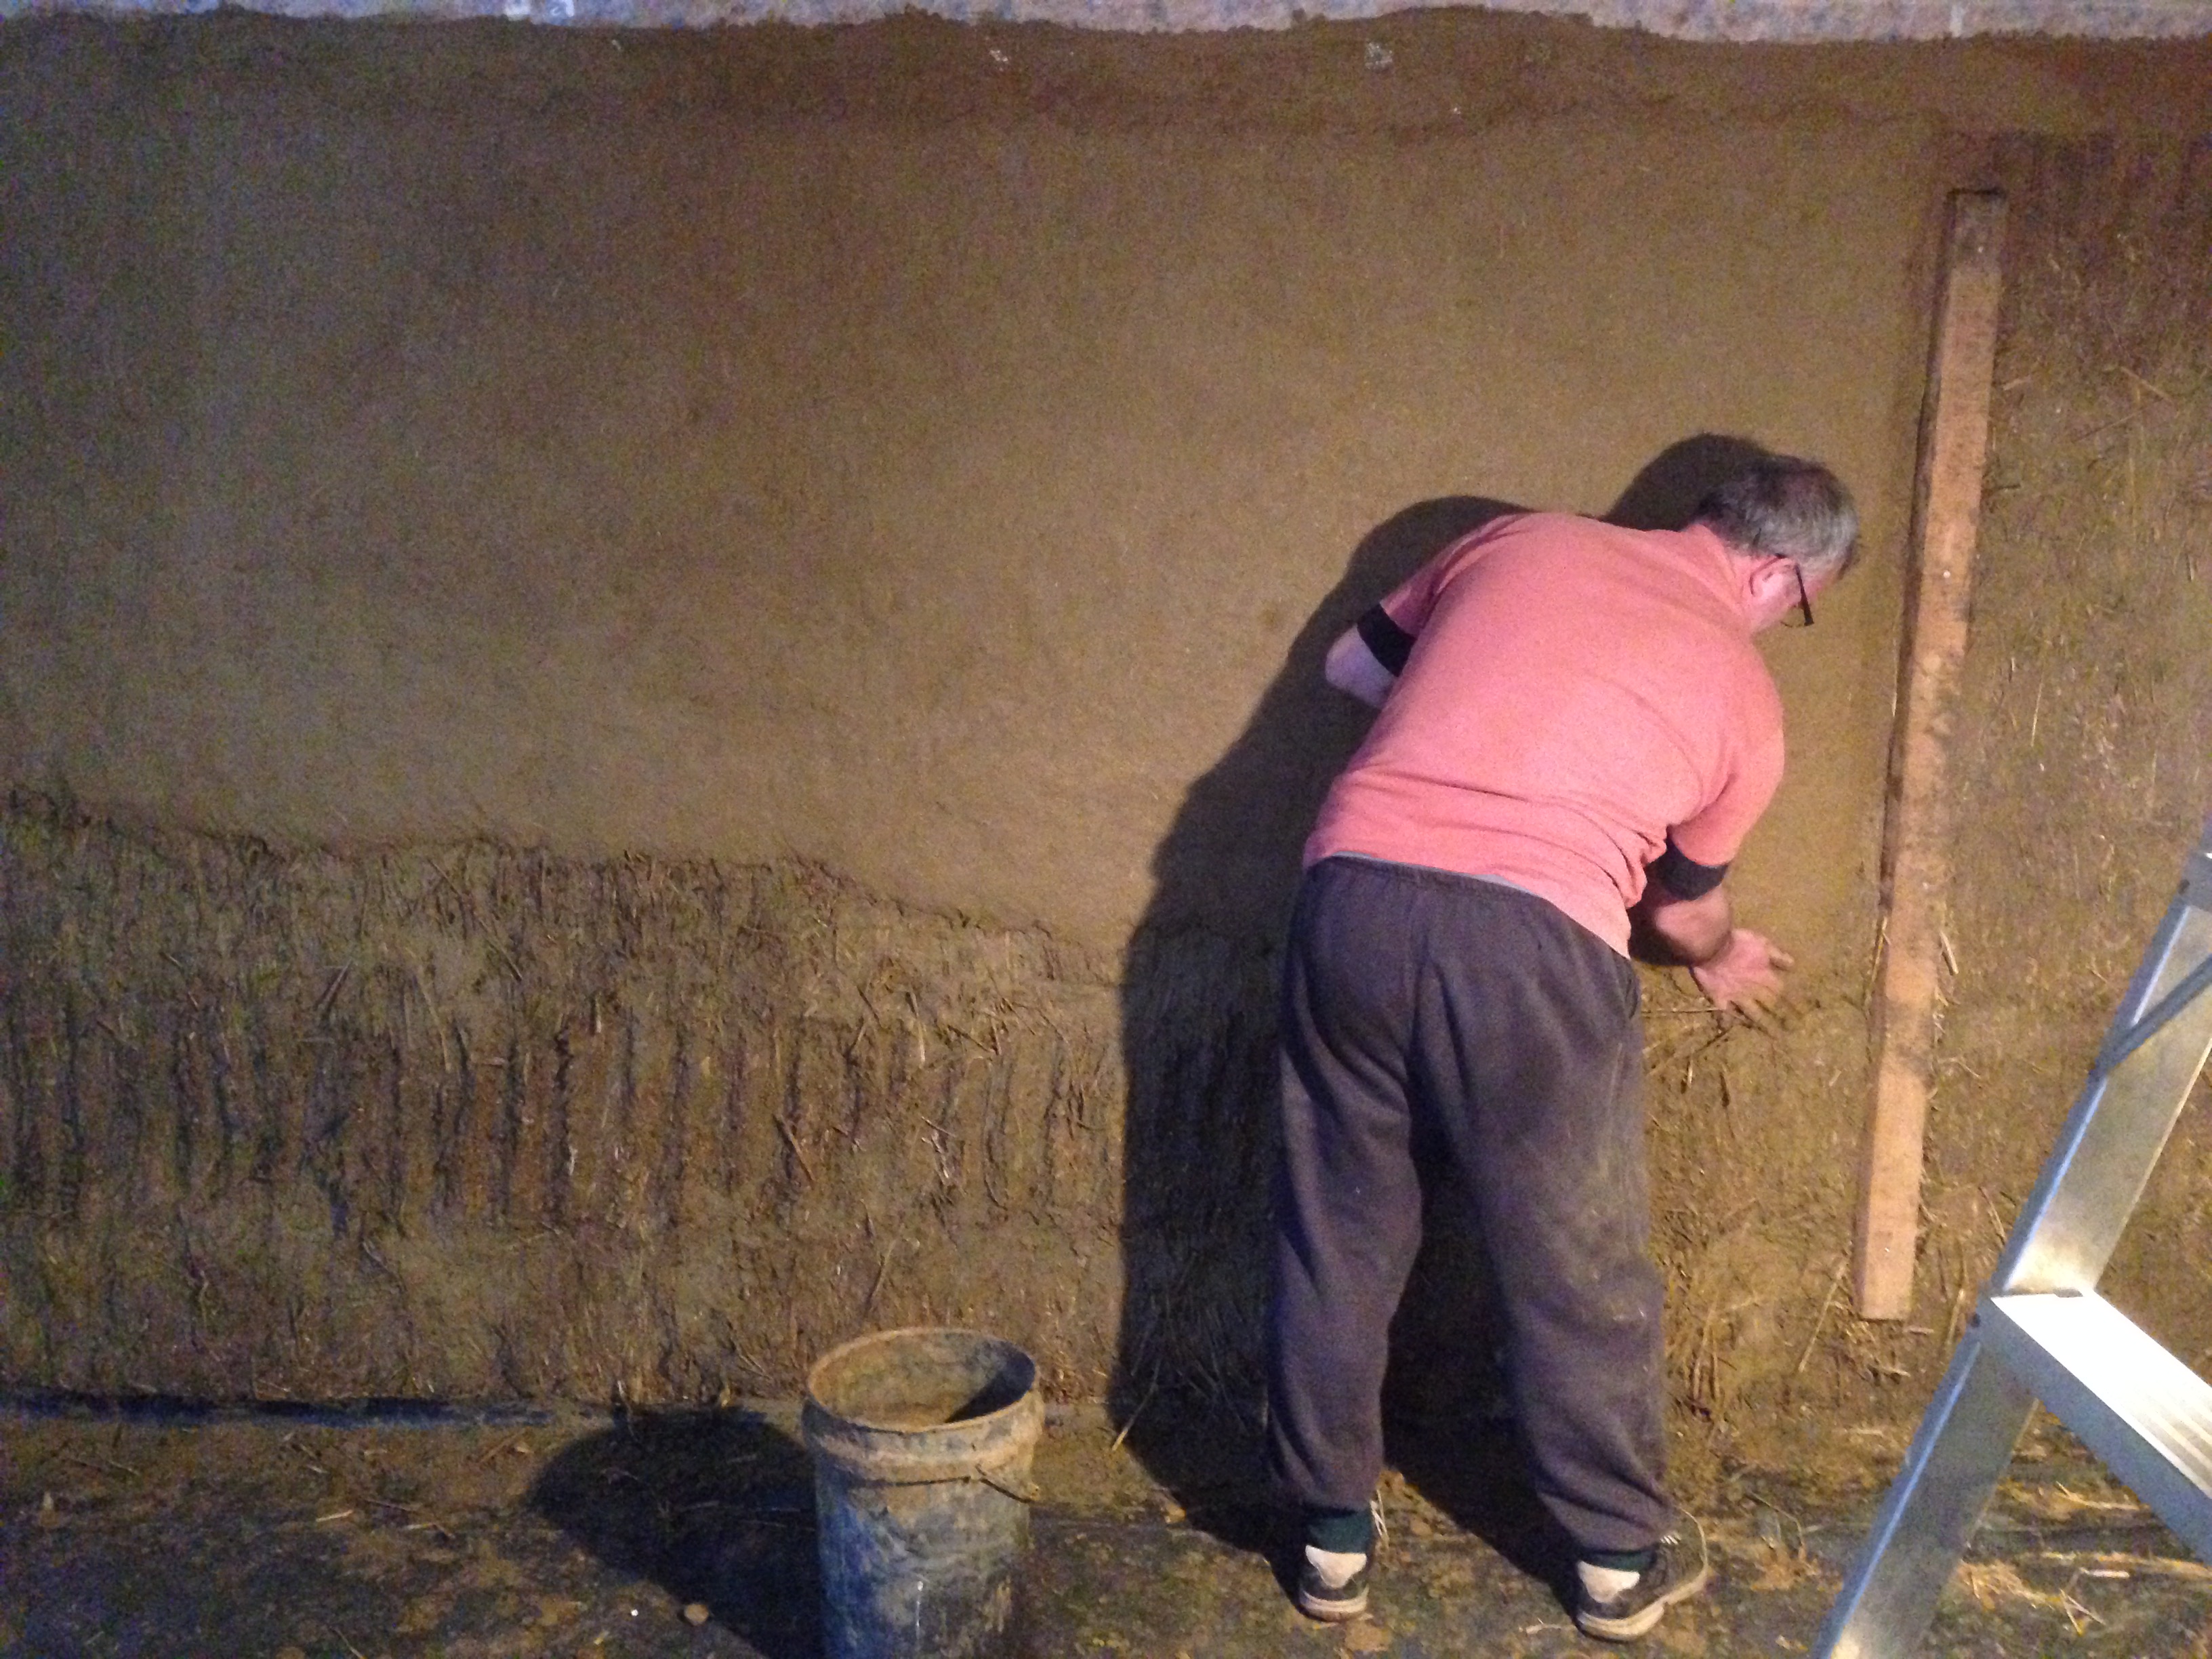
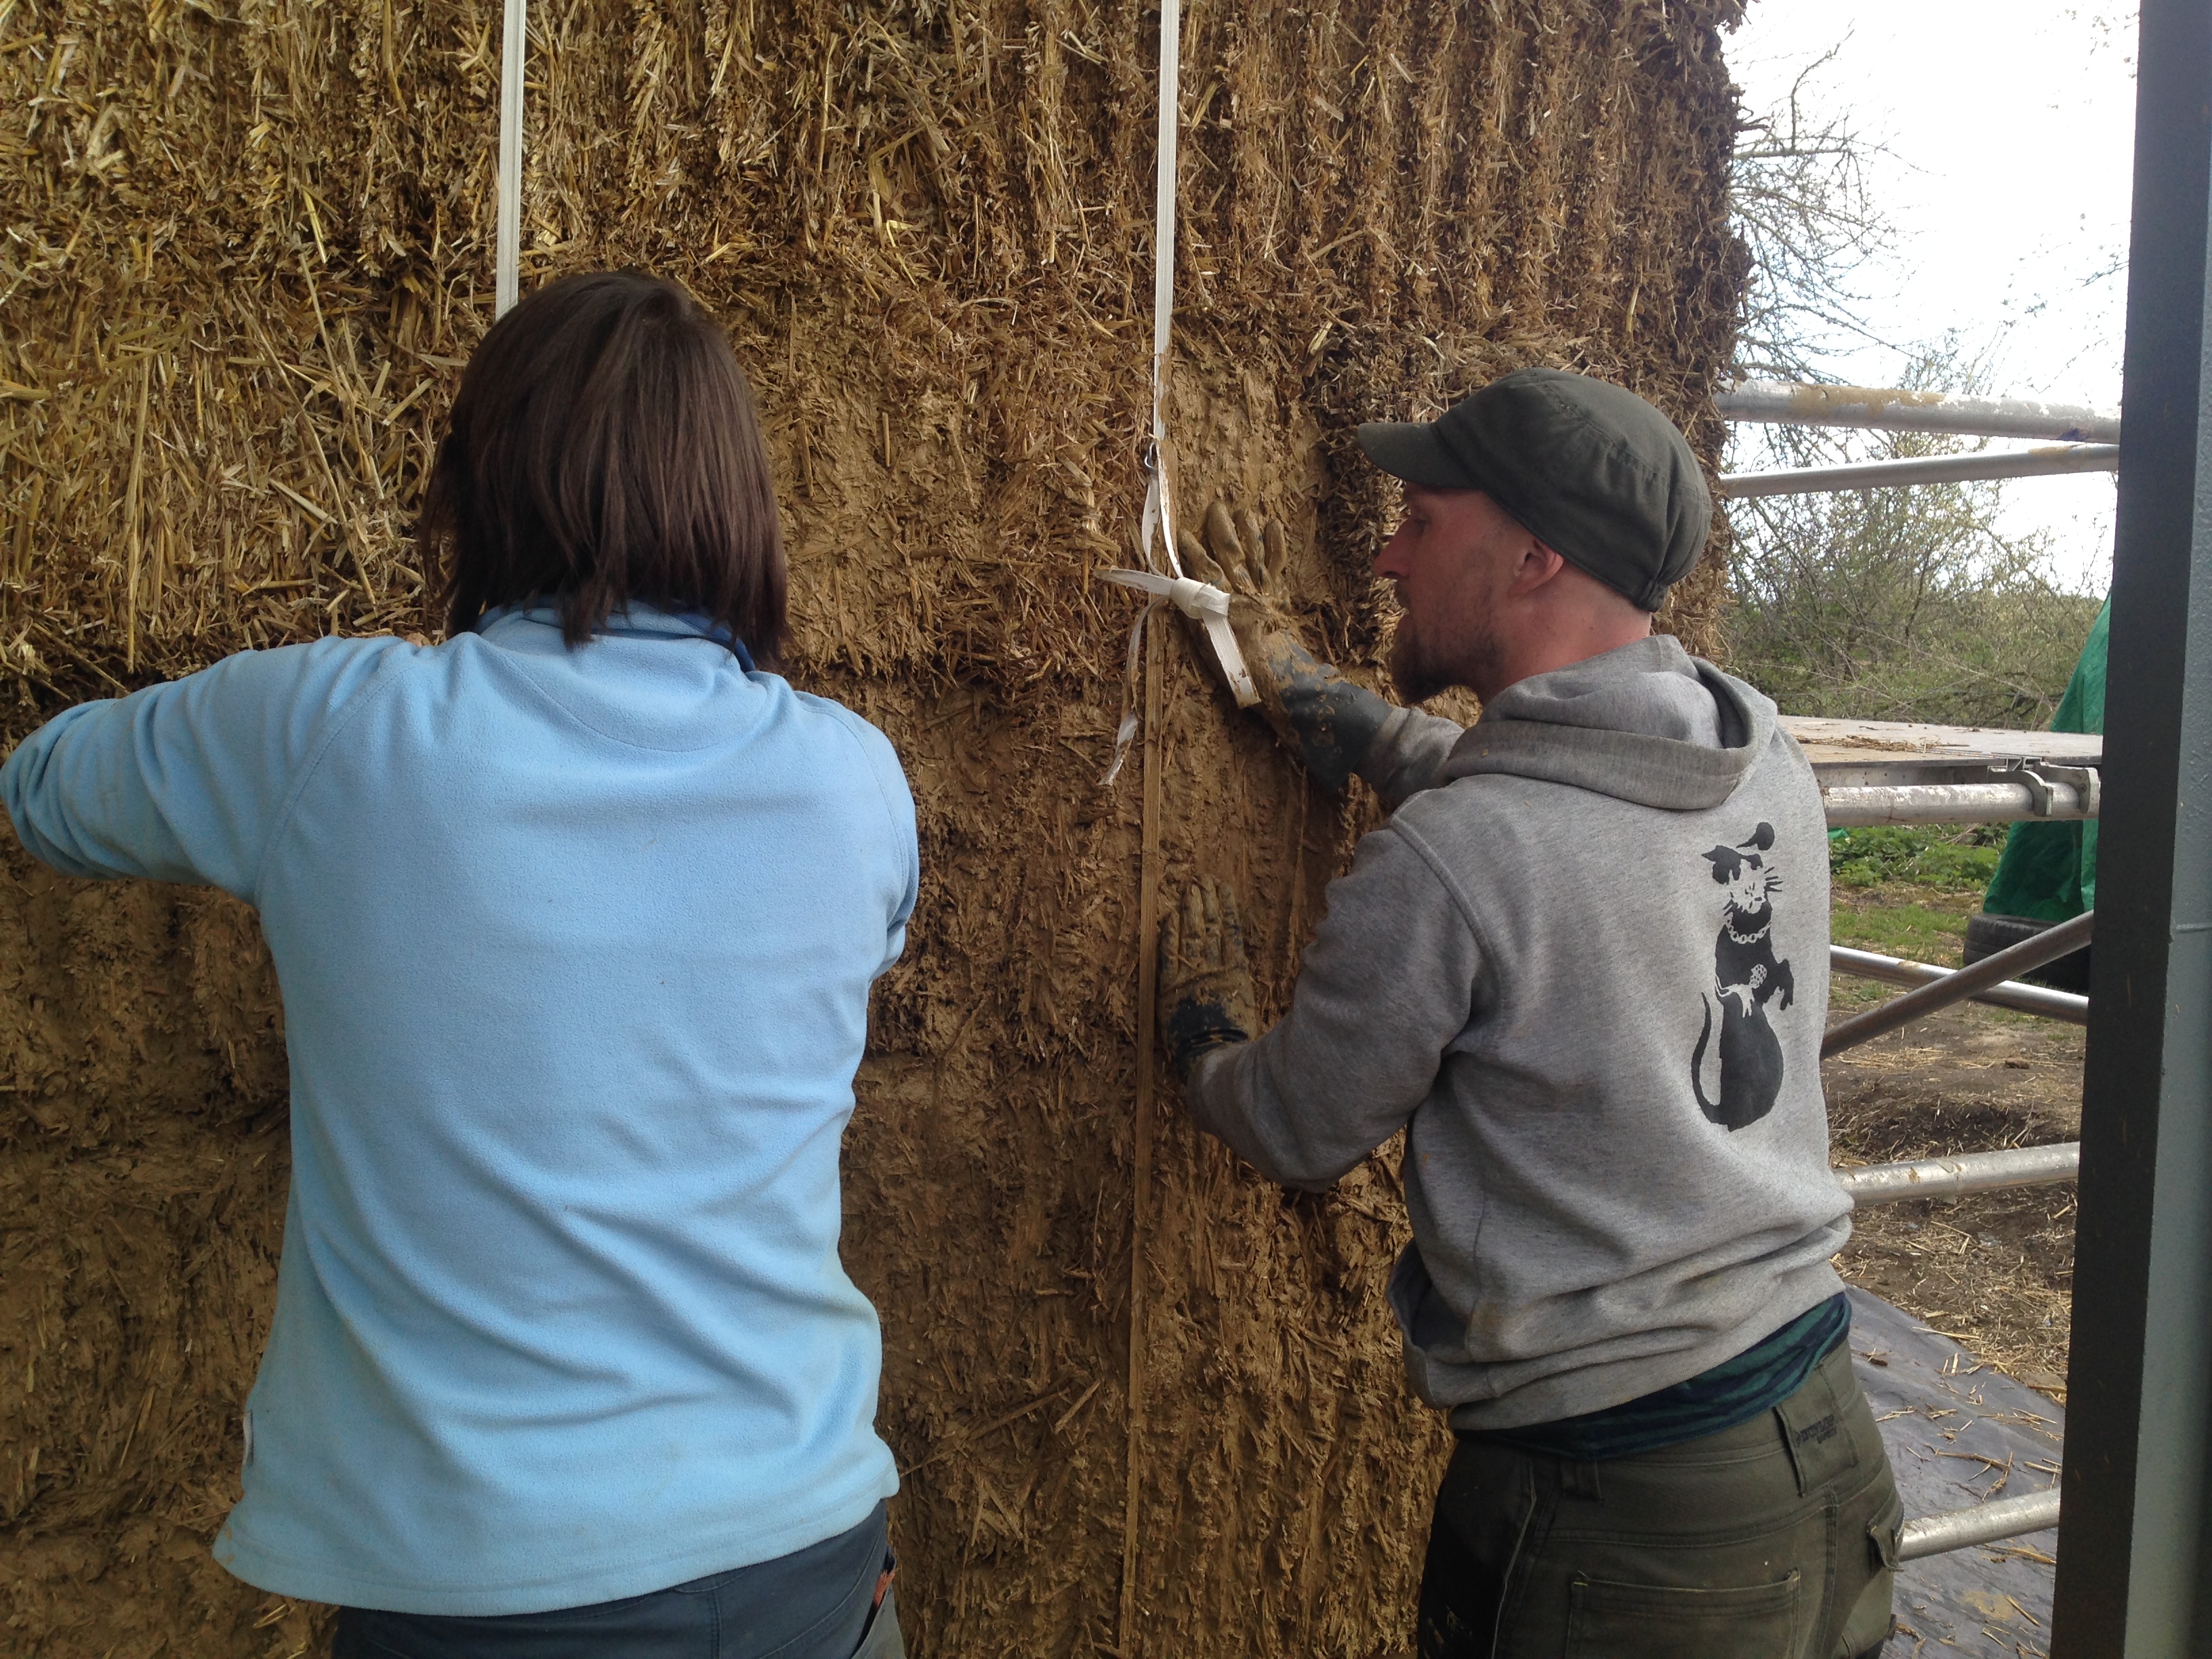
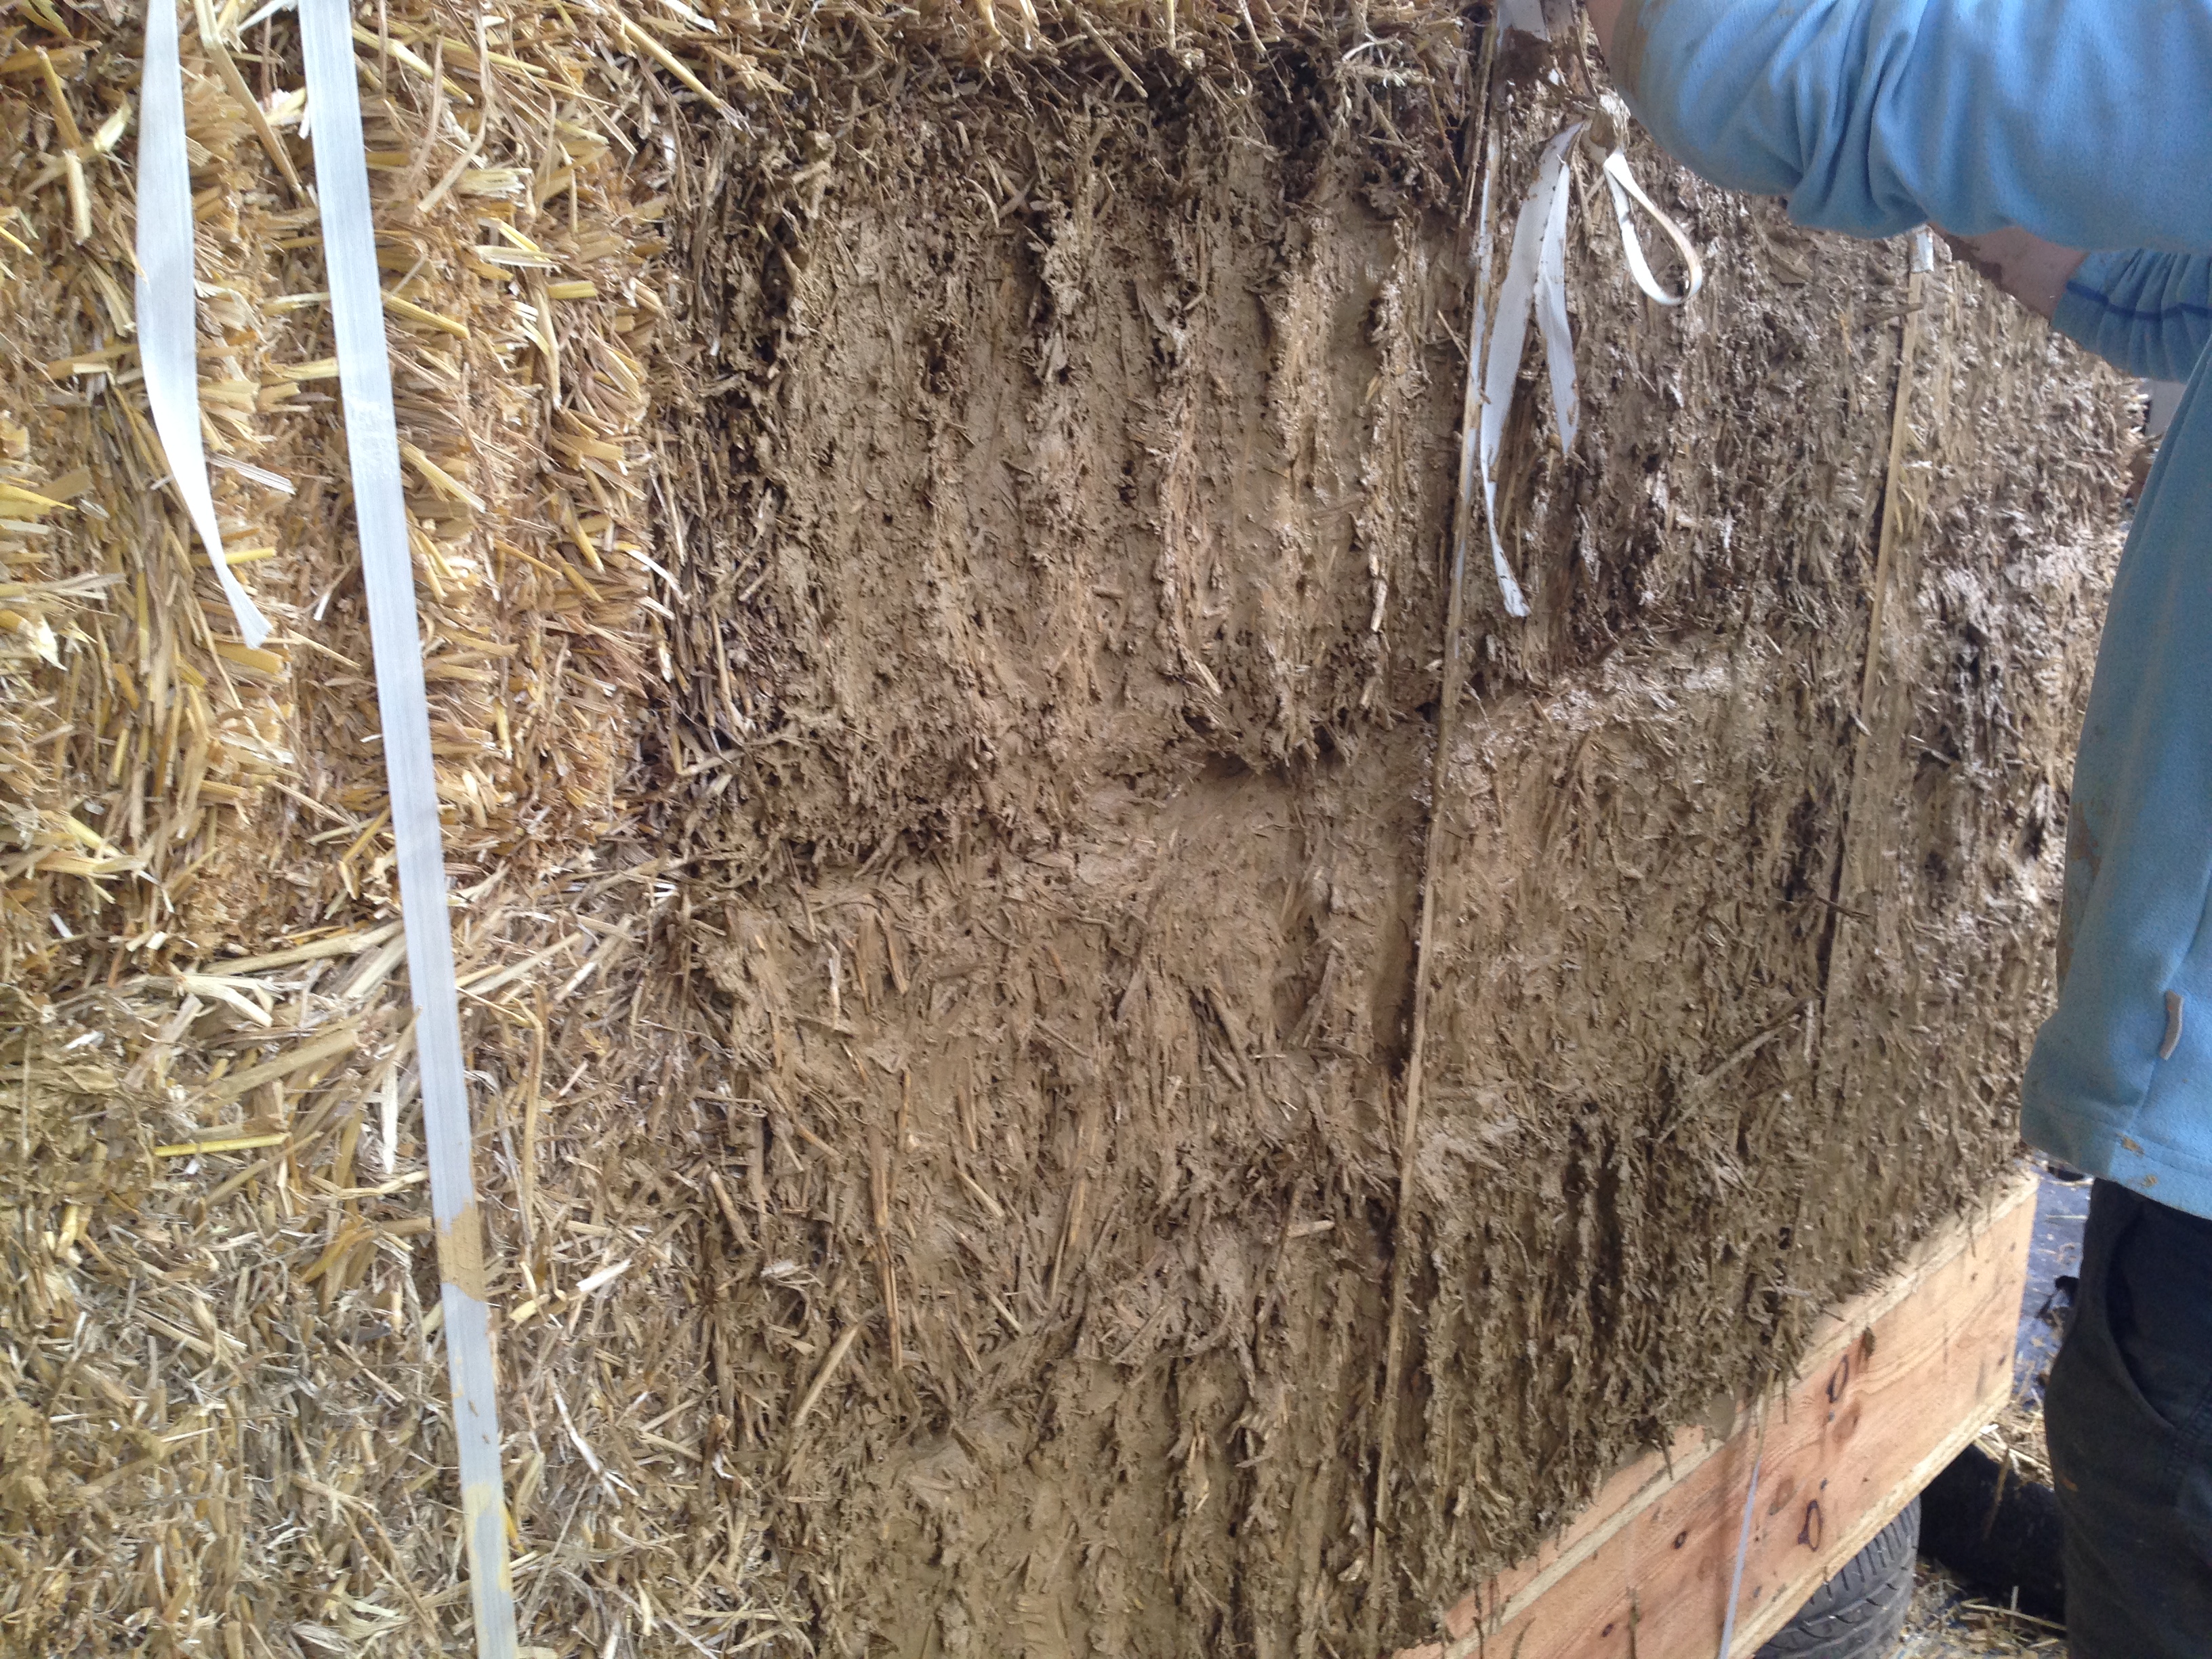
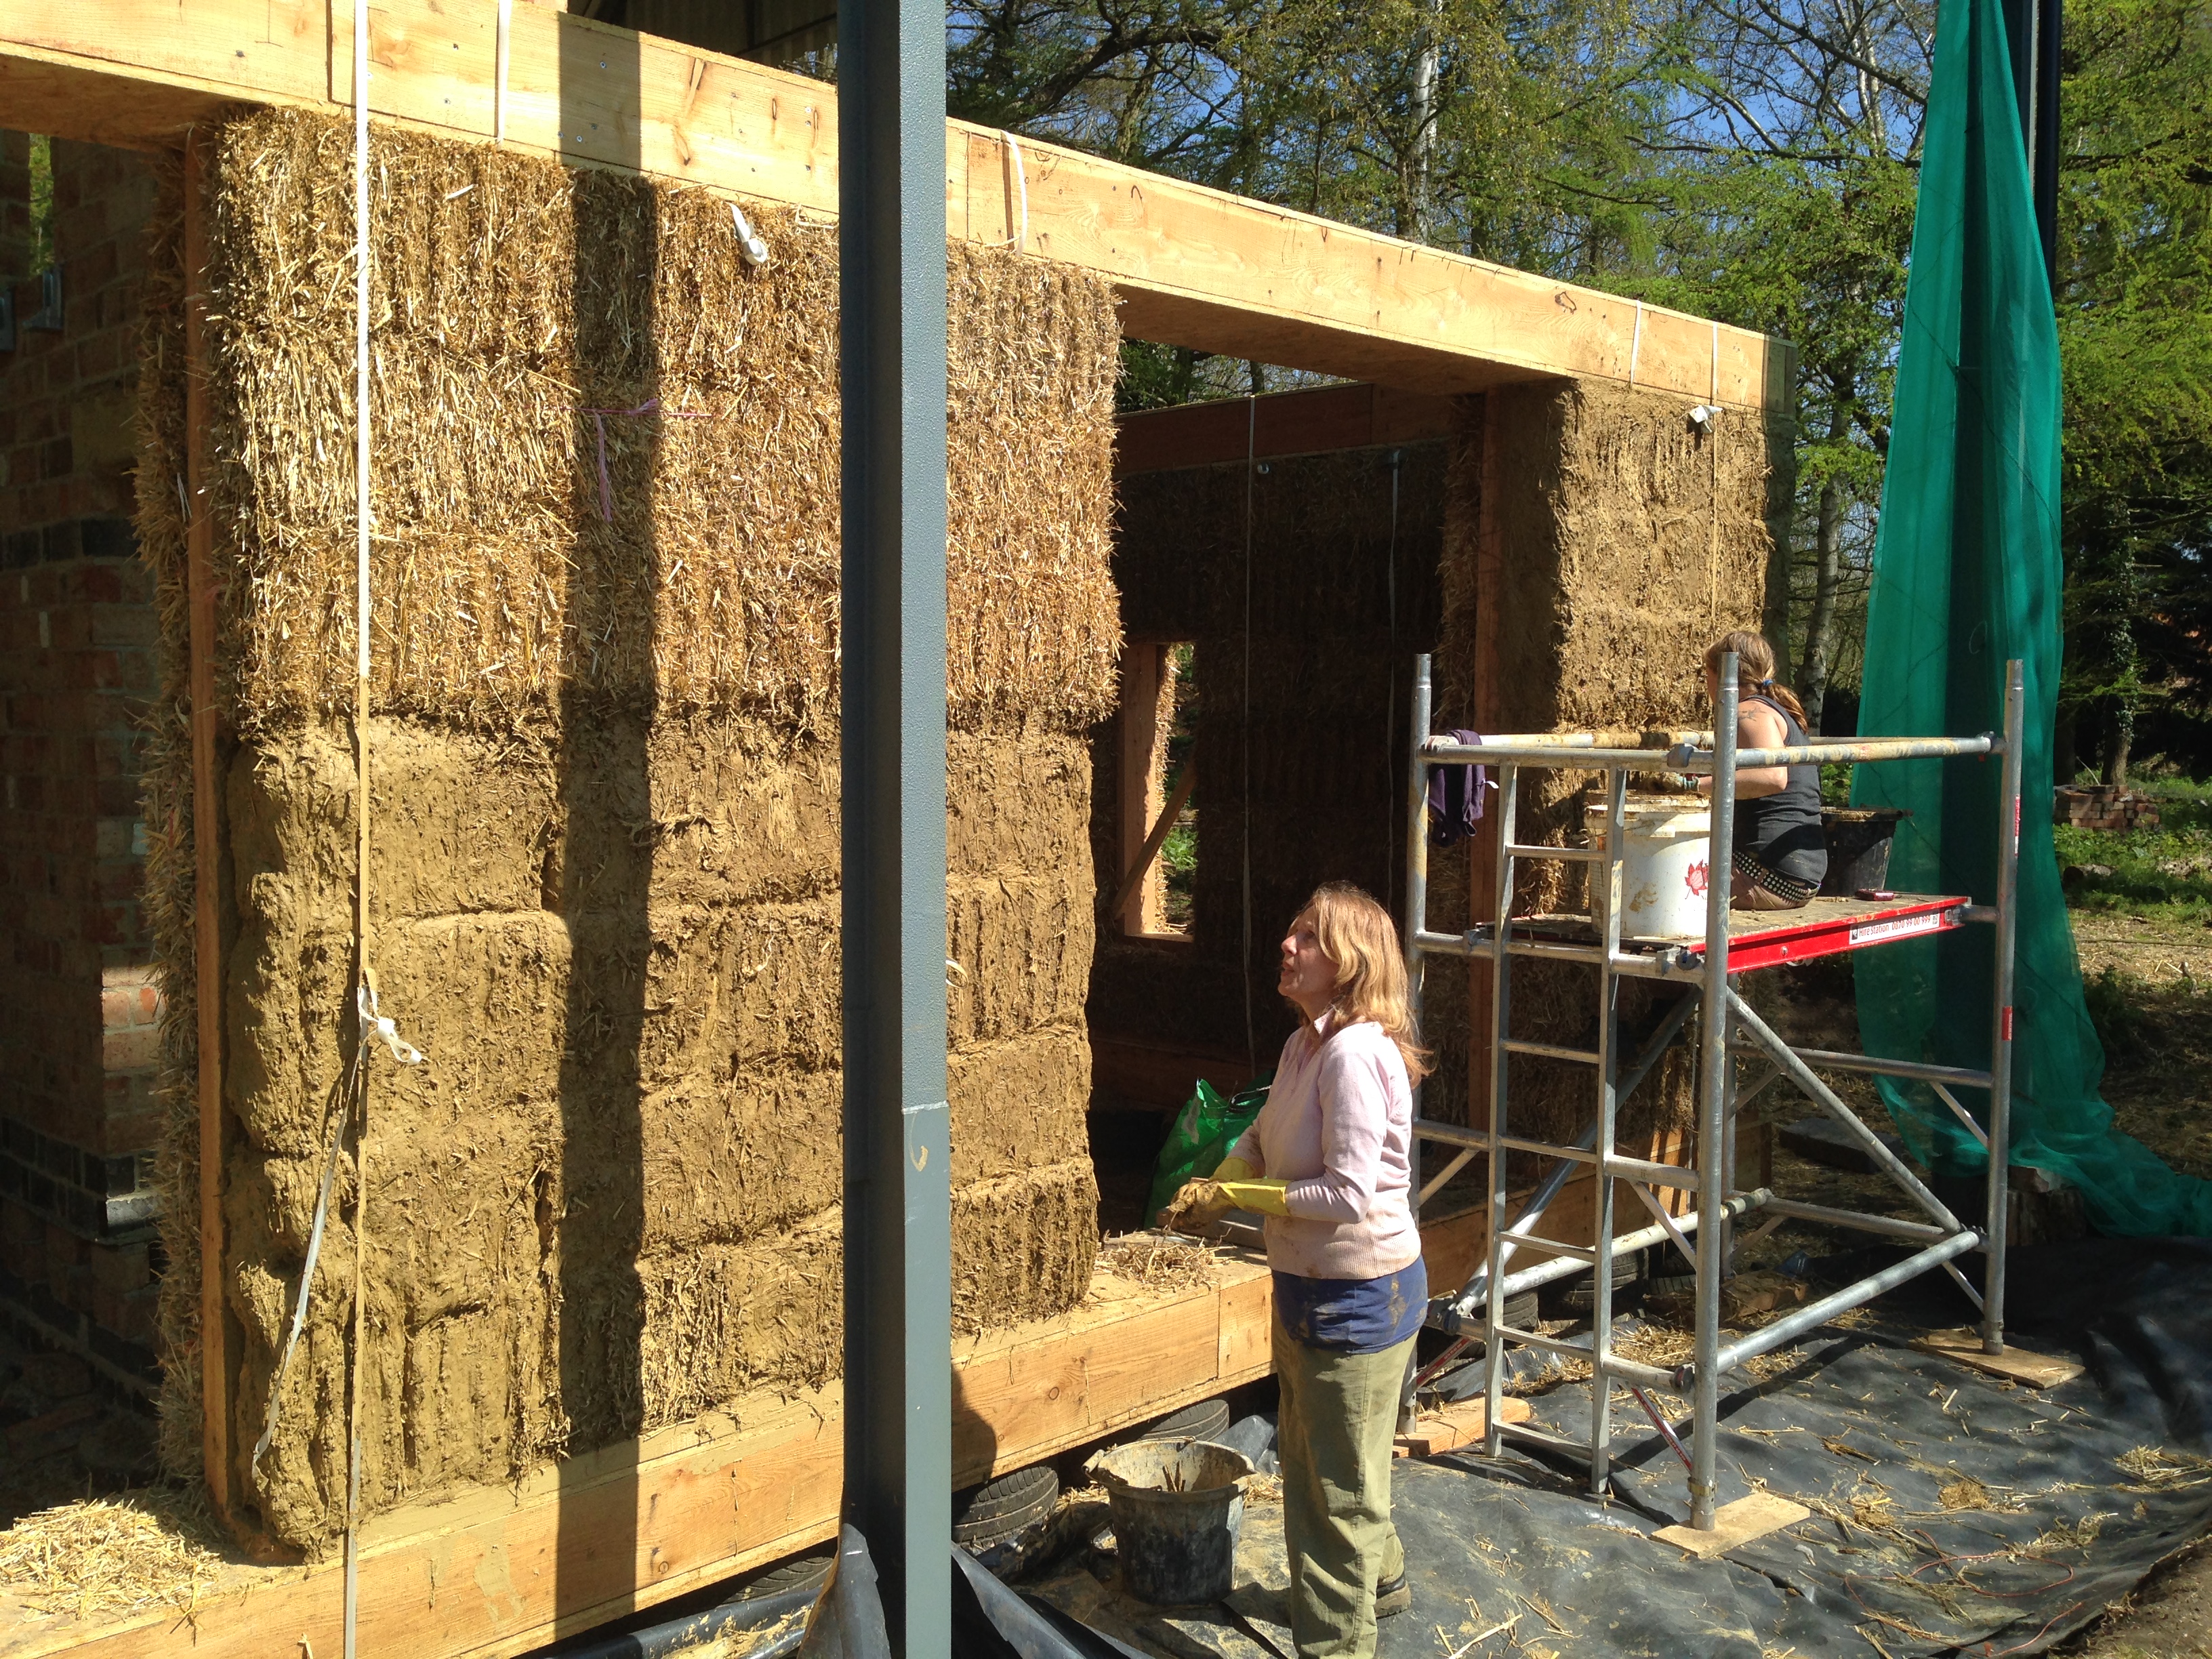
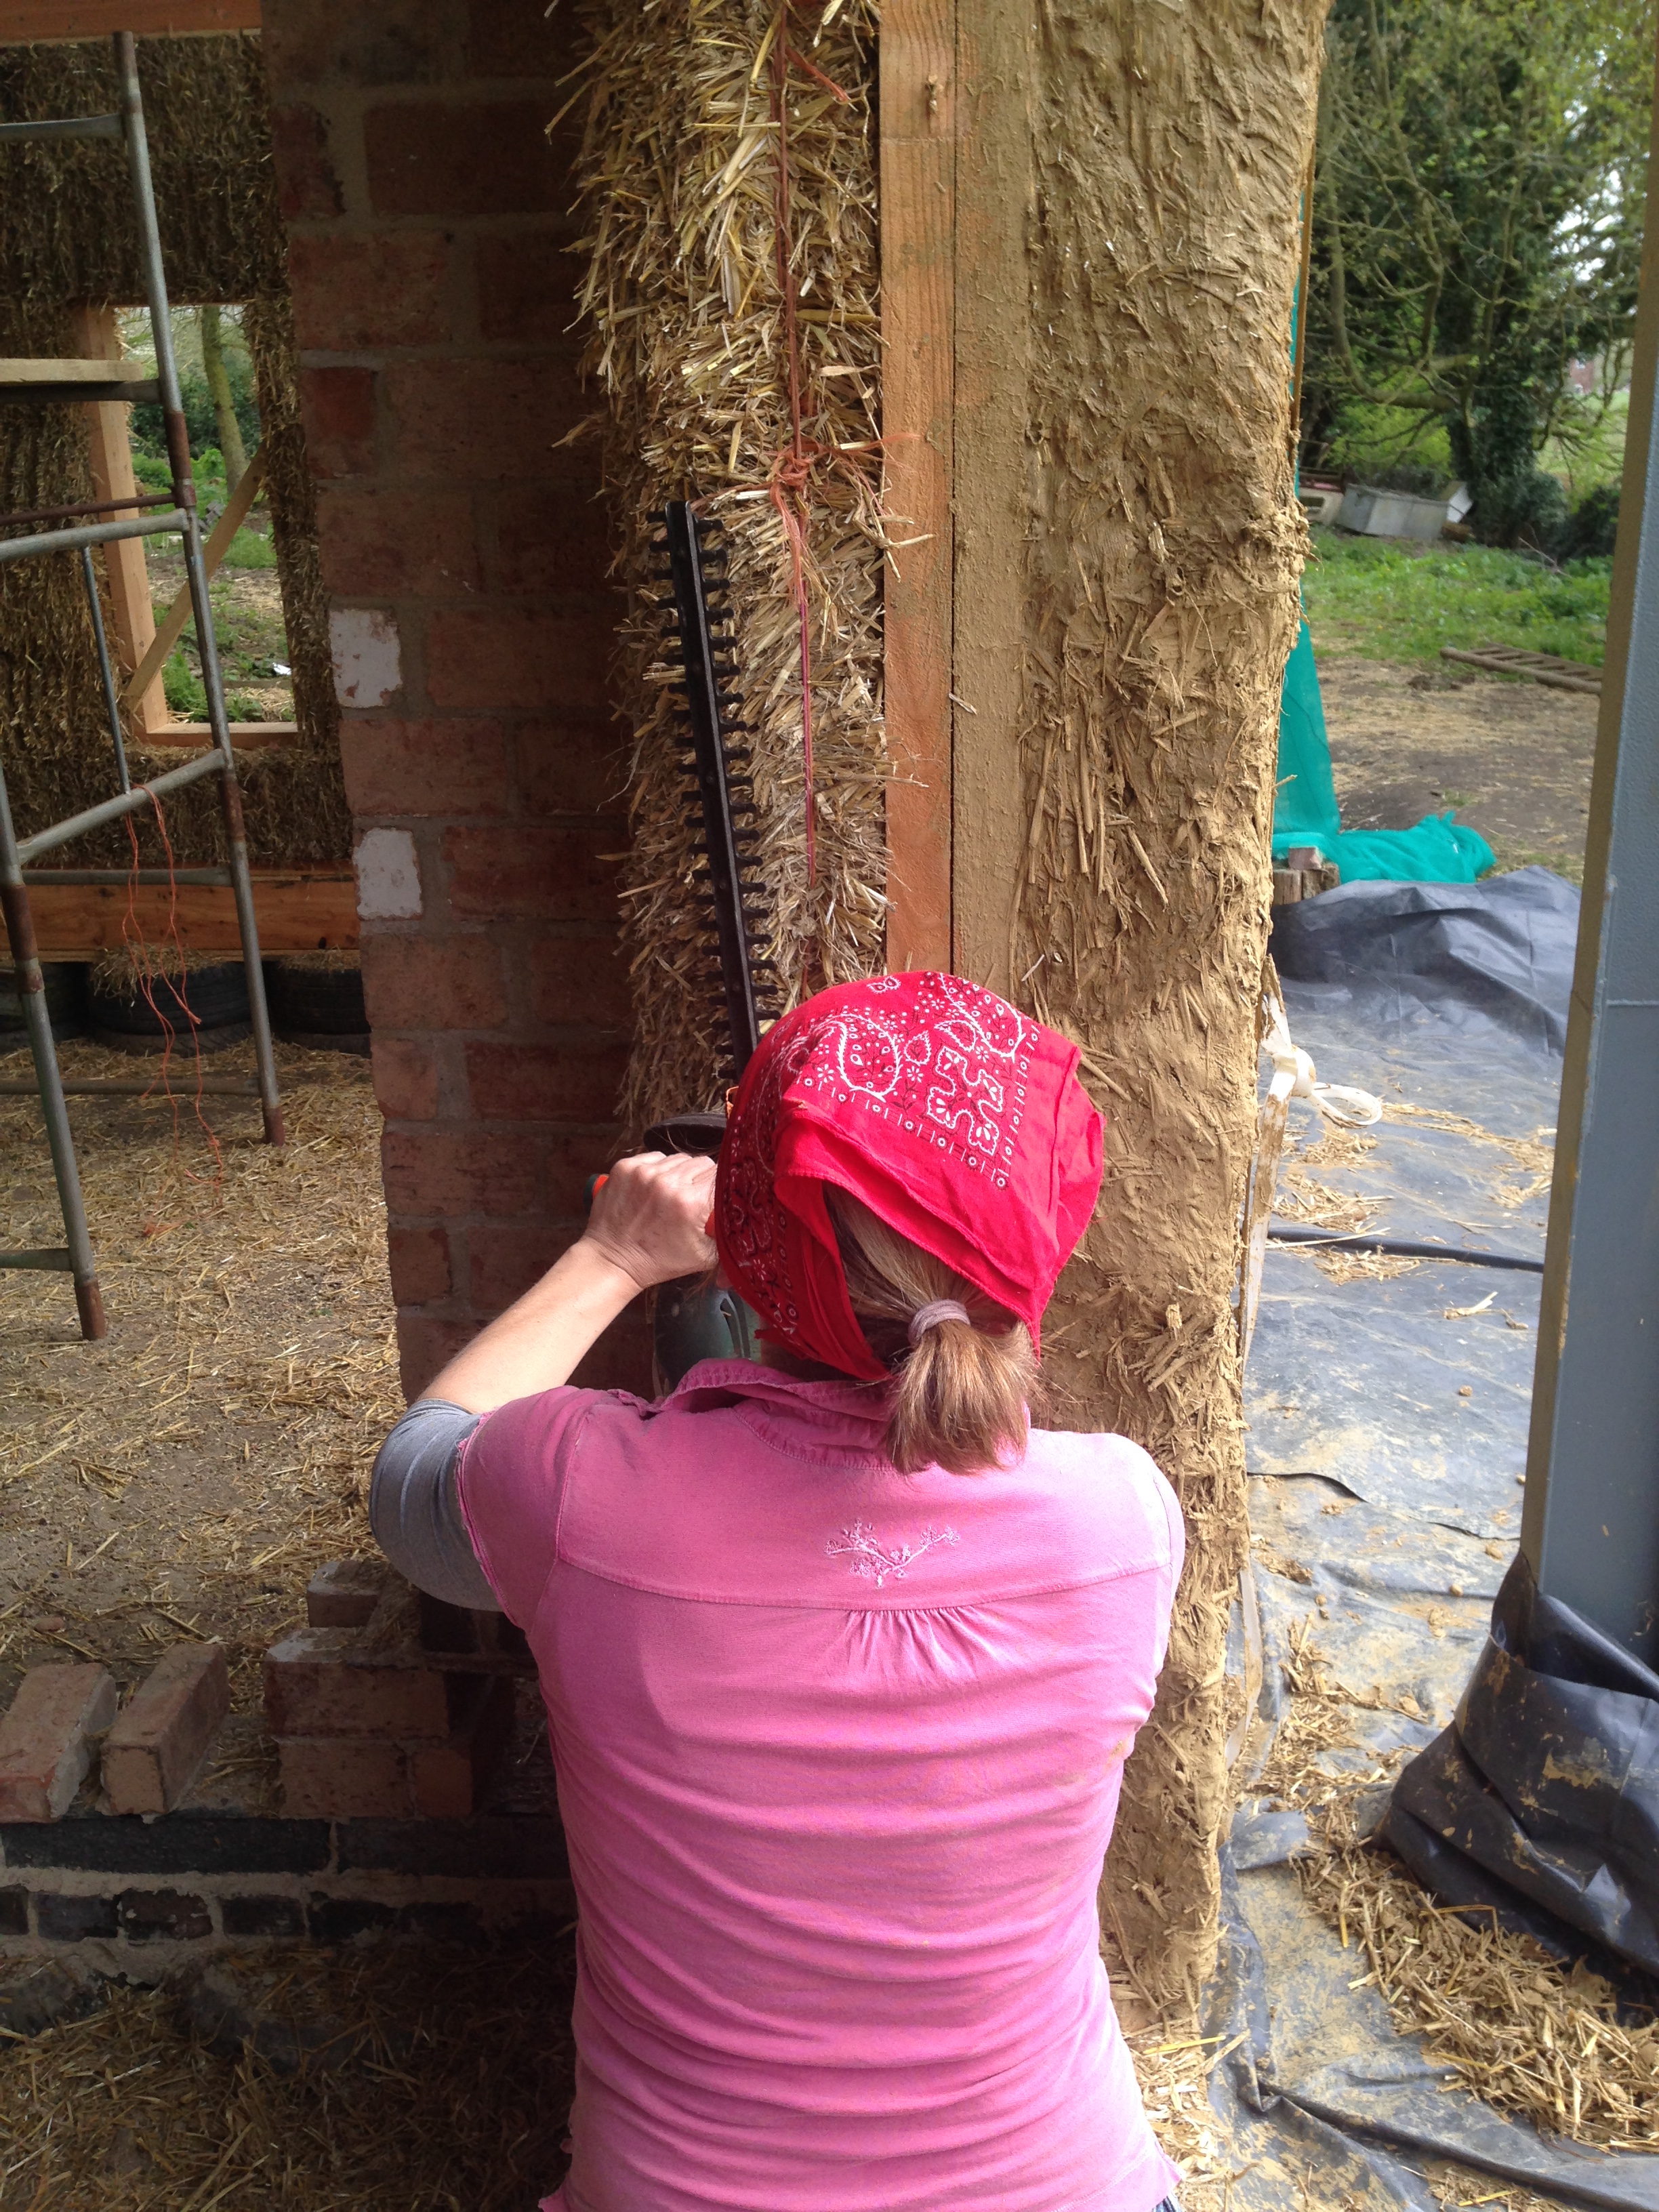
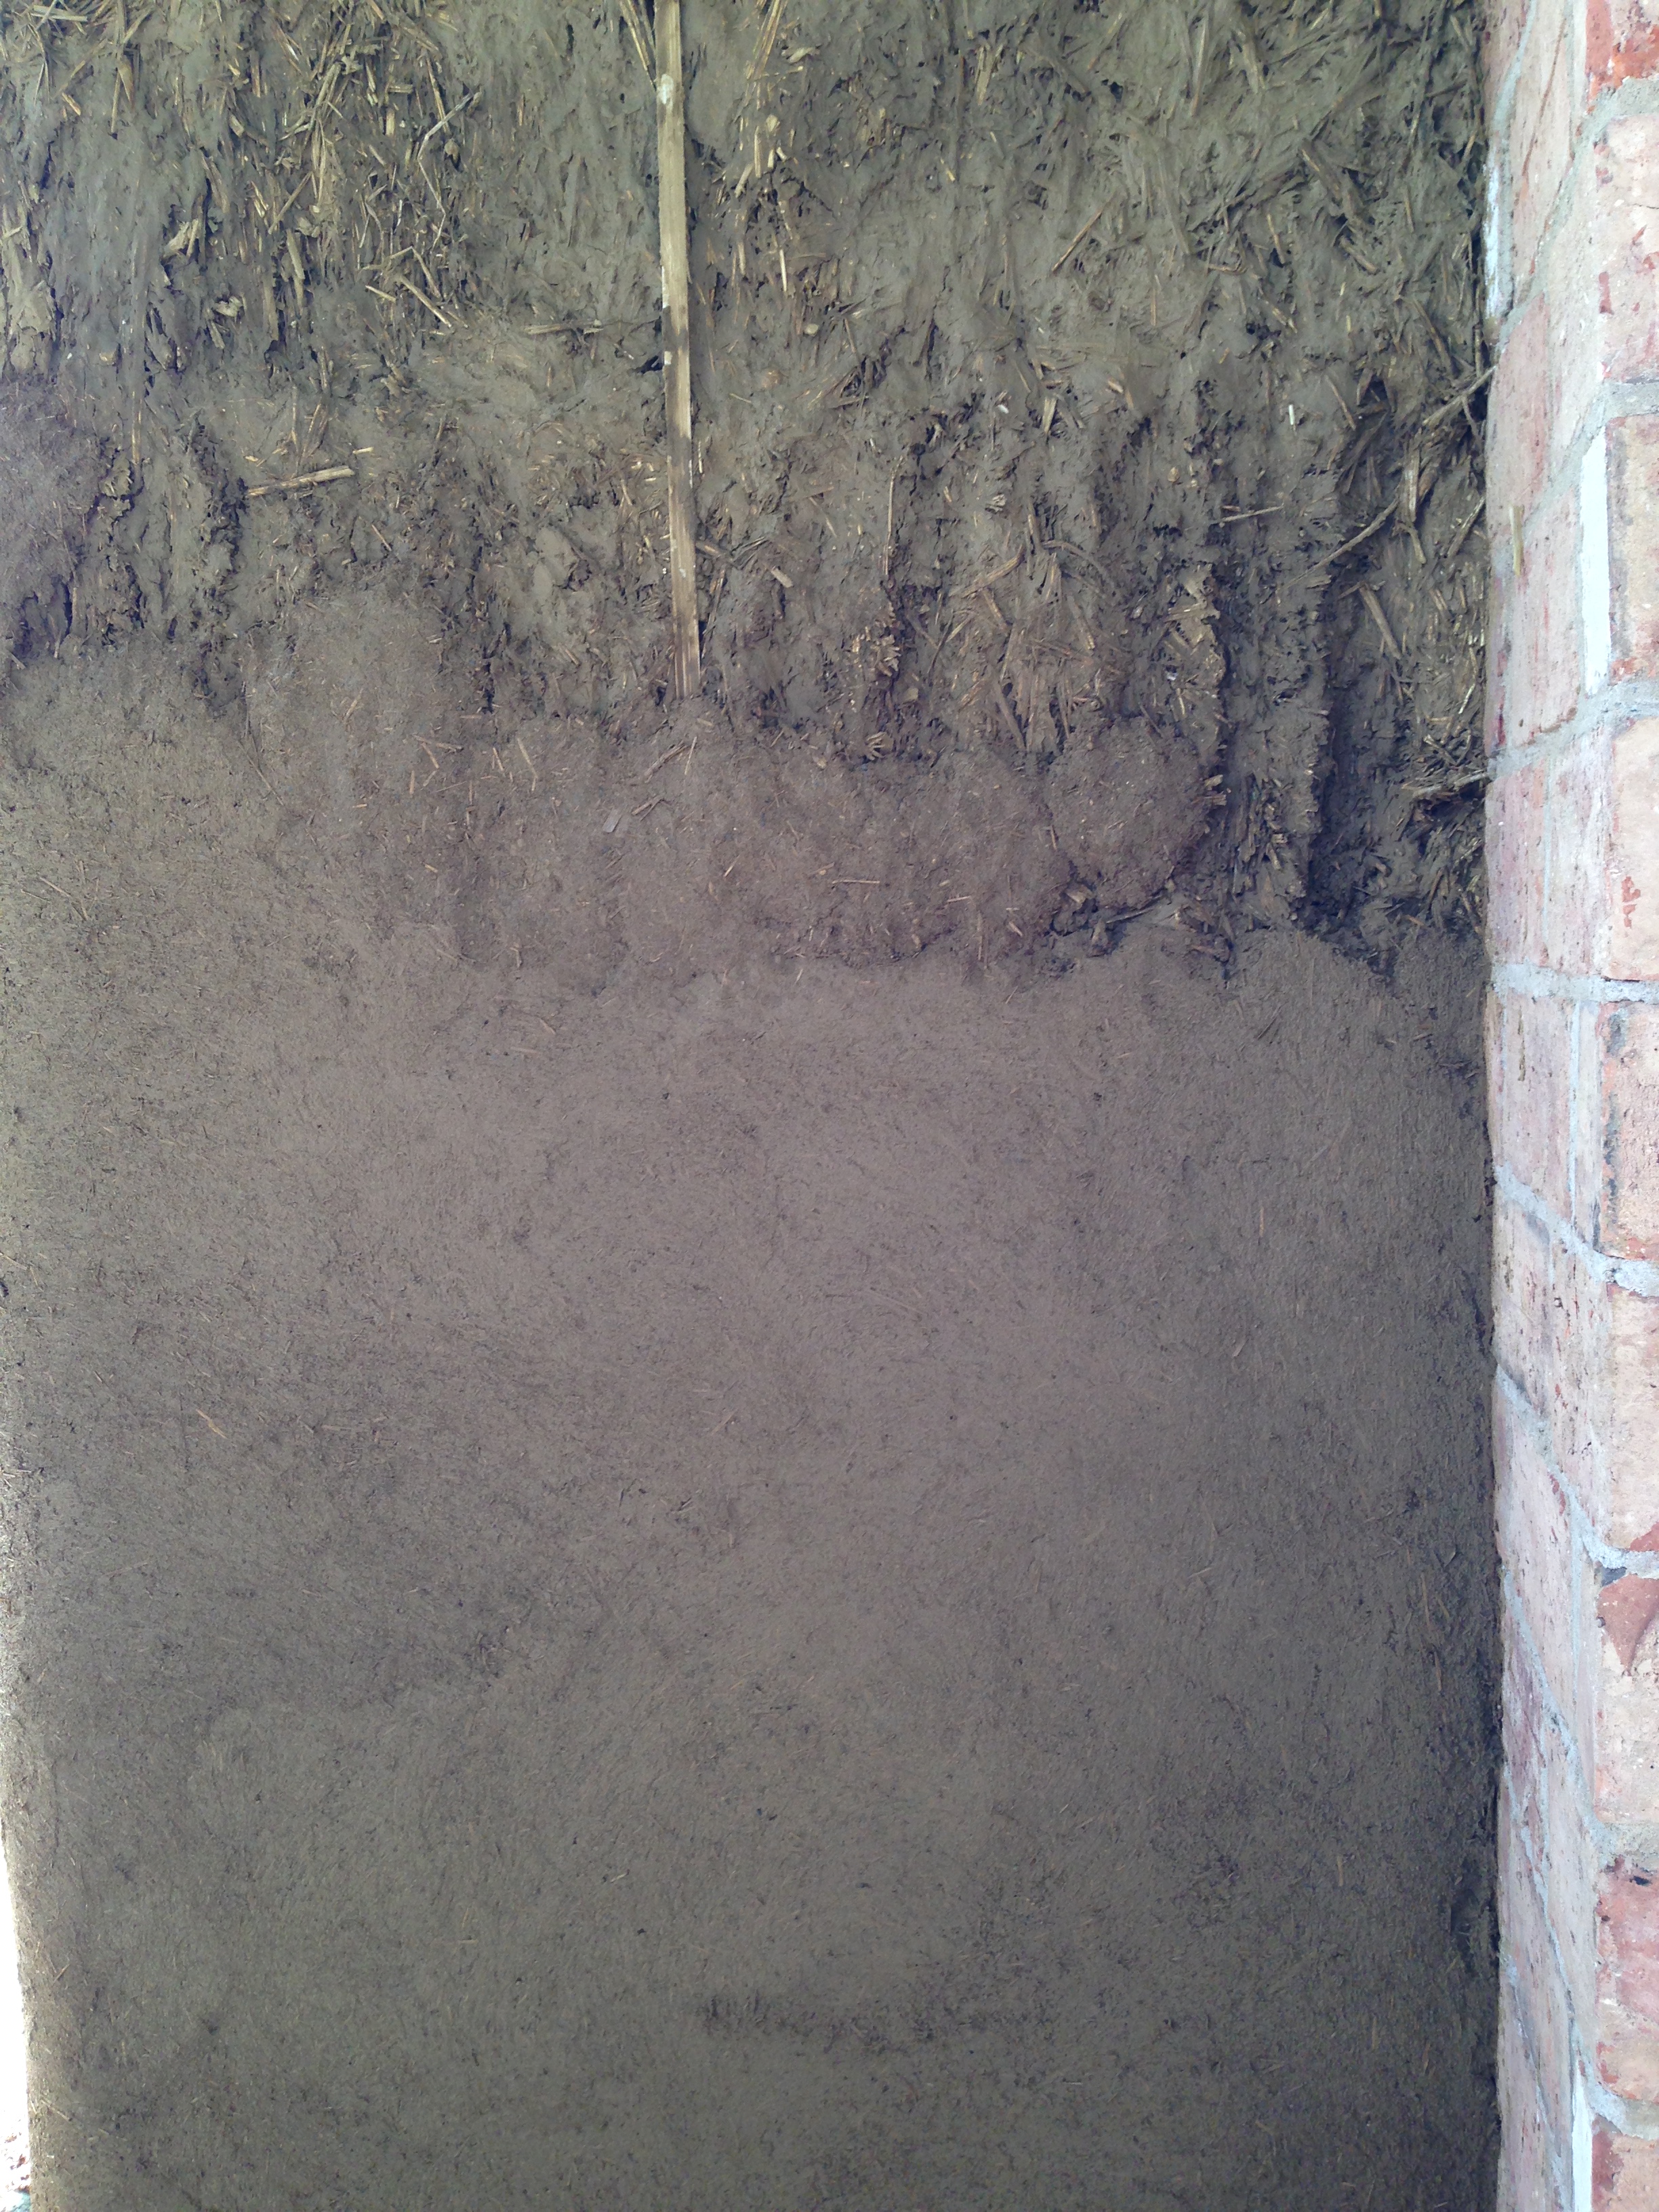
Applying the mixed plaster to well-wetted walls by hand
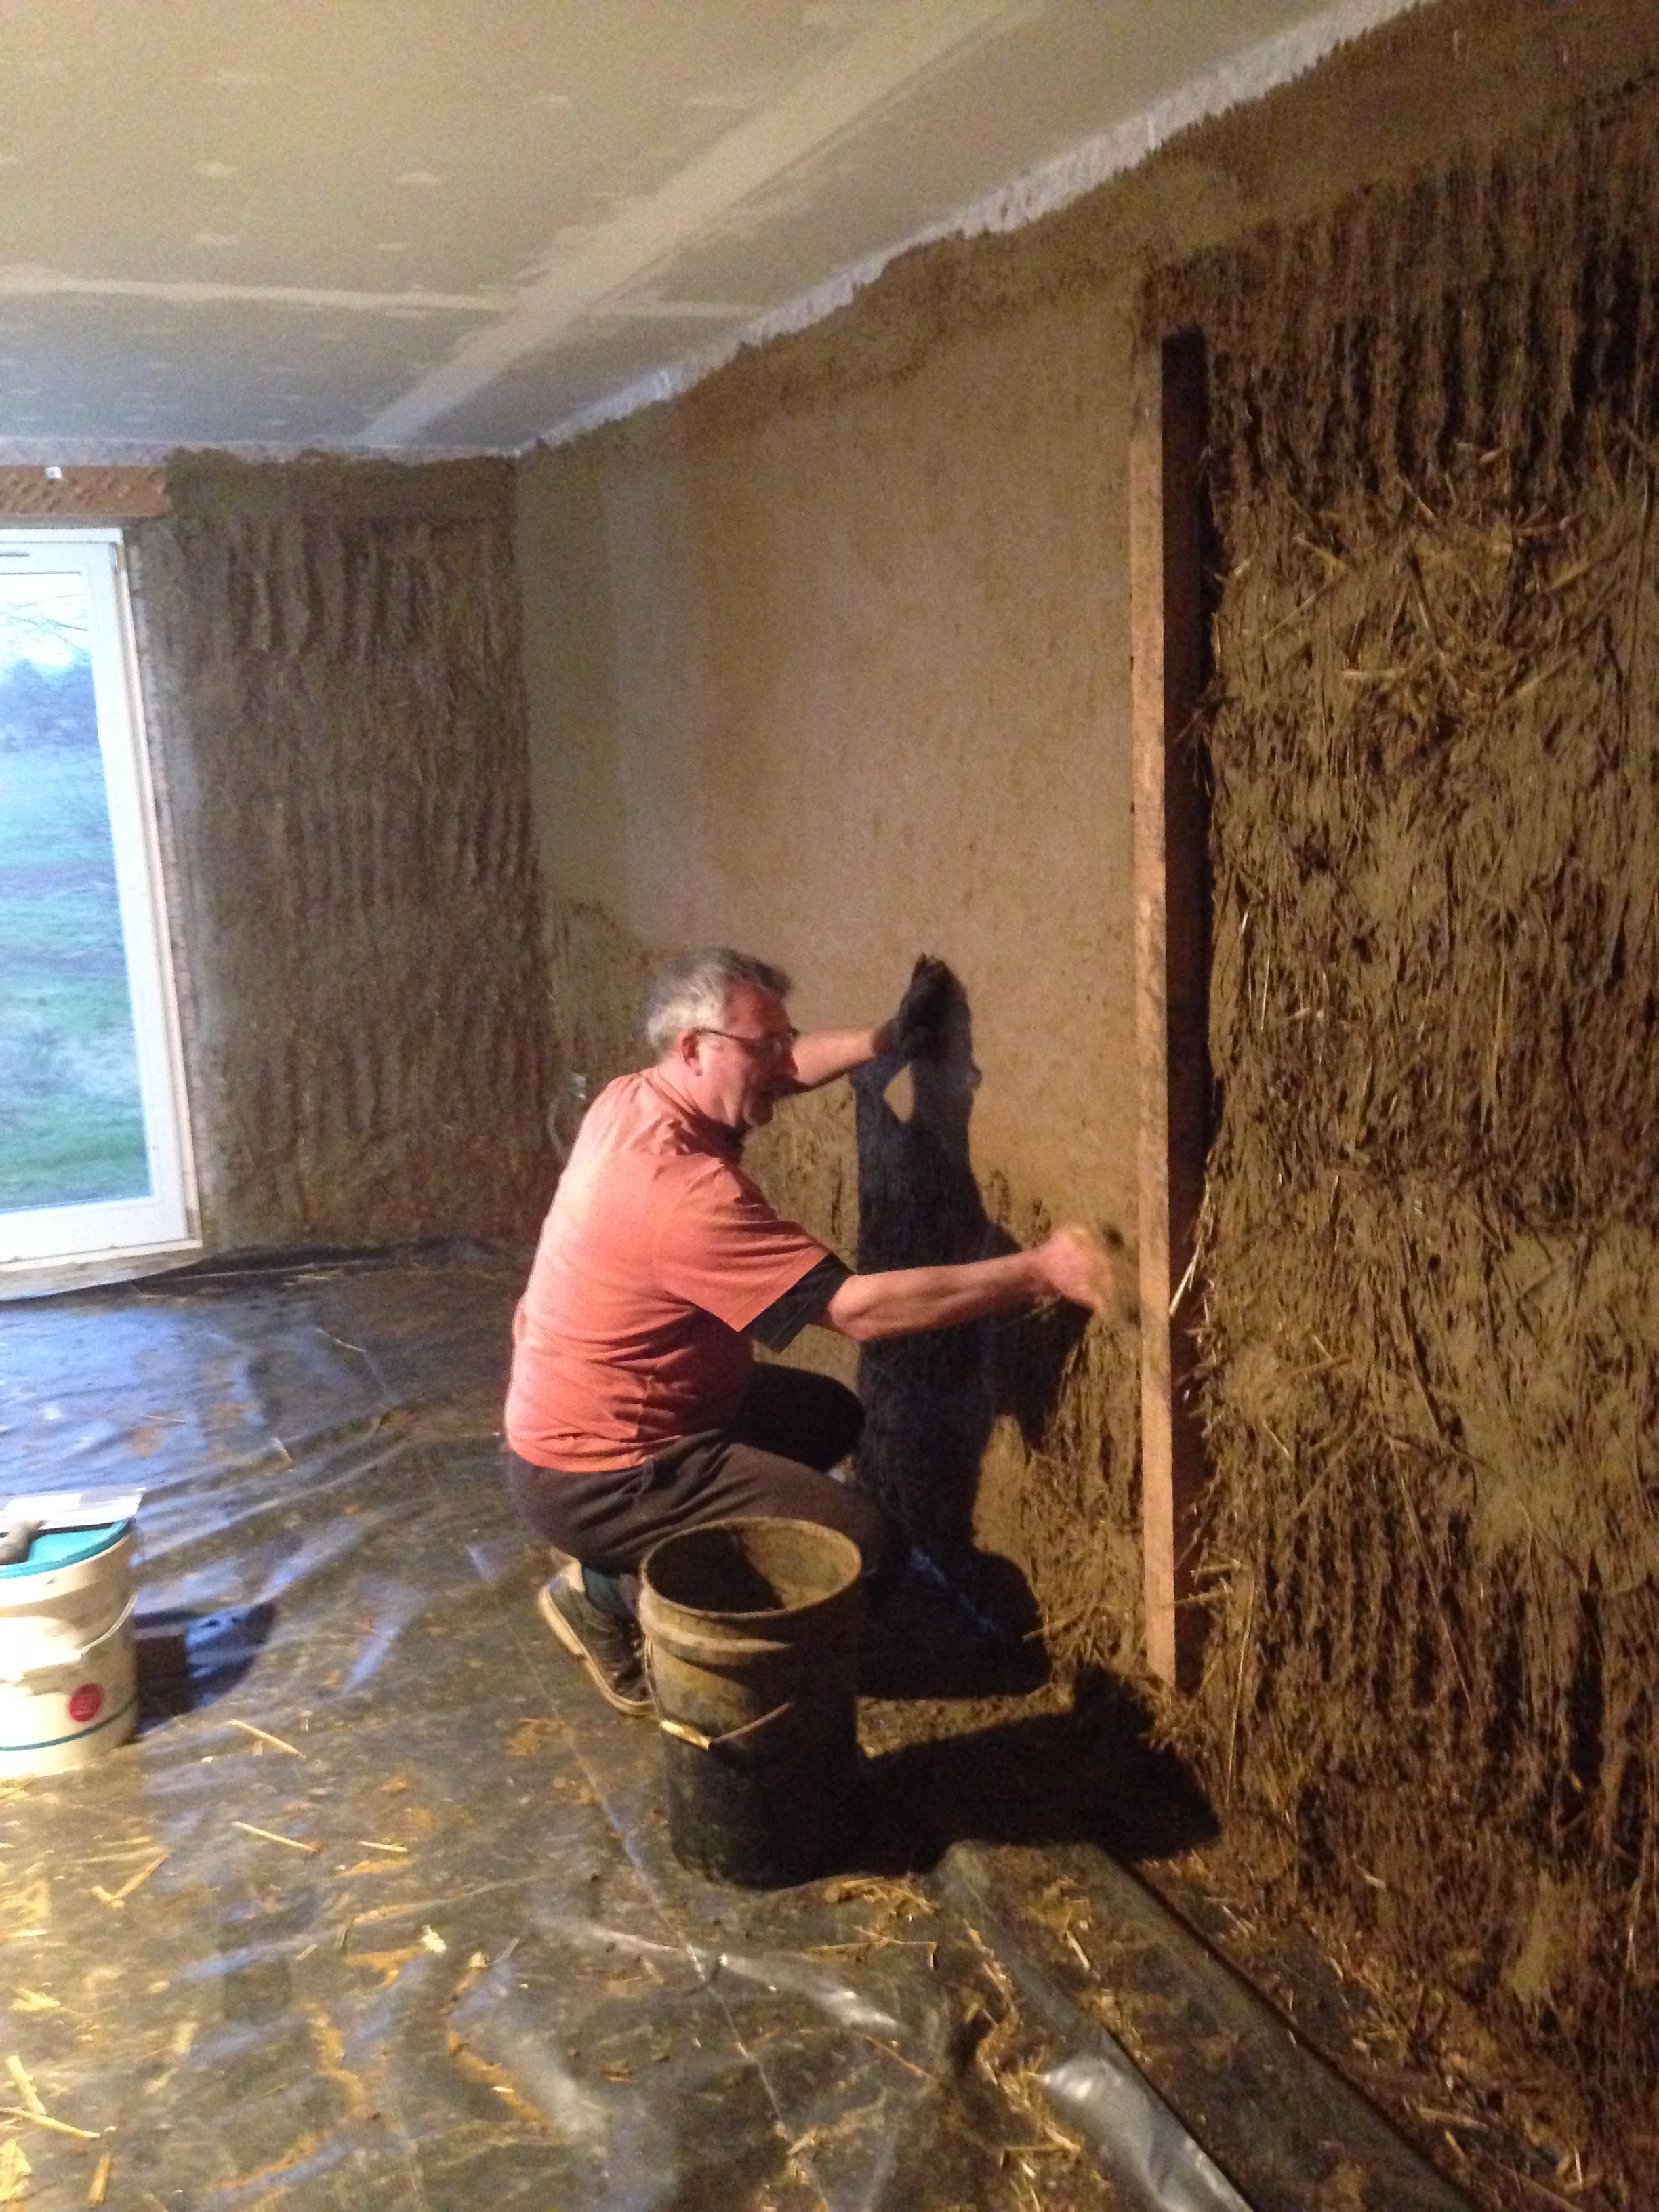

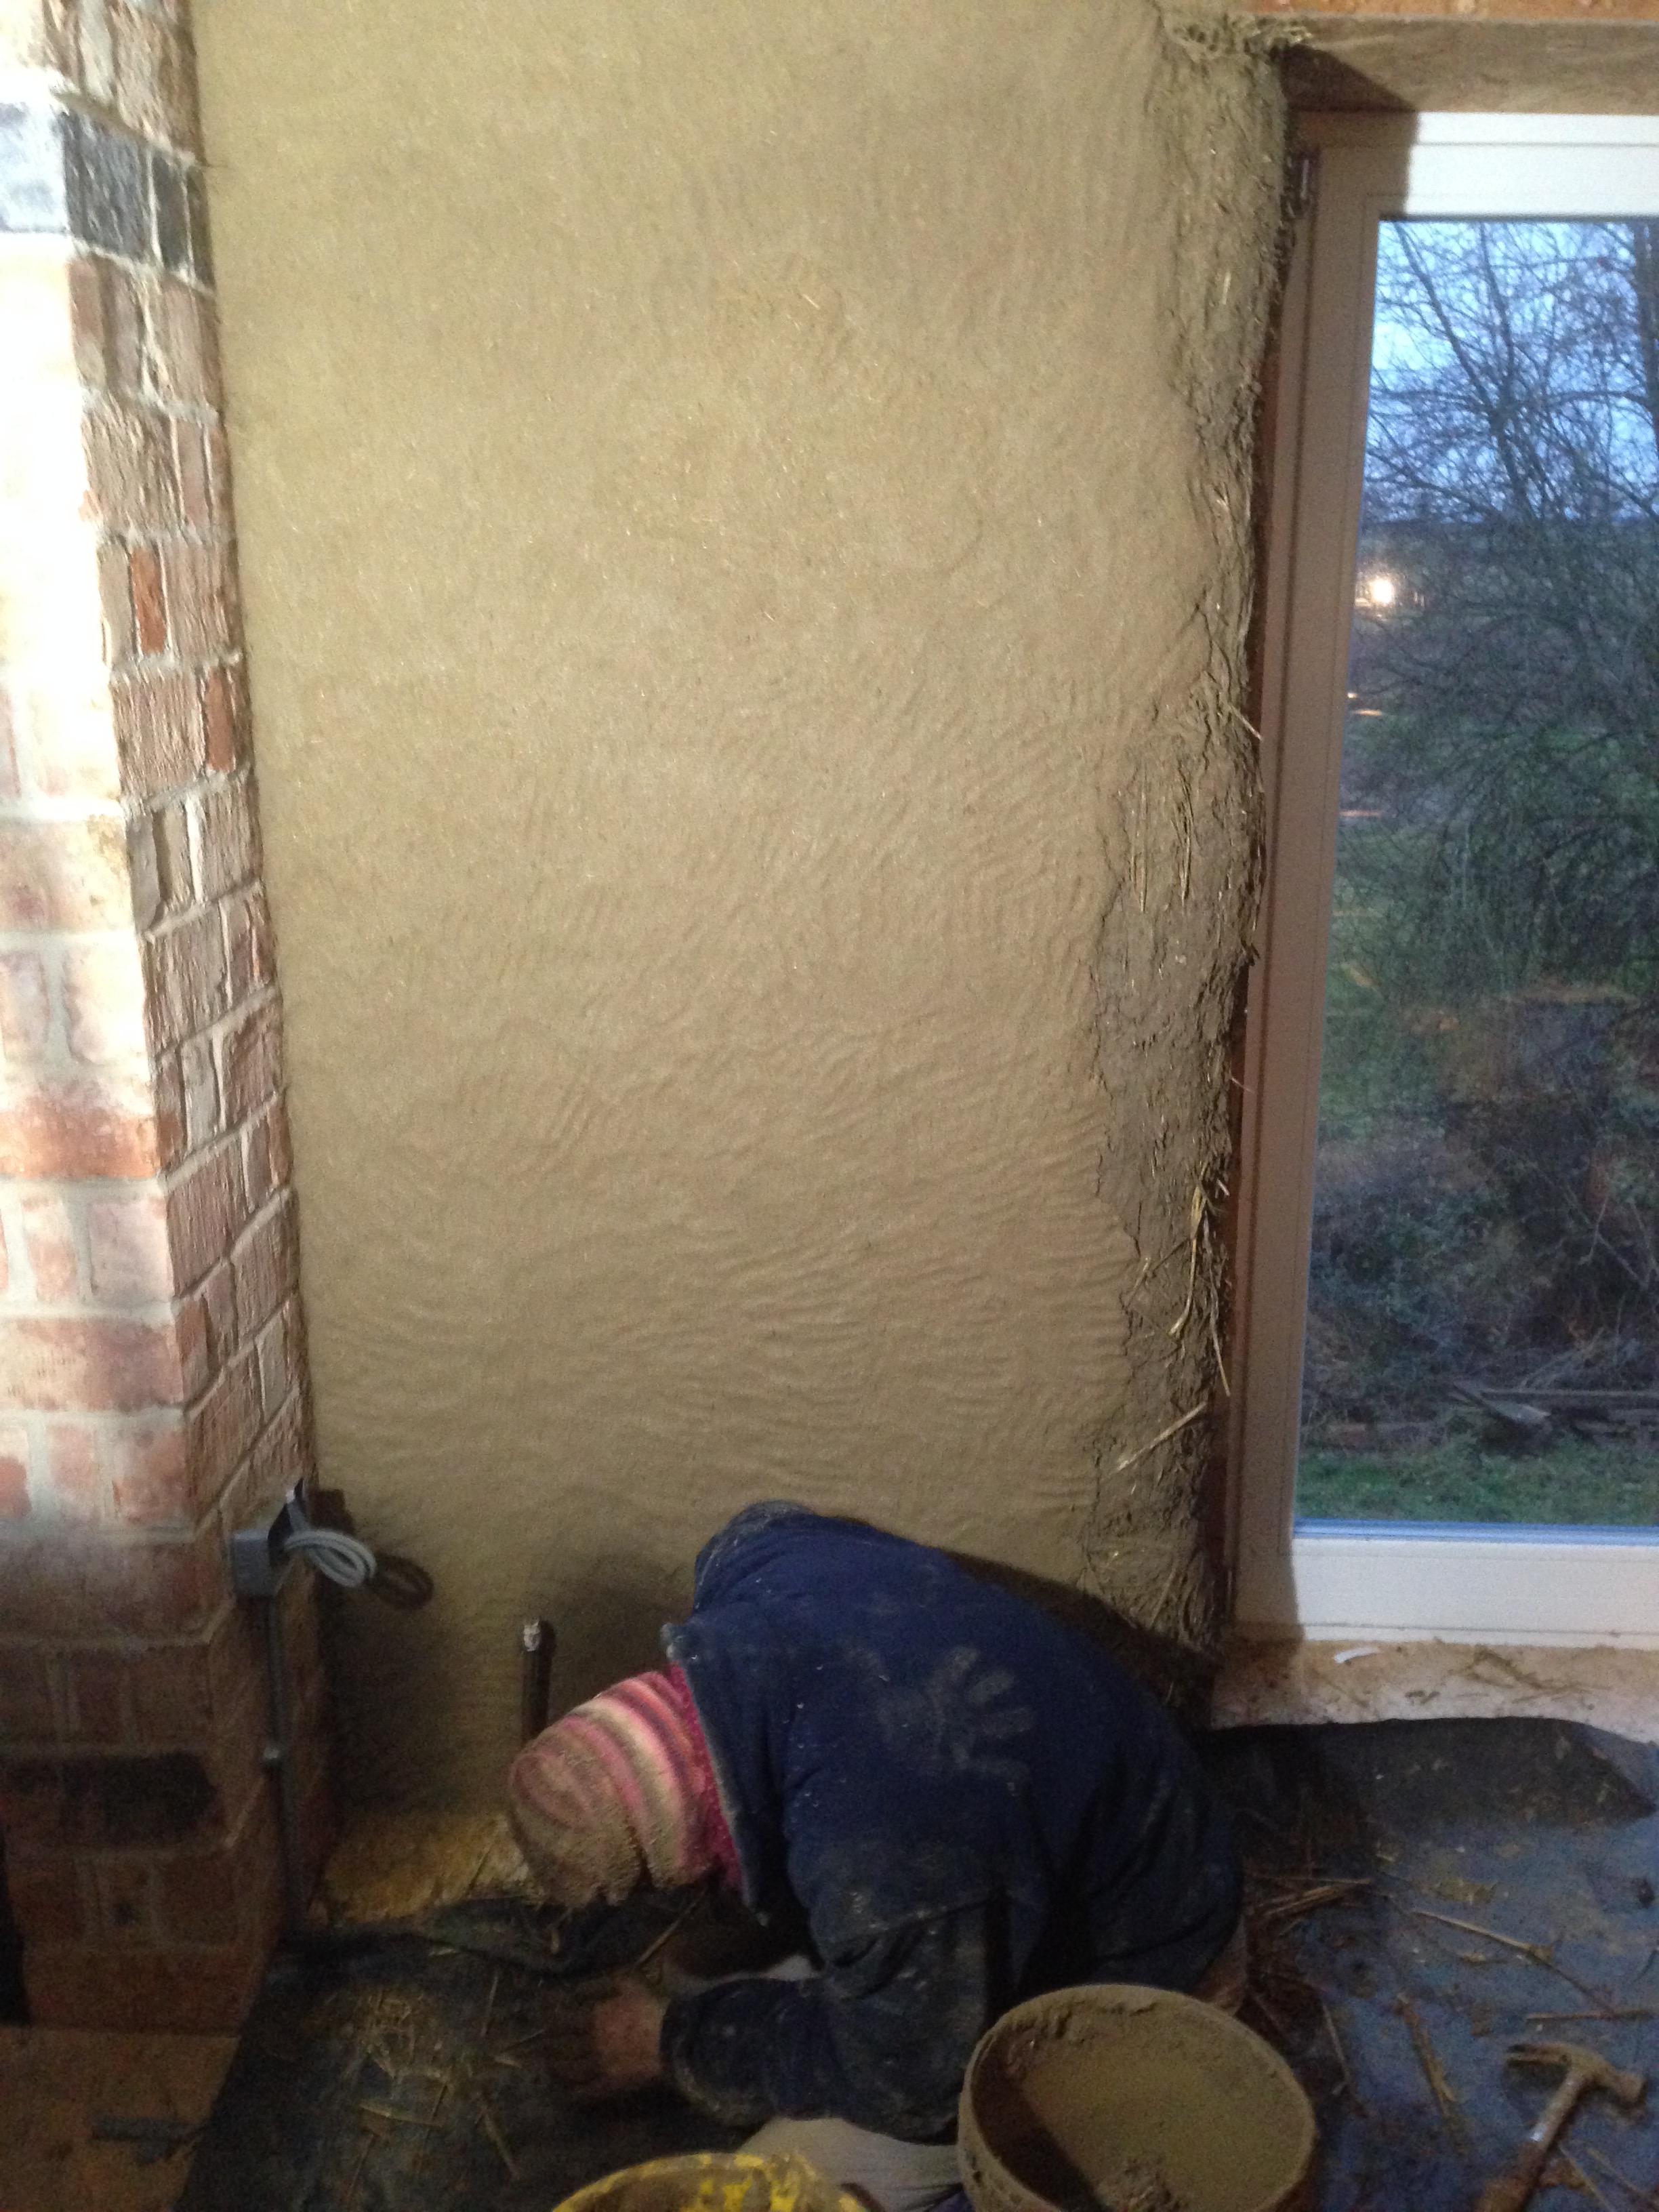
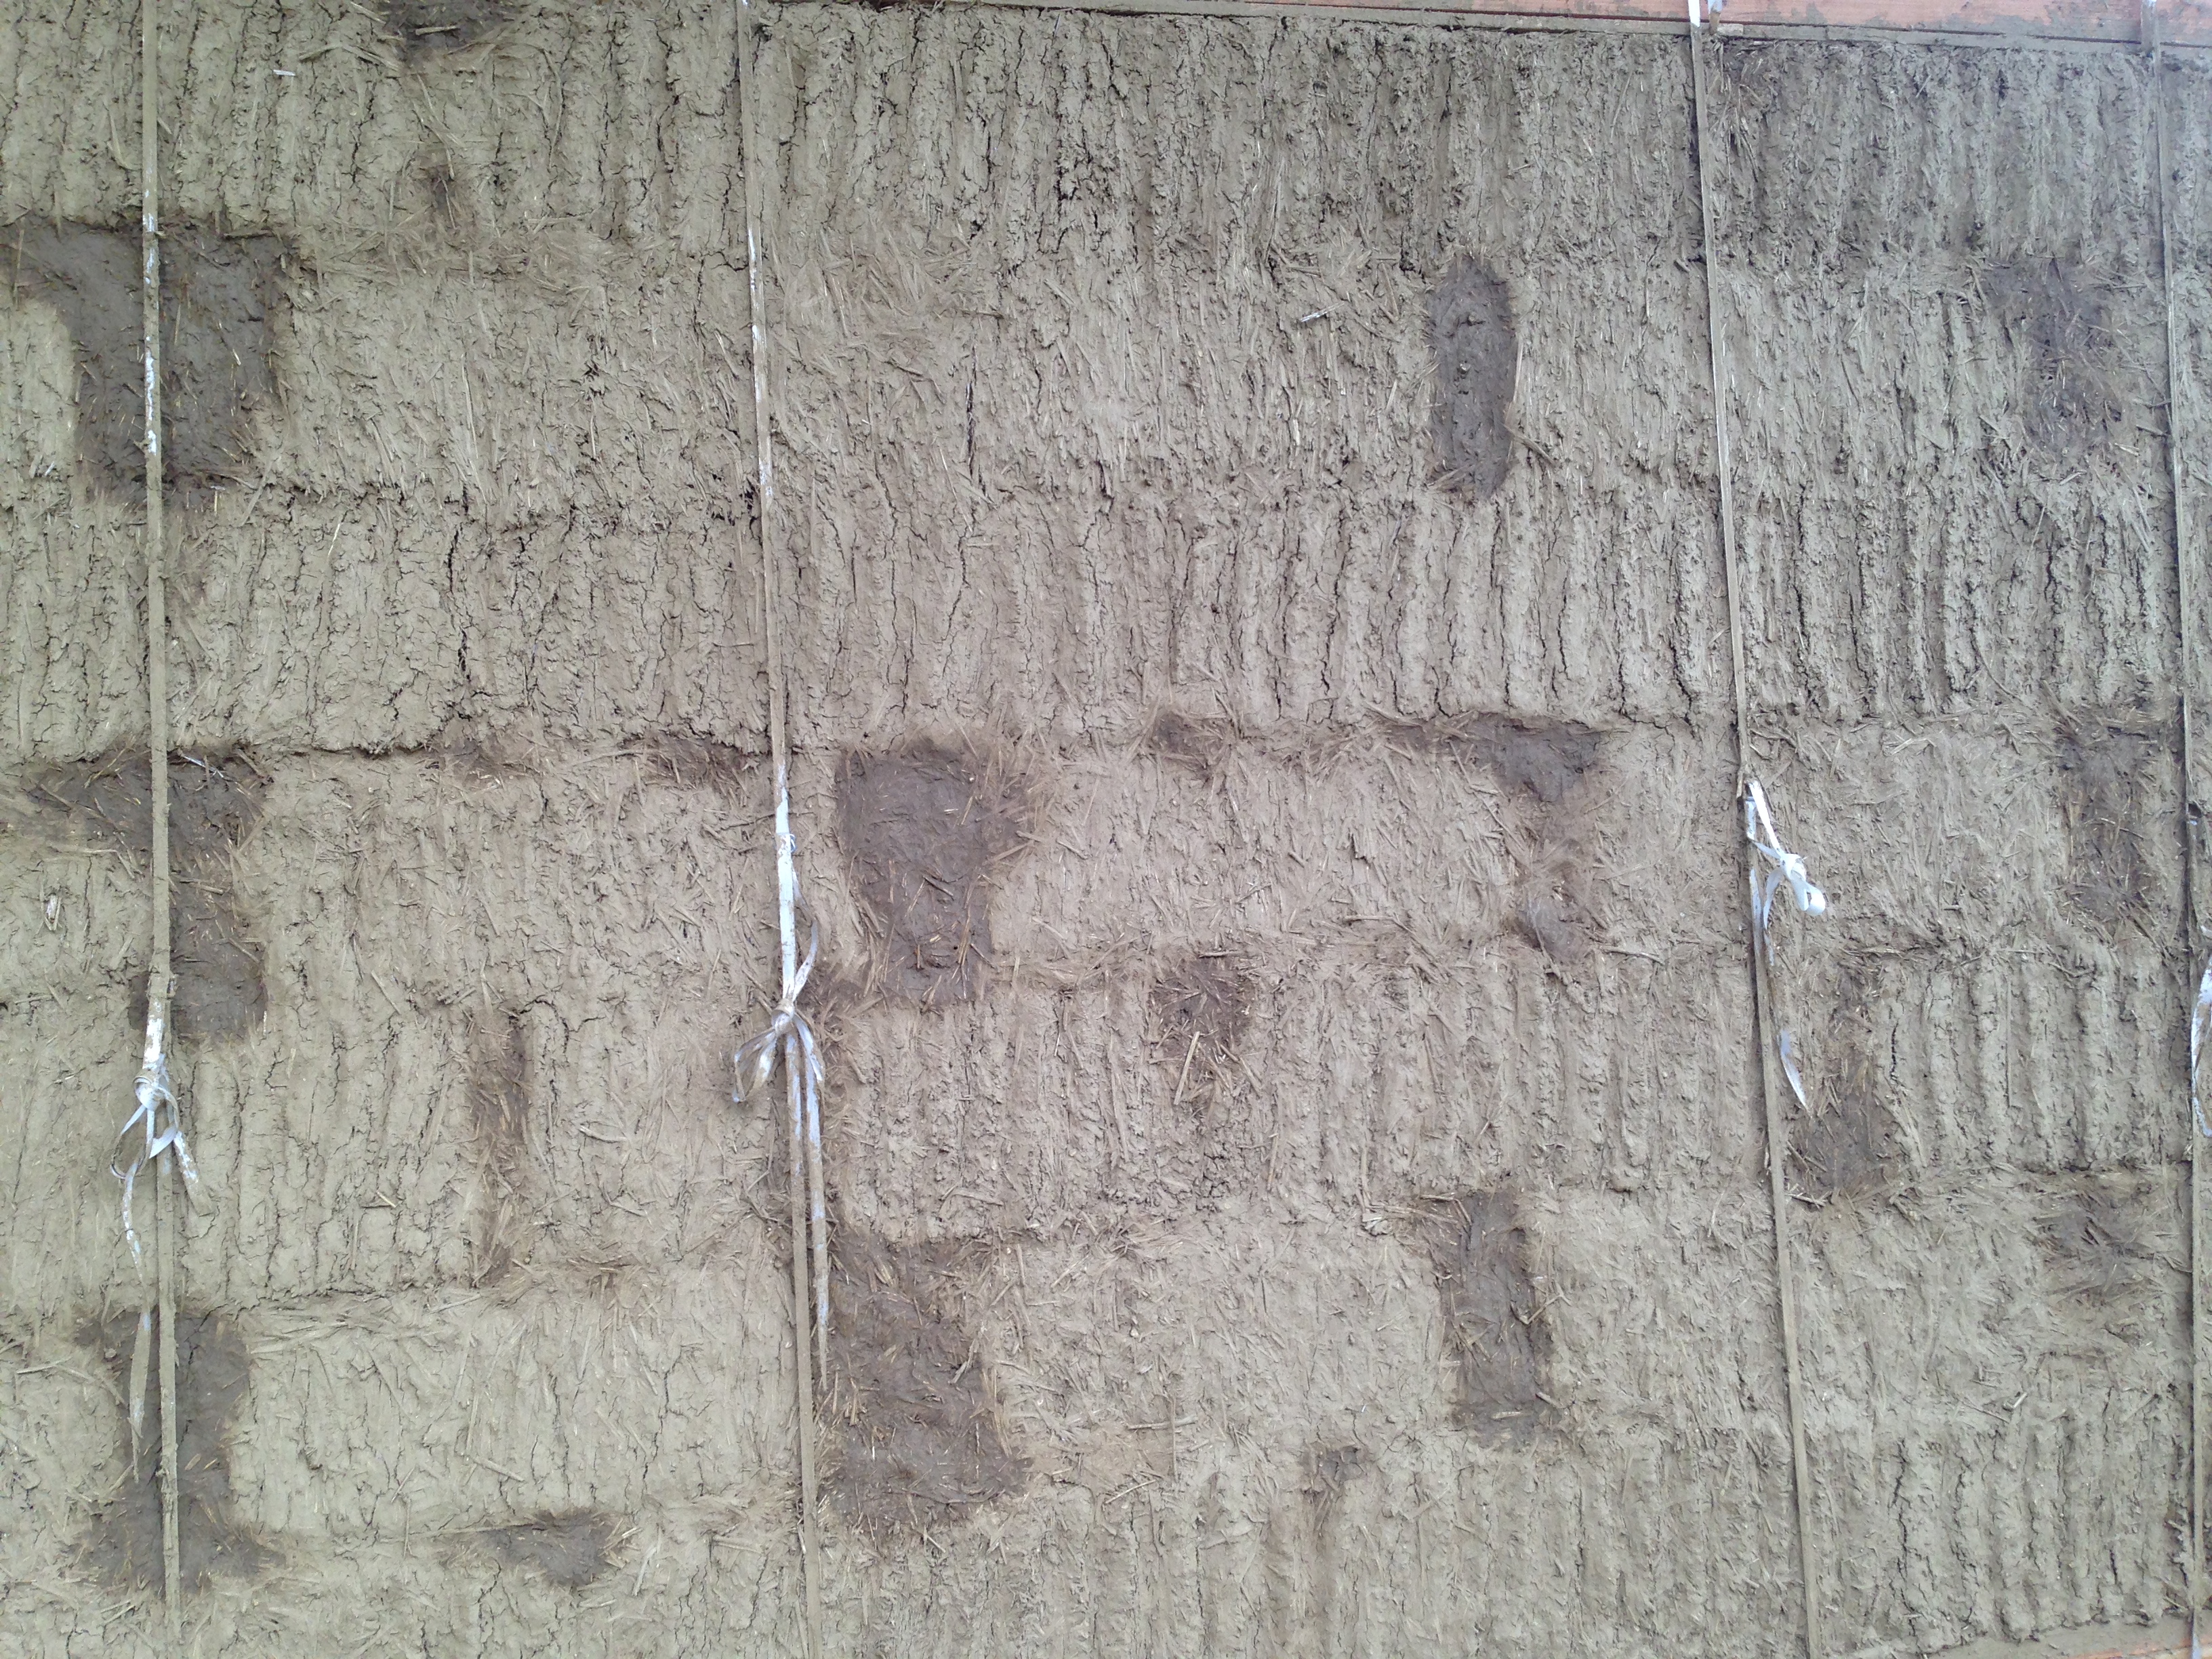
The pre-floating finish on the freshly-applied plaster. Once all on, the surface is smoothed out and compressed using a plastic plasterer’s float
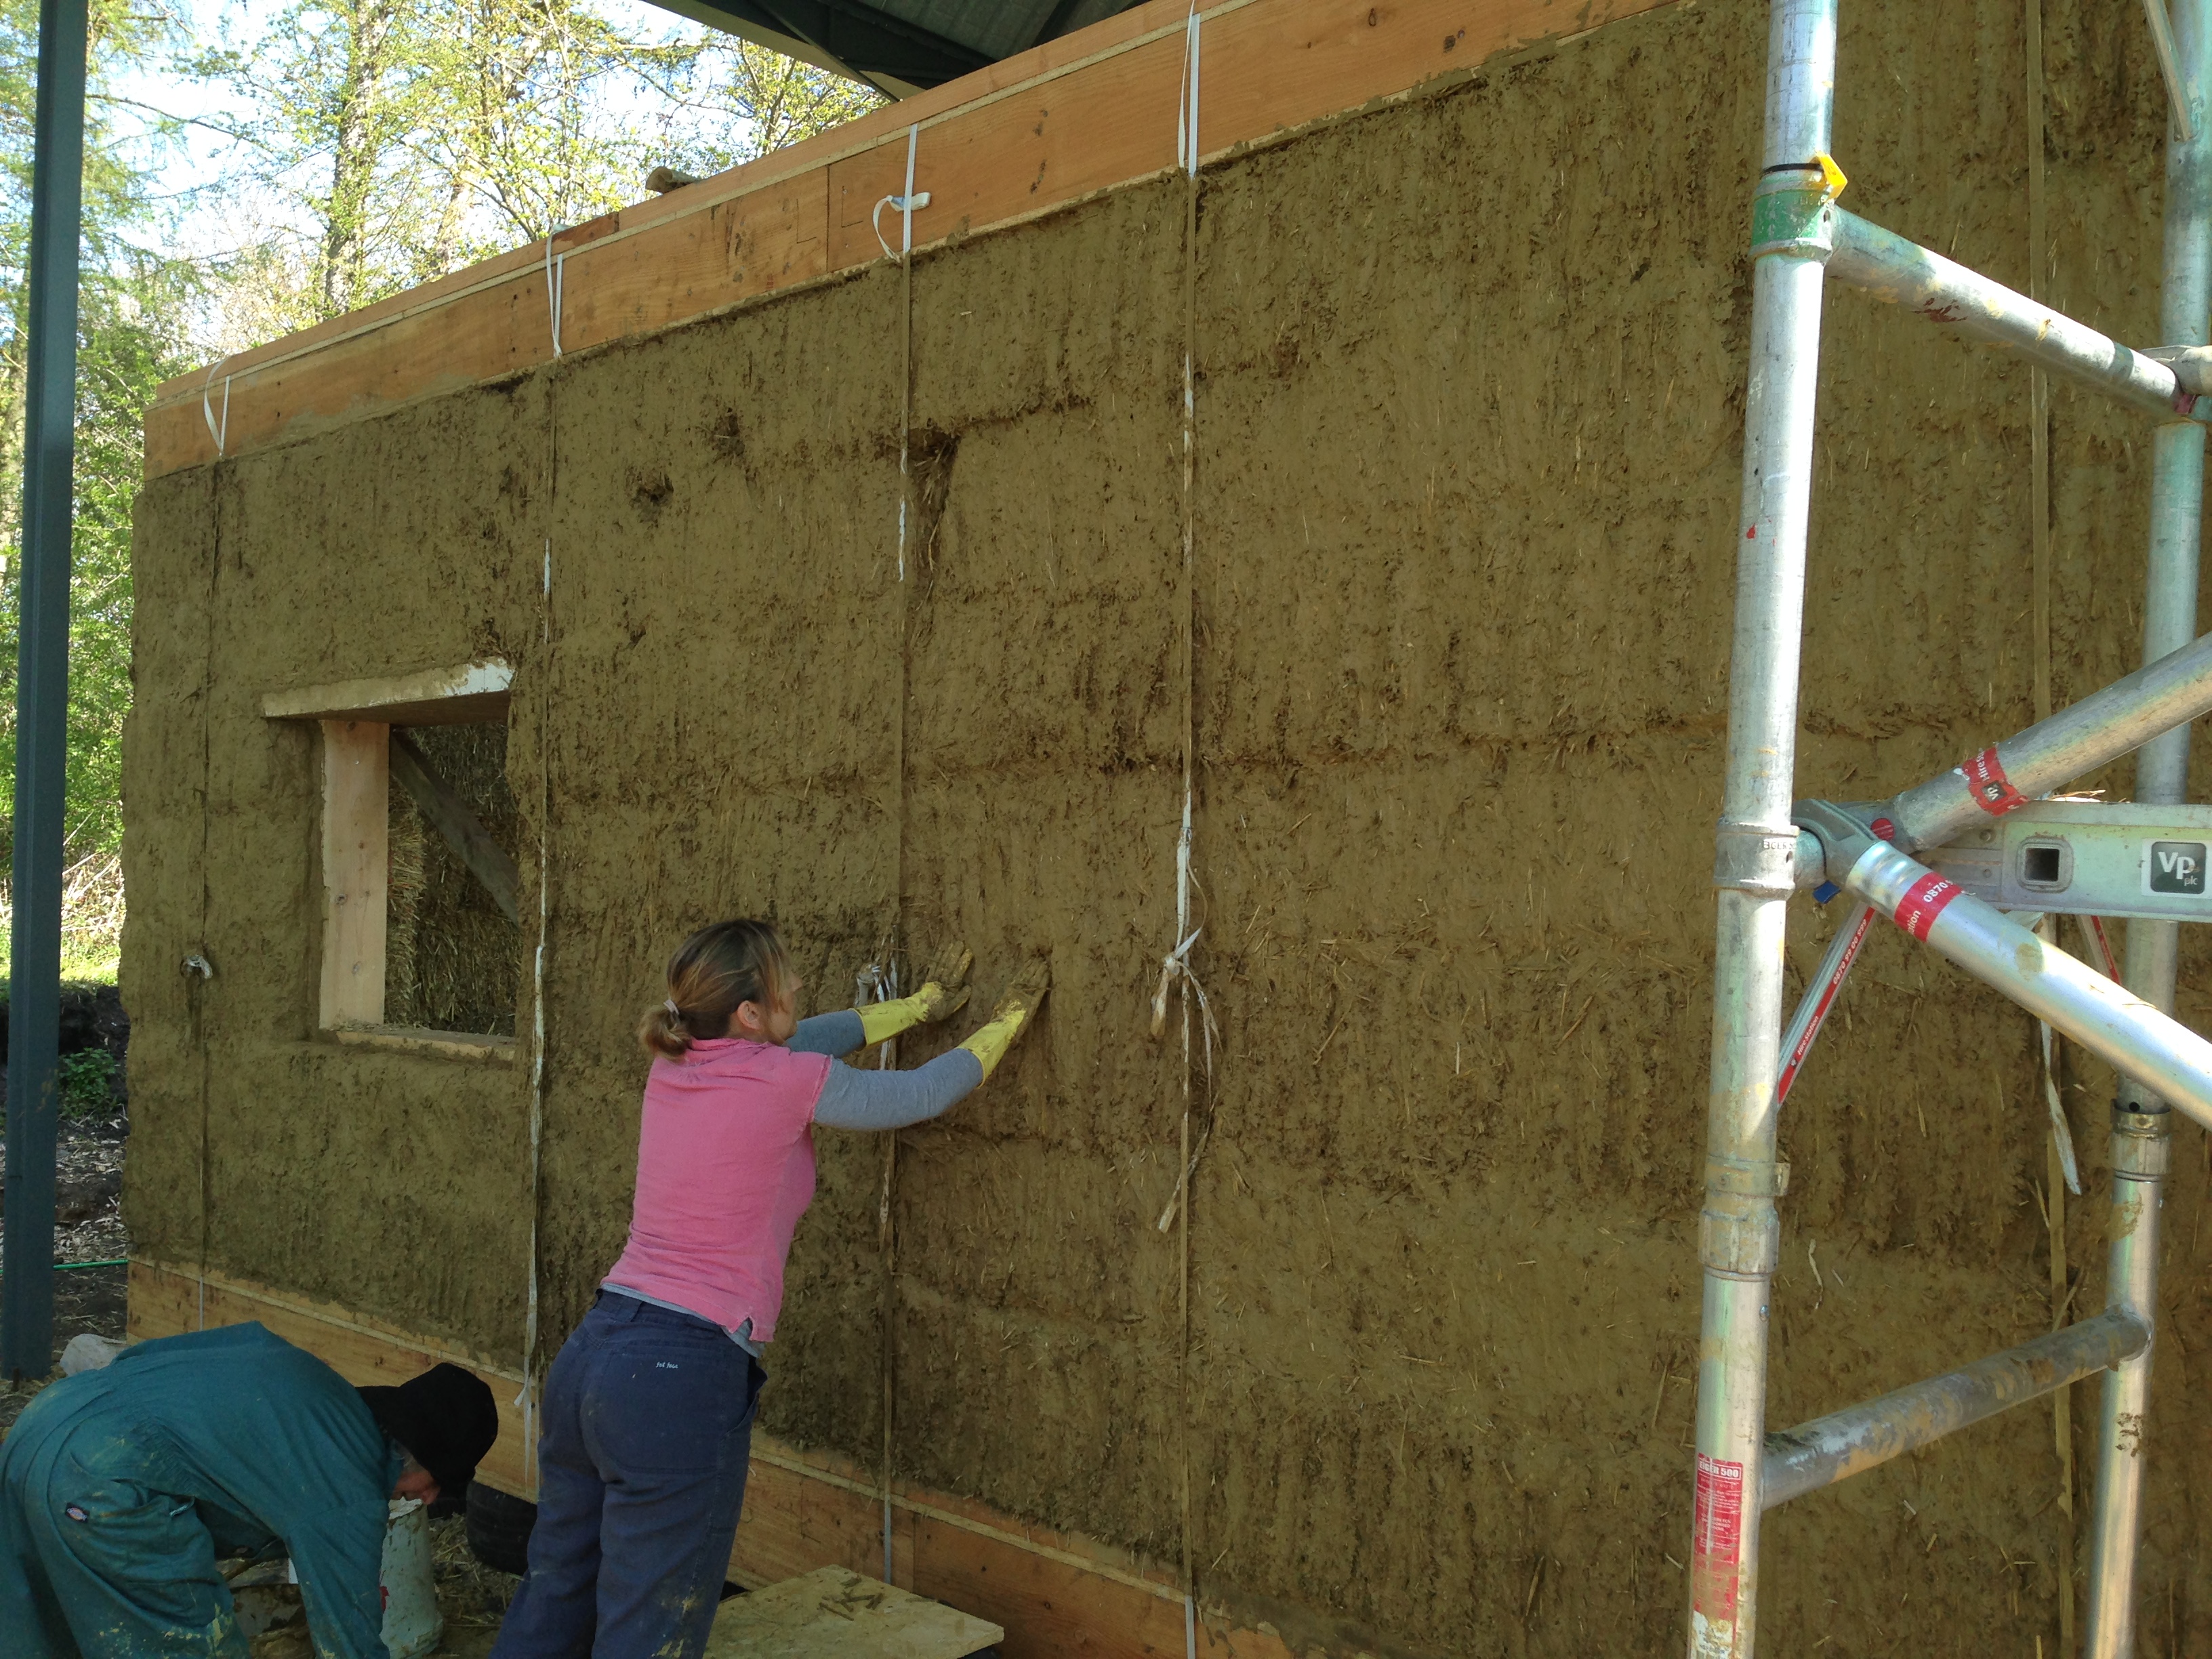
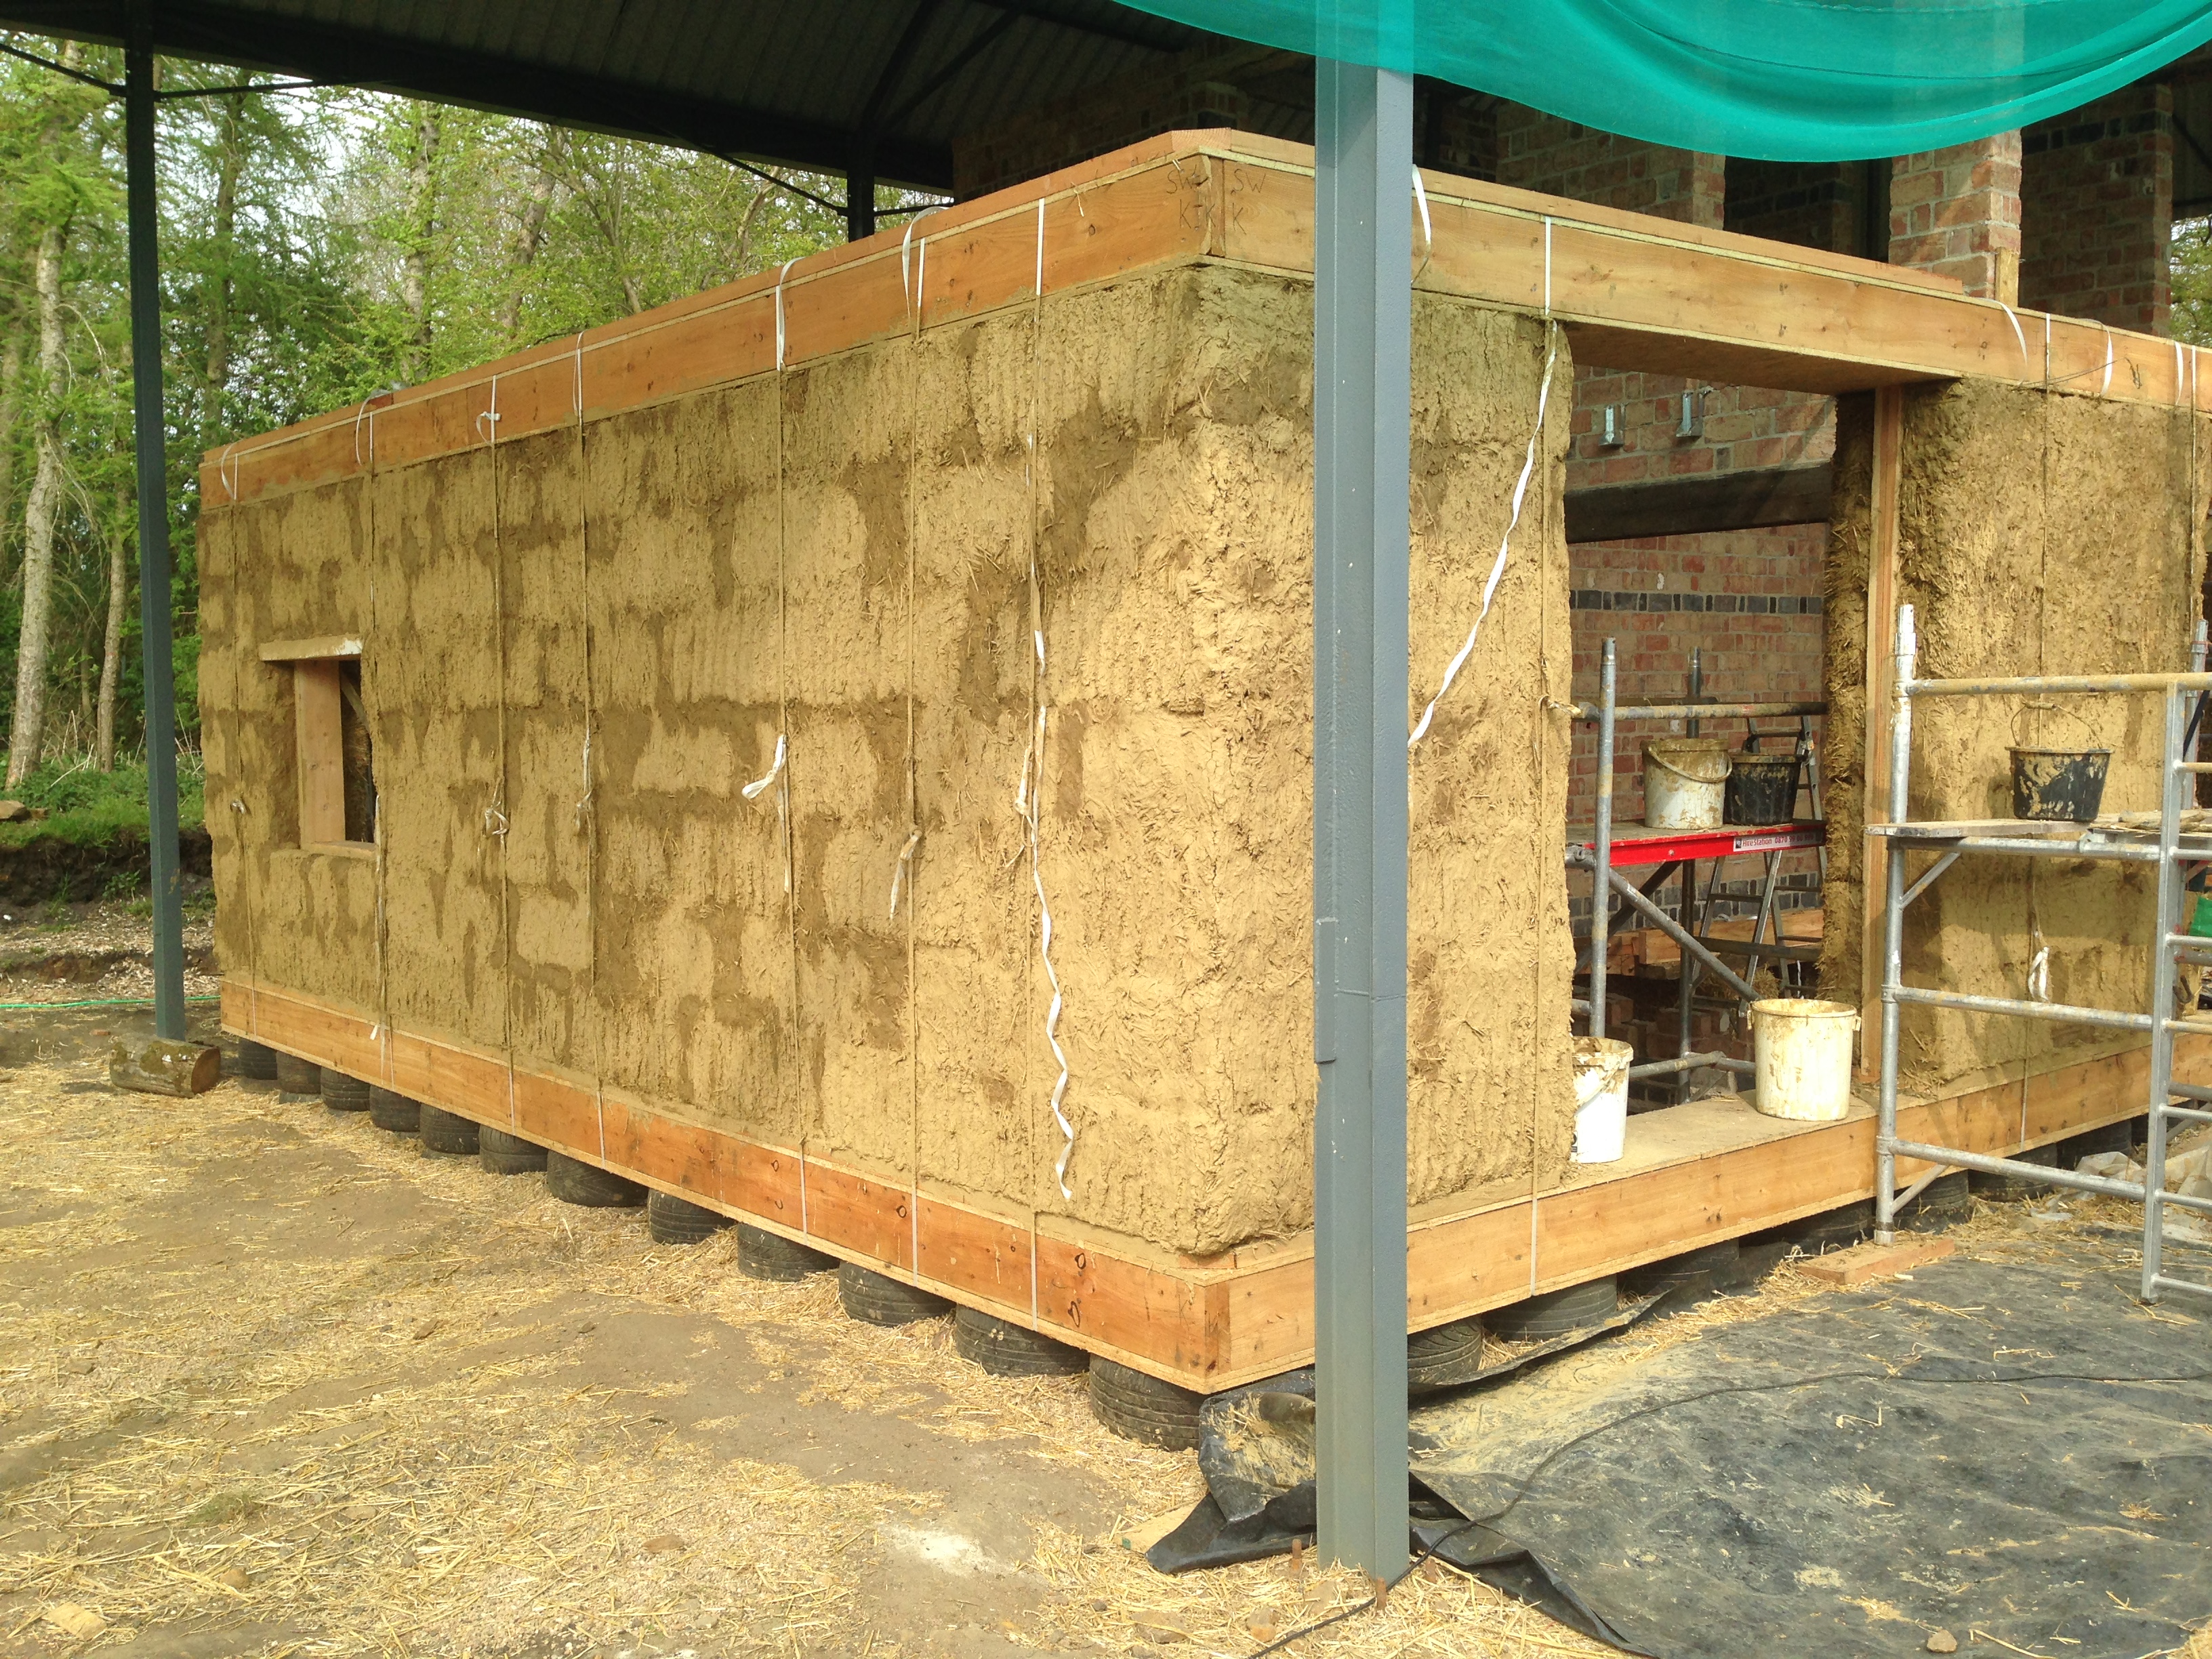
As I write this at the end of February, the bulk of the internal plastering is finished, leaving the internal walls covered in a lovely, warm-feeling organic looking covering. Its still a bit too brown, but painting with light coloured breathable paints should help with that. We’re now building partition walls to get the finished layout of rooms, and about to tackle installing the stairs….More on that soon.

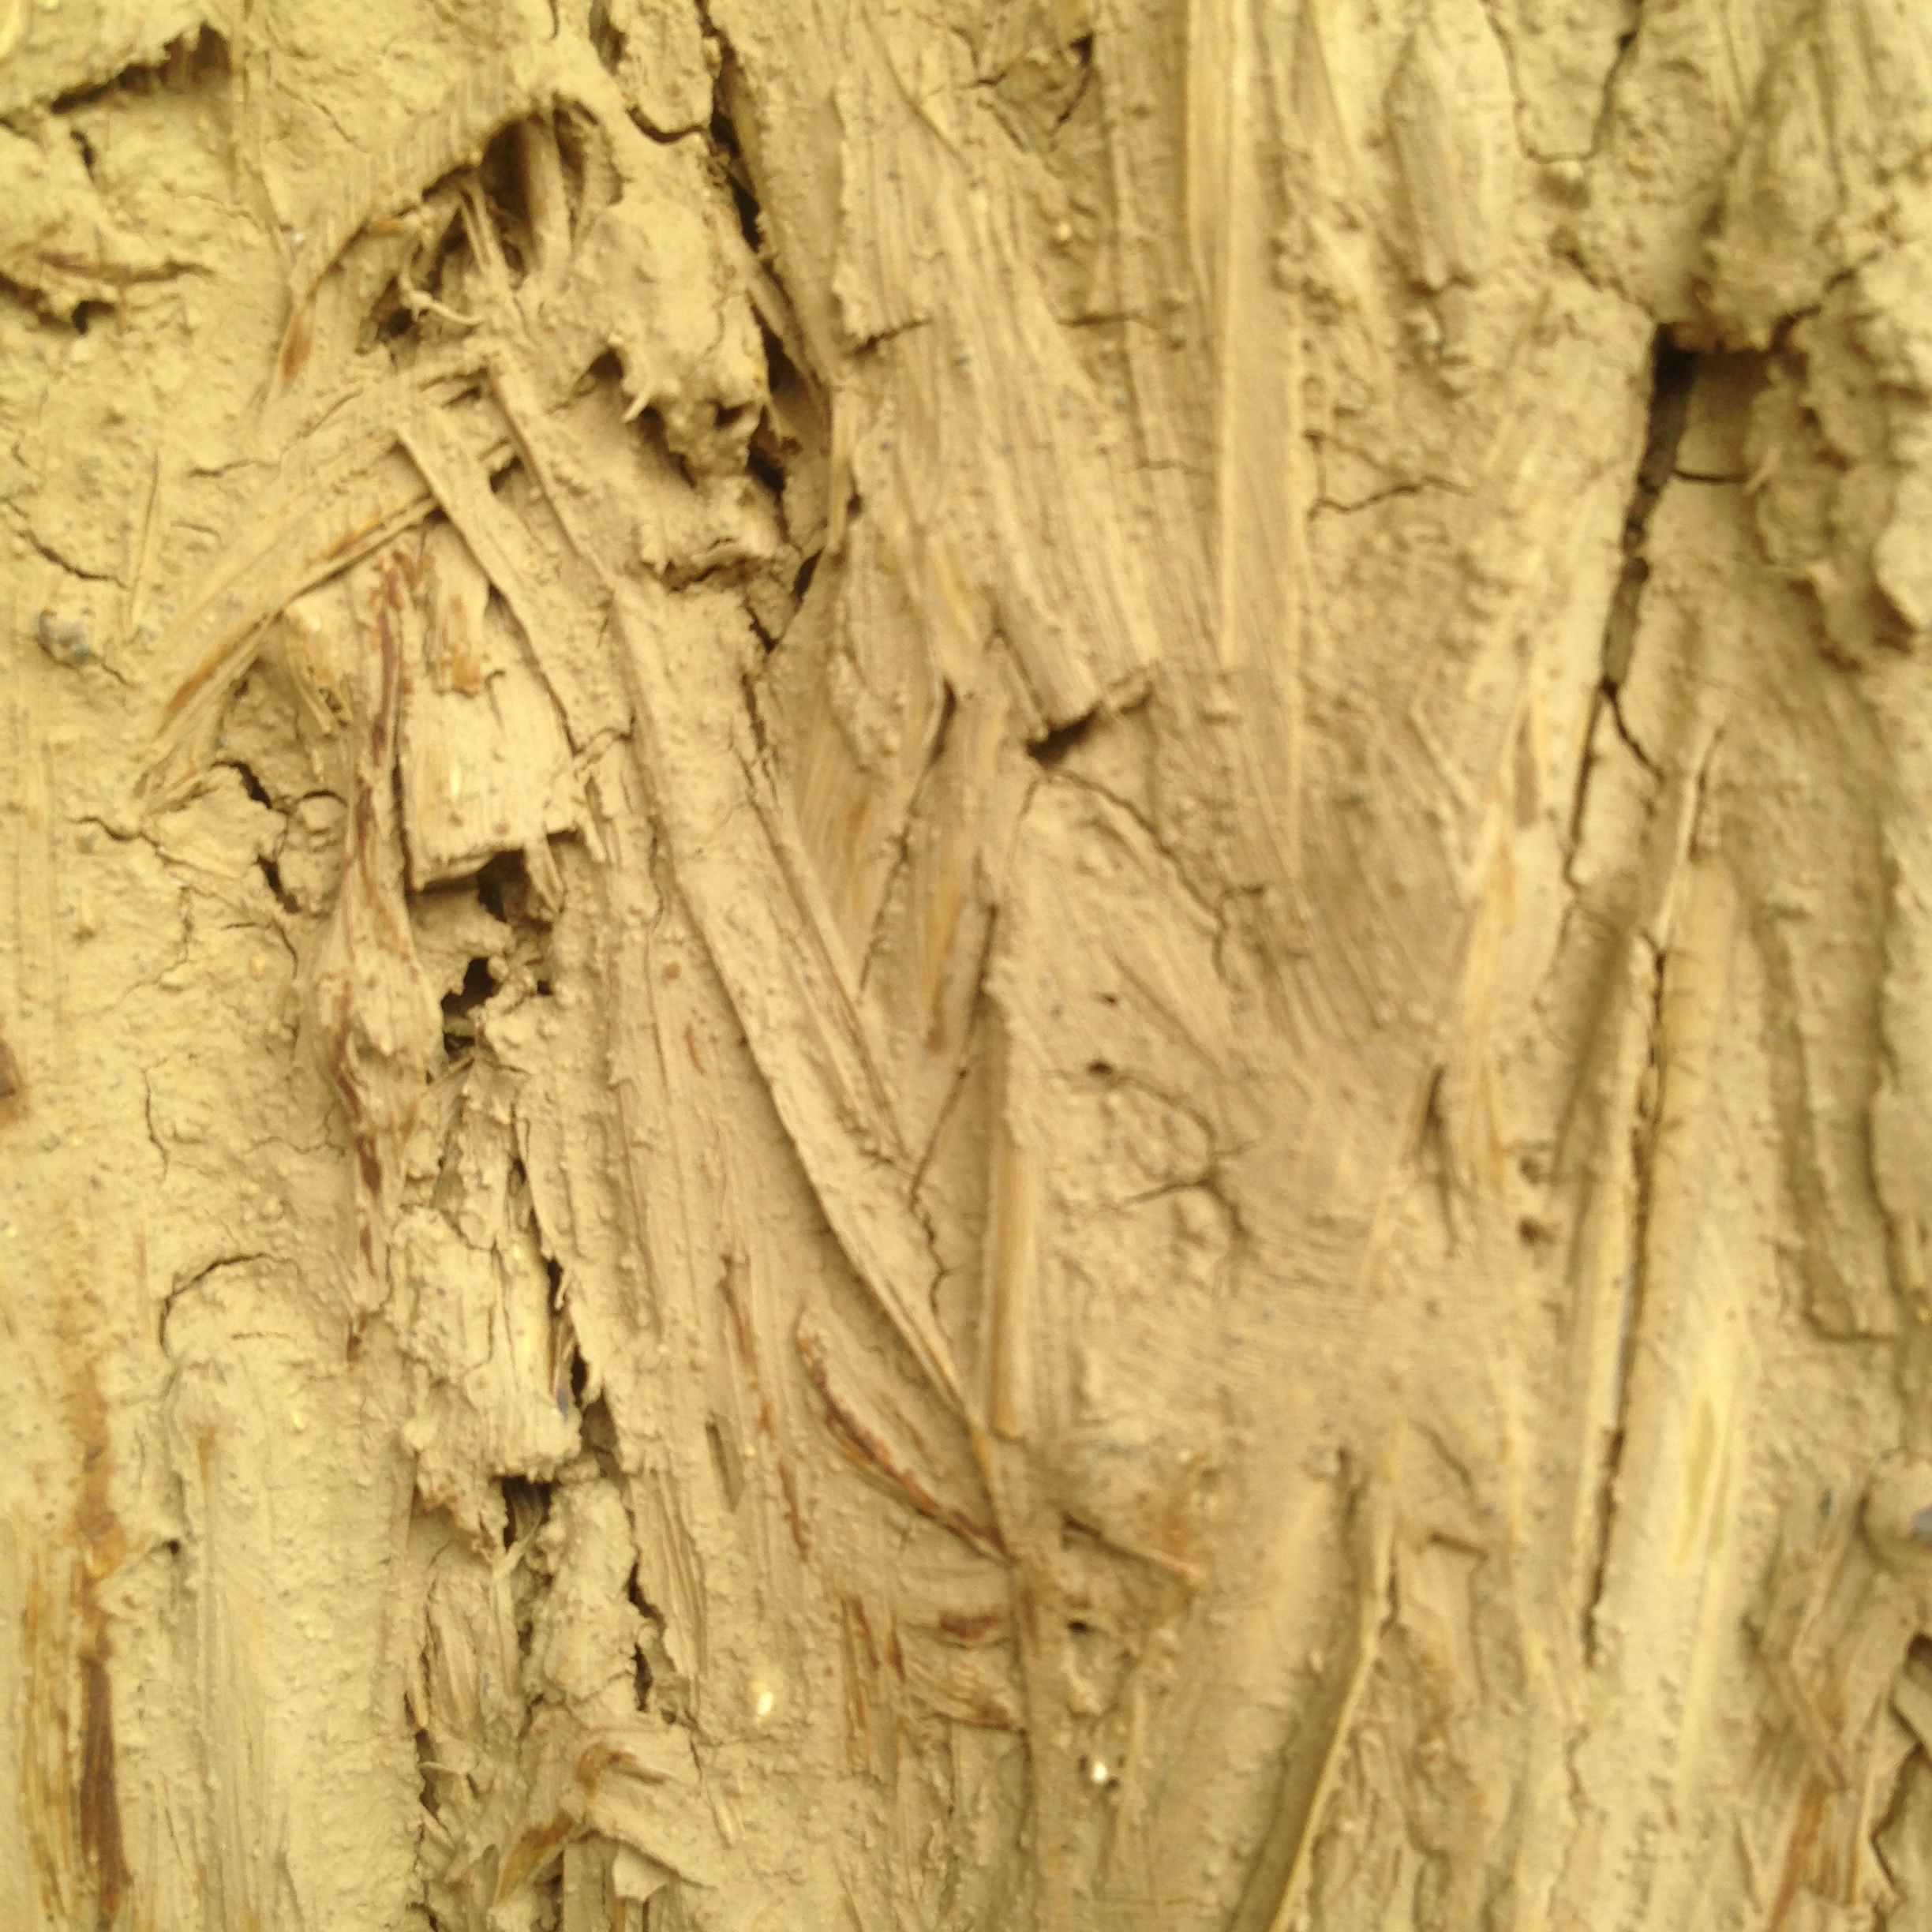
The finished product – after application the plaster is smoothed and compressed using a wet plastic float, to get a nice smooth, curved finish
A huge thanks to all who have helped with this stage of the work – it was a massive, labour-intensive job that we couldn’t have done without you! Muddy respect!


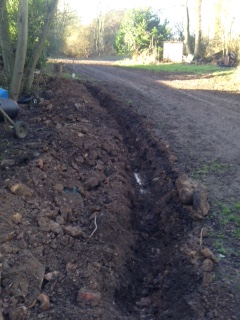
 Thereafter, in an apparently uncharacteristic turn of speed, a week later, the power company had connected the cable from network to house, and the supply company had installed a meter – now just got to wire up the house! More of this later….
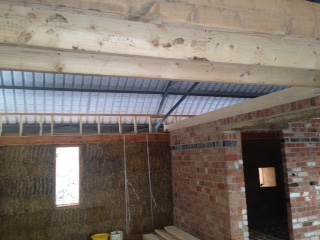


![IMG_1498[1]](https://houseoflotti.co.uk/wp-content/uploads/2014/12/img_14981.jpg)


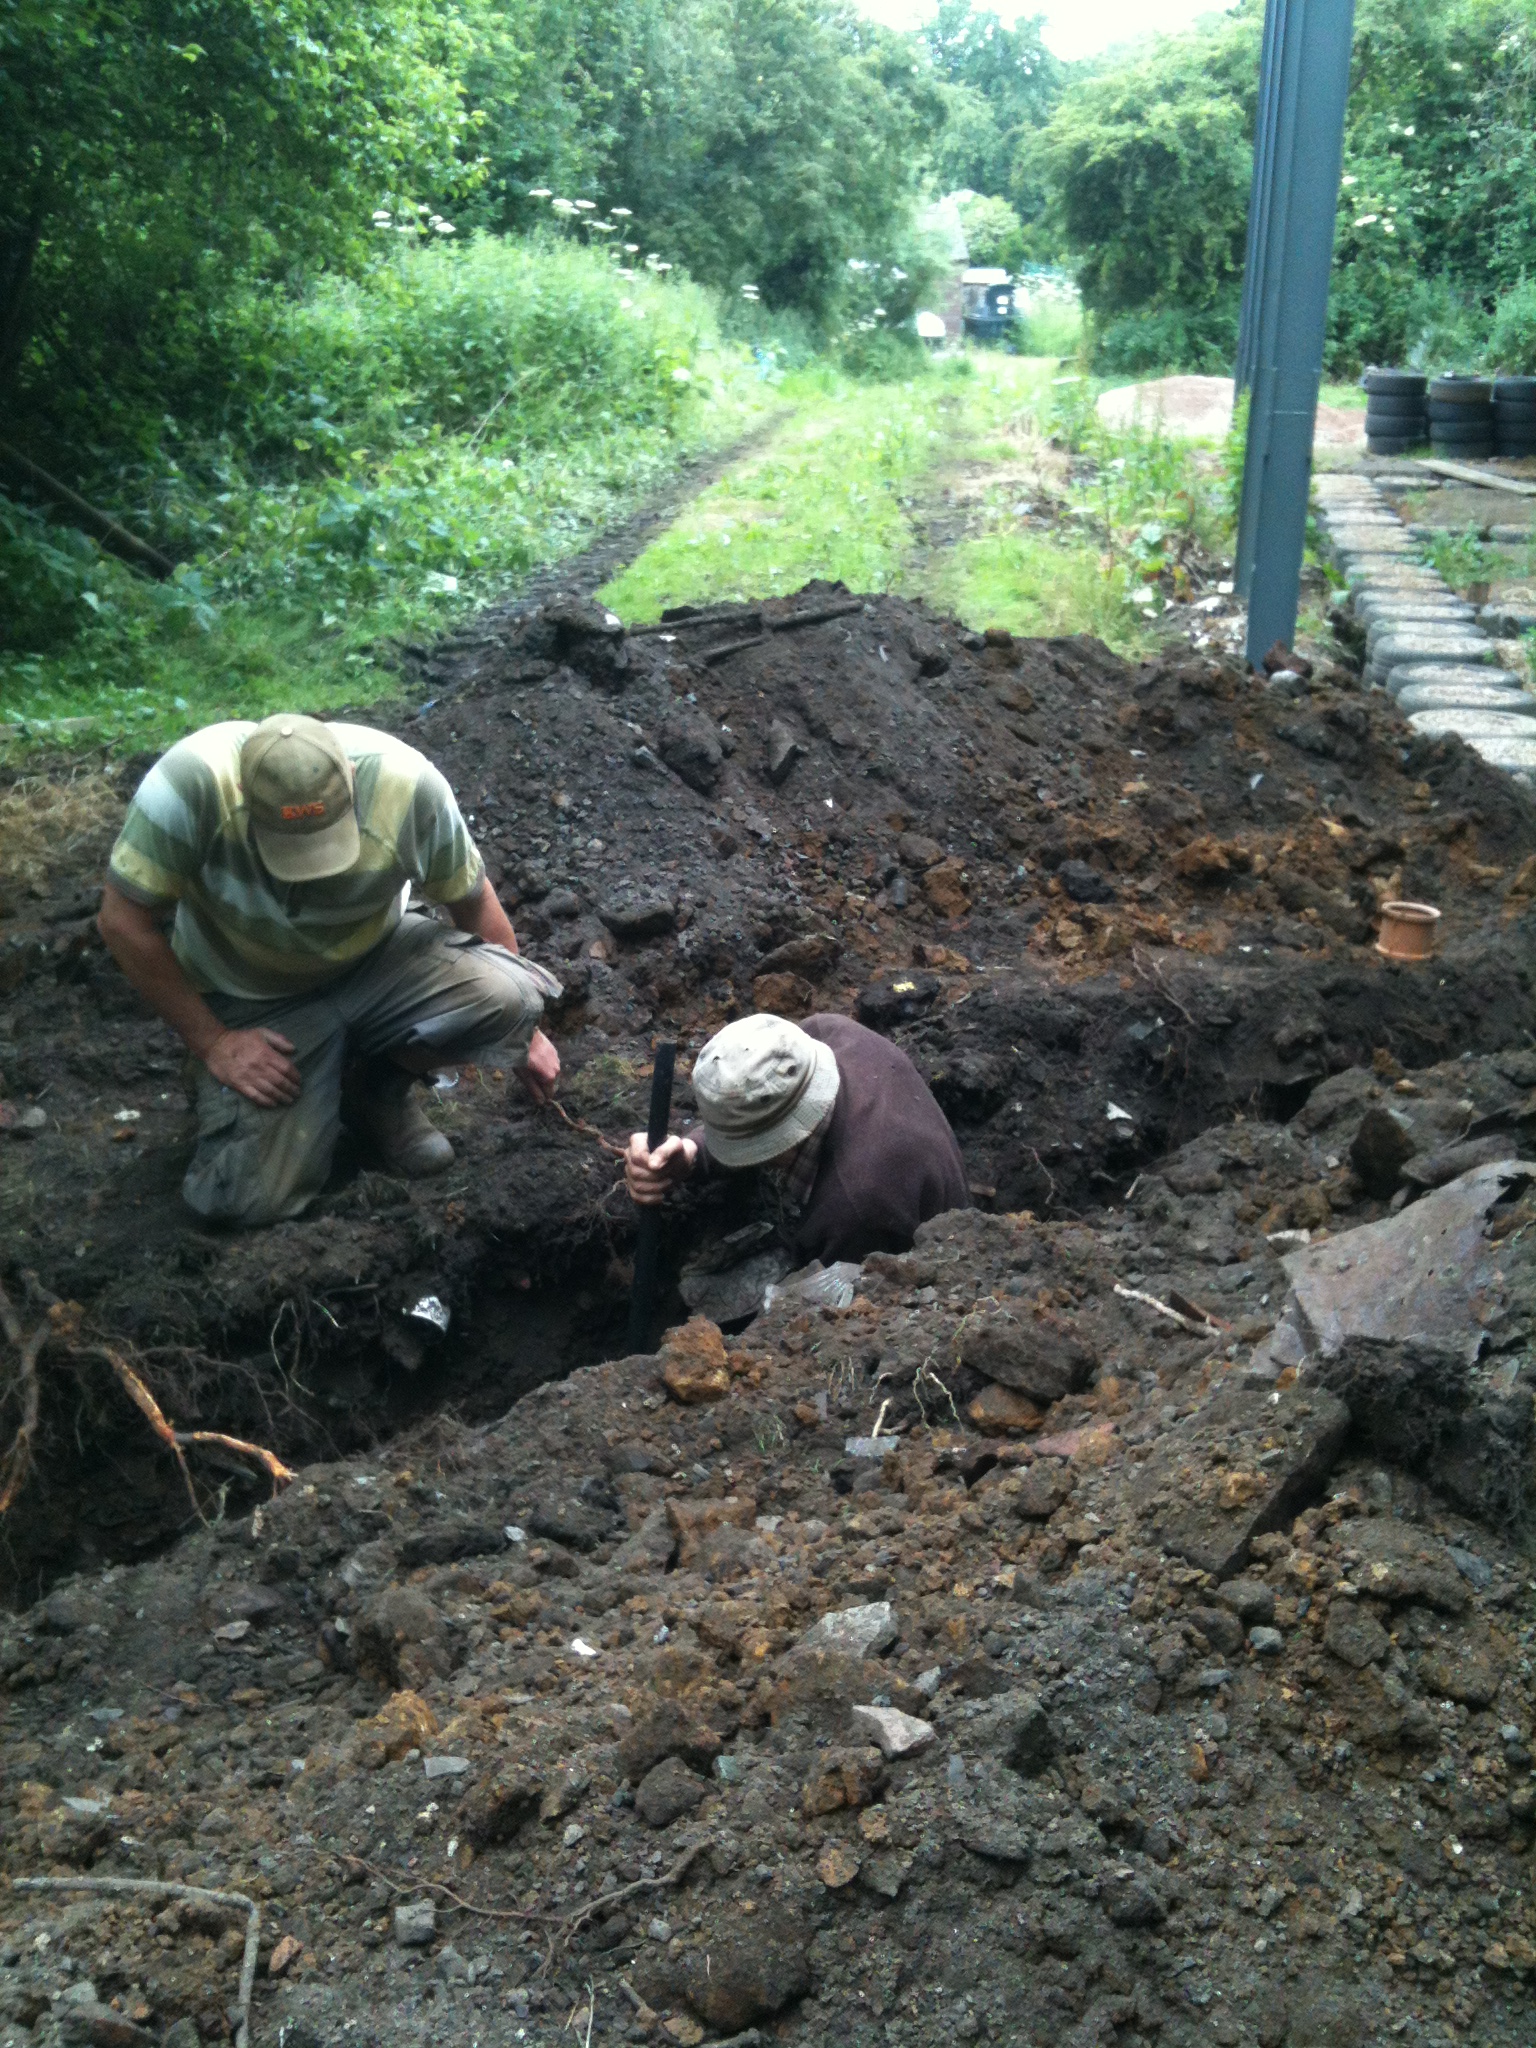


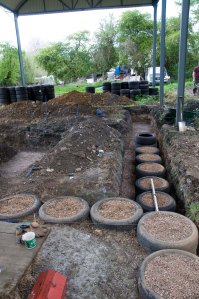
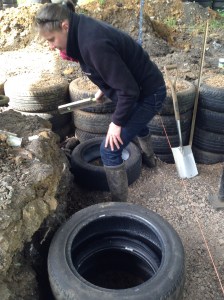
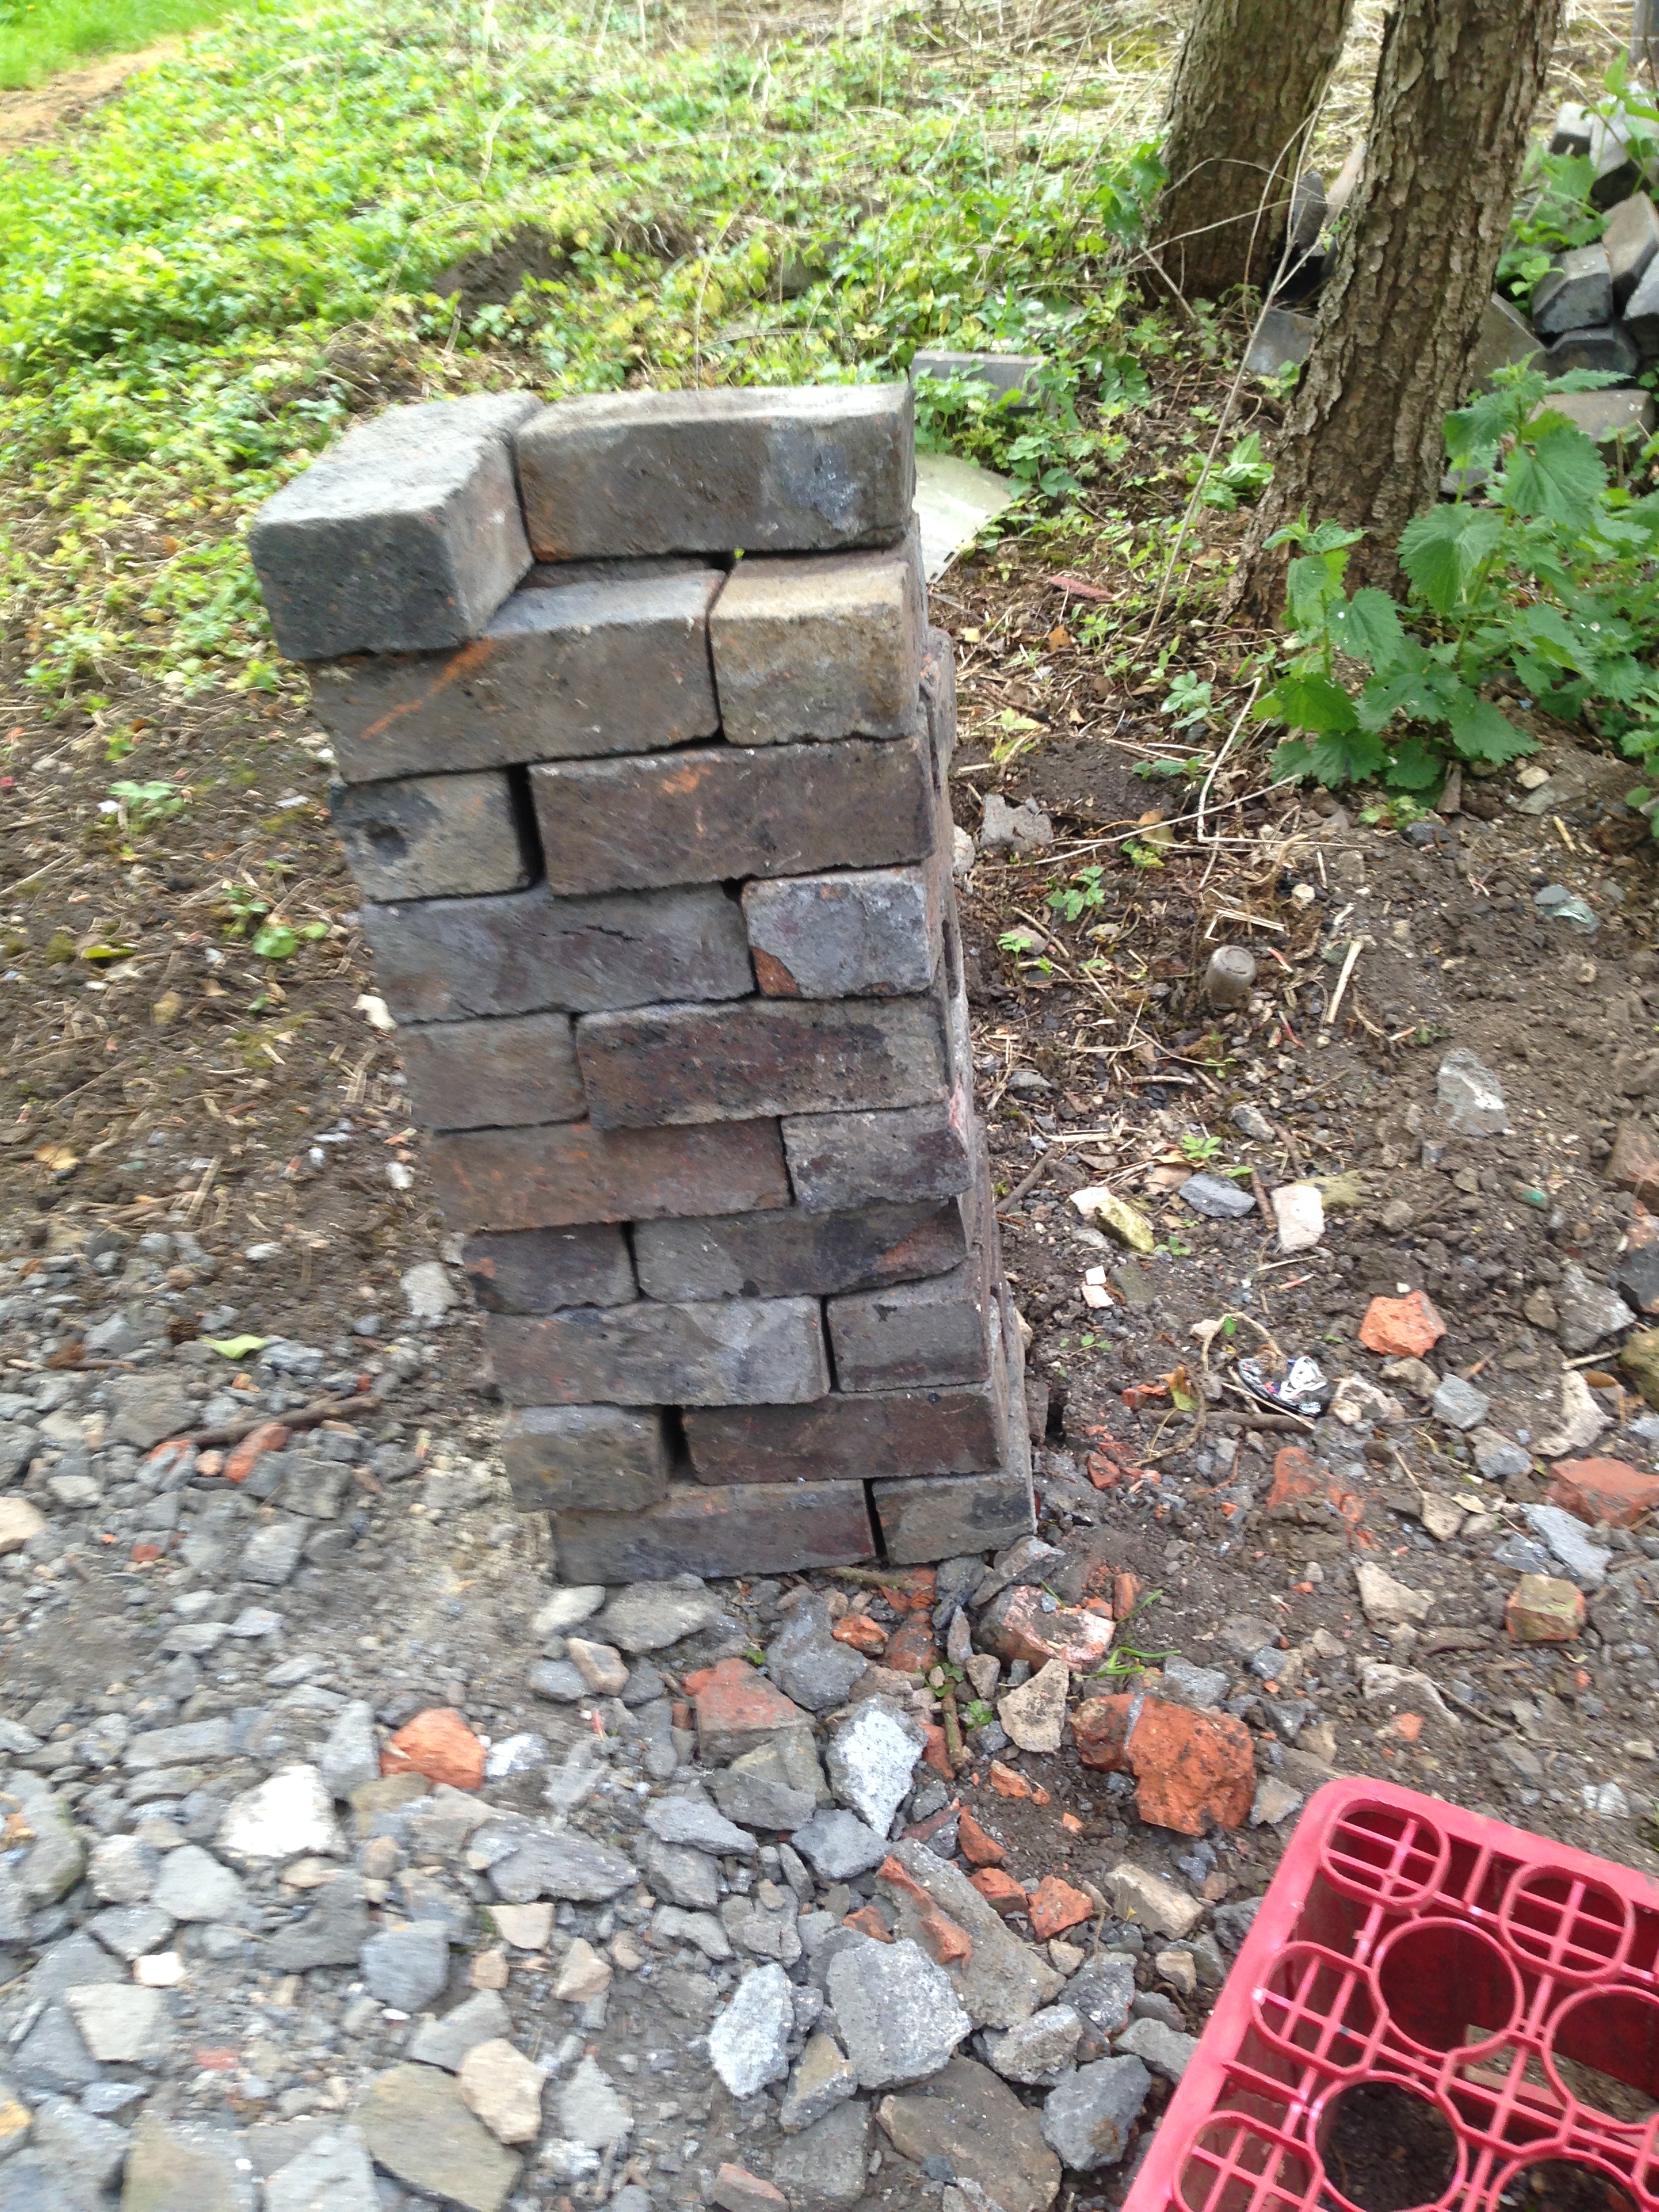
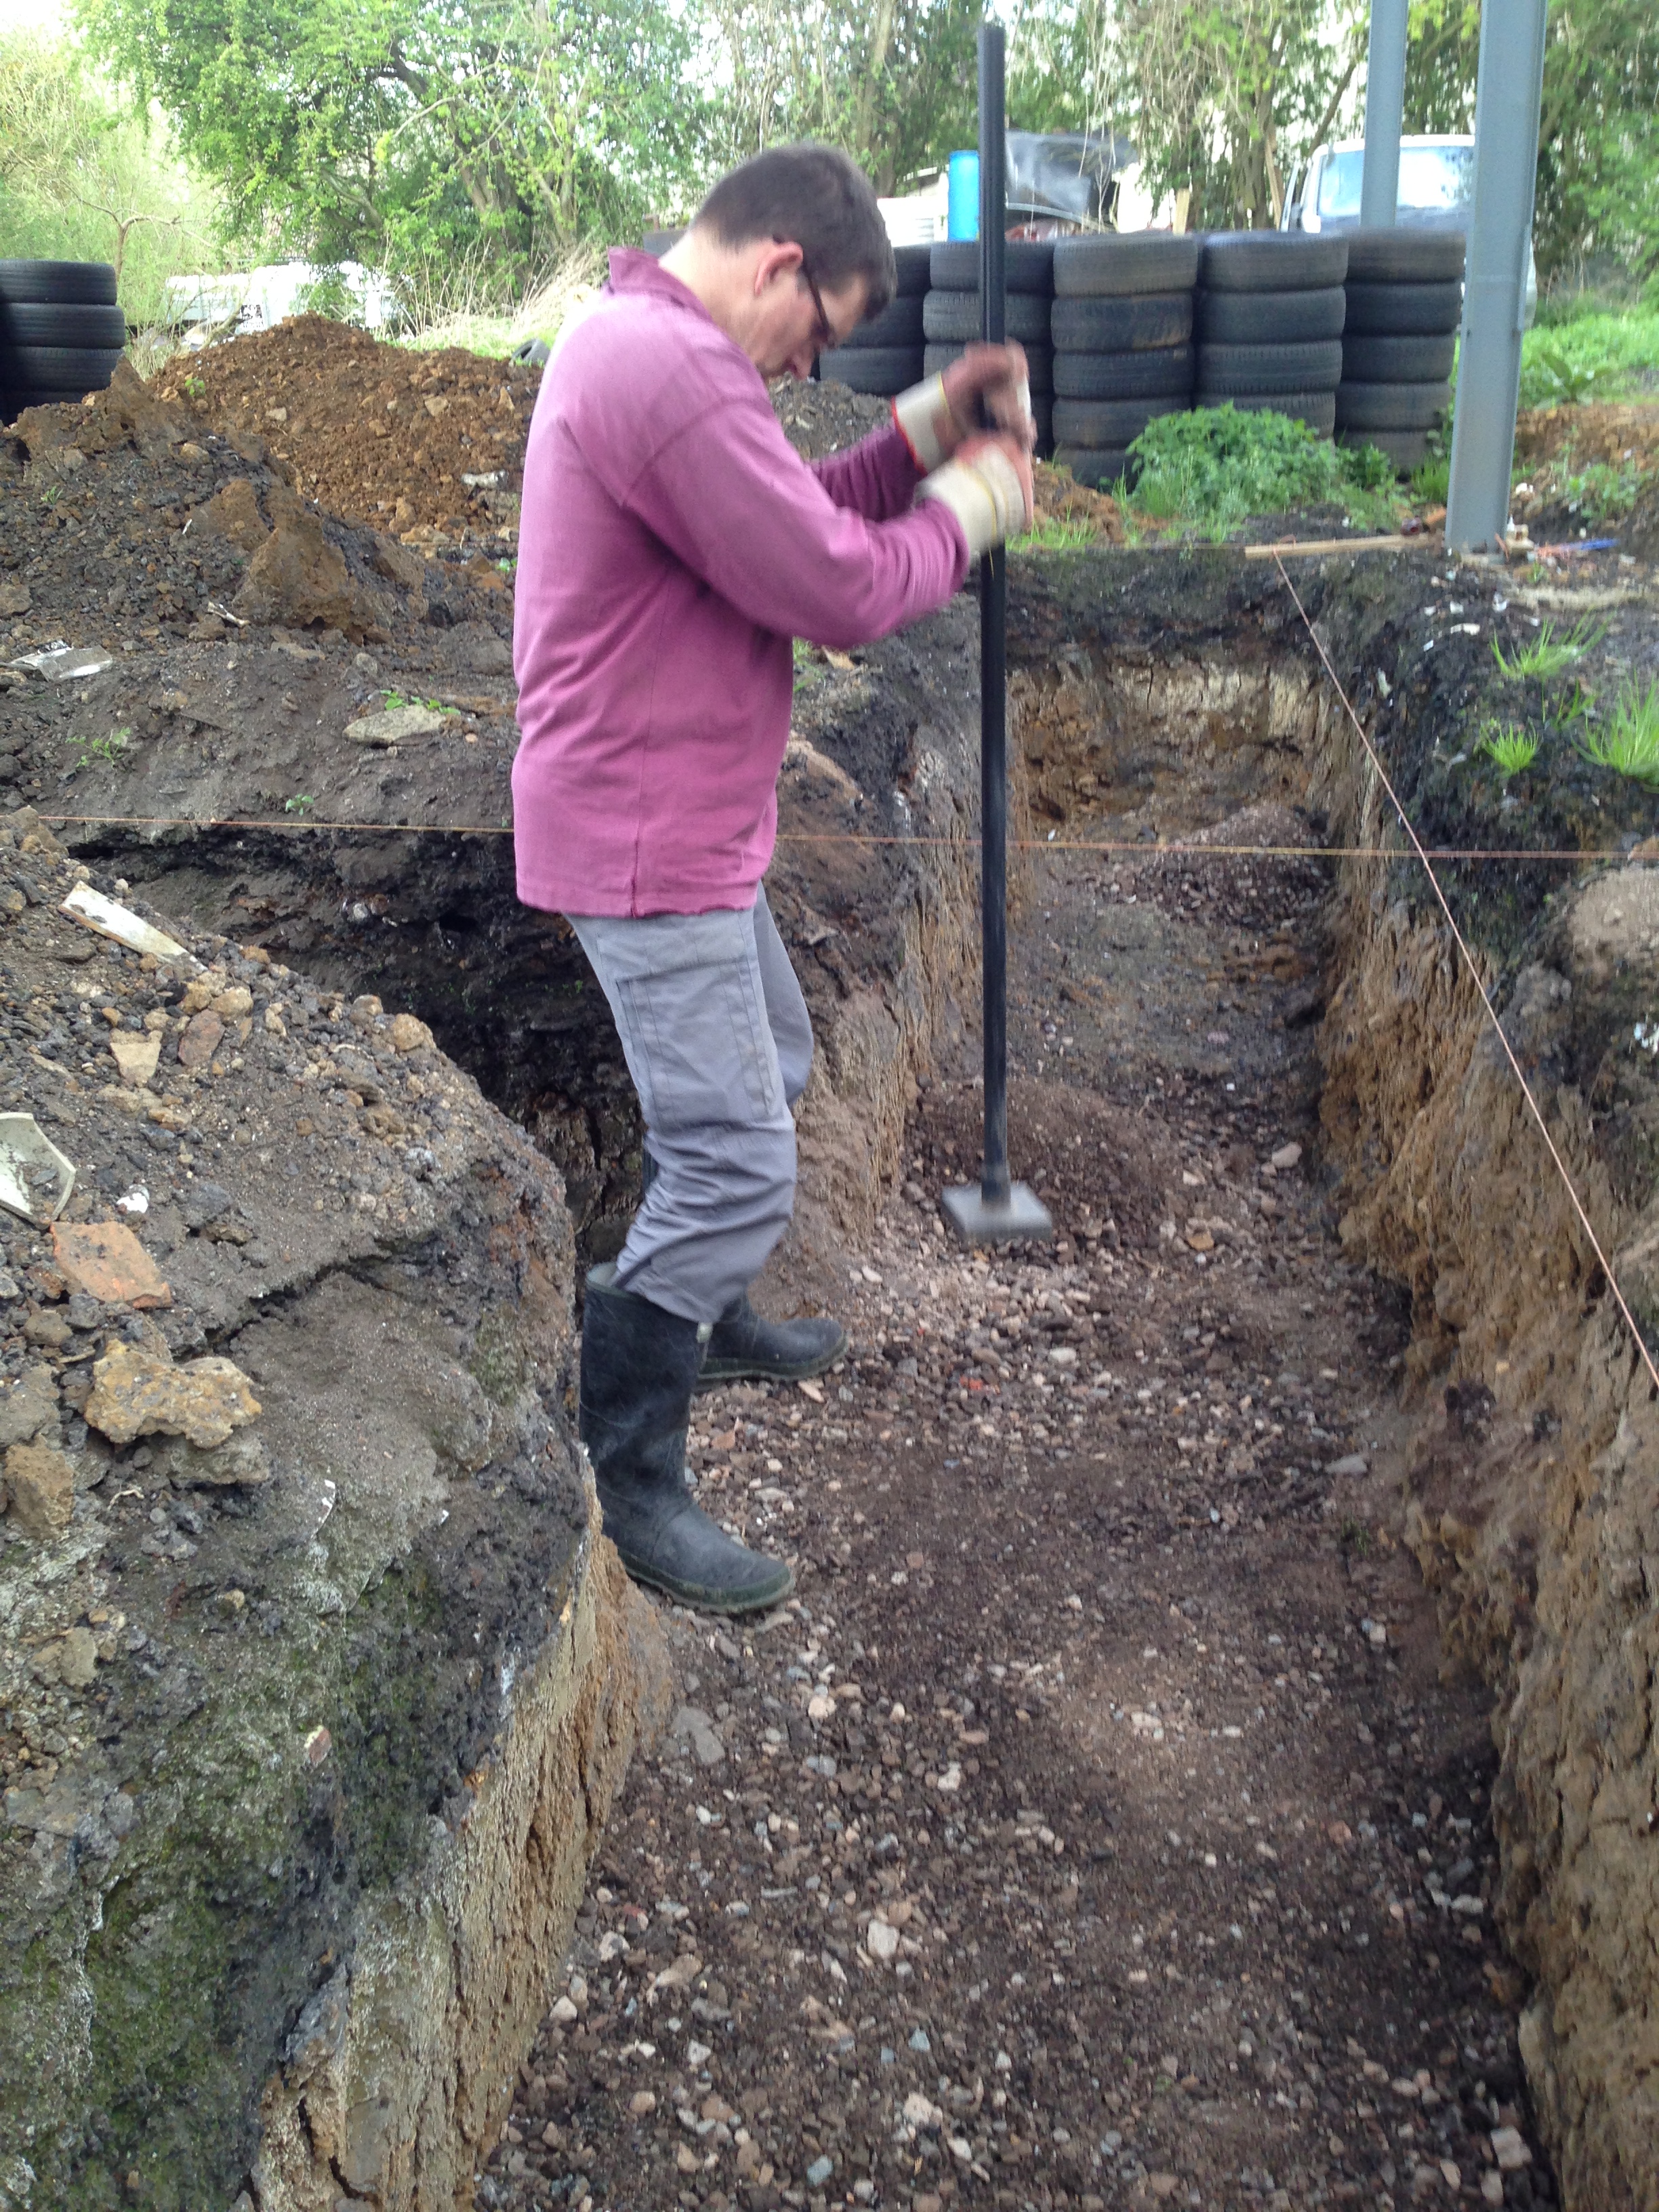
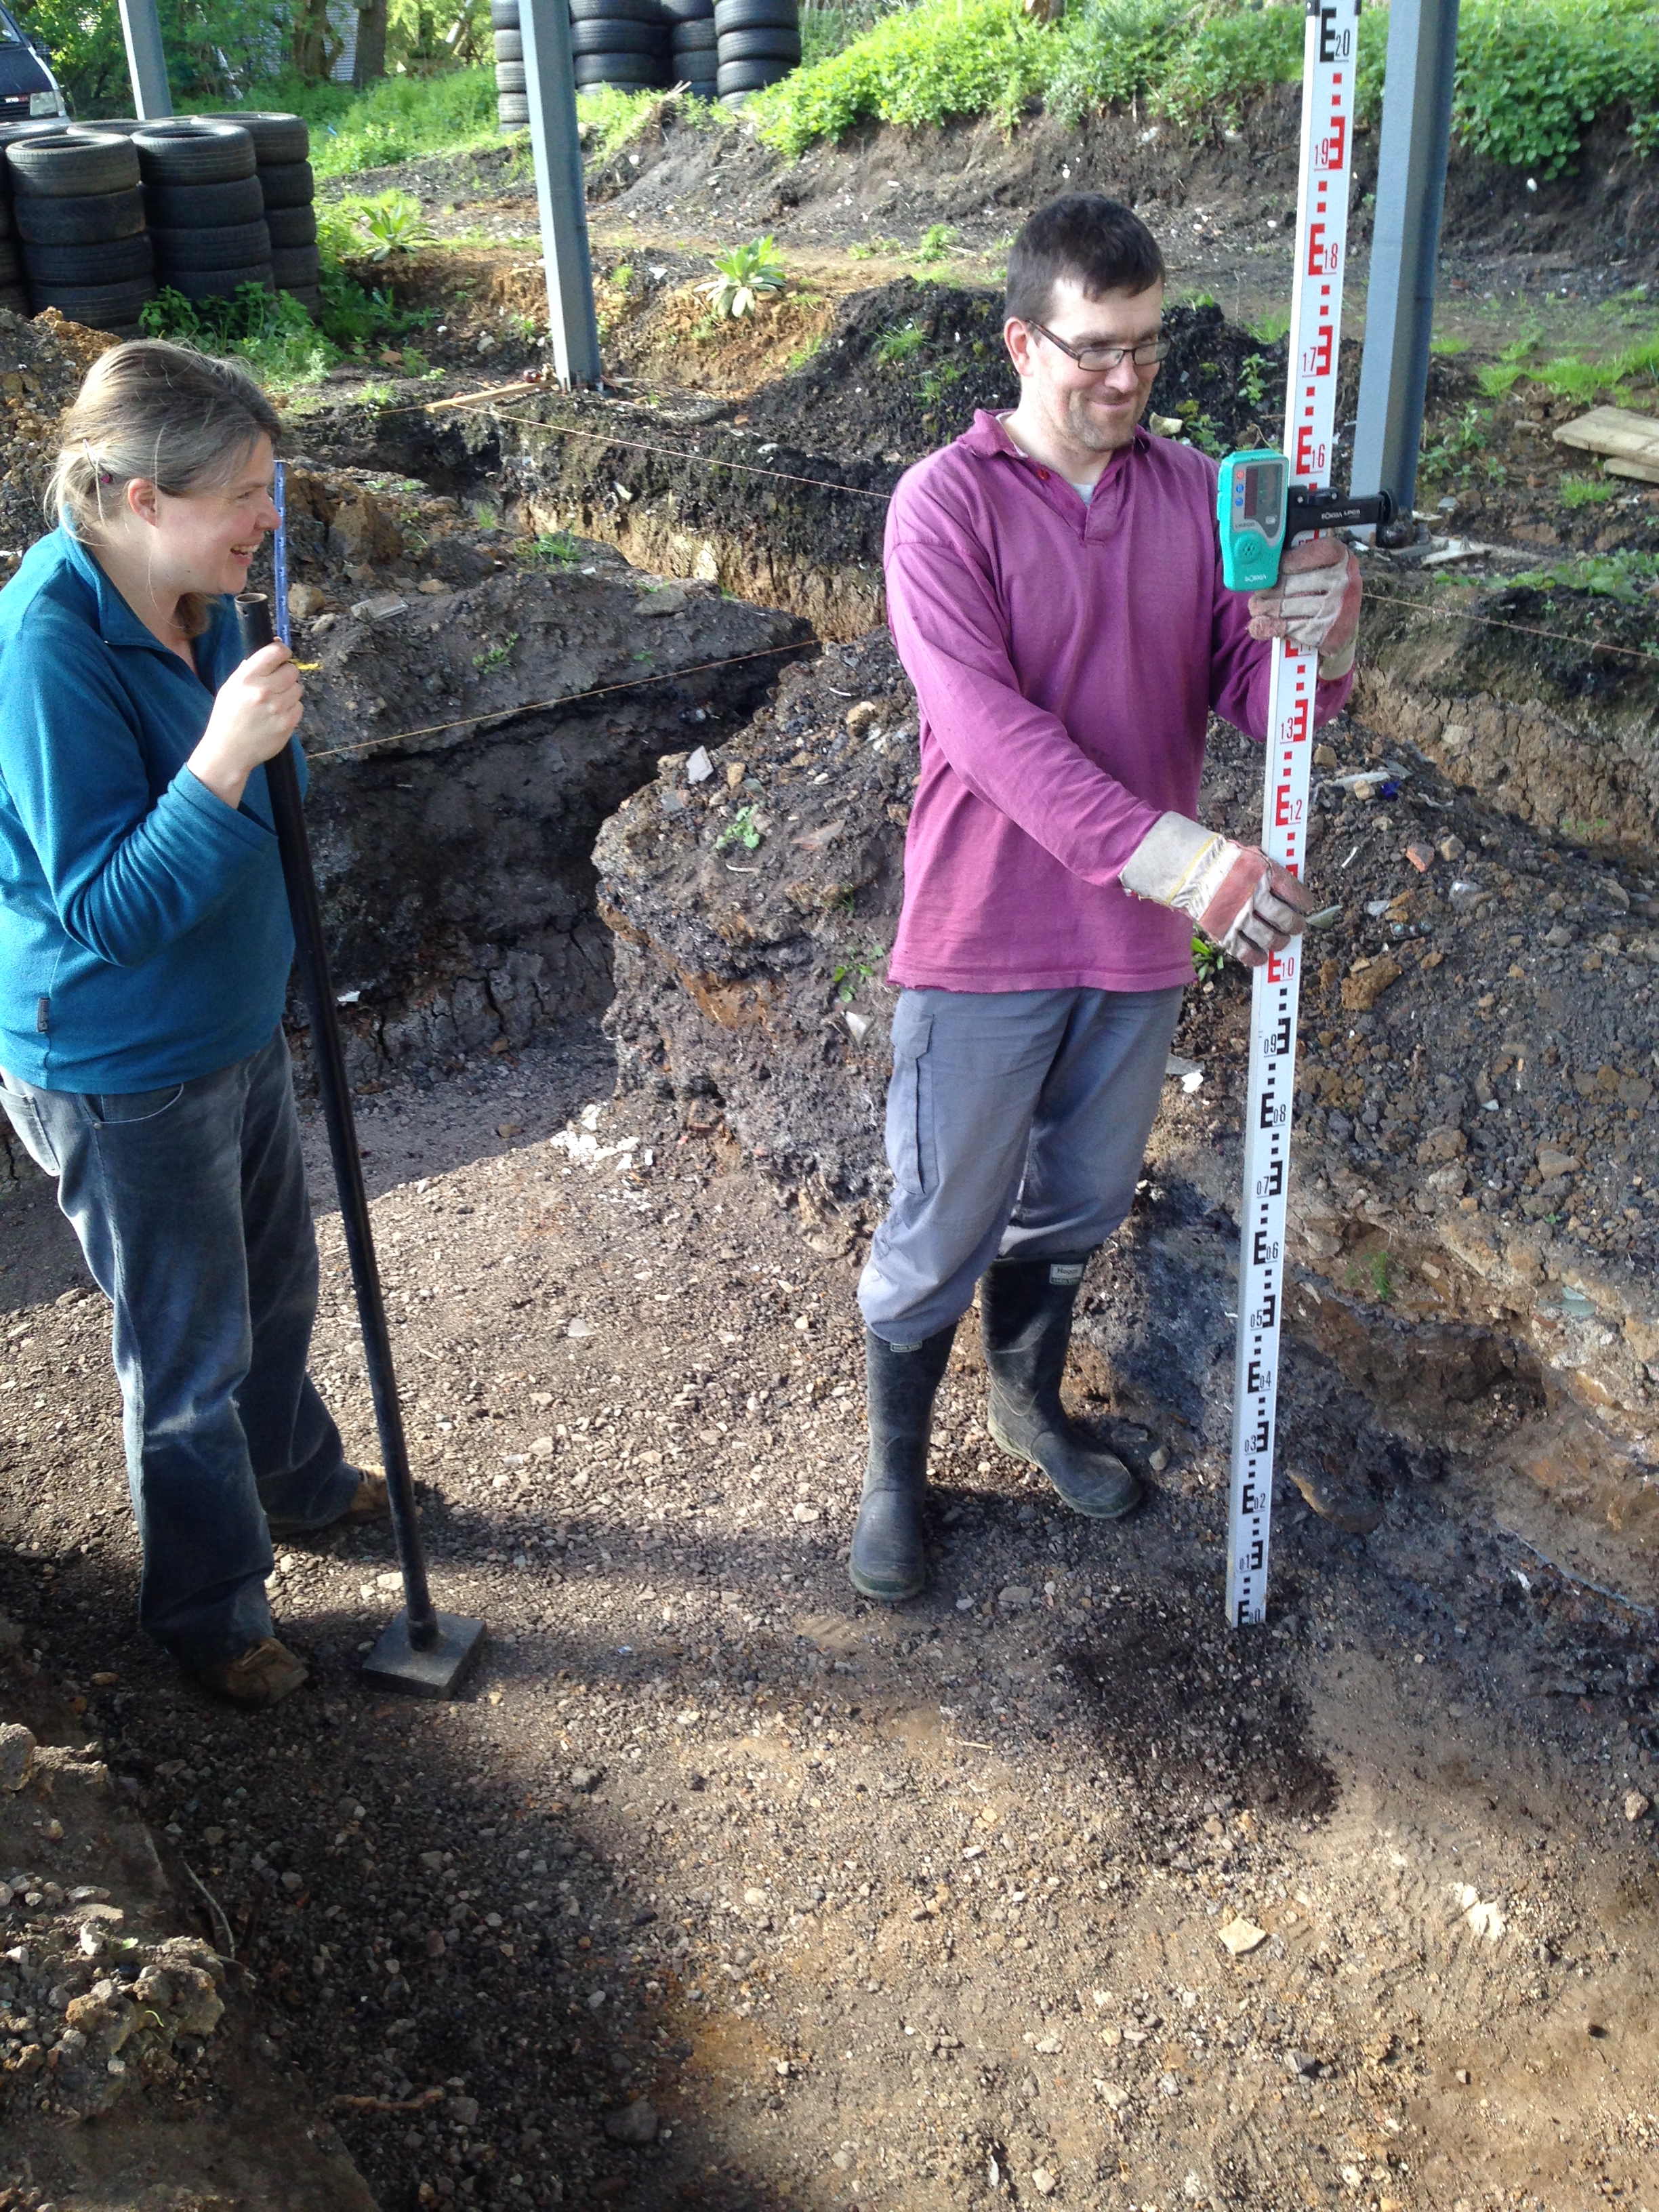
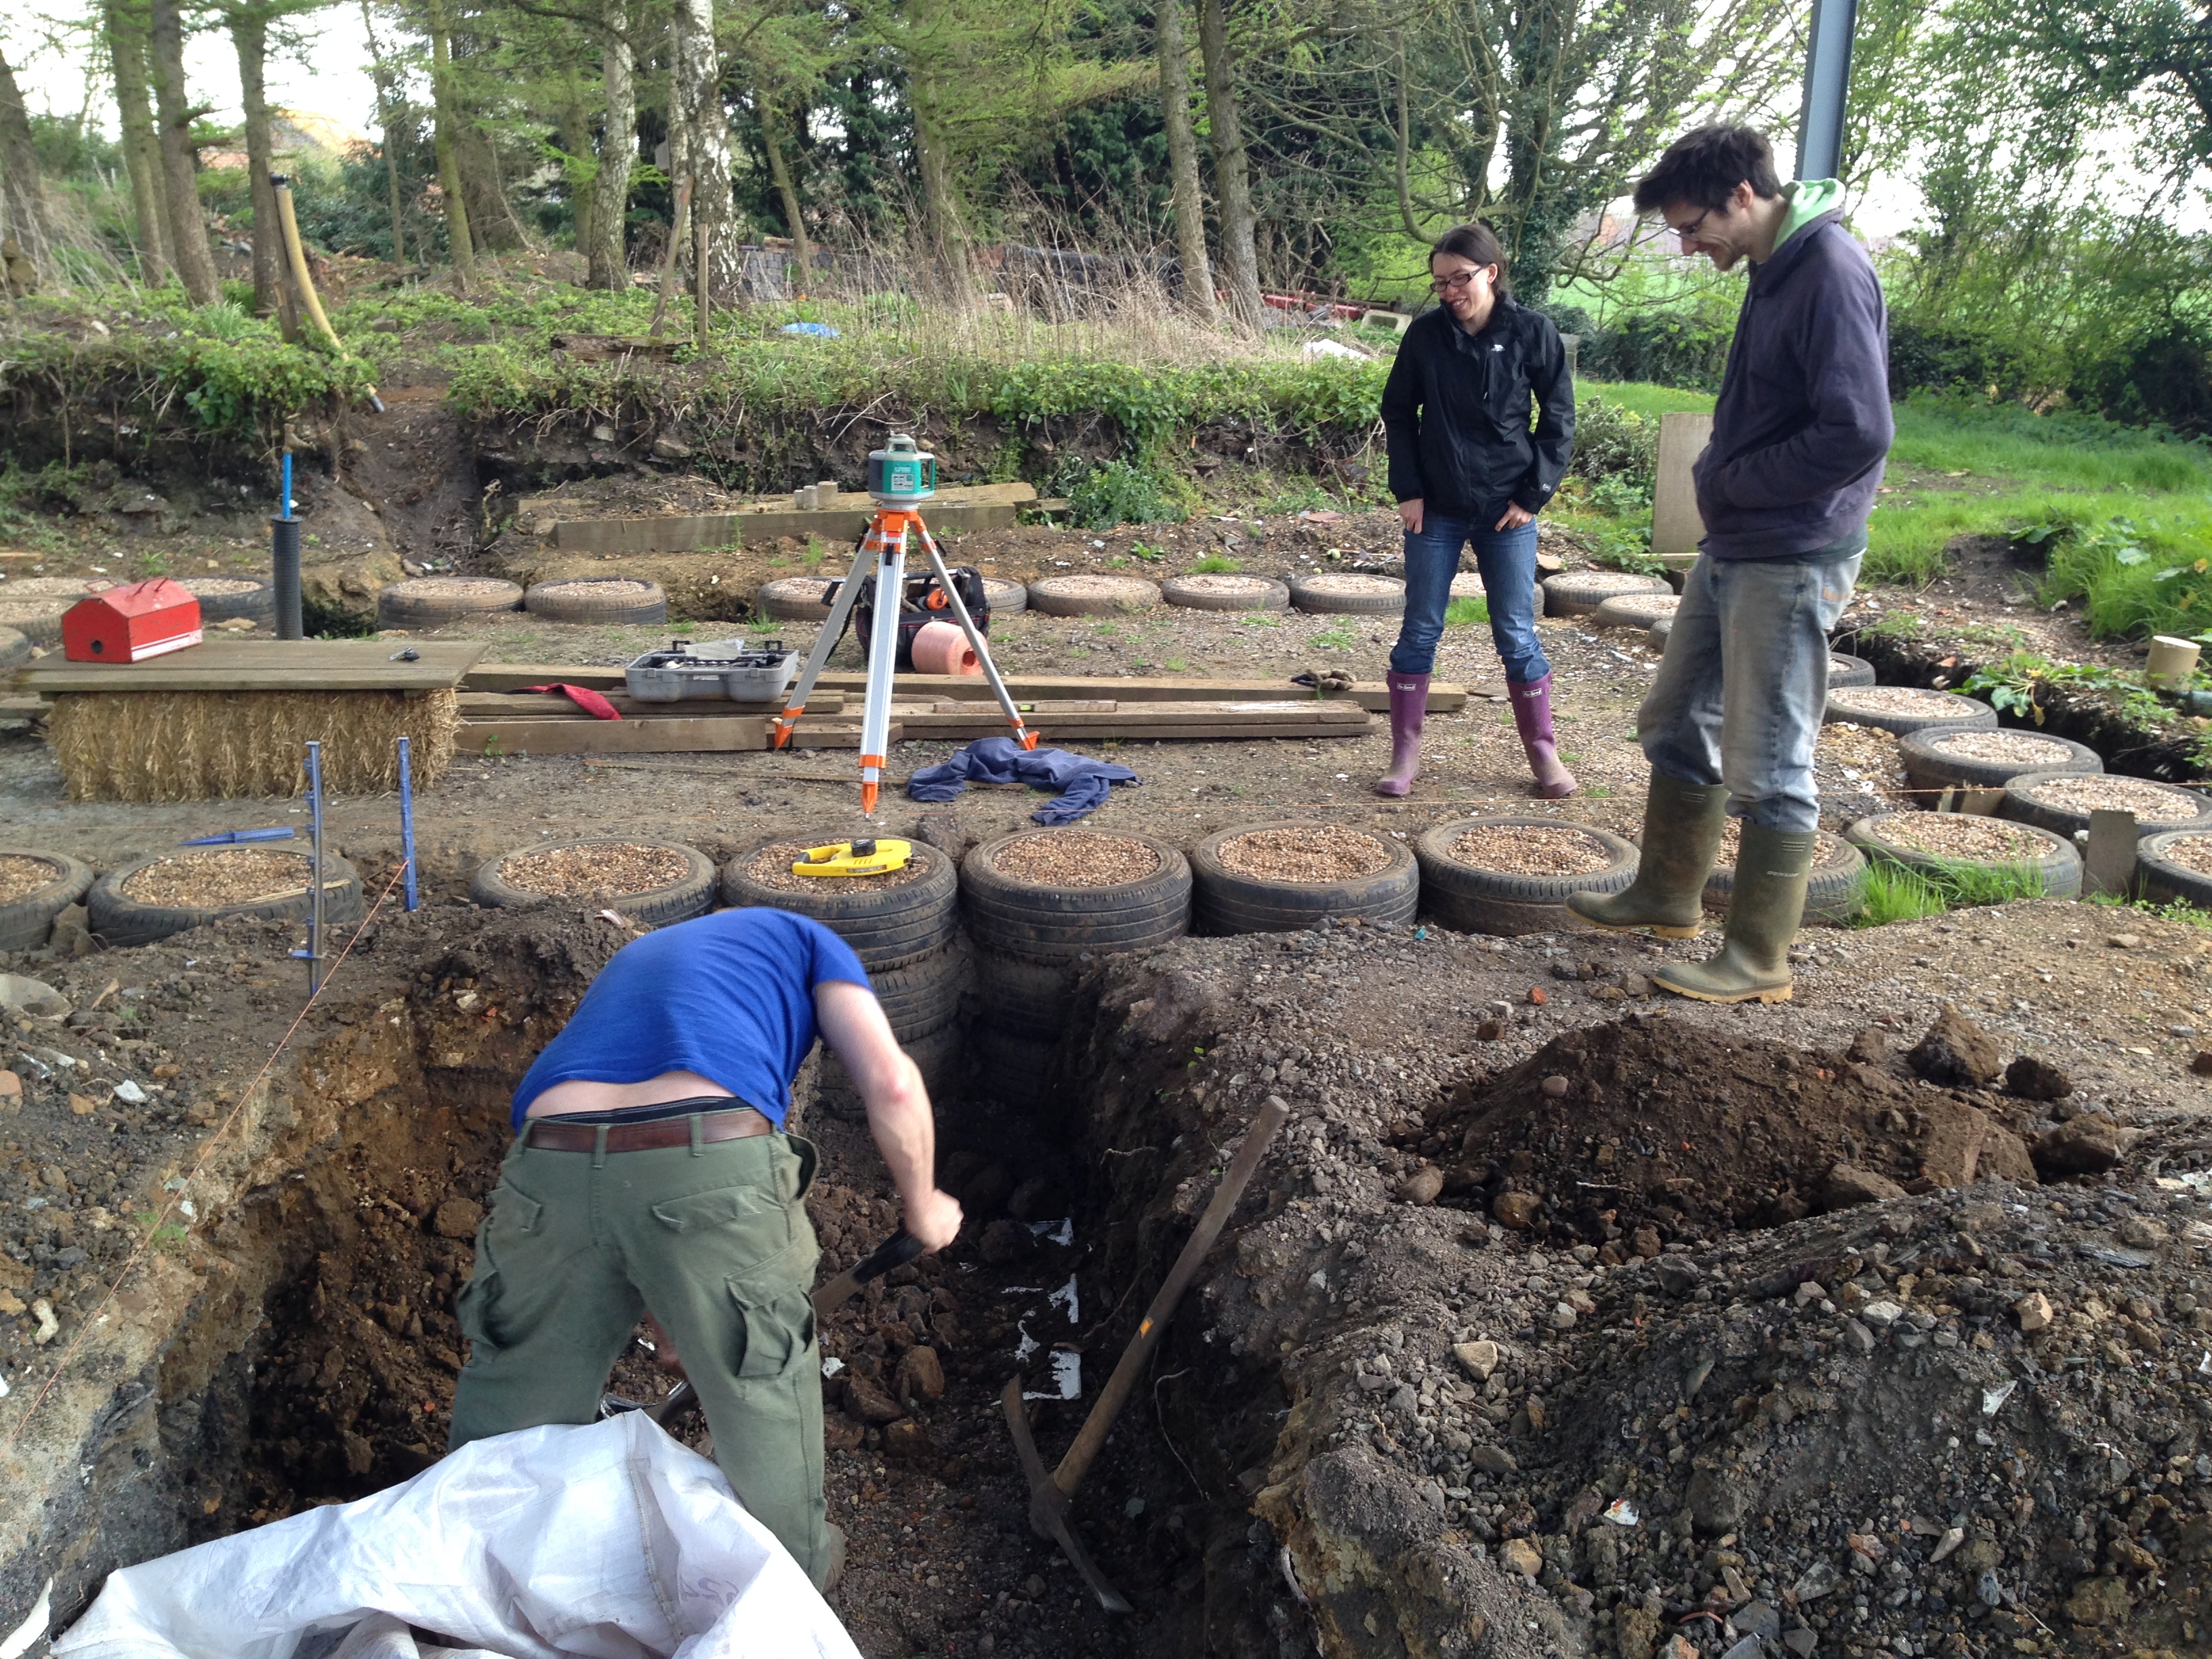
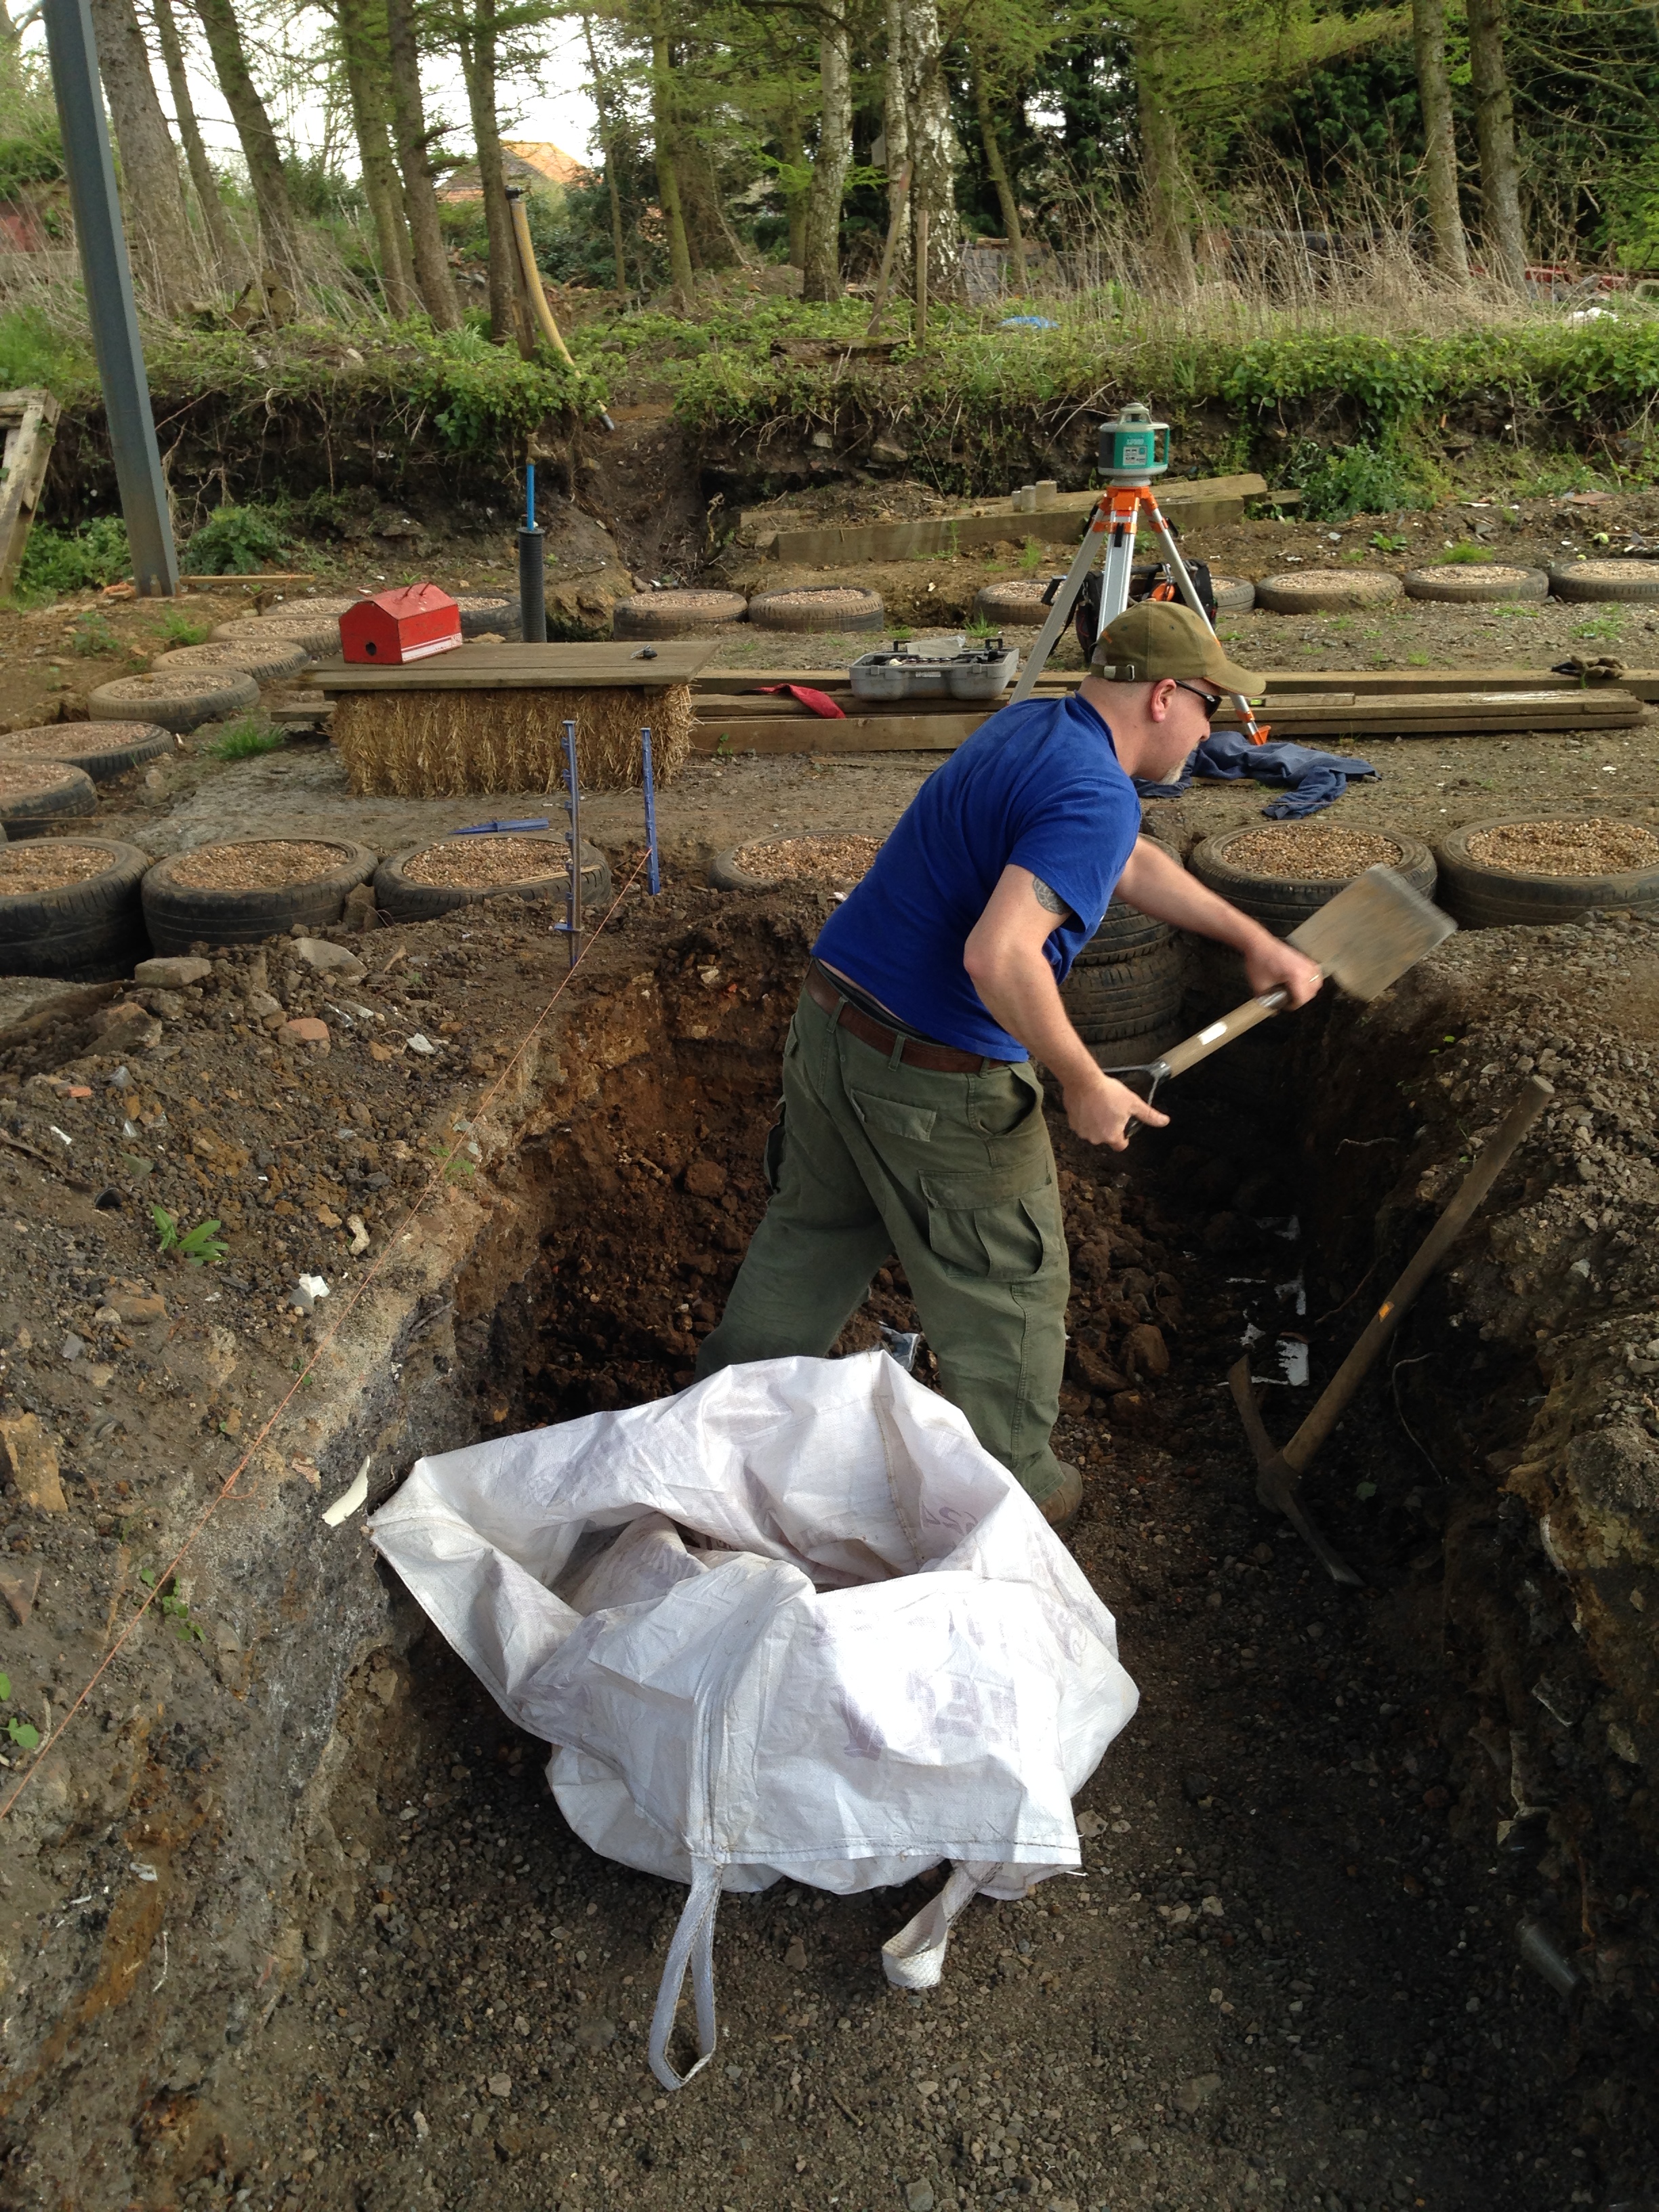
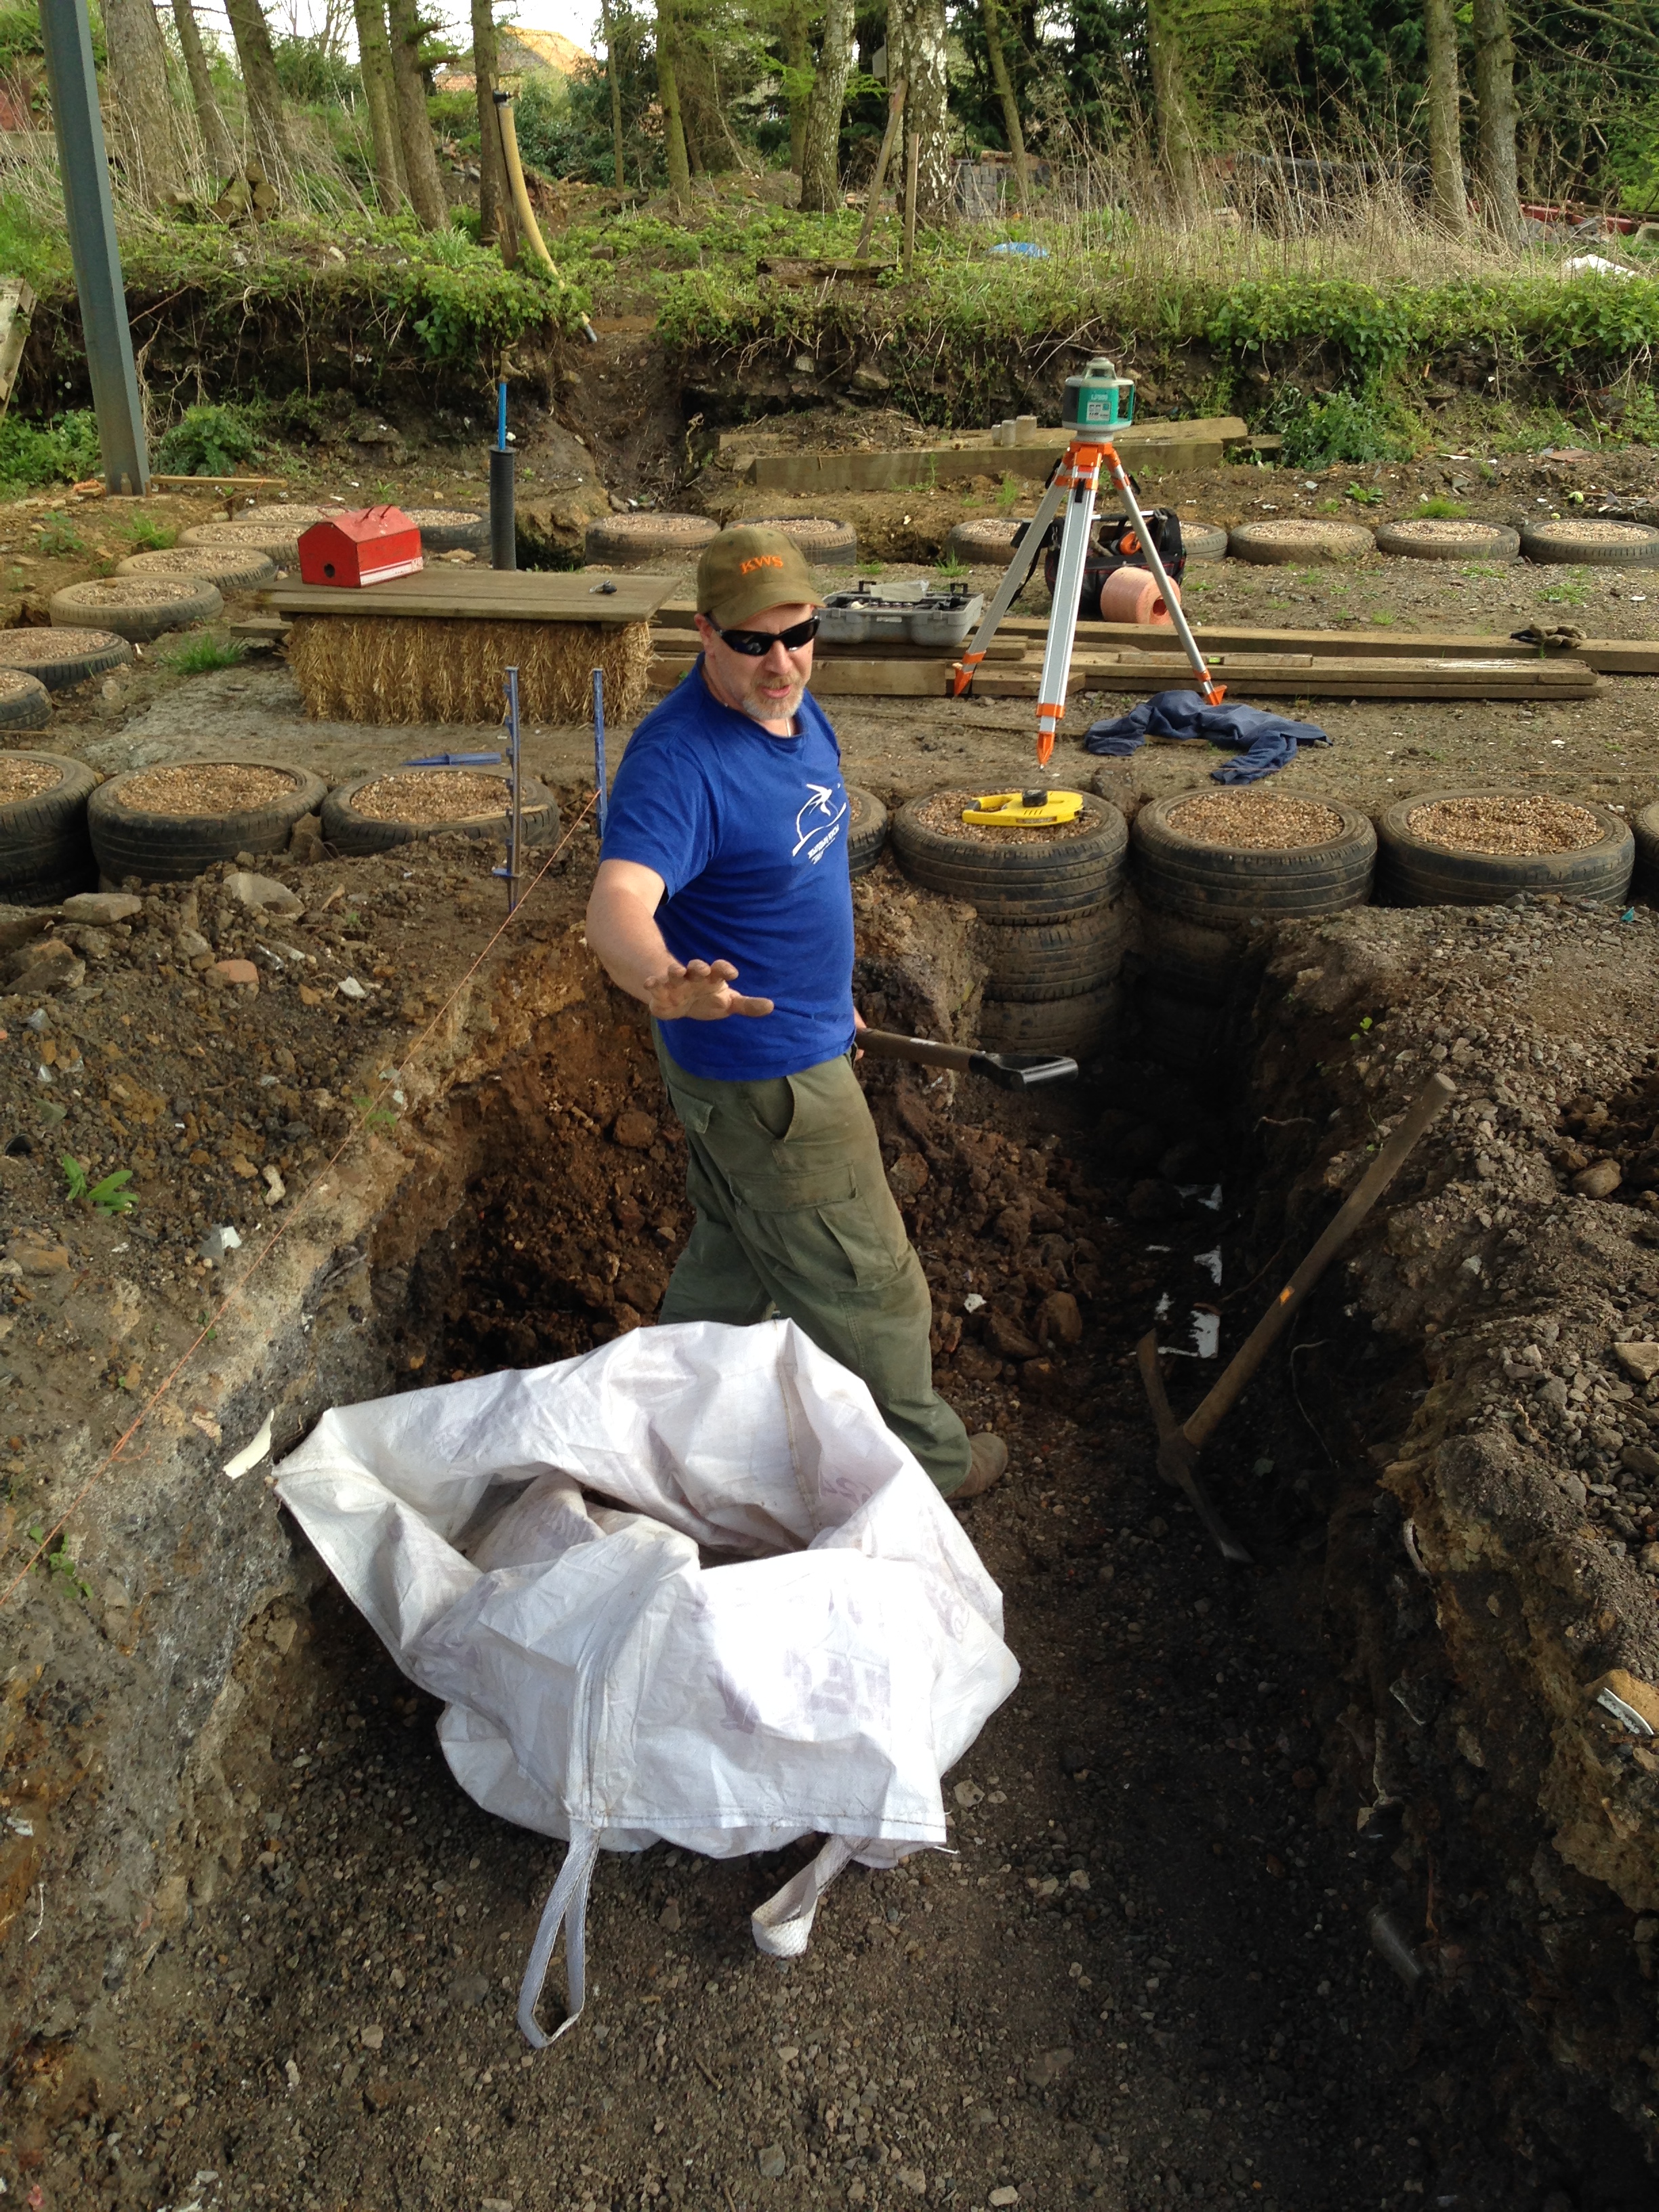
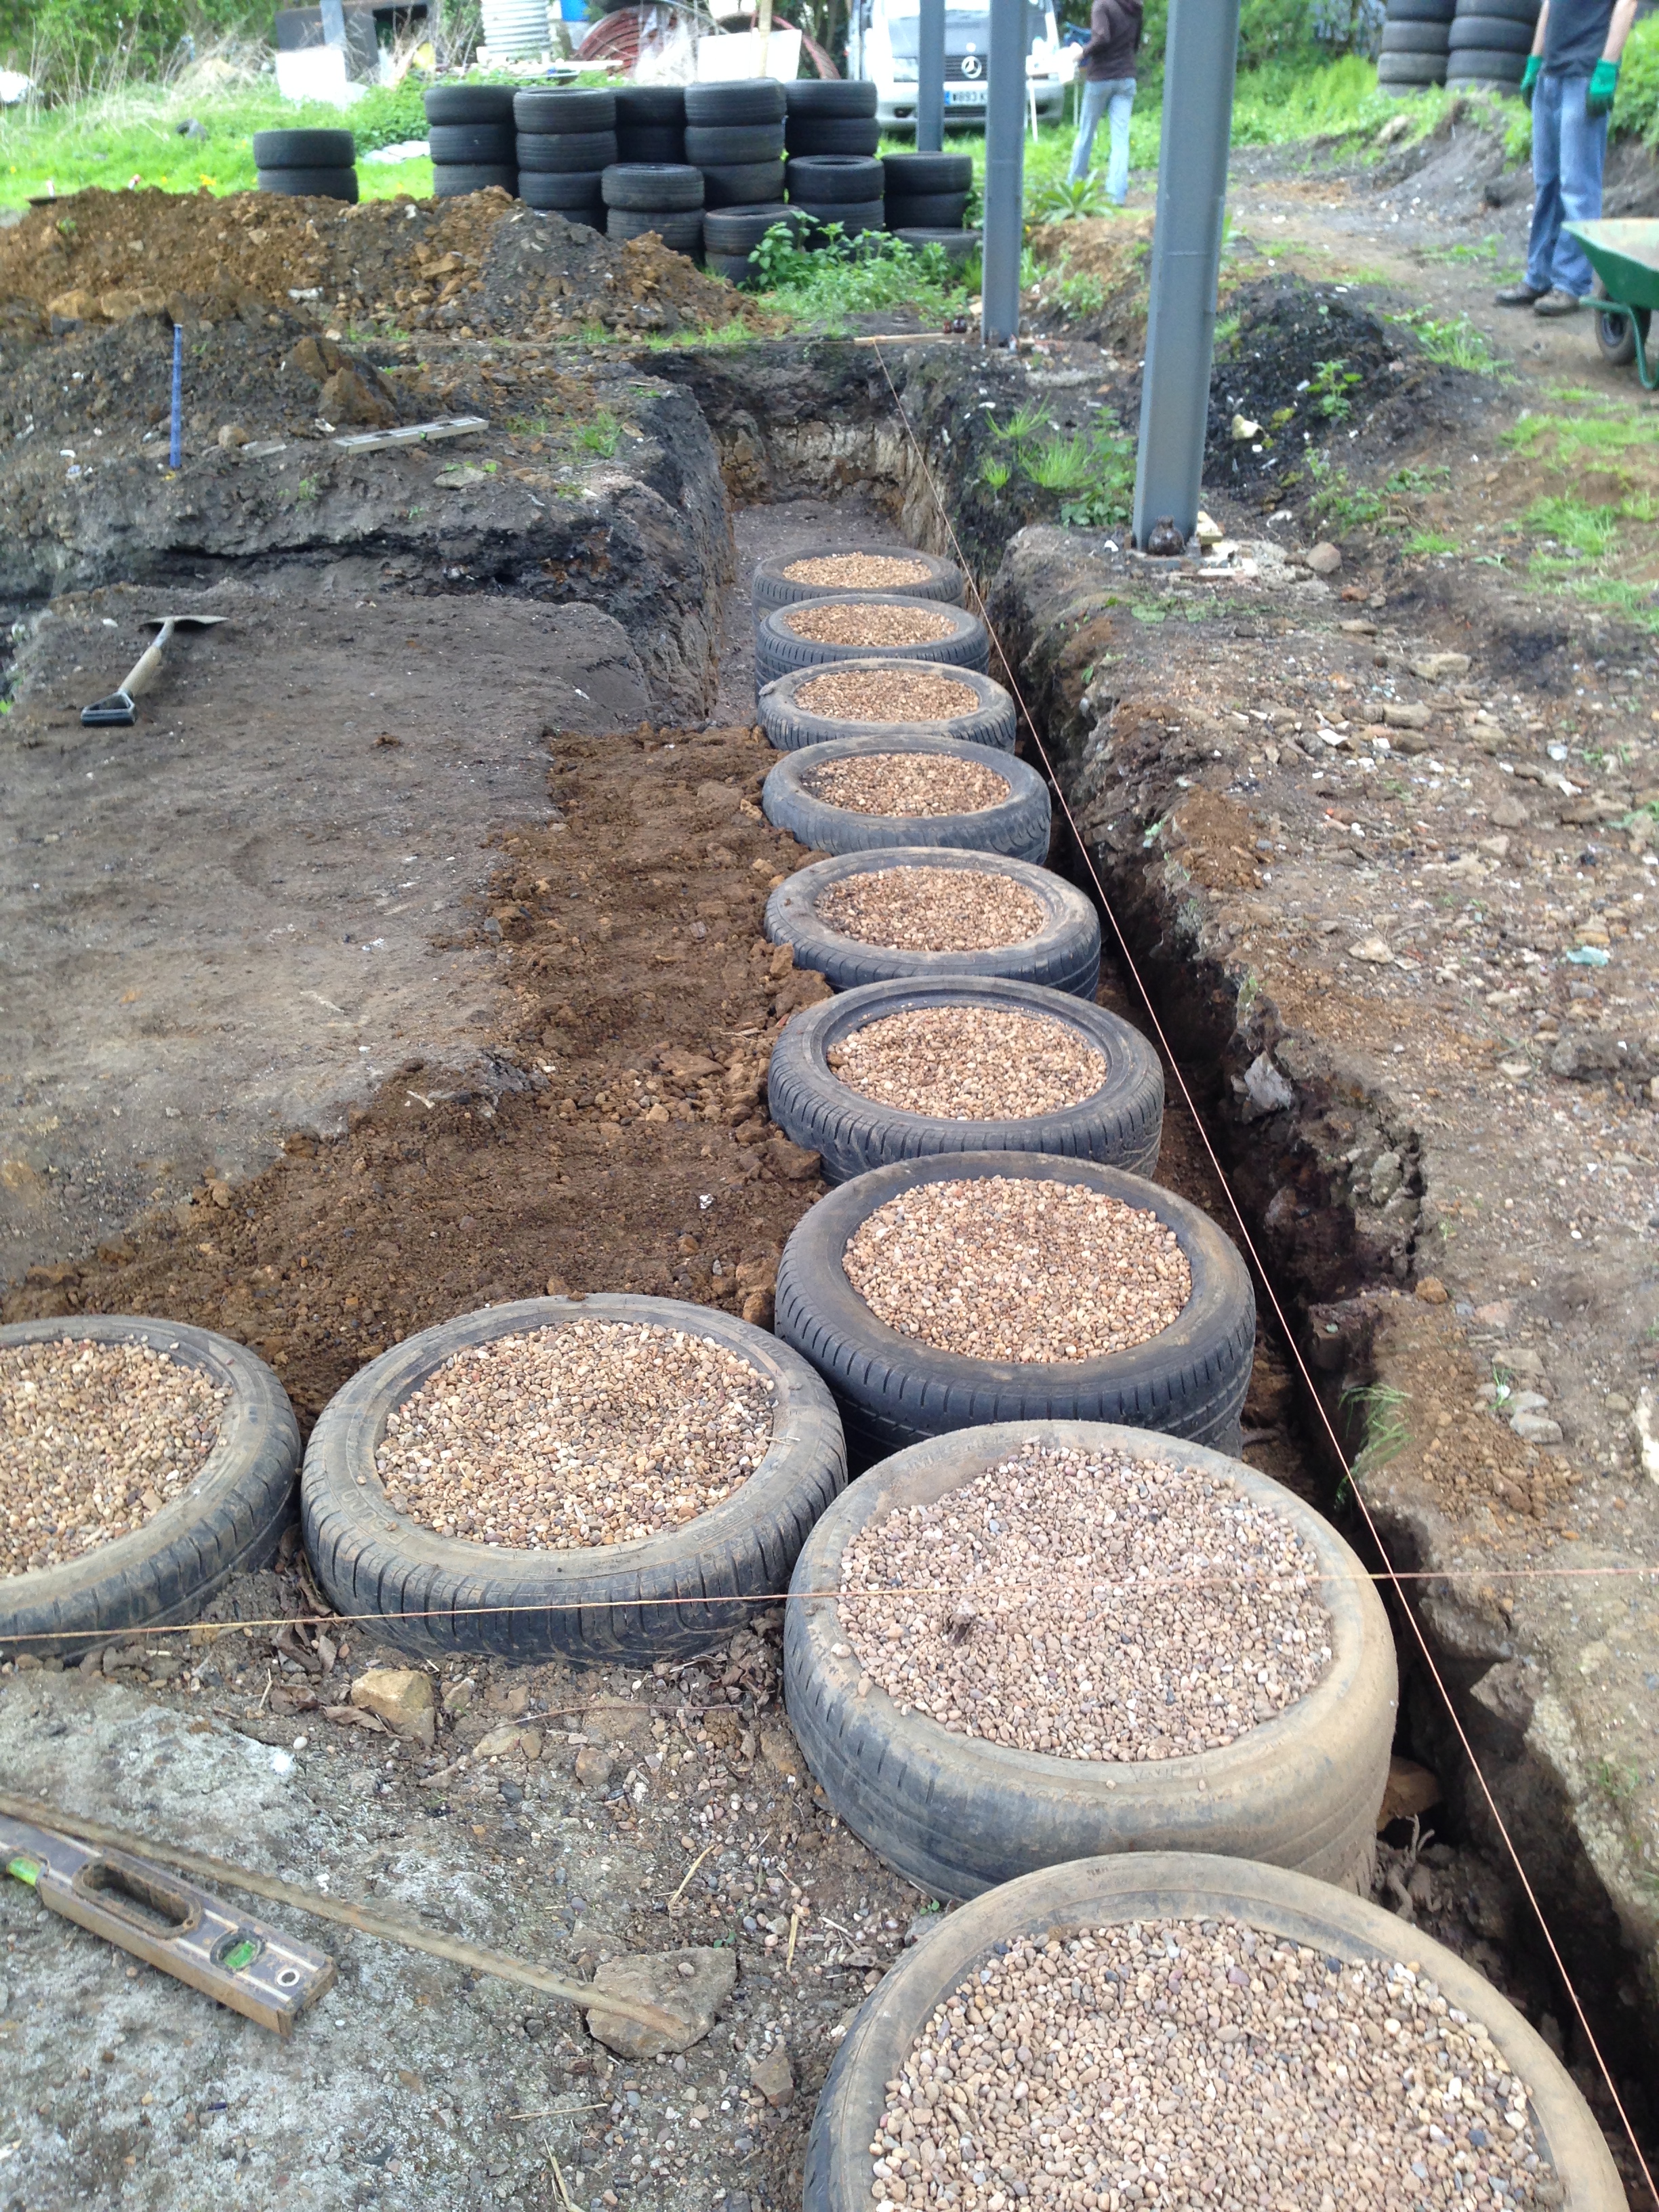
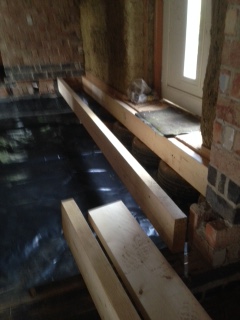
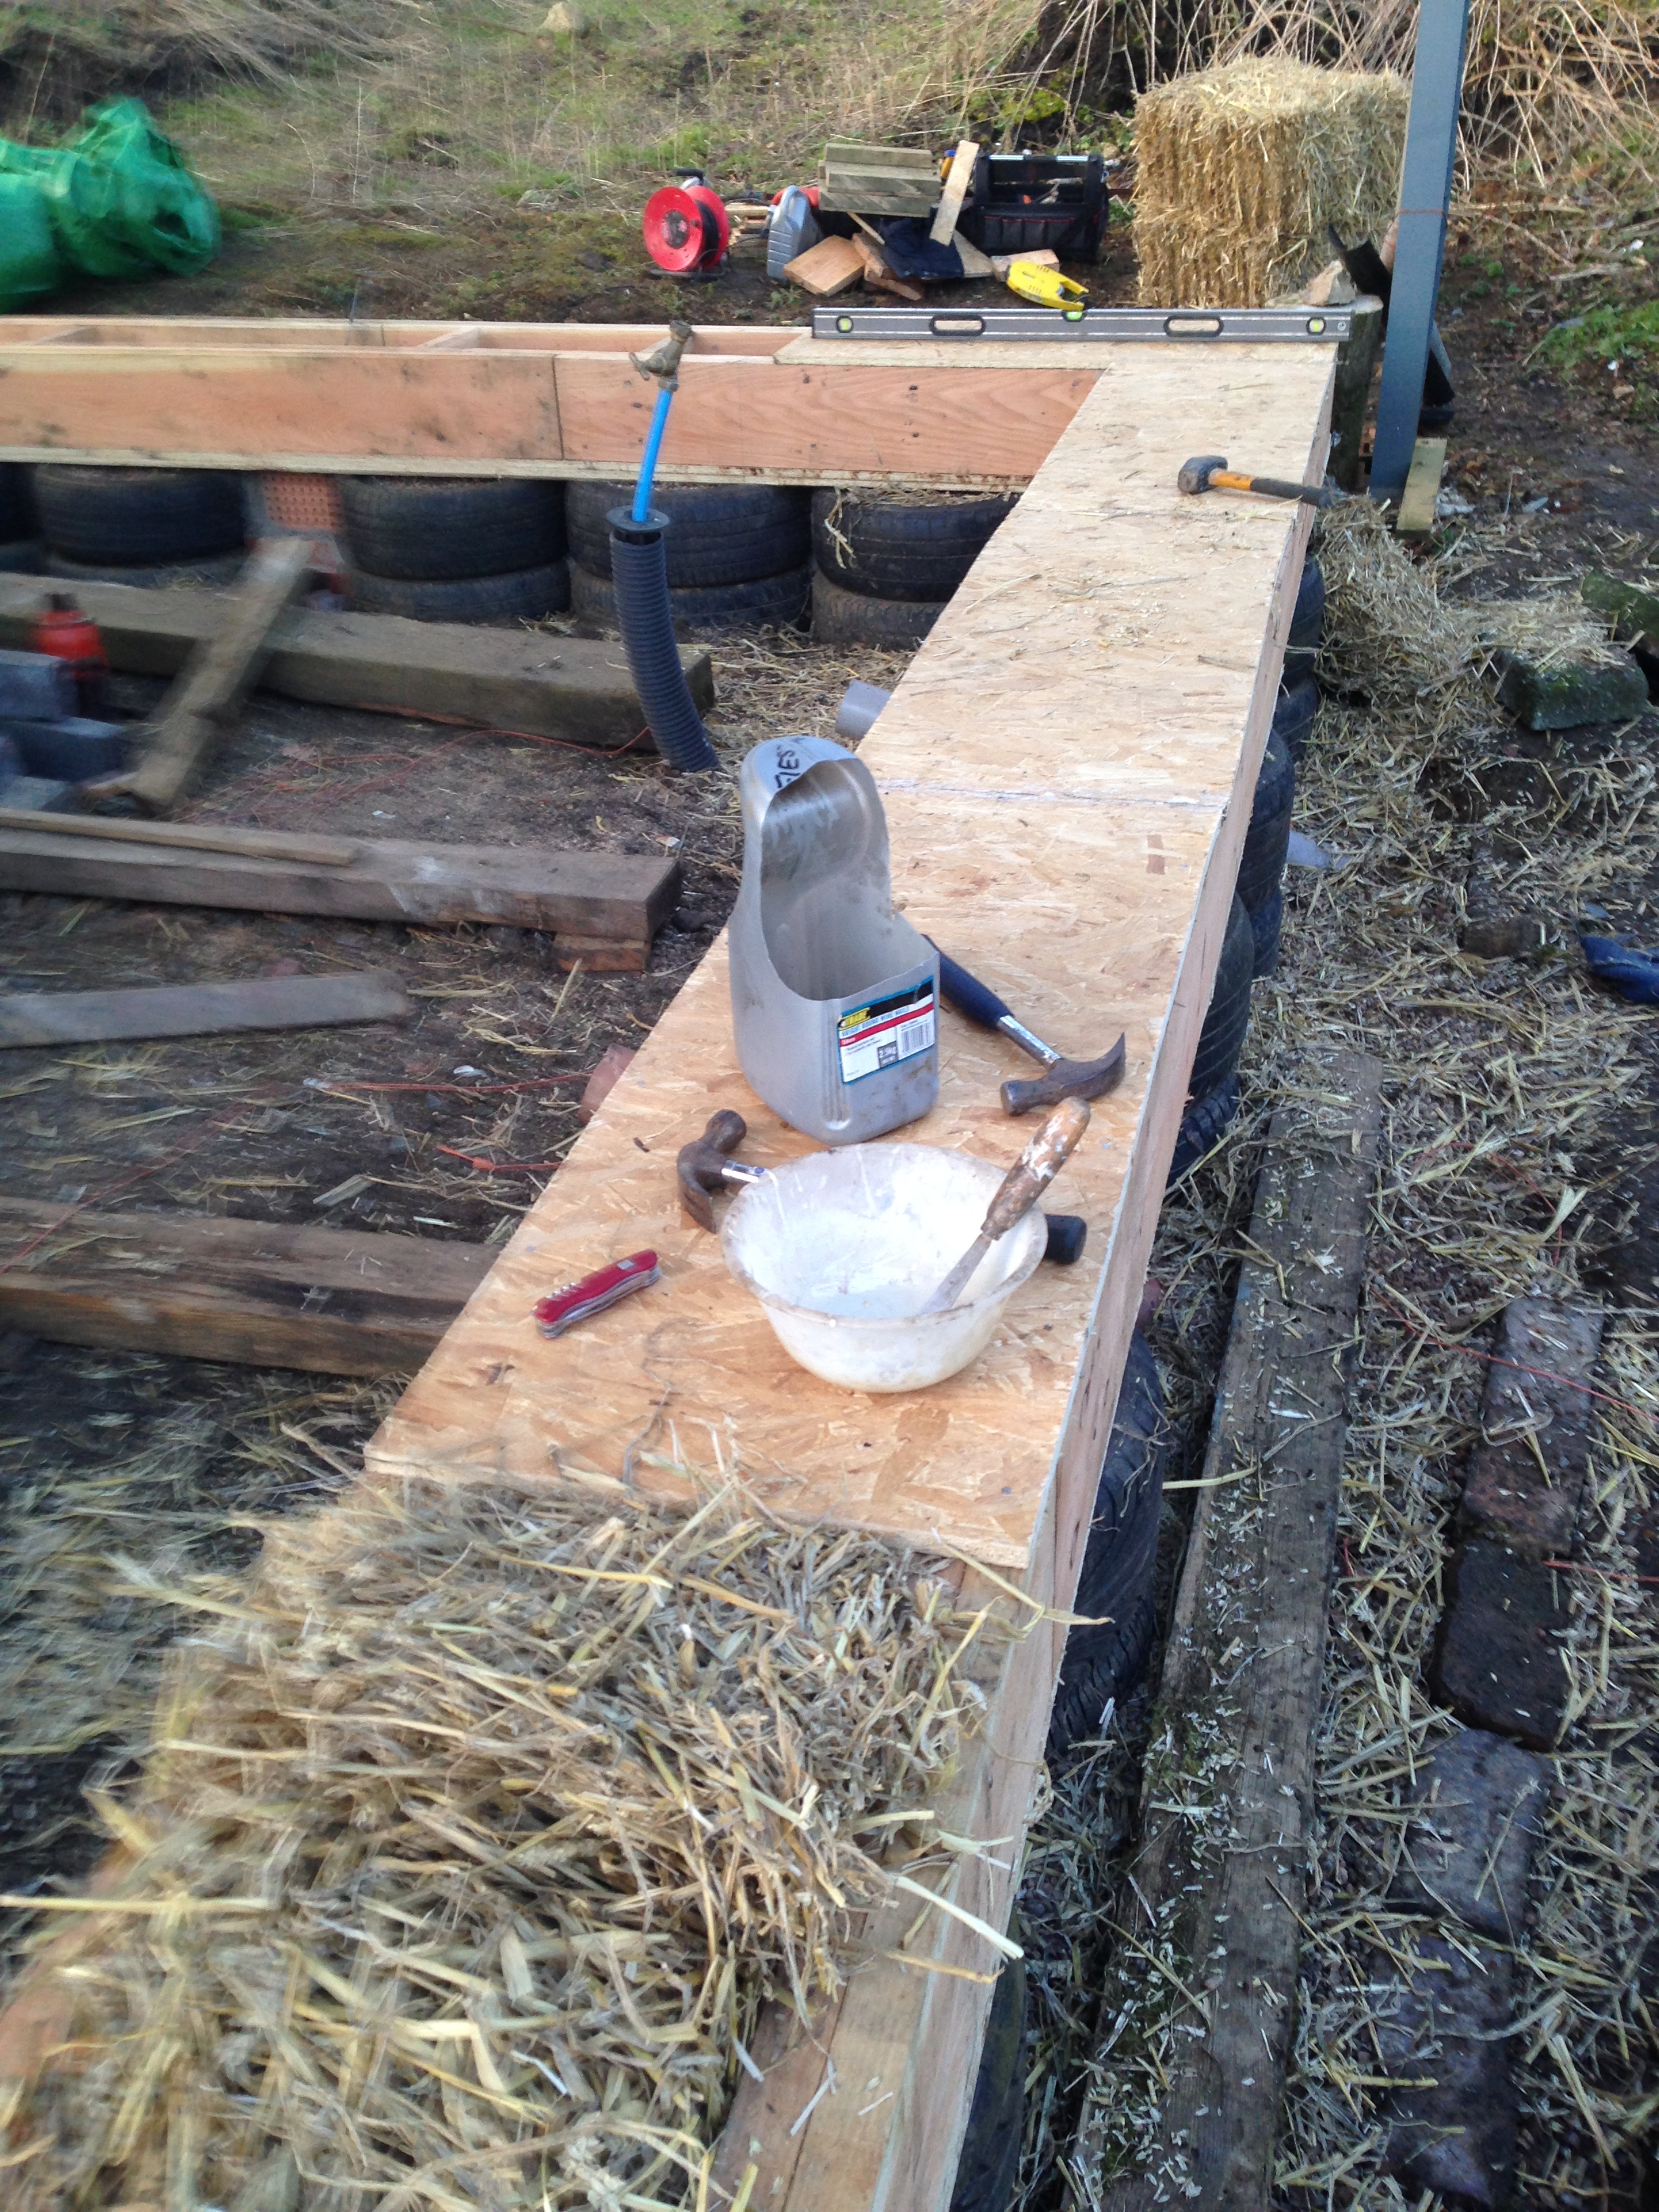
 The stair footings in